Making homemade ice cream brings back delightful memories, doesn’t it? There’s something truly special about creating your own frozen desserts, and with the right recipes and tools, it’s easier than ever. If you’re a fan of simple, delicious, and family-friendly recipes, then you’re likely acquainted with the charm of the Pioneer Woman, Ree Drummond. Her approachable cooking style translates perfectly to homemade ice cream, especially when using an ice cream maker. Let’s explore some fantastic Pioneer Woman inspired ice cream maker recipes that will bring joy to your kitchen and your taste buds.
 Close-up of creamy homemade vanilla ice cream in a bread pan, ready to be served, highlighting its smooth texture and inviting appearance
The Magic of Homemade Ice Cream and Modern Ice Cream Makers
Long gone are the days of hand-cranking ice cream for hours on end. While there’s nostalgia in the old-fashioned method, modern ice cream makers offer convenience and speed without sacrificing the quality of homemade ice cream. These nifty kitchen appliances have simplified the process, making it accessible for everyone to enjoy creamy, homemade delights. Whether you opt for a budget-friendly model or a more advanced version, the key is to have a reliable ice cream maker to churn your favorite recipes.
For those just starting out, a Cuisinart Ice Cream maker is a fantastic option. Known for its ease of use and consistent results, it’s perfect for churning out batches of your favorite ice cream recipes without any fuss. If you’re already a KitchenAid mixer enthusiast, consider the KitchenAid Ice Cream Maker Attachment. This attachment seamlessly integrates with your mixer, providing a convenient way to make ice cream with equipment you already own.
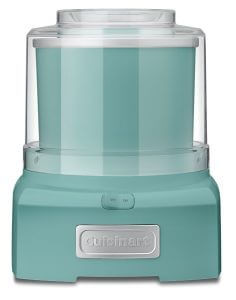 Turquoise Cuisinart ice cream maker machine showcasing its compact design and user-friendly features for home ice cream making
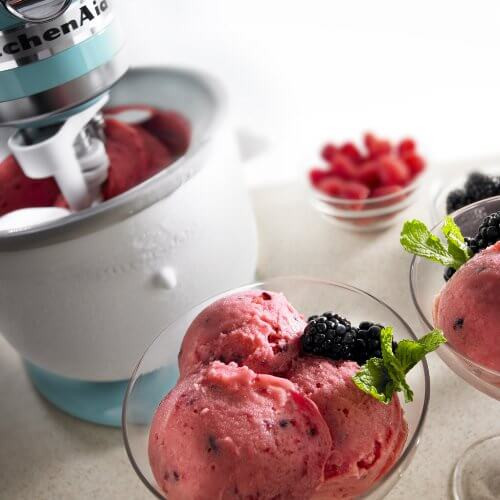 KitchenAid ice cream maker attachment bowl in white, displayed on a kitchen counter, highlighting its compatibility with KitchenAid stand mixers for homemade ice cream
Classic Vanilla Ice Cream Base: Your Pioneer Woman Starting Point
Every great ice cream adventure begins with a solid base recipe, and this vanilla ice cream base, inspired by the Pioneer Woman’s style, is no exception. It’s a rich, custard-style base that’s versatile and utterly delicious on its own, or as a foundation for countless flavor variations. This recipe uses an egg custard for a creamy texture, a hallmark of high-quality homemade ice cream. Ree Drummond’s recipes often emphasize straightforward methods and comforting flavors, and this ice cream base aligns perfectly with that philosophy.
Ingredients for Vanilla Ice Cream Base:
- 6 cups whole milk
- 4 cups granulated sugar
- 1 vanilla bean
- 18 large egg yolks
- 6 cups heavy cream
Step-by-Step Instructions:
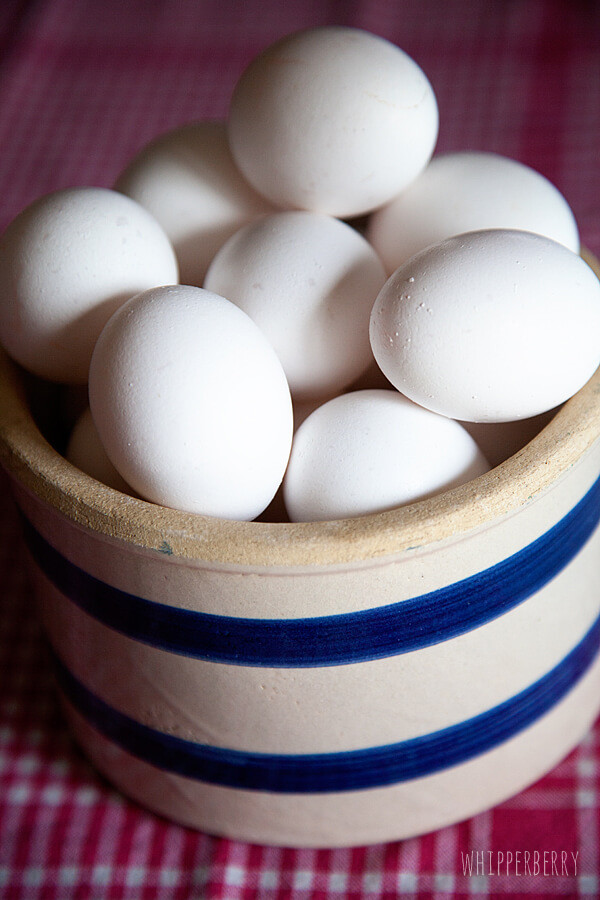
- Prepare the Eggs: Begin by separating 18 large eggs, placing the yolks in a large bowl and reserving the whites for other baking projects like macarons or angel food cake.
- Infuse Milk with Vanilla: In a large saucepan, combine the whole milk and sugar. Stir well and place over medium-low heat. It’s crucial to heat the mixture gently, ensuring it doesn’t boil.
- Add Vanilla Bean: Slice the vanilla bean lengthwise and scrape out the flavorful caviar. Add both the caviar and the bean pod to the milk and sugar mixture. Continue to heat gently, stirring occasionally, until the mixture is hot but not boiling. This process infuses the milk with intense vanilla flavor.
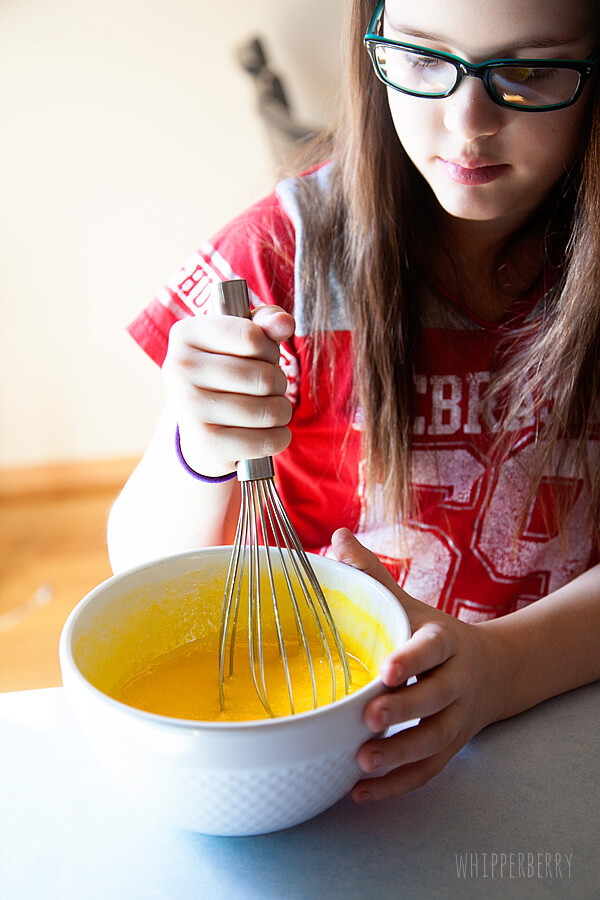
- Whisk Egg Yolks: While the milk is heating, whisk the egg yolks in the large bowl for about 2 minutes until they lighten in color and become slightly thickened.
- Temper the Egg Yolks: This is a critical step to prevent scrambled eggs! Gradually ladle a couple of spoonfuls of the hot milk mixture into the whisked egg yolks, whisking constantly. This slowly raises the temperature of the yolks. Once tempered, slowly pour the warmed egg yolk mixture into the saucepan with the remaining hot milk, stirring continuously.
- Cook the Custard Base: Continue to cook the mixture over medium-low heat for another 2-3 minutes, stirring constantly. The base is ready when it thickens enough to coat the back of a spoon. Be patient and keep stirring to prevent scorching.
- Strain and Cool: Pour the custard base through a fine-mesh strainer into a large bowl to remove any lumps and ensure a smooth texture. Discard any solids left in the strainer.
- Add Heavy Cream: Slowly stir in the heavy cream to enrich the base and enhance the creamy texture of the ice cream.
- Chill and Churn: Divide the ice cream base into containers and refrigerate thoroughly for at least 4-6 hours, or preferably overnight. Once chilled, churn the base in your ice cream maker according to the manufacturer’s instructions.
 Preparing vanilla bean by slicing it lengthwise and scraping out the seeds to infuse vanilla flavor into the ice cream base
 Heating milk and sugar mixture in a saucepan on a stove, a step in making homemade vanilla ice cream base, ensuring gentle heating without boiling
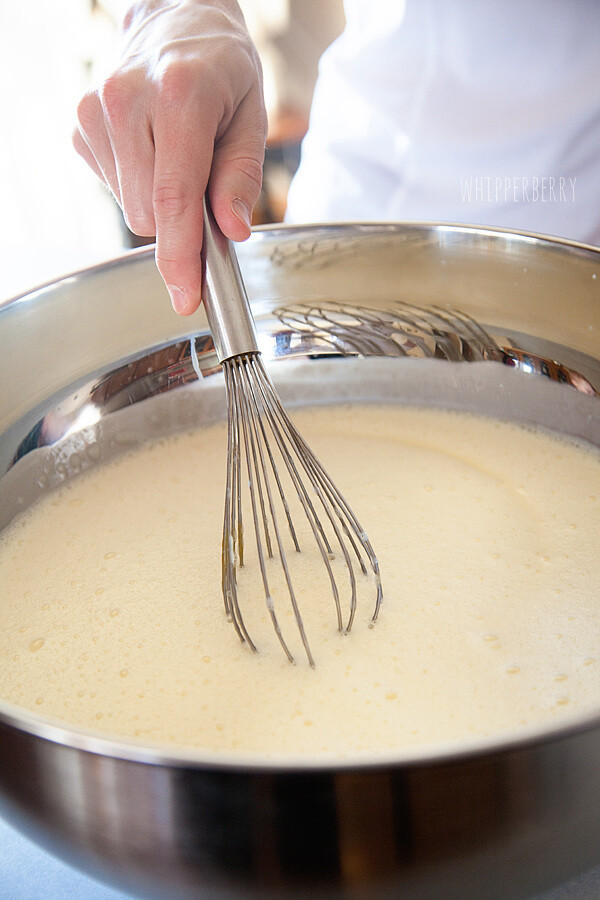
 Whisking egg yolks in a stainless steel bowl to prepare for tempering, a crucial step in creating a custard-based ice cream
 Pouring heavy cream into a strained ice cream base in a glass bowl, completing the preparation of the vanilla ice cream mixture before chilling
From Base to Bowl: Serving Your Homemade Ice Cream
After churning, your ice cream will have a soft-serve consistency. For a firmer texture, transfer it to a plastic wrap-lined bread pan or container and freeze for an additional 3-4 hours. This final freeze hardens the ice cream to the perfect scoopable consistency.
This vanilla base is just the beginning. Inspired by the Pioneer Woman’s love for simple yet flavorful recipes, you can easily customize this base. Consider adding:
- Chocolate Chips: Stir in mini chocolate chips after churning for a classic treat.
- Strawberry Swirl: Swirl in strawberry jam or fresh strawberry puree for a fruity twist.
- Mint Chocolate Chip: Add mint extract and chocolate chips for a refreshing flavor.
- Caramel Ripple: Drizzle in homemade caramel sauce as you layer the ice cream into the freezer container.
Homemade ice cream, especially when made with a reliable ice cream maker and a delicious base recipe, is a rewarding experience. Embrace the spirit of the Pioneer Woman in your kitchen and create memorable, homemade frozen desserts that your family and friends will adore. Enjoy the process and the delicious results!