Tired of dry, unevenly cooked turkey ruining your Thanksgiving? This Pioneer Woman-inspired Maple Glazed Spatchcock Turkey recipe is your game-changer. Spatchcocking, also known as butterflying, is the secret to a perfectly cooked turkey that’s juicy, flavorful, and ready in significantly less time than traditional roasting methods. Imagine a Thanksgiving centerpiece with irresistibly crispy skin and mouthwatering meat infused with cozy fall flavors – this recipe delivers exactly that, with a touch of maple sweetness that elevates the classic holiday bird to a whole new level.
This recipe builds upon the incredible spatchcock turkey technique, a method that has saved countless Thanksgiving dinners from disaster (including my own early attempts!). By removing the backbone and flattening the turkey, you ensure even cooking and drastically reduce roasting time. But we’re not stopping there. This Pioneer Woman Spatchcock Turkey takes flavor to the next level with a luscious maple herb butter slathered under the skin and a glistening pure maple syrup glaze that caramelizes beautifully as it roasts. The result? A magazine-worthy turkey that’s surprisingly simple to make and utterly delicious.
This Maple Glazed Spatchcock Turkey recipe is not just about speed; it’s about maximizing flavor and ensuring a foolproof Thanksgiving centerpiece. It’s a recipe meticulously tested and perfected to guarantee success, even for first-time turkey cooks. With a few smart techniques and flavorful additions, you’ll be serving up the best Thanksgiving turkey your guests have ever tasted.
Why Spatchcocking is a Game Changer for Your Thanksgiving Turkey
Spatchcocking might sound intimidating, but it’s actually a remarkably simple technique with incredible benefits. If you’re looking to roast a turkey that’s both faster and better, spatchcocking is the answer.
Faster Cooking Time: The most significant advantage of spatchcocking is the reduced cooking time. By flattening the turkey, you expose more surface area to the heat, allowing it to cook much faster and more evenly. You can expect to cut your turkey roasting time almost in half!
Even Cooking: Say goodbye to dry breast meat and undercooked thighs! Spatchcocking ensures that the turkey cooks at a uniform thickness, eliminating the common problem of overcooked breasts while waiting for the legs and thighs to reach the correct temperature. This even cooking results in incredibly juicy and tender meat throughout the entire bird.
Crispier Skin: The flattened shape of a spatchcock turkey also promotes crispier skin. More surface area is exposed to the hot oven air, leading to beautifully browned and wonderfully crispy skin all over the turkey.
Easy Carving: A spatchcocked turkey is also easier to carve than a traditionally roasted whole bird. Its flattened shape makes it simpler to access all parts of the turkey and carve neat, even slices.
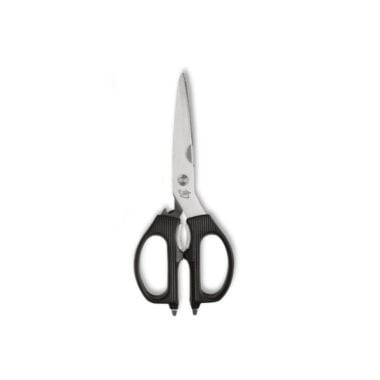
New to Spatchcocking? Don’t Worry! It’s easier than you think. For a detailed visual guide, check out resources like “How to Spatchcock a Turkey Guide” which provides step-by-step photos and videos to walk you through the process. All you need is a good pair of kitchen shears and a little confidence!
 First, use sharp kitchen shears to carefully snip along each side of the turkey’s backbone to remove it.
Key Ingredients for the Best Pioneer Woman Spatchcock Turkey
This Maple Glazed Spatchcock Turkey recipe relies on simple, high-quality ingredients to create maximum flavor with minimal fuss, true to the Pioneer Woman’s style of cooking.
- Turkey: The star of the show! This recipe works best with a 12-14 pound turkey, perfect for feeding a crowd of 12-14 people.
- Pure Maple Syrup: Essential for both the herb butter and the glaze, pure maple syrup provides a natural sweetness and contributes to that beautiful caramelized skin. Avoid pancake syrup – real maple syrup is key for the best flavor.
- Unsalted Butter: Forms the base of the flavorful herb butter and helps keep the turkey moist and juicy.
- Fresh Herbs: Rosemary, sage, and thyme create a classic Thanksgiving herb blend that complements the maple syrup perfectly. Fresh herbs are crucial for the best aroma and flavor.
- Garlic: Adds a savory depth to the herb butter, balancing the sweetness of the maple.
- Celery, Carrots, and Onions: These vegetables roast under the turkey, infusing the pan drippings with flavor and creating the base for a delicious gravy.
- Olive Oil: Helps to crisp the turkey skin and adds a touch of richness.
- Kosher Salt and Black Pepper: Essential seasonings to enhance all the flavors.
Crafting the Flavor: Maple Herb Butter and Glaze
The secret to this Pioneer Woman Spatchcock Turkey’s incredible flavor lies in two key components: the maple herb butter and the pure maple syrup glaze. These two layers of flavor work together to create a turkey that is both savory and subtly sweet, with a beautiful balance of herbs and maple.
Maple Herb Butter: This compound butter is packed with fresh herbs and garlic, infused with maple syrup, and slathered both under and over the turkey skin, as well as injected directly into the meat. As the turkey roasts, the butter melts, basting the meat from within and adding incredible moisture and flavor.
Pure Maple Syrup Glaze: The glaze is brushed on during the last part of roasting, creating a sticky-sweet, caramelized skin that is both visually stunning and incredibly delicious. The natural sugars in the maple syrup create a beautiful golden-brown color and a delightful crispy texture.
Step-by-Step Guide to Making Pioneer Woman Maple Glazed Spatchcock Turkey
Follow these simple steps to create a show-stopping Pioneer Woman Spatchcock Turkey that will impress your Thanksgiving guests.
Step 1: Prep the Turkey and Maple Herb Butter
- About an hour before roasting, remove the turkey from the refrigerator to allow it to come to room temperature slightly.
- If your turkey is frozen, ensure it is fully thawed. Allow 24 hours of refrigerated thawing for every 4 pounds of turkey.
- Spatchcock the turkey. If you’re new to this, refer to a guide like “How to Spatchcock a Turkey Guide” for detailed instructions.
- Preheat your oven to 450°F (232°C) and ensure a rack is in the center position.
- Prepare the maple herb butter: In a food processor, combine fresh rosemary, sage, thyme, and garlic. Pulse until finely chopped. Add softened unsalted butter, maple syrup, kosher salt, and black pepper. Process until smooth and well combined.
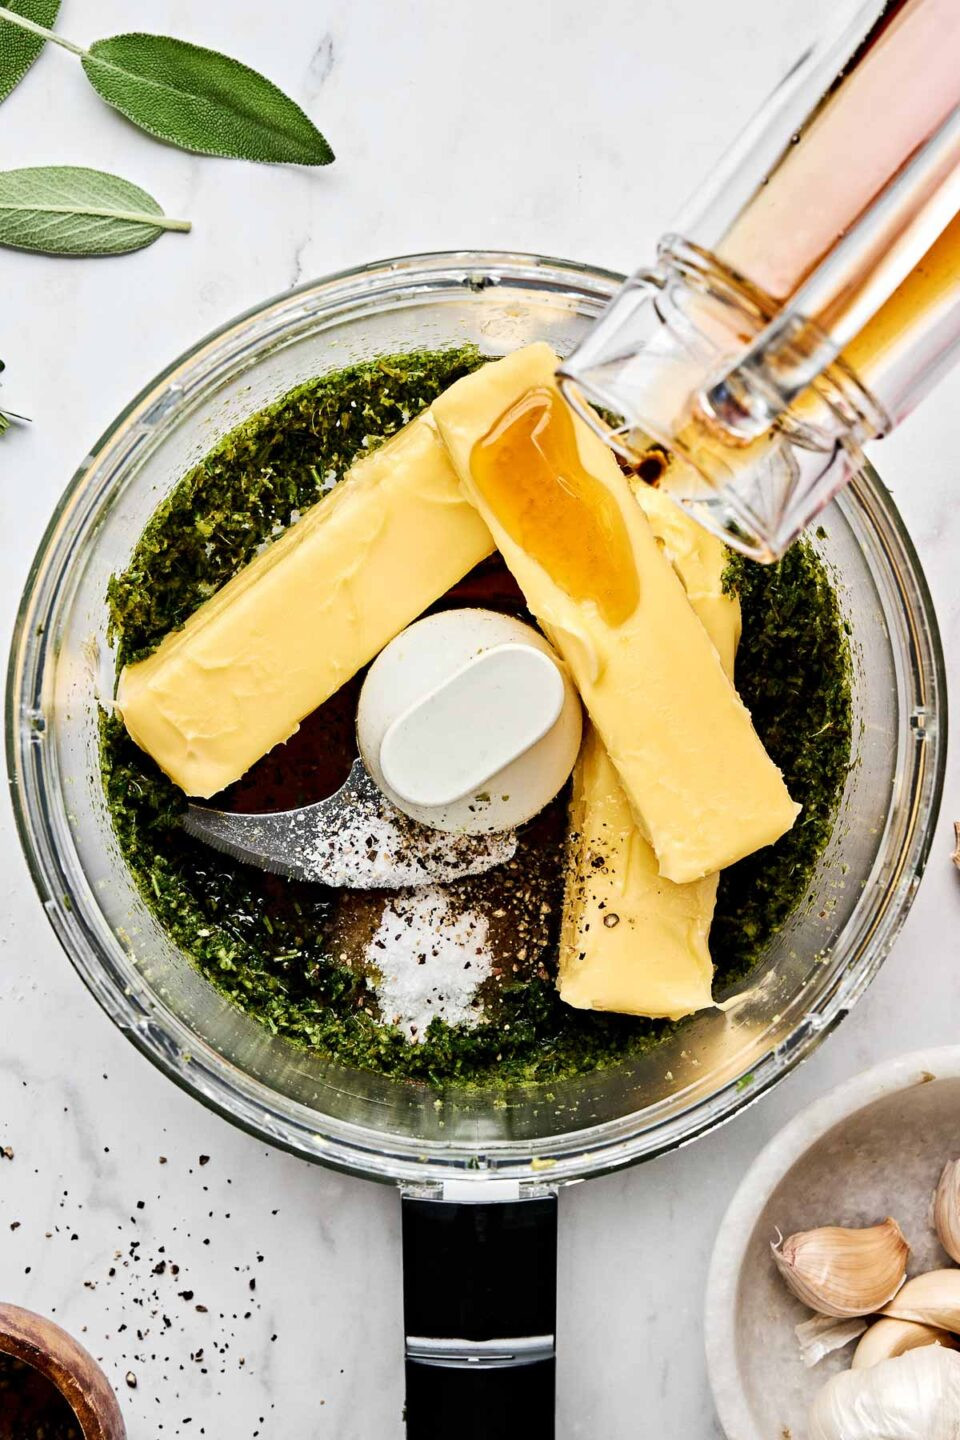 An overhead shot of salt, pepper and sticks of butter atop chopped herbs in the bowl of a food processor on a white marble surface. Syrup is being poured over the ingredients. Fresh herbs and garlic cloves sit alongside it.
Step 2: Butter and Inject the Turkey
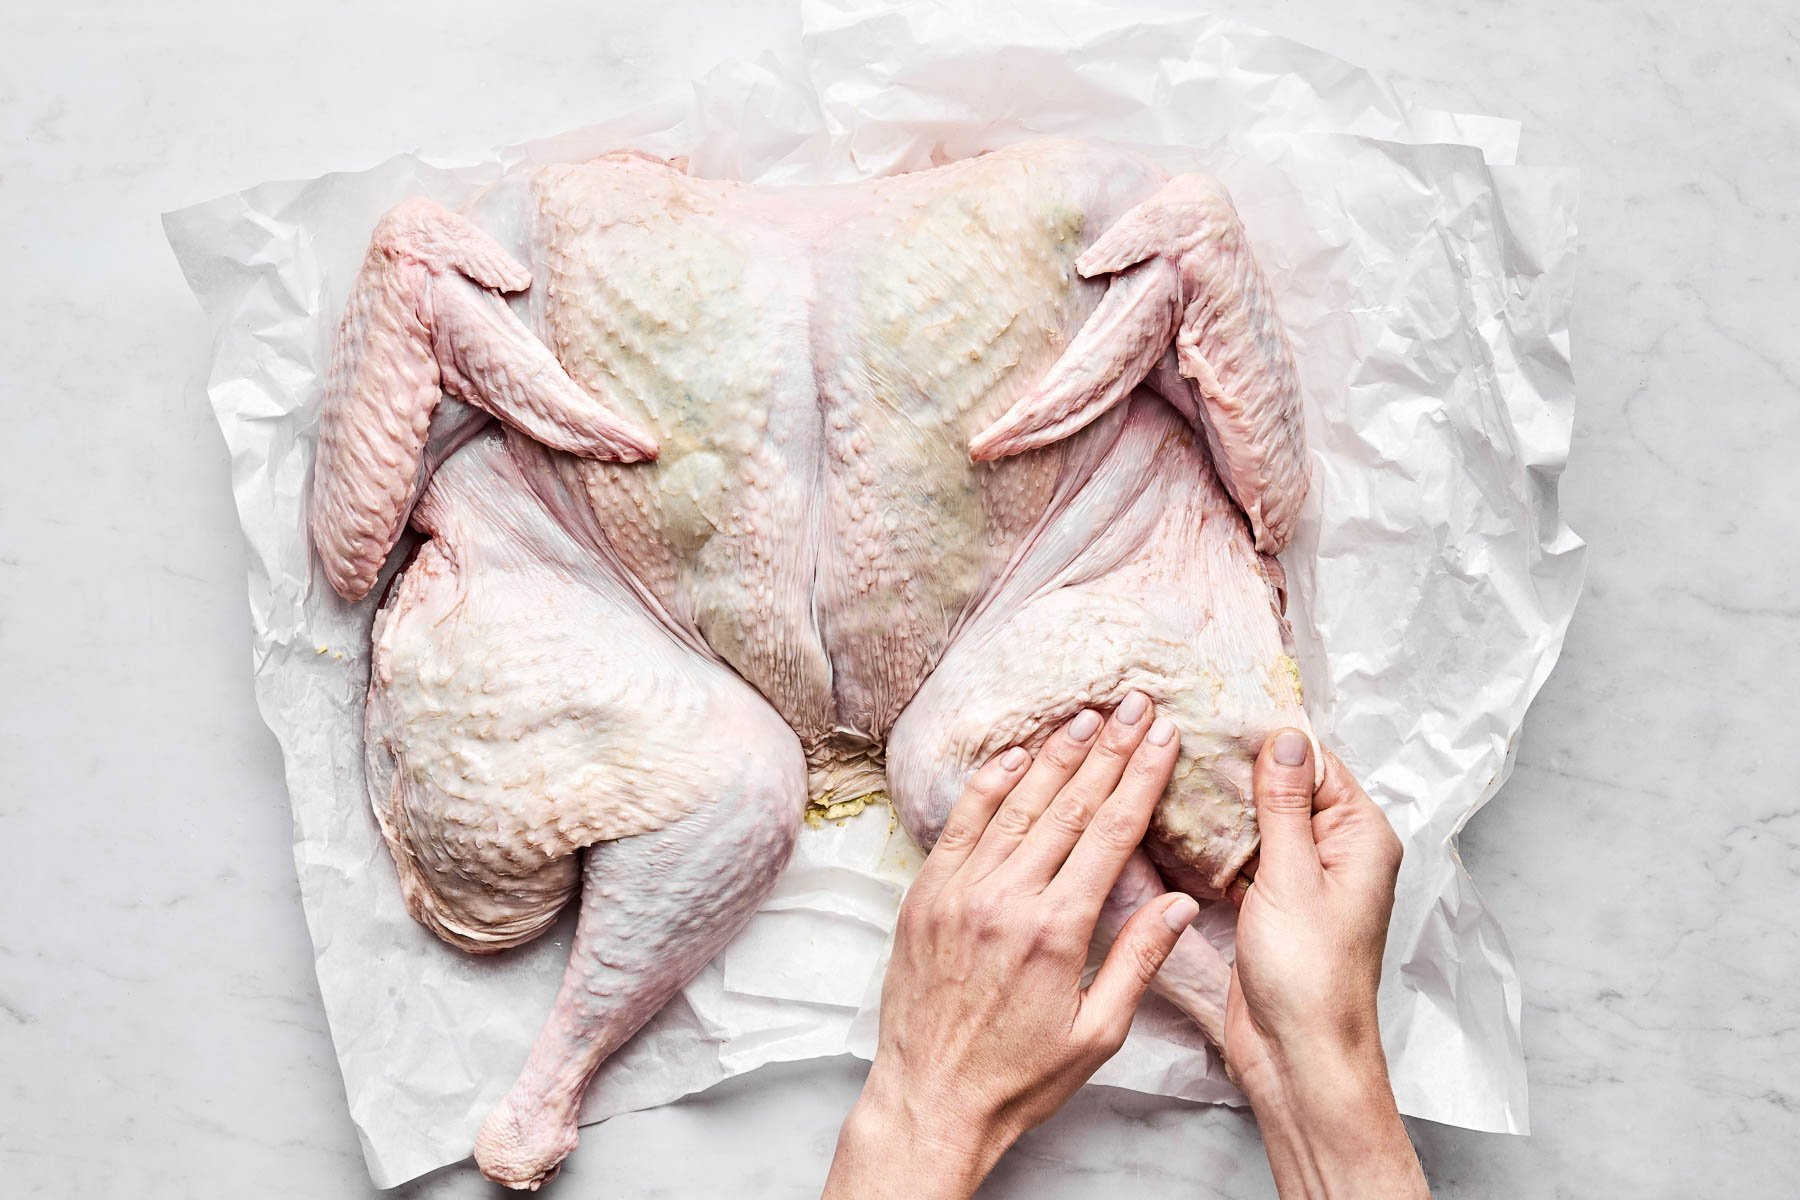
- Gently loosen the skin of the spatchcocked turkey from the breast and legs, being careful not to tear it.
- Spread about ⅓ of the maple herb butter under the skin, directly onto the meat of the breasts and legs.
- Melt the remaining maple herb butter in the microwave.
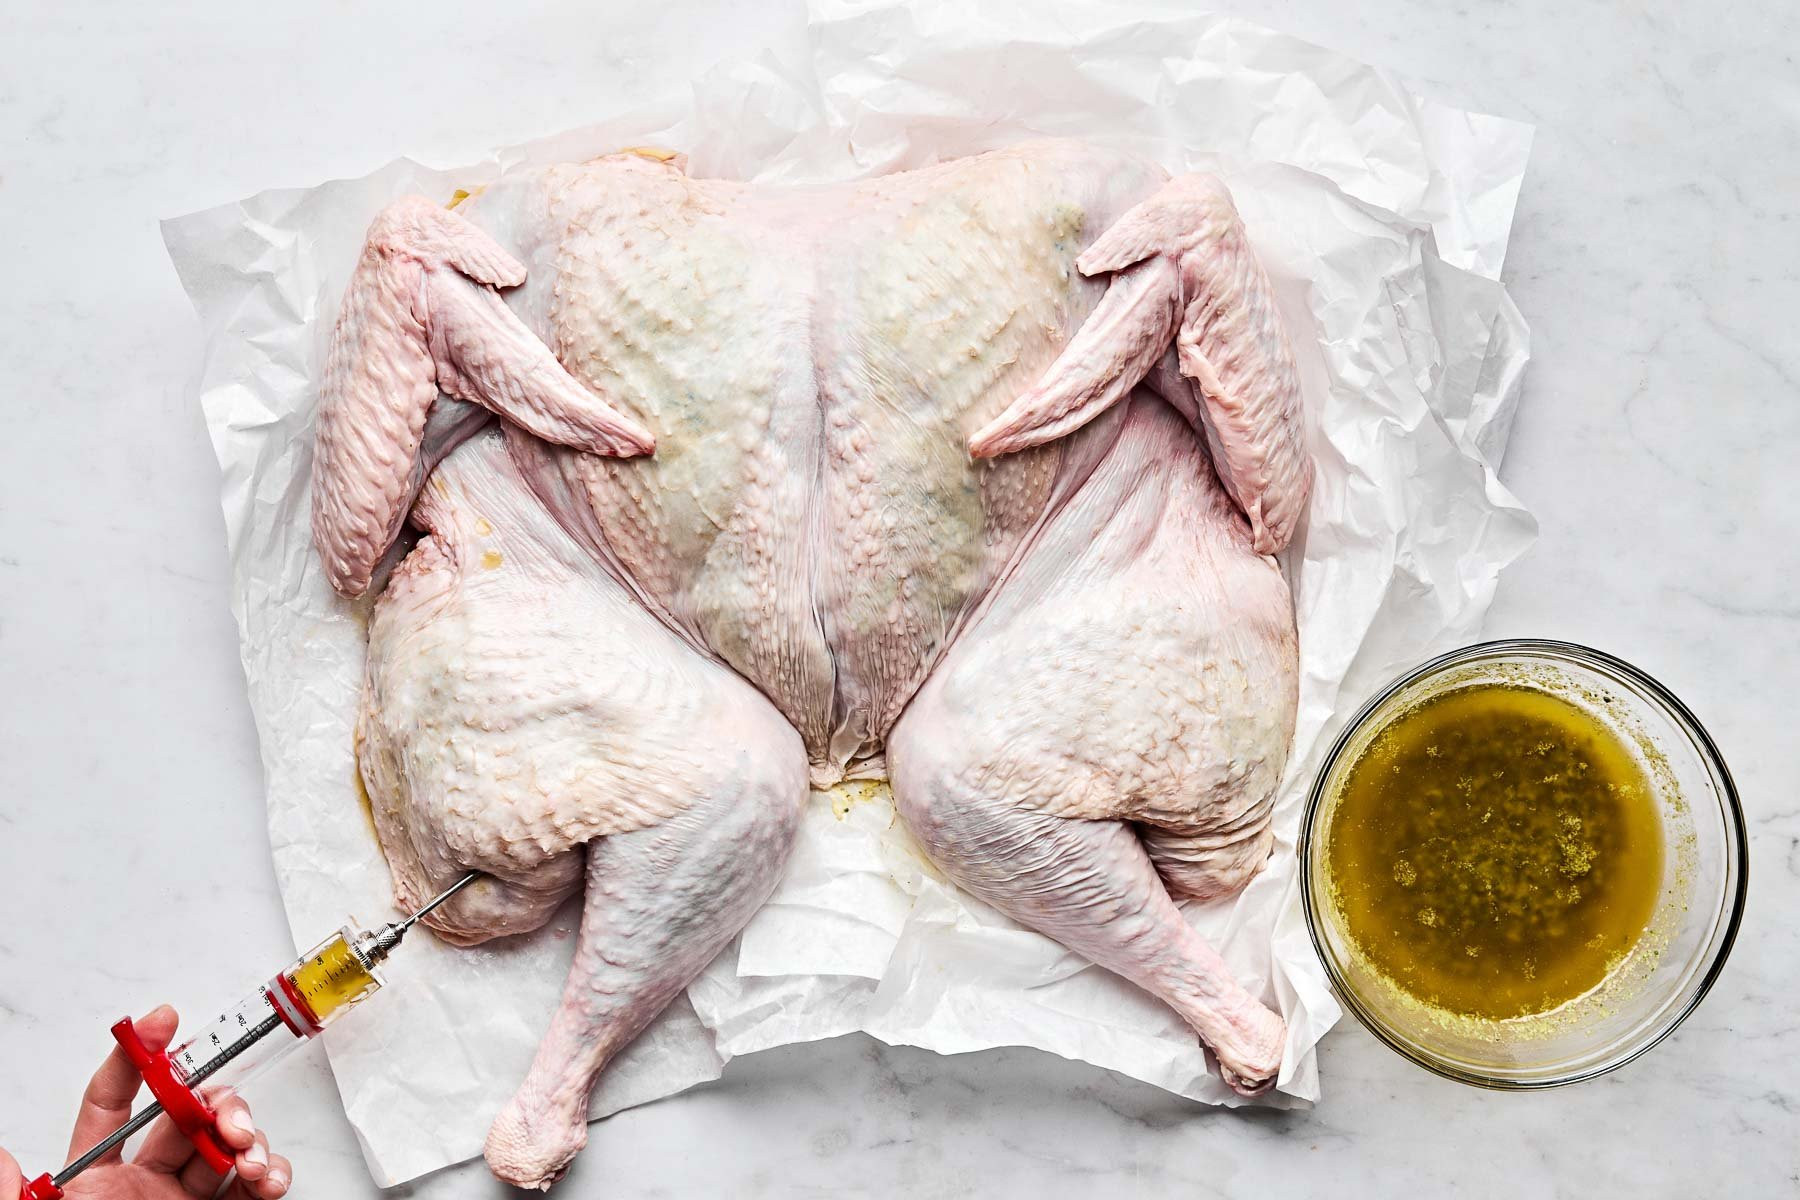
- Using a meat injector, inject the melted butter deep into the turkey breasts and legs. Inject from multiple angles to distribute the butter evenly throughout the meat.
 An overhead shot of a woman
 An overhead shot of a woman
Step 3: Prepare for Roasting
- Roughly chop celery, carrots, and onions and spread them on a large rimmed baking sheet. You can also add the turkey neck and backbone for extra flavor in your gravy.
- Place a wire rack over the vegetables on the baking sheet.
- Place the buttered and injected spatchcock turkey on the wire rack, breast side up. Tuck the wing tips behind the breasts to prevent burning.
- Pat the turkey skin dry with paper towels. Drizzle olive oil over the turkey and season with kosher salt and black pepper.
Step 4: Roast, Baste, and Glaze
- Roast the turkey in the preheated oven at 450°F (232°C) for 30 minutes.
- Reduce the oven temperature to 400°F (200°C). Remove the turkey from the oven.
- Baste the turkey with the pan drippings, spooning or brushing them over the skin.
- Lightly glaze the turkey with pure maple syrup using a pastry brush.
- Return the turkey to the oven and rotate the baking sheet 180 degrees for even browning.
- Continue roasting for another 1 to 1.5 hours, basting and glazing with maple syrup every 20 minutes, and rotating the pan each time. Roast until the turkey reaches the desired internal temperature (see doneness guide below).
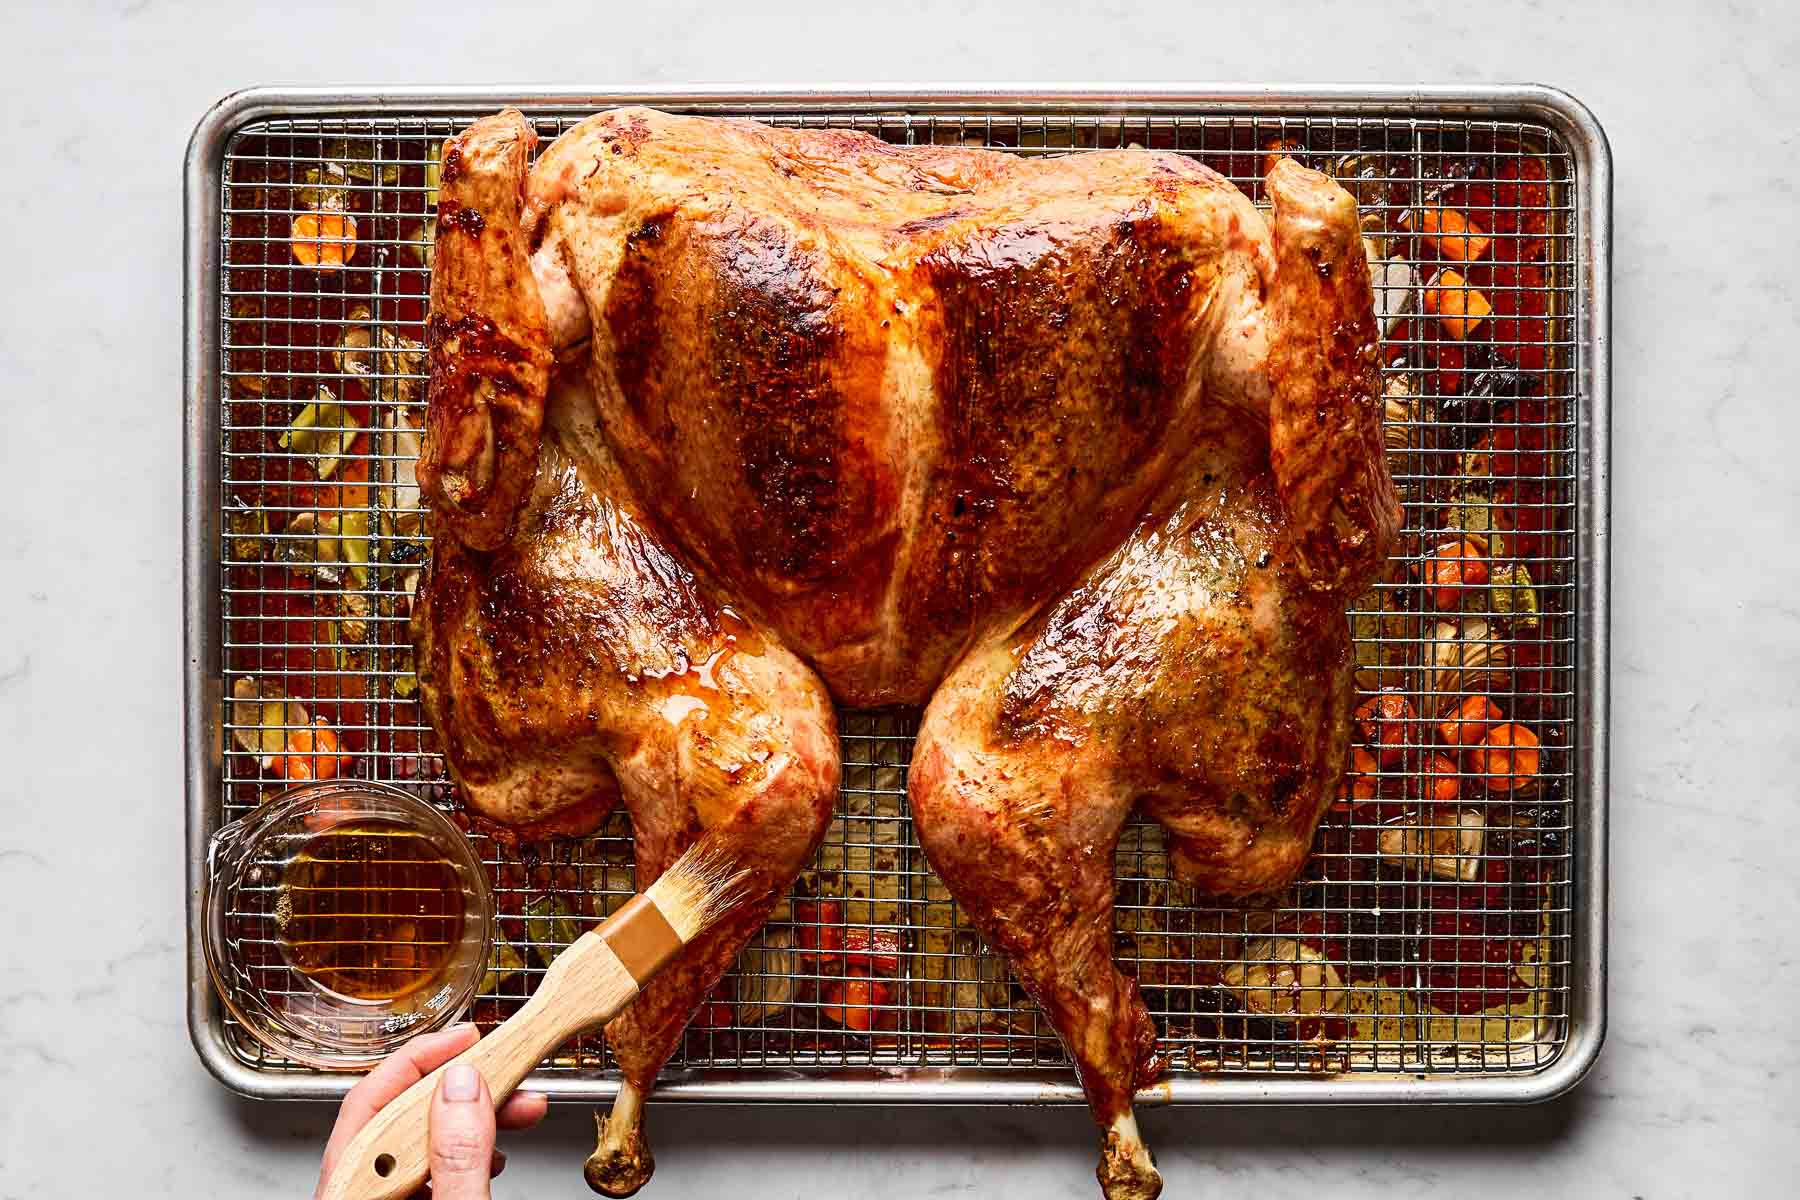 An overhead shot of roasted maple glazed turkey on a rimmed baking sheet fitted with a wire baking rack atop a white marbled surface. Carrots, celery and onion sit on the sheet under the rack. A woman
Step 5: Rest, Carve, and Serve
- Once the turkey is cooked, carefully transfer it to a cutting board.
- Tent the turkey loosely with foil and let it rest for at least 30 minutes before carving. Resting is crucial for juicy meat!
- While the turkey rests, make a delicious gravy using the pan drippings. “Easy Turkey Gravy From Drippings recipe” is a great option.
- Carve the spatchcock turkey. Start by removing the legs and thighs, then carve the breast meat.
- Serve your Pioneer Woman Maple Glazed Spatchcock Turkey with your favorite Thanksgiving side dishes and enjoy!
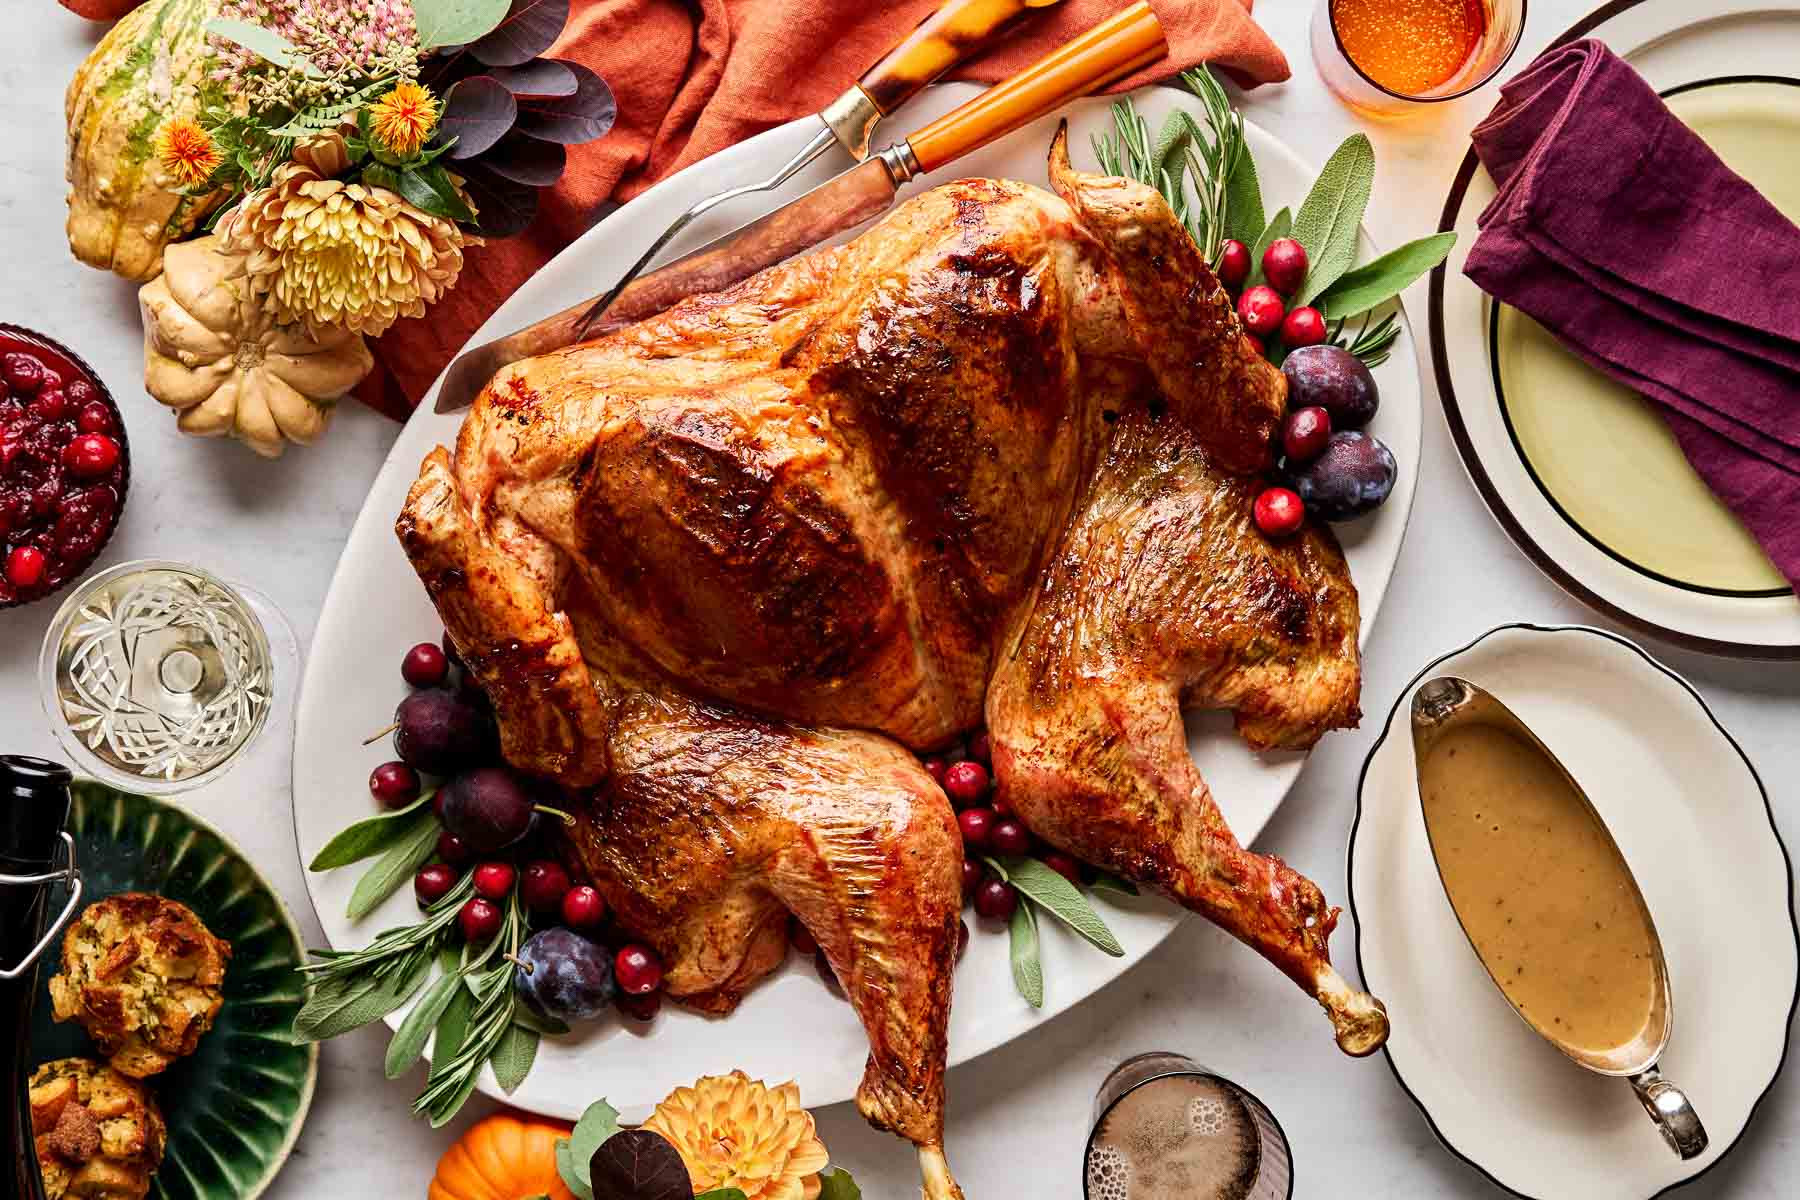 An overhead shot of a roasted maple glazed spatchcock turkey on a white oval platter garnished with herbs and cranberries atop a white marble surface. The platter is surrounded by stuffing muffins, green beans, a bowl of gravy, a bowl of cranberries, and autumn flowers and gourds.
Determining Turkey Doneness: Temperature is Key
The most accurate way to ensure your turkey is perfectly cooked is to use a meat thermometer.
- Target Temperature: While the USDA recommends cooking turkey to 165°F (74°C), for the juiciest results, aim to pull the turkey from the oven when the thickest part of the breast reaches 150°F (65°C). The carry-over heat will bring it up to a safe and delicious temperature as it rests.
- Check Multiple Spots: Use an instant-read thermometer to check the temperature in the thickest part of the breast, thigh, and leg to ensure even cooking.
Essential Equipment for Pioneer Woman Spatchcock Turkey
- Kitchen Shears: For removing the turkey backbone.
- Chef’s Knife: For prepping vegetables and carving the turkey.
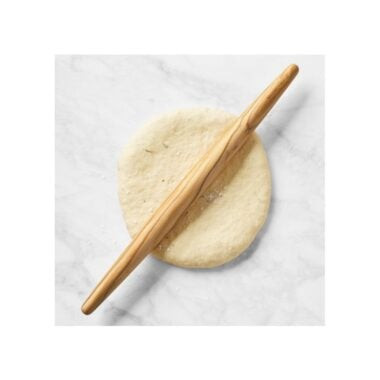
- Rolling Pin: Optional, to help flatten the breastbone of the spatchcocked turkey.
- Food Processor: For making the maple herb butter.
- Meat Injector: For injecting the turkey with melted herb butter for extra moisture and flavor.
- XL Sheet Pan with Wire Rack: For roasting the spatchcock turkey and allowing for even air circulation.
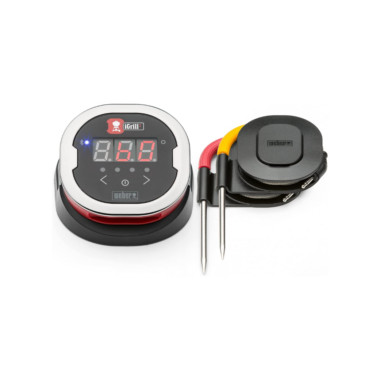
- Probe Thermometer and Instant-Read Thermometer: To accurately monitor the turkey’s internal temperature.
- Pastry Brush: For glazing the turkey with maple syrup.
- Turkey Baster: For basting the turkey with pan drippings.
- Carving Set: For neatly carving the rested turkey.
Make-Ahead Tips for Stress-Free Thanksgiving Prep
- Make Maple Herb Butter Ahead: Prepare the maple herb butter up to a week in advance and store it in the refrigerator.
- Spatchcock Turkey in Advance: Spatchcock the turkey the day before Thanksgiving and store it in the refrigerator. This saves time on the big day and can even help the skin crisp up better.
- Prep Vegetables: Chop the celery, carrots, and onions a day ahead and store them in an airtight container in the refrigerator.
Tips for the Juiciest Pioneer Woman Spatchcock Turkey
- Don’t Overcook: Use a thermometer and take the turkey out of the oven when it reaches 150°F in the breast.
- Rest the Turkey: Resist the urge to carve immediately! A 30-minute rest is crucial for allowing the juices to redistribute, resulting in a much juicier turkey.
- Use Real Maple Syrup: For the best flavor and caramelization, use pure maple syrup, not pancake syrup.
- Inject Butter Generously: Don’t skimp on injecting the turkey with the melted maple herb butter – it’s key to keeping the meat moist and flavorful.
- Baste Regularly: Basting with pan drippings and glazing with maple syrup every 20 minutes helps to create crispy skin and adds layers of flavor.
Enjoy your perfectly cooked, incredibly flavorful Pioneer Woman Maple Glazed Spatchcock Turkey! This recipe is guaranteed to become a new Thanksgiving tradition.
Print clock clock iconcutlery cutlery iconflag flag iconfolder folder iconinstagram instagram iconpinterest pinterest iconfacebook facebook iconprint print iconsquares squares iconheart heart iconheart solid heart solid icon
Description
Bring a Pioneer Woman touch to your Thanksgiving with this Maple Glazed Spatchcock Turkey recipe!
This recipe combines the foolproof spatchcock method with a delightful maple glaze and savory herb butter, ensuring a juicy, flavorful turkey with crispy skin, ready in record time. It’s the perfect blend of classic comfort and fall-inspired flavors for your holiday table.
Recipe Update: This recipe has been updated with improved techniques for even cooking and enhanced flavor, including injecting butter directly into the turkey for maximum juiciness and using a baking sheet with a wire rack for optimal roasting. Happy Thanksgiving cooking!
Ingredients
Scale
- maple herb butter (below)
- one 12–14 pound turkey, spatchcocked (see Recipe Notes)
- 2 stalks celery, roughly chopped into 1-inch pieces
- 3 carrots, roughly chopped into 1-inch pieces
- 2 yellow onions, roughly chopped into 1-inch pieces
- 1–2 tablespoons olive oil
- kosher salt and ground black pepper, to season
- ¼ cup pure maple syrup, divided
for the maple herb butter:
- 1 ½ cups (3 sticks) very soft unsalted butter
- 1 ounce hardy fresh herbs (approx. 3 sprigs rosemary, 20 sage leaves, 20 sprigs thyme; see Recipe Notes)
- 10 cloves garlic
- ¼ cup pure maple syrup
- kosher salt and ground black pepper, to season
Other useful equipment:
- large rimmed baking sheet fitted with wire baking rack
- meat injector
- turkey baster
- food processor
- carving set
Instructions
- Prep: About 1 hour before roasting, remove the turkey from the refrigerator. If needed, remove from the packaging and spatchcock—for more guidance, check out my step-by-step How to Spatchcock a Turkey guide. Set aside to warm slightly at room temperature. Preheat the oven to 450 degrees F, ensuring a rack is in the center position.
- Prepare the maple herb butter: Remove the fresh herbs from the stems and place the leaves in a food processor with the garlic. Pulse to roughly chop, then let the food processor run for 1-2 minutes, until the mixture is very finely chopped. Add the butter and maple syrup to the food processor. Season with 1 tablespoon kosher salt and ground black pepper as desired. Pulse to combine well. Transfer to a microwave-safe bowl and set aside.
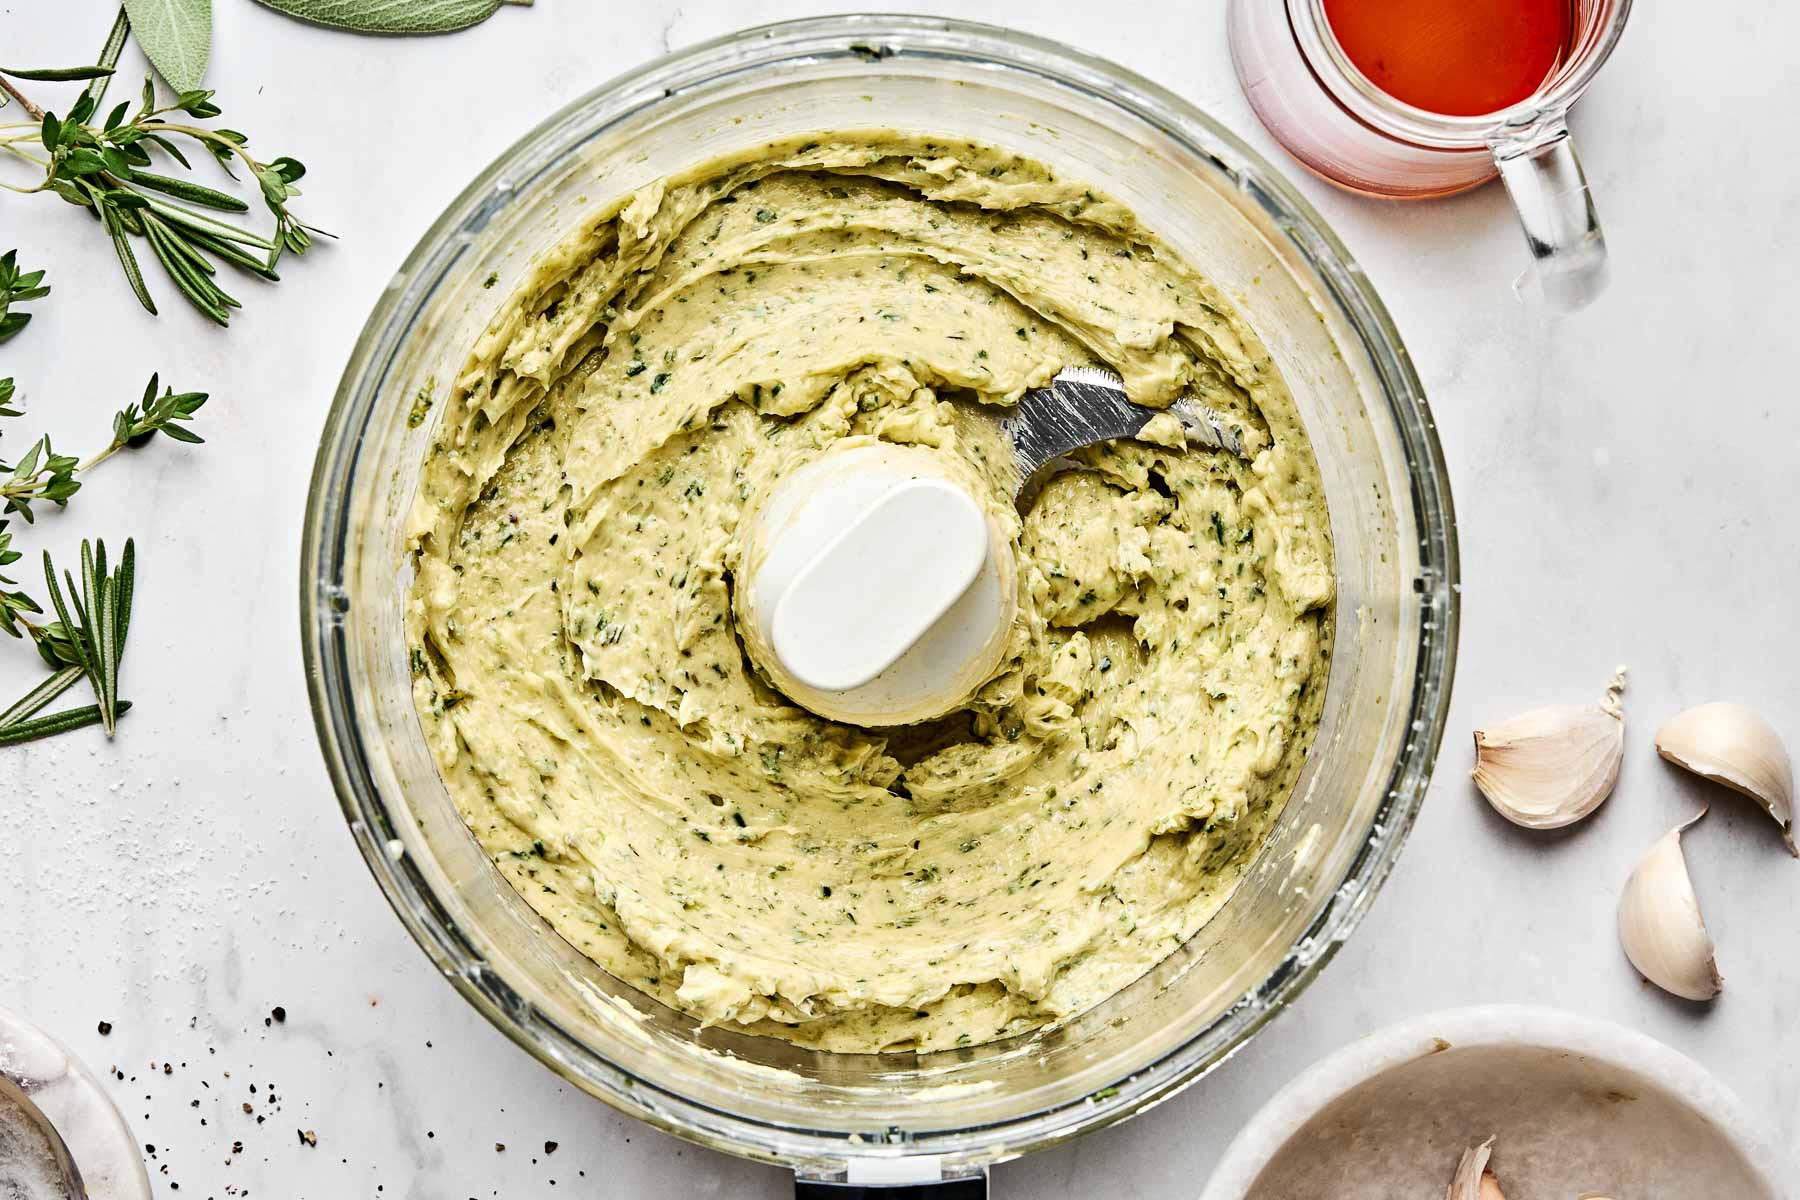 An overhead shot of lemon garlic herb butter in the bowl of a food processor atop a white marbled surface. Fresh herbs, garlic cloves and maple syrup sit alongside it.
 - Butter the turkey meat: First, separate the turkey skin from the meat: carefully work your hand under the skin and sweep side to side to separate the skin from the meat—for the breasts, lift the skin from the bottom of the breasts near the groin and work your way up; for the legs, lift the skin on the outside of the thigh and work your way to the drumstick. Be careful not to tear the skin. Next, spread ⅓ of the maple butter between the skin and meat: Grab some of the butter with your hand, then use the same motions to work the butter between the skin and meat. An overhead shot of a woman
- Inject the turkey with the remaining butter: Melt the remaining maple butter in the microwave. Working in batches, draw the butter into a meat injector and inject the butter directly into the breasts and legs. For best results, pierce through the skin as few times as possible, but rotate and shift the needle as you inject to ensure the meat is seasoned thoroughly. See blog post above, for more guidance. An overhead shot of a woman
- Prepare for roasting: Arrange the celery, carrots, and onions on a rimmed full baking sheet. (For an extra-flavorful gravy, place the turkey neck and spine on the baking sheet too.) Place a wire rack over top. Set the seasoned spatchcock turkey on the rack, breast side facing up. Gently tuck the wing tips behind the breasts to prevent burning. Pat the surface of the turkey dry with paper towel. Drizzle olive oil over the turkey, then season with 1 tablespoon kosher salt.
- Roast the turkey: Transfer the turkey to the oven. Roast at 450 degrees F for 30 minutes. After the first 30 minutes, reduce the heat to 400 degrees F and remove the turkey. Baste the turkey by carefully spoon or brush the drippings in the bottom of the pan all over the skin, then use a pastry brush to lightly glaze the turkey with maple syrup. Return to the oven, rotating the pan 180 degrees for even browning. Roast the turkey 1 hour longer, basting and glazing the turkey and rotating the pan every 20 minutes, until your desired doneness is reached (see Recipe Notes).An overhead shot of roasted maple glazed turkey on a rimmed baking sheet fitted with a wire baking rack atop a white marbled surface. Carrots, celery and onion sit on the sheet under the rack. A woman
- Rest: Carefully transfer the roasted turkey to a cutting board. Tent with foil and set aside to rest at room temperature for 30 minutes before carving. This is a great time to make homemade gravy using the roasted turkey drippings—check out my Easy Turkey Gravy recipe.
- Carve and serve: Once the turkey is rested, carve as desired. I like to remove the legs first, slicing the thigh meat and shredding the drumstick. Remove the breasts from the bone then slice against the grain. Enjoy! An overhead shot of a roasted maple glazed spatchcock turkey on a white oval platter garnished with herbs and cranberries atop a white marble surface. The platter is surrounded by stuffing muffins, green beans, a bowl of gravy, a bowl of cranberries, and autumn flowers and gourds.
Equipment
 Cuisinart Food ProcessorFood Processor
Buy Now →  Instant-Read Meat ThermometerInstant-Read Meat Thermometer
Buy Now → 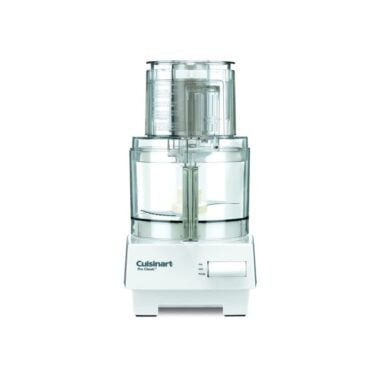 Pastry BrushPastry Brush
Buy Now → 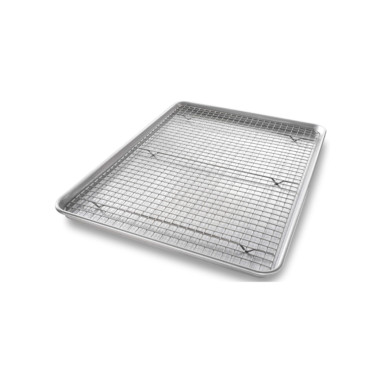 XL Sheet Pan with Rack
Notes
Turkey Prep Tricks:
- *REMINDER: If frozen, be sure to thaw your turkey well before the day you plan to roast it! The safest way to thaw a frozen turkey is by placing it in the coolest section of your refrigerator. As a general rule of thumb, plan for 24 hours of refrigerated thawing for every 4 pounds of turkey (e.g. a 12-14 pound turkey requires 3-4 days refrigerated thawing).
- To brine, or not to brine? After testing this recipe both with and without a brine numerous times, I don’t think brining is entirely necessary for a roasted spatchcock turkey. One of the benefits of spatchcocking turkey is the quicker roasting time, which helps keep the meat moist and juicy. Injecting the turkey meat with butter also helps ensure a flavorful result. That said, a few details to keep in mind:
- Many store-bought turkeys (from brands like Jennie-O, Butterball, Honeysuckle White, etc.) are injected with a salt solution—effectively, they’re already brined! If the package indicates that the turkey is treated with a salt solution, I don’t suggest extra brining—doing so may make your turkey too salty.
- If using a fresh or farm turkey (i.e. one not pre-treated with a salt solution), dry brining 12-24 hours before roasting is a simple step that helps ensure a juicier result. To dry brine, mix ¼ cup kosher salt and 2 tablespoons brown sugar. Separate the skin from the meat as described in Step 3, above. Sprinkle the dry brine mix over the surface of the turkey (above the skin, not directly on the meat)—use just enough dry brine to lightly cover the surface of the turkey, discarding any excess dry brine. Place the seasoned turkey on a rimmed baking sheet and transfer to the refrigerator. Refrigerate, uncovered, for 12-24 hours prior to roasting. To roast, proceed as described in Steps 1-6, above, omitting any extra salt on the surface of the turkey in Step 5.
Roasting time and determining doneness:
- To what temperature do you roast turkey? The food safe temperature for turkey breast is 165 degrees F. For juiciest results, I like to pull the turkey from the oven when the thickest part of the breast registers 150 degrees F and let its carry-over heat continue to cook it to doneness as it rests. This article does a great job of explaining the science behind turkey doneness and food safety.
- Roasting time varies based on the size of your turkey, the temperature of your oven, and the depth of your roasting pan. In my oven, a 12-14 pound turkey is typically ready after roasting for a total of 1 hour and 30 minutes. A larger turkey and/or deeper roasting pan require longer cook time – adjust as needed to reach desired doneness.
Make-Ahead Thanksgiving Prep Tips:
- Prep the maple herb butter up to 1 week in advance. Store in an airtight container in the refrigerator. The morning of your holiday meal, pull the butter from the fridge to soften to room temperature.
- Spatchcock the turkey up to 1 day in advance. Dry brine if desired (see above), then place the turkey on a rimmed baking sheet and store in the refrigerator, uncovered, overnight. The turkey skin loses some of excess moisture, resulting in an even crispier, golden brown turkey!
Storage and Freezing:
- Storage and Reheating: Leftover turkey will keep, stored in an airtight container in the refrigerator for up to 3-4 days. Reheat in the microwave or on the stovetop until warmed through.
- Freezer Instructions: Leftover turkey is also very freezer-friendly. Transfer cooled leftover turkey to a freezer container and freeze for up to 3 months. Thaw overnight in the refrigerator and use as desired.
Follow along with Plays Well With Butter on Instagram, YouTube, Facebook, and Pinterest for more unfussy recipes that pack a big punch of flavor!