
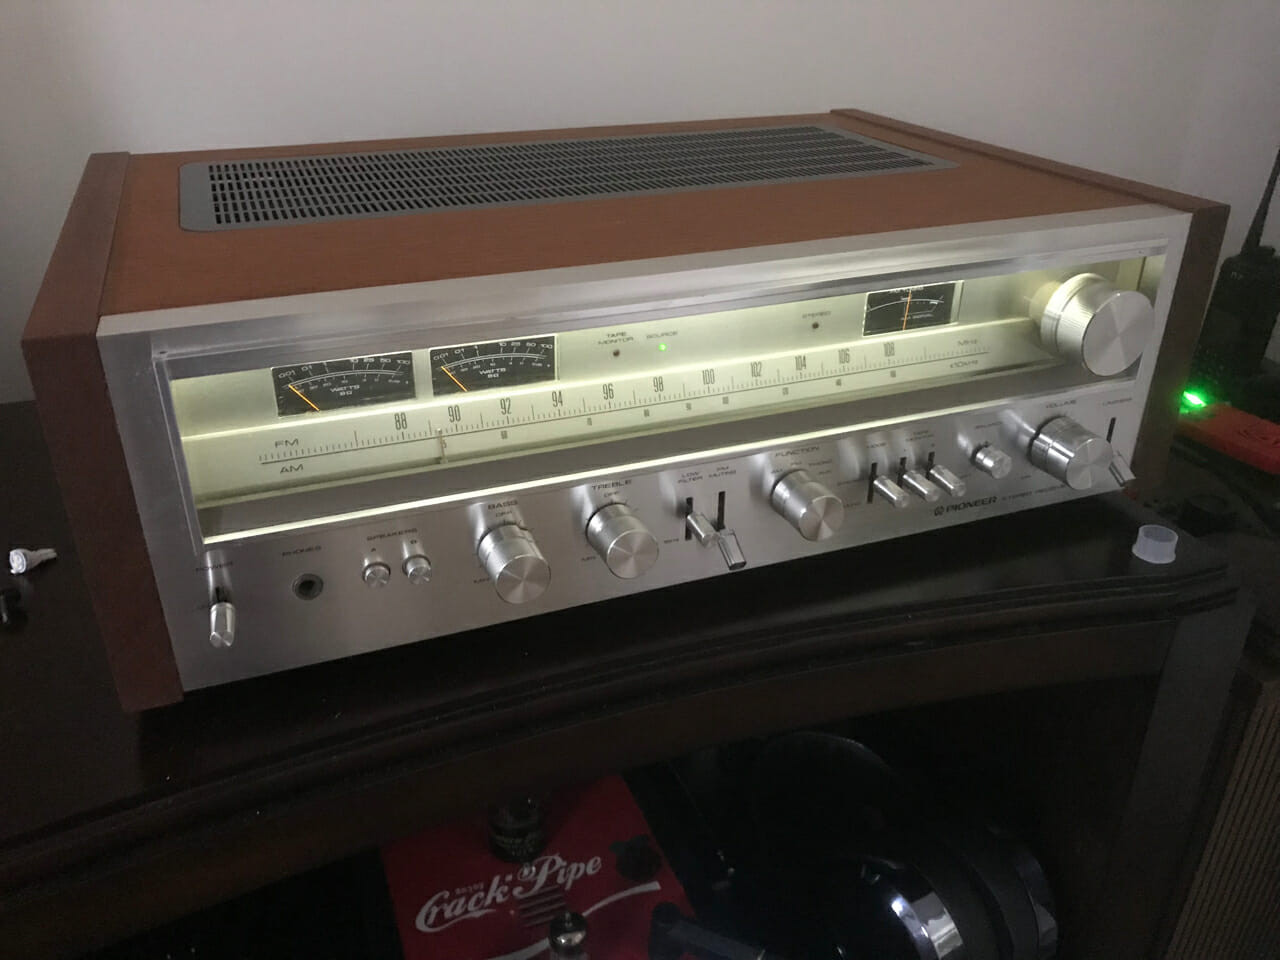
Is your beloved Pioneer Vintage Receiver looking a little dim? Many enthusiasts of classic audio equipment find that the warm, yellowish glow of the original incandescent lamps in their Pioneer receivers can fade and become less vibrant over time. If you’re seeking a brighter, more modern look for your vintage gear, especially models like the iconic Pioneer SX-780, upgrading to LED lamps is a simple and effective solution.
The original Pioneer receivers utilized 8V incandescent lamps. Over years of use, these lamps can develop a smoky tint and their light output diminishes, resulting in a less-than-stellar appearance. Thankfully, swapping them out for LED alternatives is an easily achievable modification that can dramatically revitalize the face of your pioneer vintage receiver. The lamp socket in these vintage amps is surprisingly similar to those found in many contemporary automobiles, making the upgrade process straightforward.
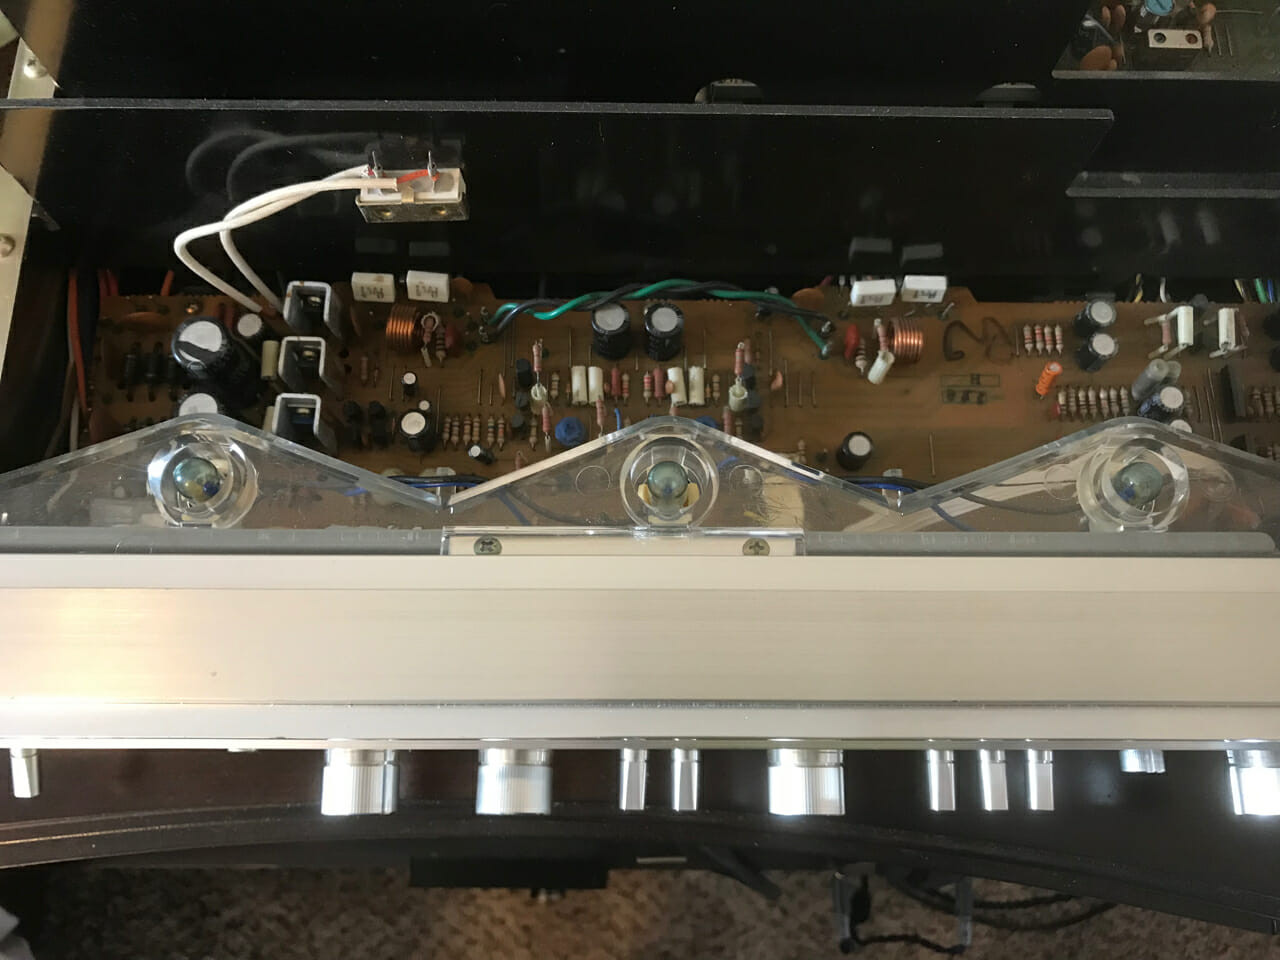 Original yellowish incandescent lamps in a Pioneer vintage receiver SX-780.
The LED Advantage: Brightness and Efficiency
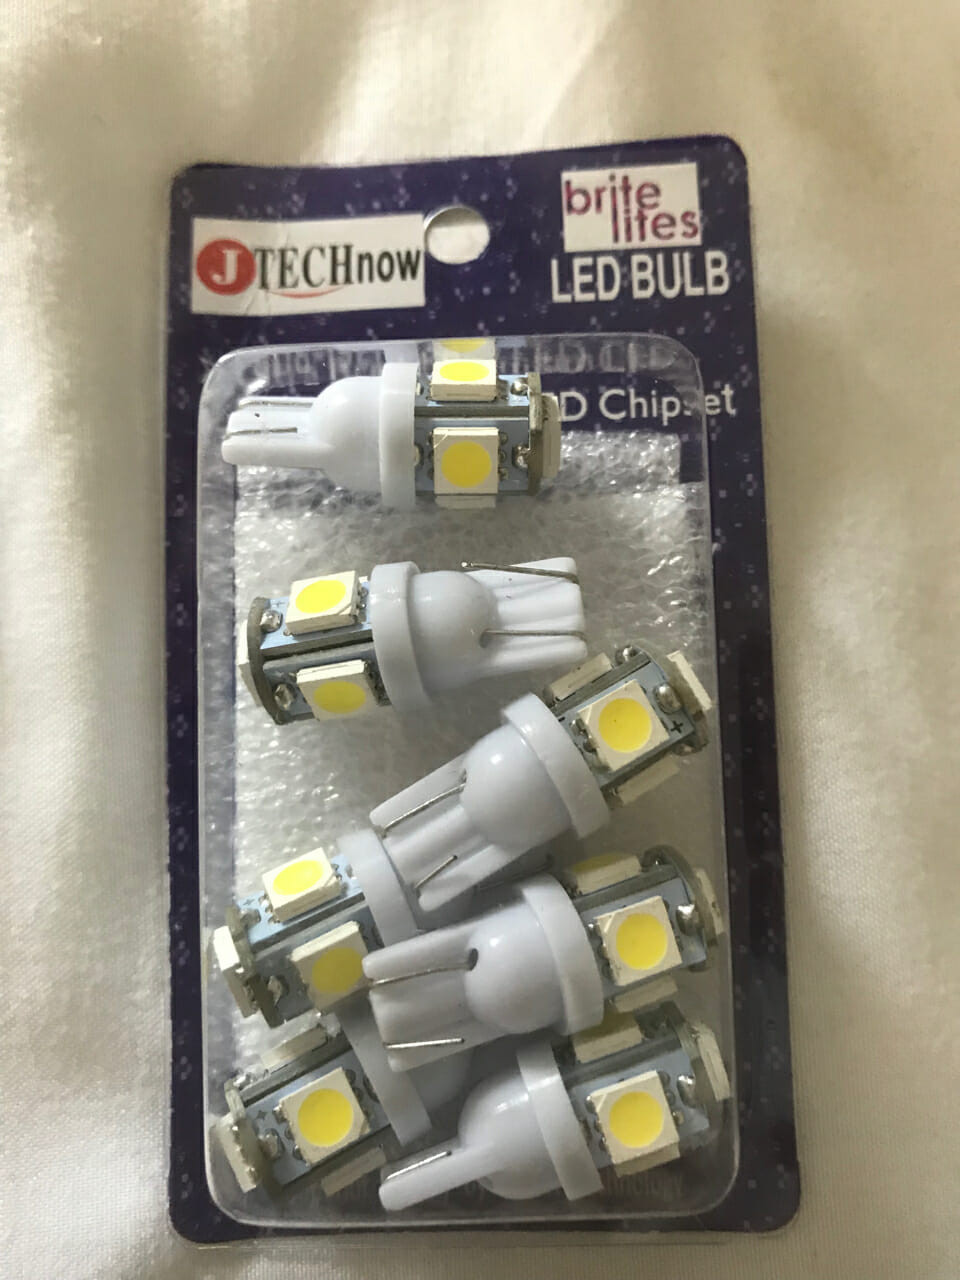
For this upgrade, you’ll need T10 5-watt LED lamps. You might encounter online discussions suggesting that 12V LEDs would be too dim in an 8V system. However, modern T10 LEDs are designed with internal voltage regulators. This clever engineering means they can operate efficiently across a voltage range, typically from 5V to 15V, making them perfectly compatible with your pioneer vintage receiver’s 8V system. This ensures they will shine brightly and reliably without any issues.
LEDs offer several advantages over traditional incandescent bulbs. Firstly, they provide a much brighter and cleaner light. Secondly, LEDs are significantly more energy-efficient and generate less heat, contributing to the longevity of your vintage receiver’s components. Finally, LED lamps boast a much longer lifespan, meaning you likely won’t need to replace them again.
Choosing Your LED Lamps: Balancing Cost and Convenience
When it comes to acquiring your LED replacement lamps, you have a few options depending on your budget and timeframe. For immediate gratification, local auto parts stores like Walmart or Advance Auto Parts often carry suitable T10 LED lamps. While purchasing individual lamps might be slightly pricier – around $21 for a set of three – it’s a quick solution to brighten your pioneer vintage receiver without delay.
For the more budget-conscious enthusiast, online marketplaces like eBay and Amazon offer significantly more economical options. You can find packs of ten T10 LEDs for as little as $7.50. These often feature LED arrays that extend slightly beyond the base, potentially offering even greater brightness. In contrast, some brands like Sylvania might have LEDs positioned within the socket, which could result in a slightly dimmer output, especially in brightly lit environments. However, for typical nighttime listening, either option will provide a substantial improvement.
For those seeking specialized knowledge and a dedicated source for vintage audio lighting, consider exploring eBay user projectblk86 (Joseph Mirabella on the Facebook group “Vintage Stereo & Hi-Fi Equipment”). Supporting vendors like projectblk86 is crucial for sustaining the vintage audio hobby, ensuring parts availability for enthusiasts worldwide.
Step-by-Step LED Lamp Replacement Guide
Ready to illuminate your pioneer vintage receiver? Here’s a step-by-step guide to replacing the lamps in a Pioneer SX-780:
-
Safety First: Power Down and Unplug. Before commencing any work, ensure your Pioneer receiver is completely powered off and unplugged from the mains. This is crucial for your safety and the protection of your equipment.
-
Accessing the Lamps. Locate and remove the four screws on the sides of your Pioneer SX-780’s case. Gently slide the case back a short distance and then lift it off to expose the receiver’s internal components. The original lamps are situated on the top of the chassis, easily identifiable. You might notice a bluish tint on the old bulbs, a testament to their age and heat exposure.
-
Removing the Original Lamps. Gaining a firm grip on the small lamps with your fingers can be tricky. You have two primary methods for removal:
- Needle-Nose Pliers (Recommended): Carefully use needle-nose pliers to gently grasp and pull the lamps straight out. This method offers precision and minimizes the risk of damaging surrounding components.
 Removing an old incandescent lamp from a Pioneer receiver using needle-nose pliers.
- Socket Push (Less Recommended): Alternatively, you could attempt to push the entire lamp socket out from behind, rotate it, and then extract the lamp sideways. However, this approach carries risks. The lamps are interconnected by delicate wires, and the tuning string is positioned directly beneath, making damage a concern. Sticking with needle-nose pliers is generally safer.
-
Installing the LED Lamps. Take your new T10 LED lamps and carefully align them with the sockets. Gently push them in until they are firmly seated. Be mindful of the socket itself, which can sometimes be pushed out of its housing during bulb insertion. Counter this by holding the socket from behind while pushing in the LED.
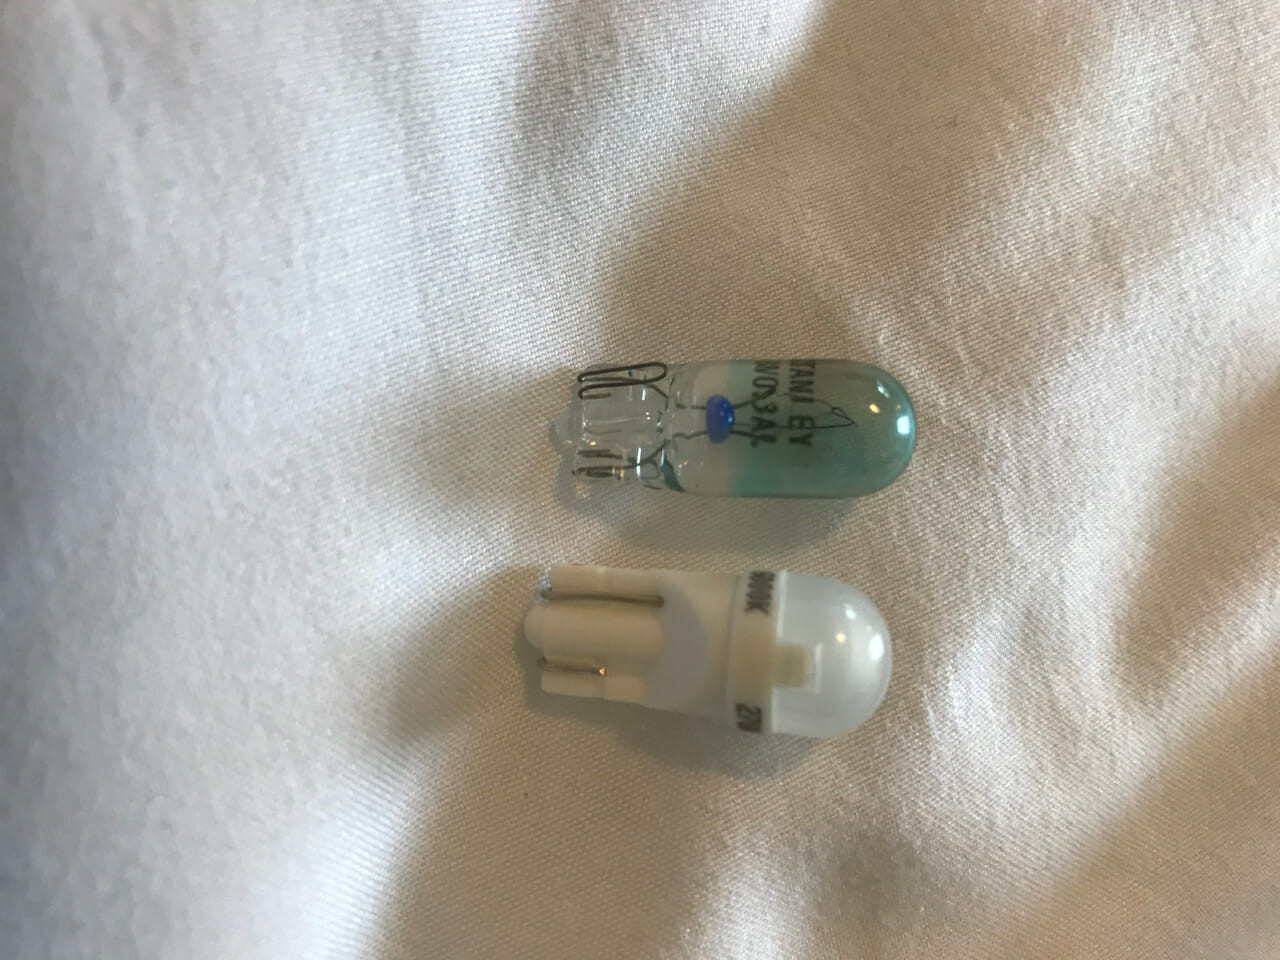
 Size comparison between a new LED lamp and an old incandescent lamp for a vintage Pioneer receiver.
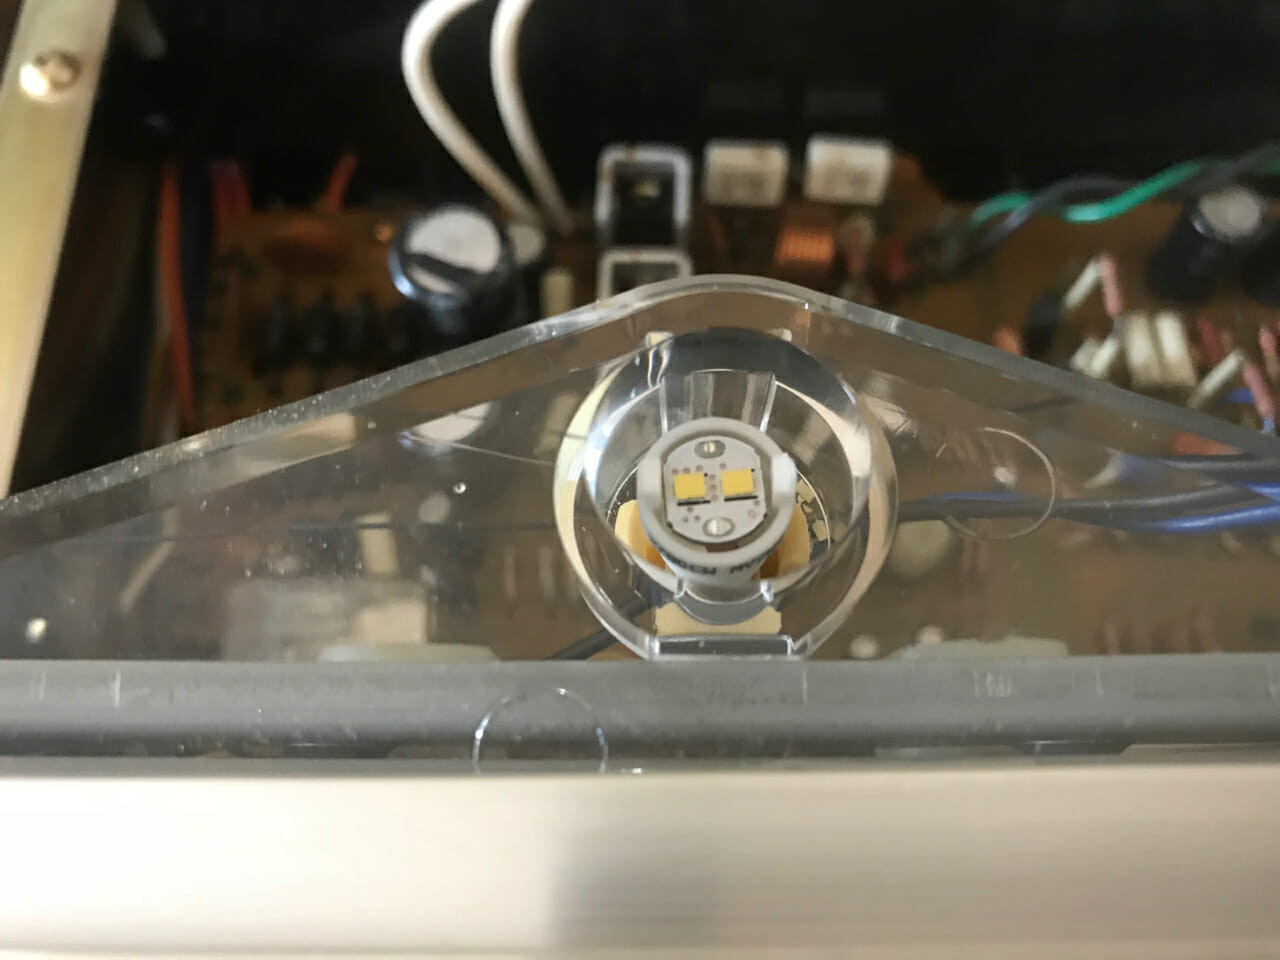
Optional: Dome Removal. Some LED lamps have a clear plastic dome covering the LED array. For maximum brightness, particularly with certain LED types where the array is positioned below the socket level, you can carefully remove this dome.
-
Testing and Enjoying Your Upgraded Lights. Once the LED lamps are installed, carefully reassemble the receiver case. Plug your Pioneer vintage receiver back in and power it on. You should now be greeted by the bright, clean illumination of your new LED lamps, revitalizing the look of your classic audio gem.
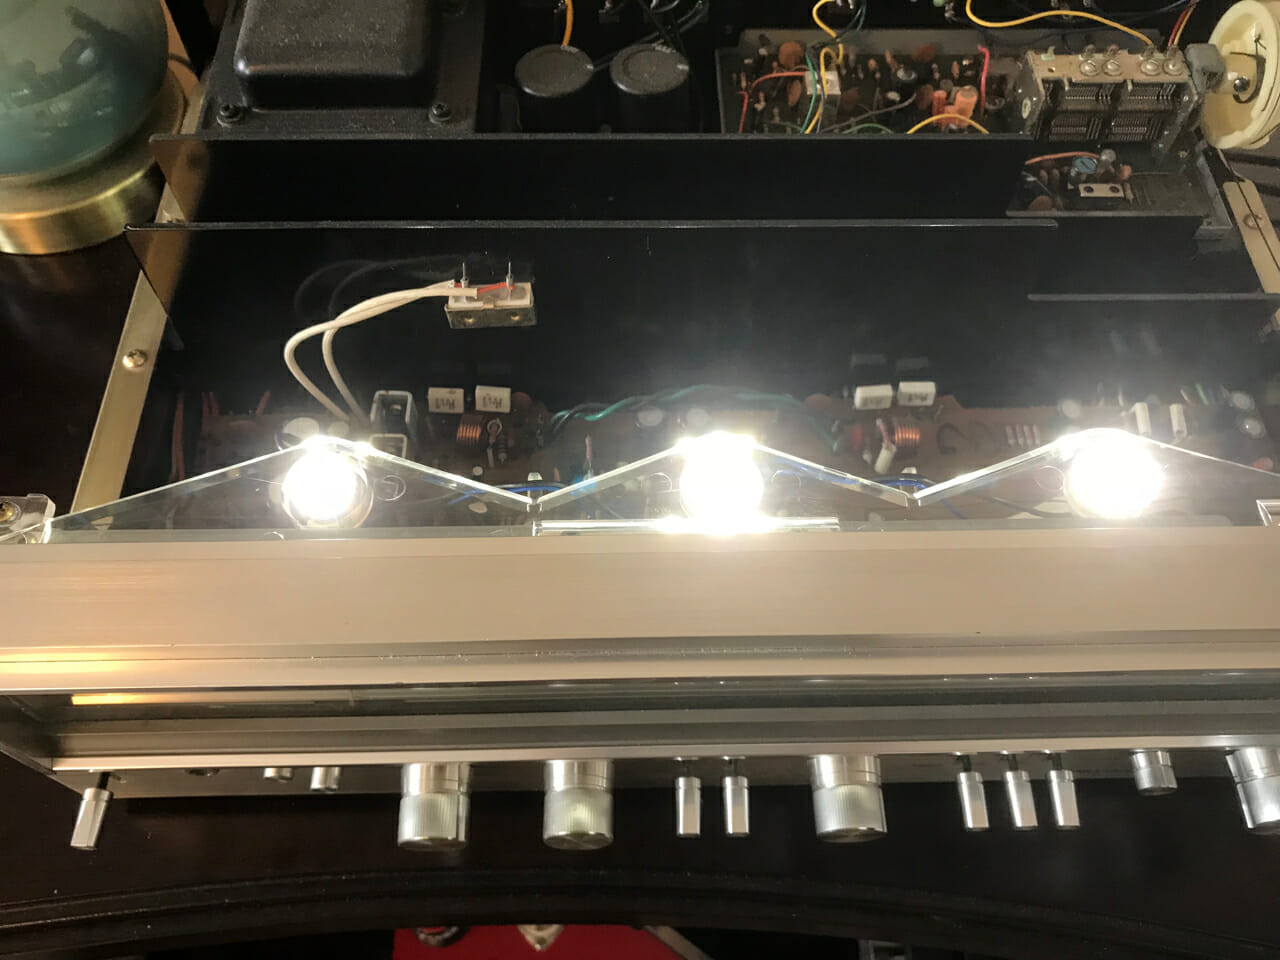 Bright white LED lamps installed in a Pioneer vintage receiver, showing increased illumination.
Color Considerations: White, Blue, and Beyond
While white LEDs offer a crisp, modern aesthetic that many prefer, LED lamps are available in various colors. Blue LEDs can impart a cool, contemporary vibe, while red or green options are also available if you desire a more unique look. The choice ultimately comes down to personal preference and the overall aesthetic you wish to achieve for your pioneer vintage receiver.
 Finished Pioneer vintage receiver SX-780 with upgraded bright LED lights, showcasing a modern look.
Some alternative LED lamp designs might distribute light more uniformly across the faceplate, offering a slightly different visual effect. Experimenting with different LED types can help you achieve the perfect illumination for your vintage receiver.
 Alternative LED lamps for Pioneer receivers, offering a different light distribution pattern.
 Uniform faceplate illumination achieved with alternative LED lamps in a Pioneer vintage receiver.
Upgrading the lamps in your pioneer vintage receiver to LEDs is a rewarding and straightforward modification that enhances both its appearance and longevity. Enjoy the revitalized glow of your classic audio equipment, a testament to the enduring quality of vintage hi-fi. They truly don’t make them like they used to!