
Clearing out Infestation Nests is a crucial task in Days Gone, especially in regions like Oregon, where the undead have taken over. The Pioneer Cemetery stands out as a location you’ll frequently visit early in the game for story missions. However, this area is plagued by a significant infestation, posing considerable challenges for players. This guide will provide you with all the necessary information to effectively destroy the Pioneer Cemetery Infestations in Days Gone and navigate this dangerous locale.
Pioneer Cemetery Infestation Nest Locations: A Detailed Guide
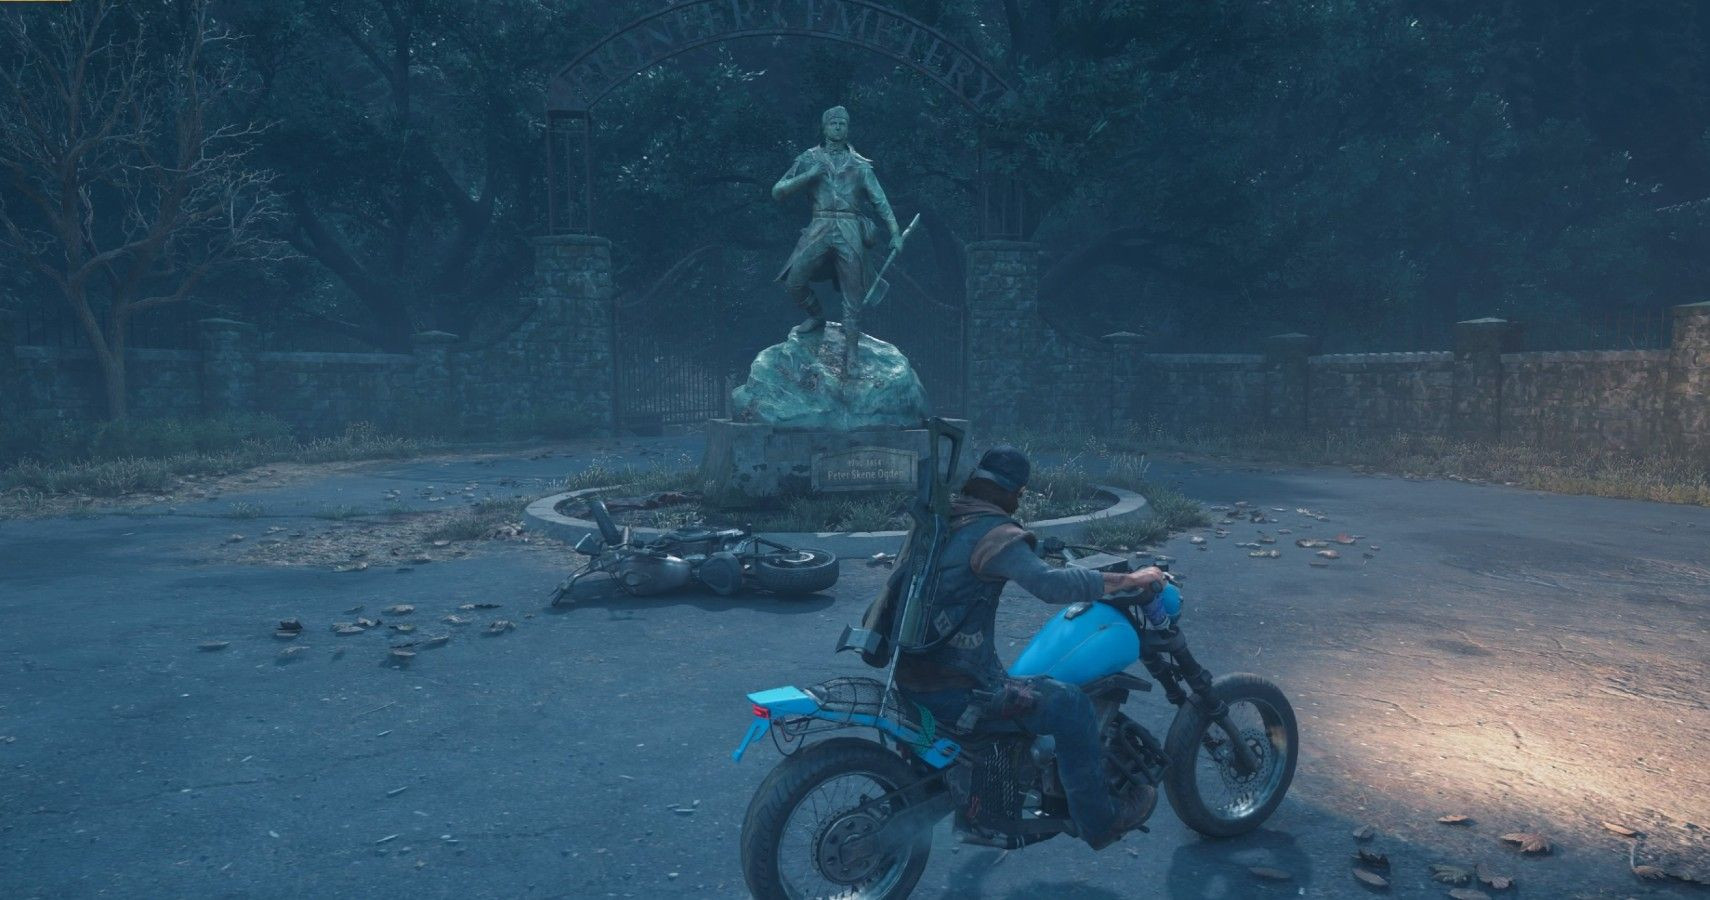 Pioneer Cemetery Entrance Days Gone Cascade
Image of the entrance to Pioneer Cemetery in Days Gone Cascade region, highlighting the infested area.
Within the Pioneer Cemetery vicinity, you will encounter three distinct Infestation Nests. These nests are scattered across the area, requiring you to traverse a considerable distance between them. To expedite your nest-clearing mission and minimize unnecessary risks, it’s advisable to utilize your bike for transportation. Staying mobile on your motorcycle will not only save you valuable time but also reduce the chances of encountering hordes of Freakers on foot. Remember to manage your fuel consumption effectively to avoid getting stranded in this dangerous zone.
Nest #1: Roadside Shack Infestation
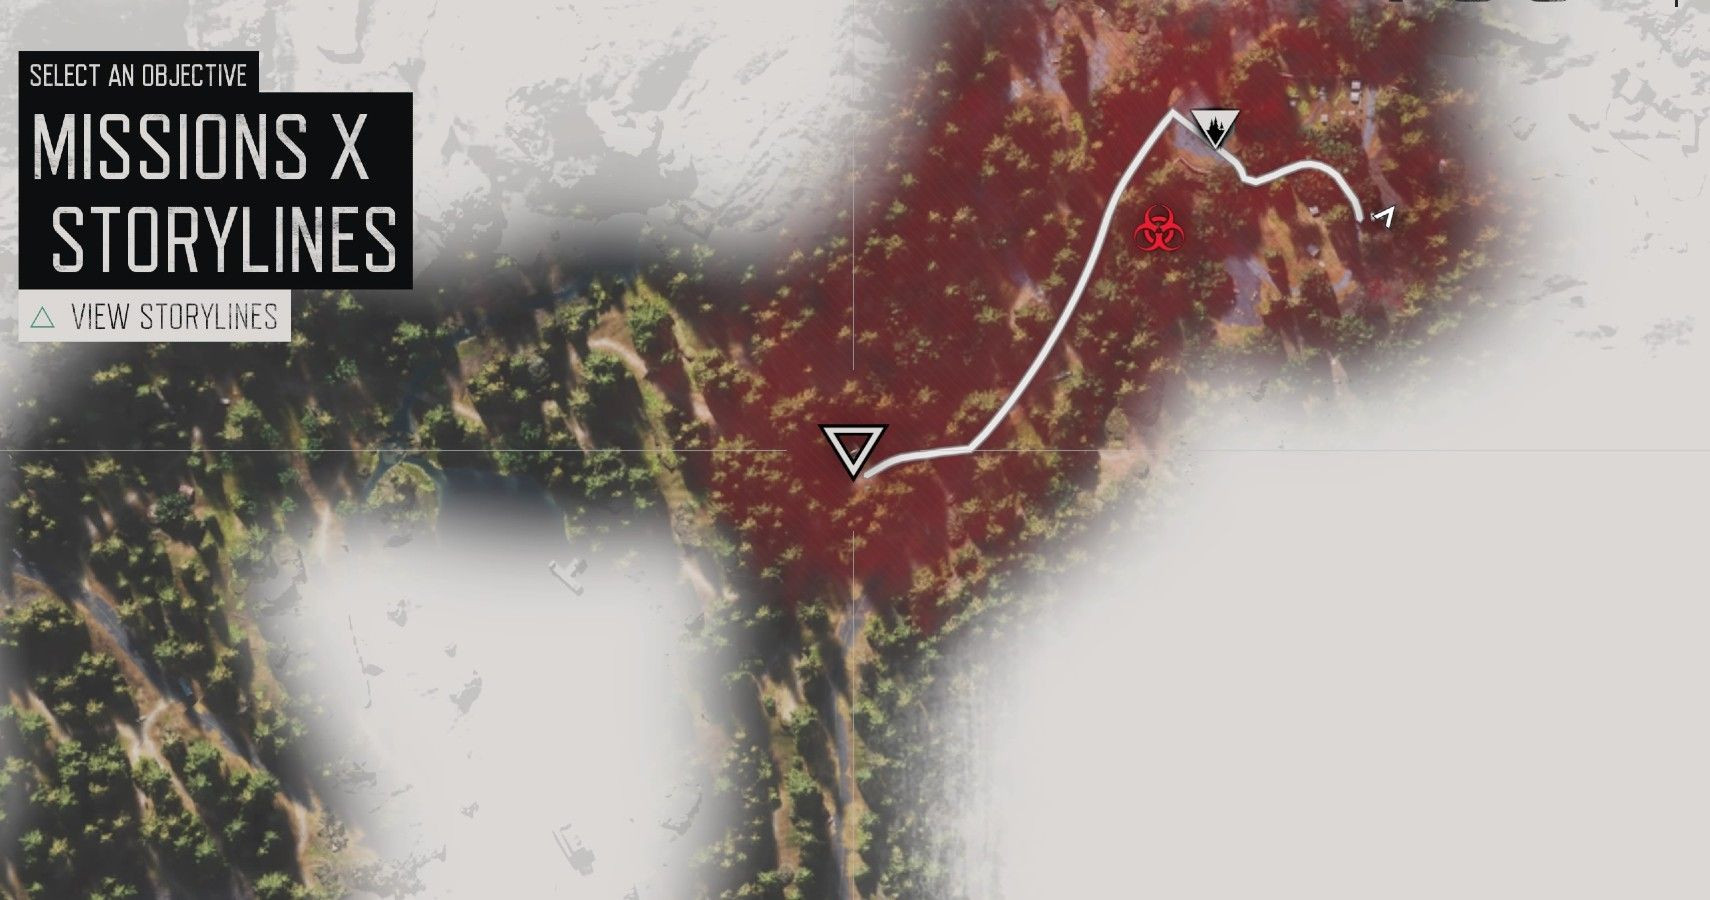 Pioneer Cemetery Infestation 01 map
Map showing the location of the first Pioneer Cemetery Infestation Nest in a roadside shack.
The first infestation nest is conveniently located just off one of the main roads leading to the Pioneer Cemetery. As you approach the cemetery, keep an eye out for an infested shack situated adjacent to the road. This easily accessible location makes it a straightforward starting point for your infestation-clearing endeavor.
Nest #2: Parking Lot Building Infestation
Location map of the second Pioneer Cemetery Infestation Nest found within a parking lot building.
To locate the second nest, you’ll need to venture North-West of the main Pioneer Cemetery area. Your destination is a small parking lot, where you’ll find a building that has unfortunately become overrun by Freakers and their nest. Be prepared for a potentially more challenging encounter here as buildings often provide more cover for the infected.
Nest #3: Cemetery Barn Infestation
Map depicting the location of the third Pioneer Cemetery Infestation Nest inside a red barn within the cemetery walls.
The final infestation nest is situated within the confines of the Pioneer Cemetery itself. Upon entering through the main gates, proceed towards the prominent hill in the center of the cemetery grounds. On the opposite side of this hill, you will spot a distinctive red barn. This barn houses the last infestation nest in the Pioneer Cemetery area, marking the final point in your clearing operation. If you find yourself short on Molotov Cocktails while dealing with this last nest, remember to scavenge the surrounding area. Essential crafting supplies such as kerosene and rags can be found on a crate near the barn, and a beer bottle is located near a nearby tree.
Survival Tips for Conquering the Pioneer Cemetery
Days Gone gameplay highlighting the open-world environment and motorcycle traversal, essential for survival.
The Pioneer Cemetery is not just infested; it’s a hotspot for the undead, especially given its importance in the game’s narrative. While nighttime might seem like a strategic advantage for clearing infestations elsewhere due to reduced Freaker presence, the Pioneer Cemetery defies this logic. During nighttime hours, this location becomes significantly more dangerous, attracting a larger number of Freakers, making survival and nest destruction considerably harder. It is generally safer and more efficient to tackle the Pioneer Cemetery infestation during the daytime.
Utilizing the NERO Research Site
A NERO Research Site location in Days Gone, offering valuable supplies and potential safe haven.
If you are in need of resources or a safe haven near the cemetery, consider heading to the abandoned NERO Research Site located north of the cemetery gates, along the road. This site can be a treasure trove of scavengeable items and even a NERO injector, provided you are prepared to deal with the Freakers guarding it. Find a fuel can to power up the generator, which will grant you access to the NERO research unit. Inside, you’ll find the injector, a bed to advance time to daylight, and a gun locker to adjust Deacon’s equipment. This nearby base can be a crucial asset, especially when facing challenging situations in the Pioneer Cemetery.
By following this guide, you should be well-equipped to handle the Pioneer Cemetery infestation and continue your journey in Days Gone. Remember to stay vigilant, conserve resources, and utilize your bike effectively to overcome the challenges this location presents.