
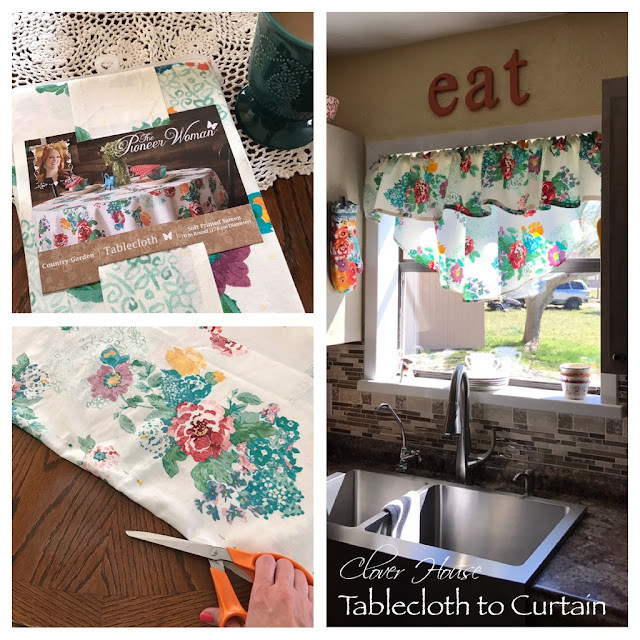
Are you looking to infuse your kitchen with a touch of country charm and vibrant patterns? Look no further than the iconic Pioneer Woman collection! Known for its delightful floral designs and warm, inviting aesthetic, Ree Drummond’s product line offers a fantastic way to brighten up your home. Inspired by the desire for a fresh kitchen look and a love for the Pioneer Woman’s style, this guide will walk you through creating your own beautiful curtains using a Pioneer Woman tablecloth. Even if you’re not a seasoned seamstress, this simple DIY project is achievable and rewarding, adding a personalized touch to your space with minimal effort.
 Assortment of Pioneer Woman kitchenware, including dishes and pots, displayed on a kitchen counter, sparking the idea for new curtains.
This project utilizes a round Pioneer Woman tablecloth to craft charming kitchen curtains. The beauty of this method lies in its simplicity and affordability. You can transform an everyday tablecloth into custom window treatments that perfectly match your kitchen’s style. This tutorial focuses on creating two small curtains ideal for a standard kitchen window, approximately 33″ x 33″. Remember to adjust measurements based on your window size to ensure the perfect fit and desired look.
For this project, a 70″ round tablecloth from the Pioneer Woman Country Garden collection at Walmart serves as the primary material. These tablecloths are readily available and budget-friendly, making this DIY curtain project both stylish and economical. One tablecloth can yield two lovely curtains, maximizing your material and value.
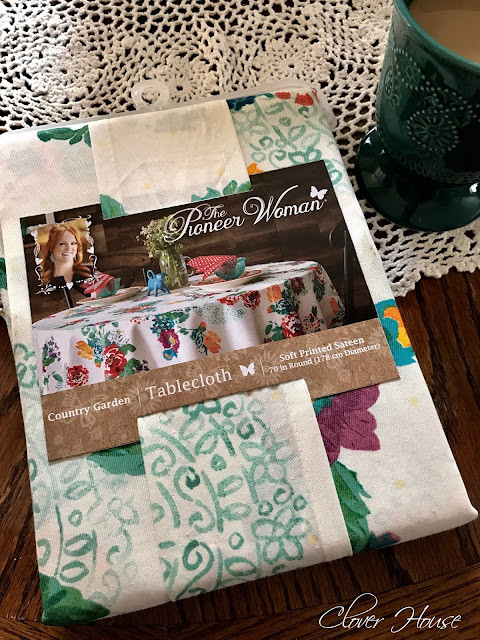 Pioneer Woman Country Garden tablecloth, neatly folded and showcasing its floral pattern, the starting material for DIY curtains.
Step-by-Step Guide to Creating Your Pioneer Woman Curtains
Let’s dive into the simple steps to create your own Pioneer Woman Curtains. Follow this guide to transform a tablecloth into beautiful kitchen window decor.
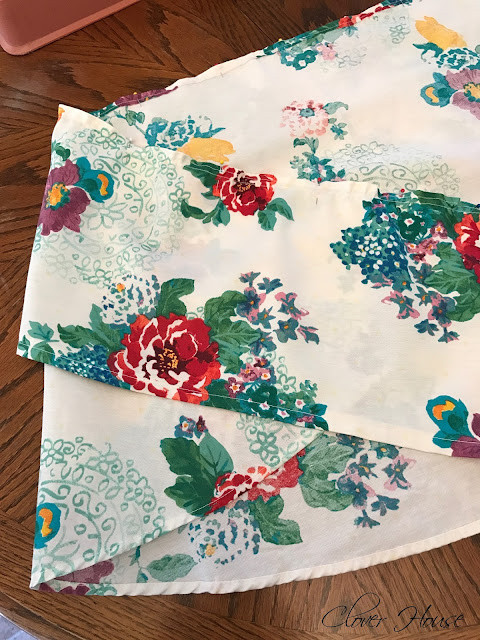
Step 1: Prepare the Tablecloth
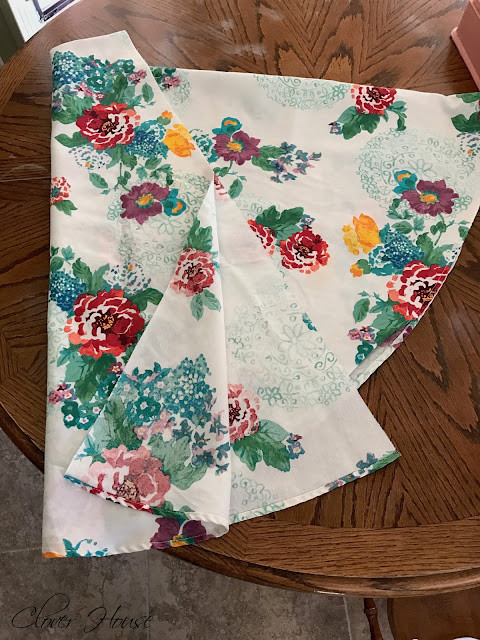
Begin by washing and drying your new Pioneer Woman tablecloth. This crucial step pre-shrinks the fabric, preventing any unexpected size changes after your curtains are made and washed later. Once dried, lay the tablecloth flat and cut it directly in half. This will give you two equal pieces to work with for your curtains.
 Tablecloth for Pioneer Woman curtains, laid out ready to be cut in half as the first step in the DIY curtain making process.
 Tablecloth cut in half, demonstrating the division of fabric to create two curtain panels for a DIY project.
Step 2: Create the Ruffle
For a charming ruffle detail at the top of your curtains, take one of the cut pieces and determine the desired length for your curtain. In this example, 12 inches were cut from the unfinished edge to create a generous ruffle. Hold the fabric up to your window to visualize the drop and adjust the ruffle size to your preference.
 Measuring fabric for the ruffle of DIY Pioneer Woman curtains, holding the material up to a window for visual assessment of length.
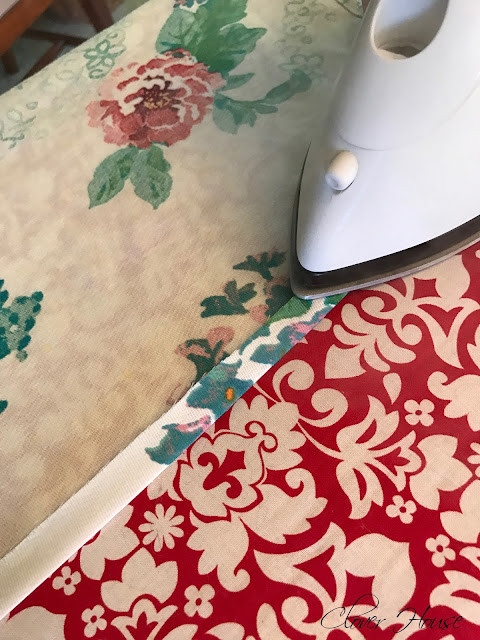
Step 3: Hem the Edges
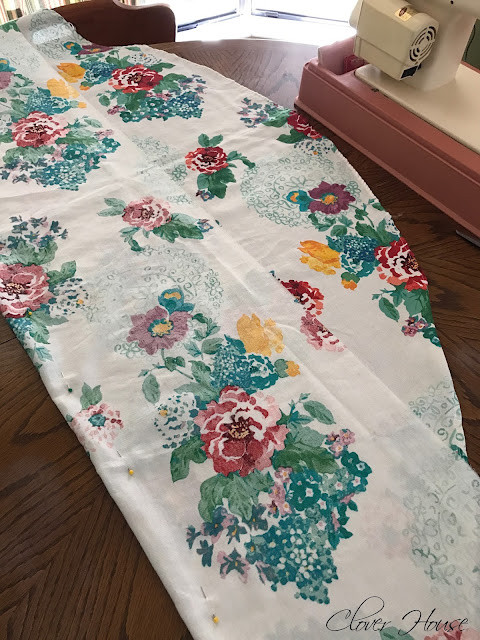
To ensure a clean and durable finish, hem all raw edges of both the main curtain panels and the ruffle pieces. Use a steam iron to press the edges first, making them easier to fold and stitch. For the ruffle’s lower edge, fold over the raw edge once, press, and then fold over again to encase the raw edge completely. Press again and stitch along the fold to secure the hem. Repeat this hemming process for all remaining raw edges of the curtain panels and ruffles.
 Hemming the edge of the fabric for Pioneer Woman curtains, folding and pressing the material to create a neat, finished border.
Step 4: Assemble the Curtain
With all edges hemmed, it’s time to assemble the curtains. Place the ruffle piece on top of the main curtain panel, aligning the top raw edges and ensuring the right sides of the fabric are facing up. Pin the ruffle to the curtain panel along the top edge, preparing it for stitching.
 Pinning the ruffle to the main curtain panel for DIY Pioneer Woman curtains, aligning the fabric edges before sewing.
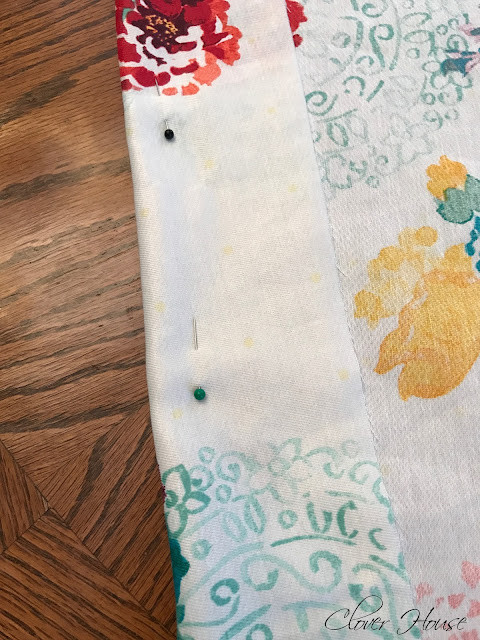
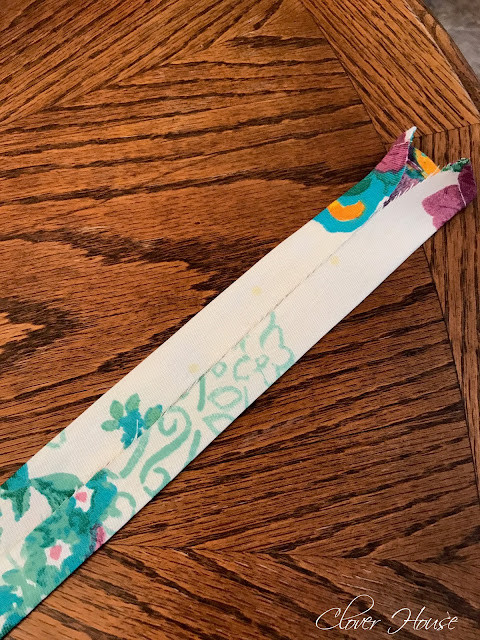
Step 5: Create the Rod Pocket
To hang your new curtains, you’ll need to create a rod pocket. Use leftover fabric from the tablecloth to cut a strip approximately 3 inches wide. Fold the long edges of this strip towards the center and press with an iron. This creates a clean, finished edge for your rod pocket. Pin this folded strip to the back of the curtain, along the top edge, ensuring the ruffle remains free. Stitch along both the lower and upper edges of the strip to create the pocket for your tension rod.
 Preparing the fabric strip for the rod pocket of DIY Pioneer Woman curtains, folding and pressing the edges for a clean finish.
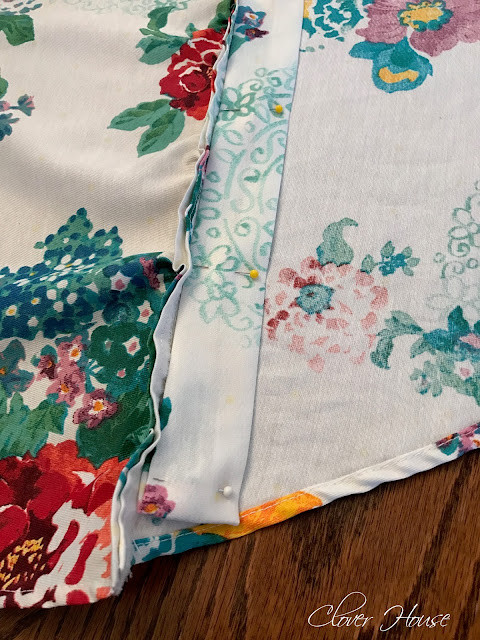 Folding the fabric strip for the rod pocket, demonstrating the neat edges created for DIY Pioneer Woman curtains.
 Attaching the rod pocket to the back of the curtain panel for DIY Pioneer Woman curtains, sewing the strip to create a sleeve for hanging.
Step 6: Hang and Enjoy!
Finally, press your completed curtain with spray starch for a crisp, smooth finish. Thread the curtain onto a tension rod and mount it in your kitchen window. Fluff and adjust the ruffle to achieve your desired look. Step back and admire your beautiful, homemade Pioneer Woman curtains!
 Finished Pioneer Woman curtain hanging in a kitchen window, showcasing the ruffled top and floral pattern, completing the DIY project.
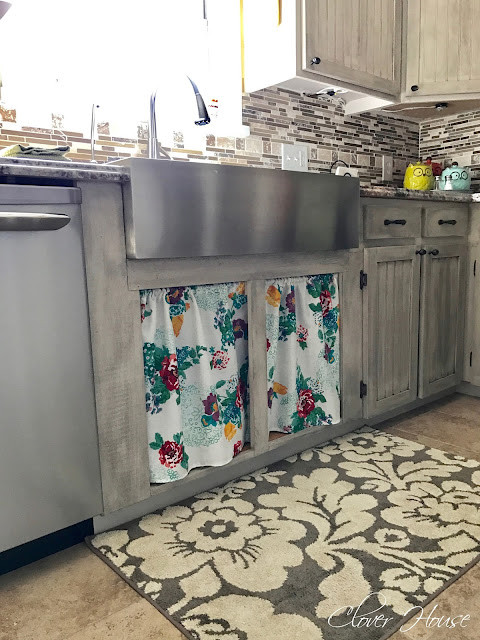
With the leftover tablecloth fabric, you can even create coordinating undersink curtains for a cohesive kitchen decor theme. These are made using the same simple hemming and rod pocket techniques, customized to fit the space under your sink.
 Undersink curtains made from Pioneer Woman tablecloth fabric, installed below a kitchen sink, complementing the window curtains.
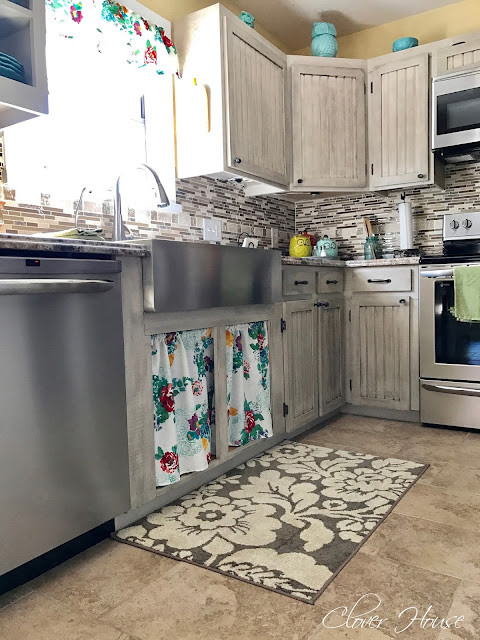 Undersink Pioneer Woman curtains installed with a tension rod, providing a charming and functional kitchen decor detail.
Conclusion
Creating your own Pioneer Woman curtains is a delightful and easy way to add a touch of country elegance to your kitchen. By repurposing a tablecloth, you can craft custom curtains that perfectly reflect your personal style and love for the Pioneer Woman aesthetic. This simple sewing project is perfect for beginners and offers a budget-friendly alternative to store-bought curtains. Embrace the charm of DIY and transform your kitchen with these beautiful, homemade curtains today!