
Dive into the heart of home baking with The Pioneer Woman’s renowned pie crust recipe. Celebrated for its flaky texture and tender crumb, this recipe, highlighted in Ree Drummond’s beloved cookbooks, is a must-have for every baker. Whether you’re a seasoned pie pro or a beginner baker, this guide will walk you through creating a flawless pie crust using a blend of Crisco and butter, just like The Pioneer Woman herself. Get ready to elevate your pies to bakery-level perfection!
Why This Pioneer Woman Pie Crust Recipe Stands Out
Ree Drummond, The Pioneer Woman, has captured hearts with her approachable style and delicious, family-friendly recipes. Her pie crust recipe is no exception, earning accolades for its consistent results and delightful texture. What makes this recipe a standout? It’s the combination of vegetable shortening (Crisco) and butter. This dynamic duo brings together the best of both worlds:
- Crisco for Flakiness: Vegetable shortening, like Crisco, is crucial for creating a truly flaky pie crust. Its higher melting point compared to butter means it stays solid for longer in the oven, creating steam that separates the dough layers, resulting in that desirable flakiness.
- Butter for Flavor and Tenderness: Butter adds incomparable richness and flavor to the crust. Its lower melting point contributes to tenderness, ensuring the crust isn’t tough or dry. The combination of butter and shortening offers the perfect balance of texture and taste.
This recipe is not just about ingredients; it’s about technique and Ree’s trusted method that simplifies pie crust making, making it achievable for home bakers of all skill levels.
Ingredients for The Pioneer Woman Pie Crust
Before you begin, gather your ingredients. This recipe yields two 9-inch pie crusts, perfect for a double-crust pie or two single-crust pies.
- 3 cups all-purpose flour
- 1 teaspoon salt
- ¾ cup vegetable shortening (Crisco), chilled and cut into small pieces
- ¾ cup unsalted butter, chilled and cut into small pieces
- 1 large egg
- 1 tablespoon distilled white vinegar
- 5 tablespoons ice water, plus more if needed
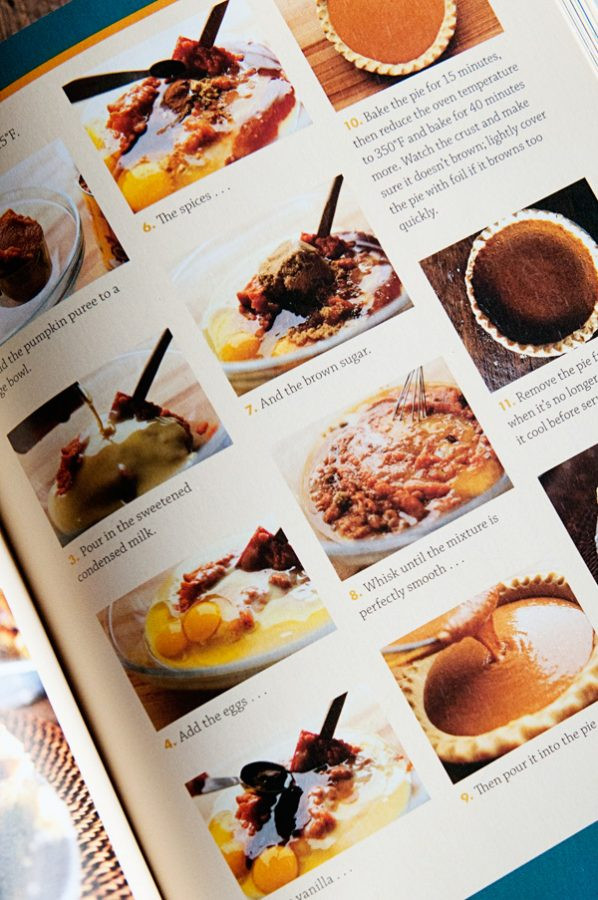 Step by Step Instructions The Pioneer Woman Cooks new Cookbook
Step-by-Step Guide to Pioneer Woman’s Pie Crust Perfection
Follow these detailed instructions to create The Pioneer Woman’s perfect pie crust:
- Combine Dry Ingredients: In a large mixing bowl, whisk together the all-purpose flour and salt. This ensures even distribution of the salt throughout the dough.
- Incorporate Fats: Add the chilled vegetable shortening and butter pieces to the flour mixture.
- Cut in the Fat: Using a pastry cutter or your fingertips, cut the fats into the flour until the mixture resembles coarse crumbs. You should still see small pieces of butter and shortening, which is key for flakiness. Avoid overmixing at this stage.
- Wet Ingredients Mixture: In a separate small bowl, lightly beat the egg with a fork. Add the distilled white vinegar to the egg, then measure and add the cold water. The vinegar helps to tenderize the dough, while the egg adds richness and structure.
- Combine Wet and Dry: Pour the egg mixture over the flour-fat mixture.
- Bring Dough Together: Gently stir the ingredients together with a fork until the dough just comes together. Be careful not to overmix; a shaggy dough is perfect. If the dough seems too dry, add ice water one tablespoon at a time until it just forms a ball.
- Divide and Chill: Divide the dough in half and shape each half into a disc. Wrap each disc tightly in plastic wrap.
- Chill Dough: Refrigerate the dough for at least 30 minutes, or up to 2 days. Chilling allows the gluten to relax, making the dough easier to roll out and preventing shrinkage during baking. For longer storage, you can freeze the dough for up to 3 months. Thaw in the refrigerator overnight before using.
Tips for a Truly Flaky and Tender Pie Crust
- Keep Ingredients Cold: Cold ingredients are paramount for a flaky pie crust. Ensure your butter, shortening, egg mixture, and even your water are thoroughly chilled. Some bakers even chill their flour and bowl!
- Don’t Overmix: Overmixing develops gluten, which leads to a tough crust. Mix just until the dough comes together. It’s okay if it’s not perfectly smooth.
- Rest the Dough: Chilling the dough is not just about convenience; it’s a crucial step for relaxing the gluten and making the dough easier to handle.
- Use Ice Water: Ice water keeps the dough cold and prevents the fats from melting prematurely.
- Roll Out Evenly: Roll the dough out evenly to a thickness of about ⅛ inch. Work from the center outwards, rotating the dough as you roll to maintain a circular shape.
- Blind Bake When Necessary: For pies with wet fillings, blind baking the crust (baking it partially or fully before adding the filling) will prevent a soggy bottom crust.
Perfect Pies to Make with Pioneer Woman’s Crust
Now that you’ve mastered the pie crust, the possibilities are endless! Here are a few pie ideas that would be exceptionally delicious with this crust:
- Classic Apple Pie: A timeless choice that highlights the flaky crust and pairs beautifully with warm cinnamon apples.
- Pumpkin Pie: Perfect for holidays, the tender crust complements the creamy pumpkin filling.
- Pecan Pie: The rich, buttery crust is a wonderful base for sweet and nutty pecan pie.
- Chicken Pot Pie: Switch to savory and use this crust for a comforting and hearty chicken pot pie.
Bake Like The Pioneer Woman
With The Pioneer Woman’s pie crust recipe in your repertoire, you’re well on your way to creating show-stopping pies. This recipe is a testament to Ree Drummond’s knack for simplifying delicious, classic recipes for home cooks. Embrace the process, enjoy the aroma of baking, and savor every flaky, tender bite of your homemade pie!