
Experiencing issues with your Pioneer AVH-200EX backup camera auto-switching function in your car? Many users, especially those with vehicles like a Dodge Ram 1500, have encountered a frustrating problem where the backup camera, after initial successful setup, stops automatically displaying when shifting into reverse. This guide aims to explore potential causes and troubleshooting steps for this common Pioneer AVH-200EX issue.
Understanding the Backup Camera Auto-Switching Problem with Pioneer AVH-200EX
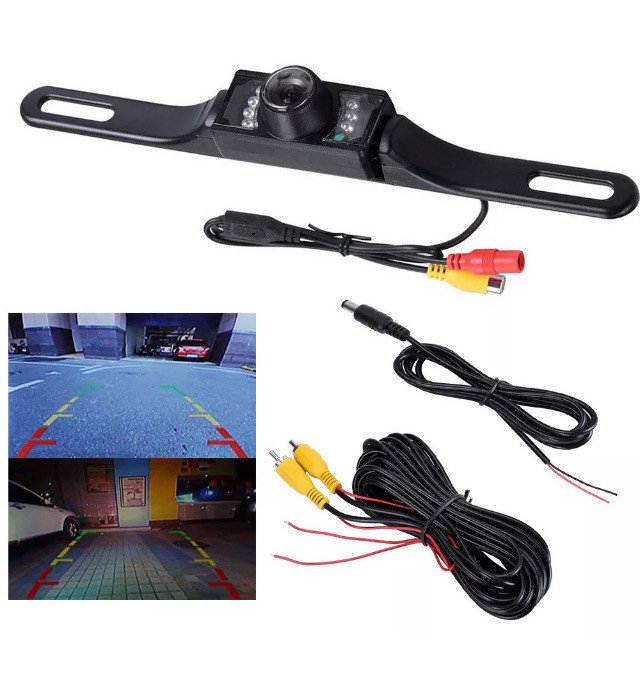
The user in question initially installed a generic backup camera with their Pioneer AVH-200EX head unit in a 2008 Dodge Ram 1500. The installation involved splicing the camera’s power and ground wires into the reverse lamp wires and connecting the RCA video cable to the head unit, along with the reverse trigger wire (typically purple/white). During the initial test, the system worked perfectly – the camera view automatically appeared on the Pioneer AVH-200EX screen when the truck was put in reverse.
However, after completing the permanent wiring and reassembling the vehicle, the auto-switching feature ceased to function. Now, the user has to manually select the camera view on the Pioneer AVH-200EX and then shift into reverse to see the camera feed. All connections were reportedly unchanged from the initial successful test.
Potential Causes and Troubleshooting for Pioneer AVH-200EX Camera Auto-Switching Failure
Let’s delve into potential reasons why your Pioneer AVH-200EX backup camera might have stopped auto-switching and how to troubleshoot them:
-
Reverse Trigger Wire Connection Issue: The most crucial wire for auto-switching is the reverse trigger wire (purple/white on most Pioneer AVH units). This wire signals the head unit when the vehicle is in reverse.
- Check the Connection: Ensure the purple/white wire from your Pioneer AVH-200EX is securely connected to the red wire from the RCA cable (which should be connected to the reverse light circuit). Verify that the splice is solid and there are no loose connections or breaks in the wire.
- Test with a Multimeter: Use a multimeter to check if the purple/white wire is receiving 12V when the vehicle is in reverse. If there’s no voltage, trace the wire back to its source and check for continuity.
-
Wiring Problems at the Reverse Light: Even if the initial splice seemed good, issues can arise after permanent installation.
- Inspect Splices: Re-examine the splices at the reverse lamp for both the camera power and ground. Ensure they are still making good contact and haven’t come loose or corroded during reassembly.
- Grounding Issues: A poor ground connection can cause intermittent problems. Make sure the camera’s ground wire is securely connected to a clean, unpainted metal surface or the designated ground wire in the reverse light harness (typically black).
-
Pioneer AVH-200EX Settings: While less likely if it initially worked, it’s worth checking the head unit’s settings.
- Camera Input Setting: Navigate through the Pioneer AVH-200EX menu to the camera settings. Ensure the “Rear Camera Input” is set to “ON” or the appropriate input (usually “Rear”).
- Polarity Setting: Some head units have polarity settings for the reverse trigger. Check the manual to ensure the polarity setting is correct for your vehicle.
-
RCA Cable and Connections: Problems with the RCA cable itself or its connections can sometimes lead to issues.
- RCA Cable Integrity: Inspect the RCA cable for any damage, kinks, or breaks.
- Head Unit RCA Port: Ensure the RCA connector is firmly plugged into the correct “Rear Camera Input” RCA port on the back of the Pioneer AVH-200EX.
-
Potential Head Unit Issue (Less Likely): While less probable, there’s a slight chance of a head unit malfunction, although it’s unlikely to be caused by simply reconnecting wires.
- Reset Head Unit: Try resetting the Pioneer AVH-200EX to its factory settings (refer to the manual for instructions). This can sometimes resolve software glitches.
 Pioneer AVH-200EX car stereo rear panel displaying various ports for connections, potentially useful for diagnosing backup camera installation issues.
Seeking Further Assistance
If you’ve checked these common points and the Pioneer AVH-200EX backup camera auto-switching is still not working, consider providing more details when seeking further help:
- Specific Pioneer AVH-200EX Model Number: Confirm the exact model for precise troubleshooting.
- Backup Camera Brand and Model: While generic, knowing the brand might offer clues.
- Detailed Wiring Diagram (if available): Share a diagram of how you wired the camera and head unit.
- Any other symptoms: Are there any other issues with the head unit or vehicle electronics?
By systematically checking these areas, you should be able to pinpoint the reason why your Pioneer AVH-200EX backup camera auto-switching stopped working and hopefully restore its functionality. Remember to double-check all connections and settings before assuming a more serious issue.