
Relive the charm of the prairie era with a delightful craft that’s perfect for all ages! Inspired by the beloved Little House on the Prairie series and the spirited character of Laura Ingalls, this guide will walk you through creating your own adorable pioneer rag dolls – and the best part? No sewing is required!
Growing up, the tales of Laura Ingalls Wilder captivated my imagination. Her adventures and resilience as a young pioneer girl painted a vivid picture of life in the late 1800s. Like many, I spent countless hours imagining myself alongside her, exploring fields and embracing the challenges of pioneer life. This love for the stories has now been passed down to my daughter. During our readings, we chuckled at the idea of Laura’s corncob doll, Susan. This sparked a fun idea: why not create our own rag dolls, reminiscent of those that pioneer children might have cherished?
Get ready to embark on a simple and enjoyable crafting journey using materials you likely already have at home. Let’s create some timeless treasures!
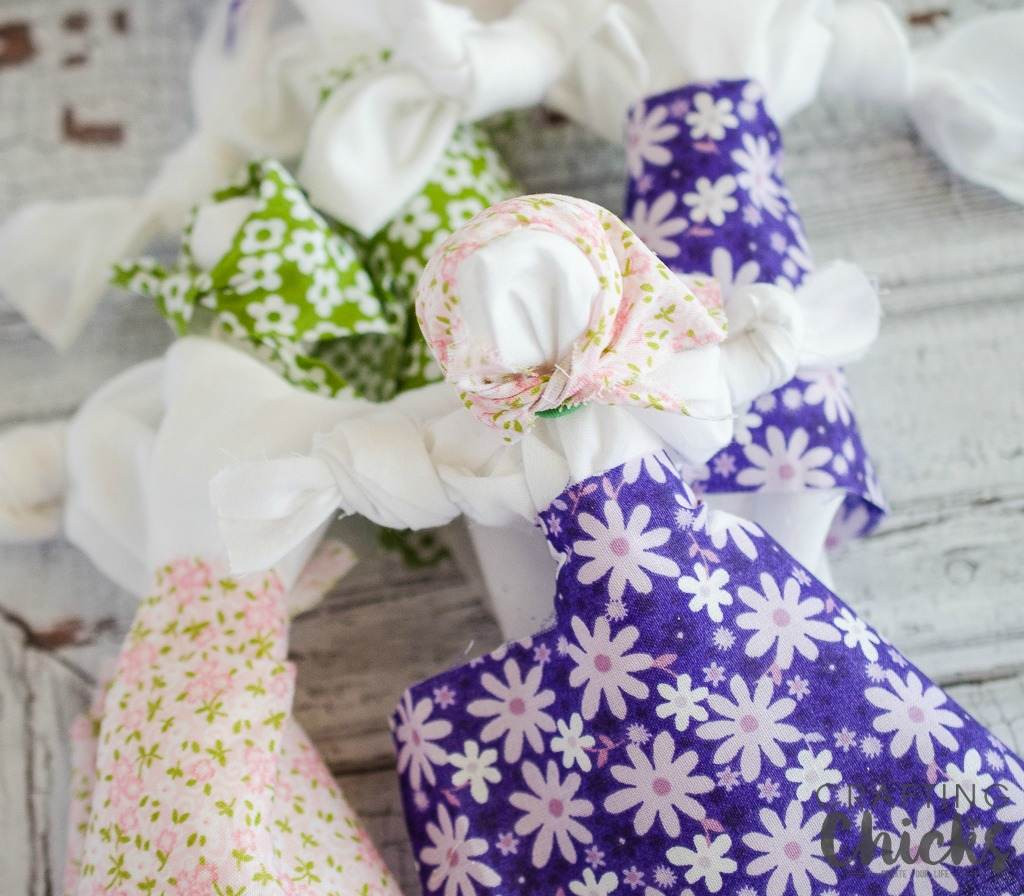
 A charming no-sew pioneer rag doll, showcasing its simple design and rustic appeal, perfect for a nostalgic handmade toy.
Gather Your Supplies for Pioneer Doll Making
Before we begin, let’s assemble everything you’ll need to bring your pioneer doll to life. This project is wonderfully accessible, requiring just a few basic craft items:
- Muslin Fabric (12″x12″): This will form the body of your pioneer doll. Its neutral tone lends itself well to the rustic aesthetic.
- Fabric Scrap for Apron (3″x6″): Choose a charming print or solid color to create a traditional pioneer-style apron.
- Fabric Scrap for Bonnet (3″x3″): Select a coordinating or contrasting fabric for the bonnet, folded diagonally to shape.
- Cotton Ball: This soft filling will create the doll’s head, giving it a gentle and huggable form.
- Baker’s Twine: This natural twine will be used to secure the doll’s neck and bonnet, adding to the homespun feel.
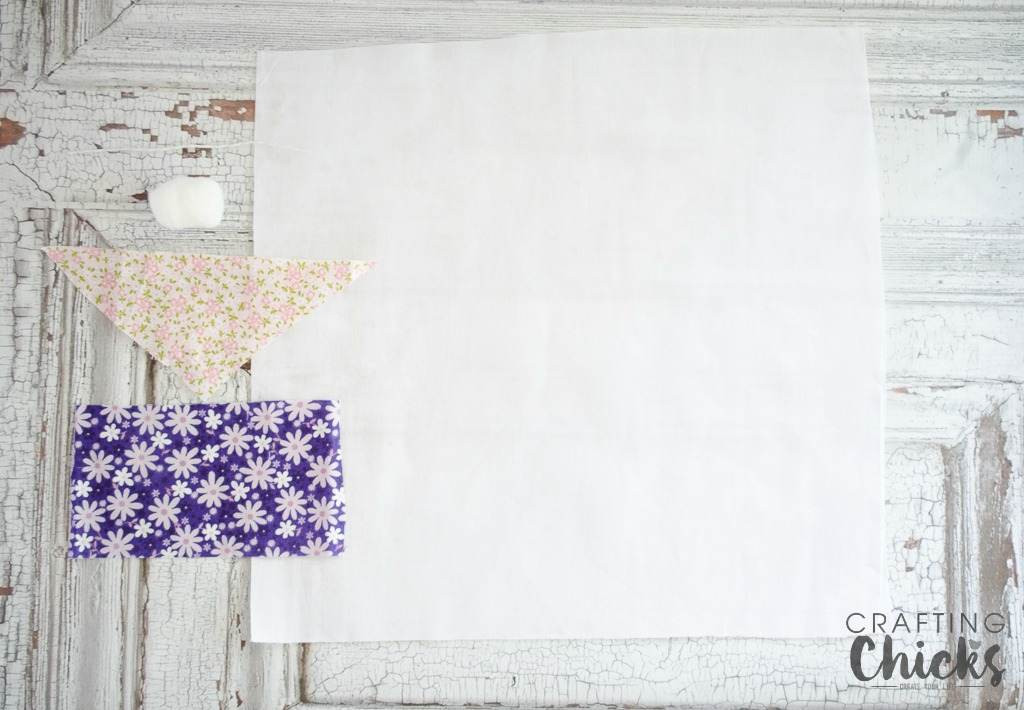
 Materials laid out for crafting a no-sew pioneer rag doll, including muslin, fabric scraps, cotton ball, and baker's twine.
 Close-up of the crafting materials for a pioneer rag doll, highlighting the textures of muslin, patterned fabric, and baker's twine.
Step-by-Step Guide to Crafting Your No-Sew Pioneer Doll
Let’s bring your pioneer doll to life with these easy-to-follow instructions:
Step 1: Forming the Doll’s Head
Begin by placing a cotton ball directly in the center of your 12″x12″ muslin square. This will become the head of your pioneer doll, soft and perfectly sized for little hands.
 Placing a cotton ball in the center of a muslin square to start creating the head of a no-sew pioneer doll.
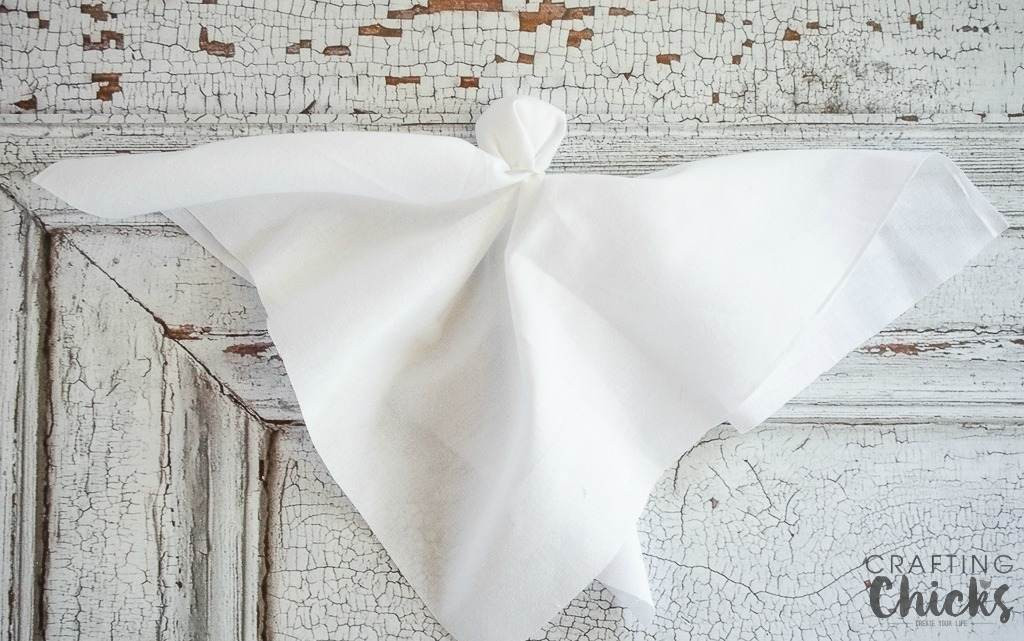
Step 2: Creating the Head and Neck
Carefully wrap the muslin fabric around the cotton ball diagonally. Gather the fabric below the cotton ball to form the doll’s neck.
 Wrapping muslin fabric around a cotton ball to shape the head and neck of a handmade pioneer doll.
Next, take a length of baker’s twine. Wrap it snugly around the gathered muslin “neck” and tie a secure knot. This defines the doll’s head and body.
 Securing the neck of a pioneer doll with baker's twine, creating definition between the head and body.
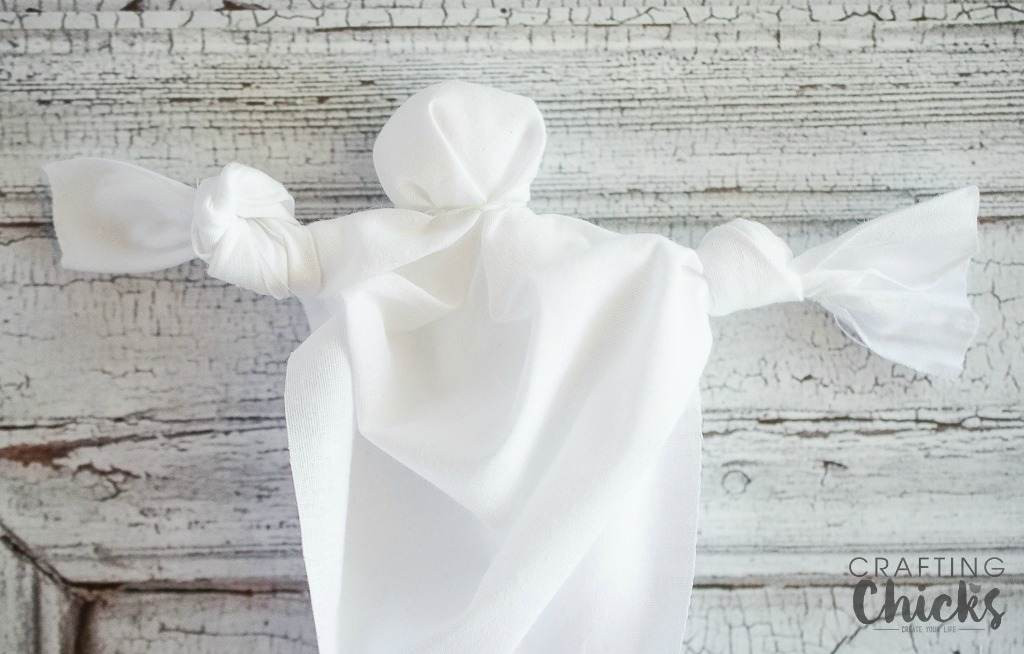
Step 3: Shaping the Arms
Take the two corners of the muslin extending from the sides of the doll’s body. These will become the arms. Tie a knot at the end of each fabric strip to form the doll’s hands.
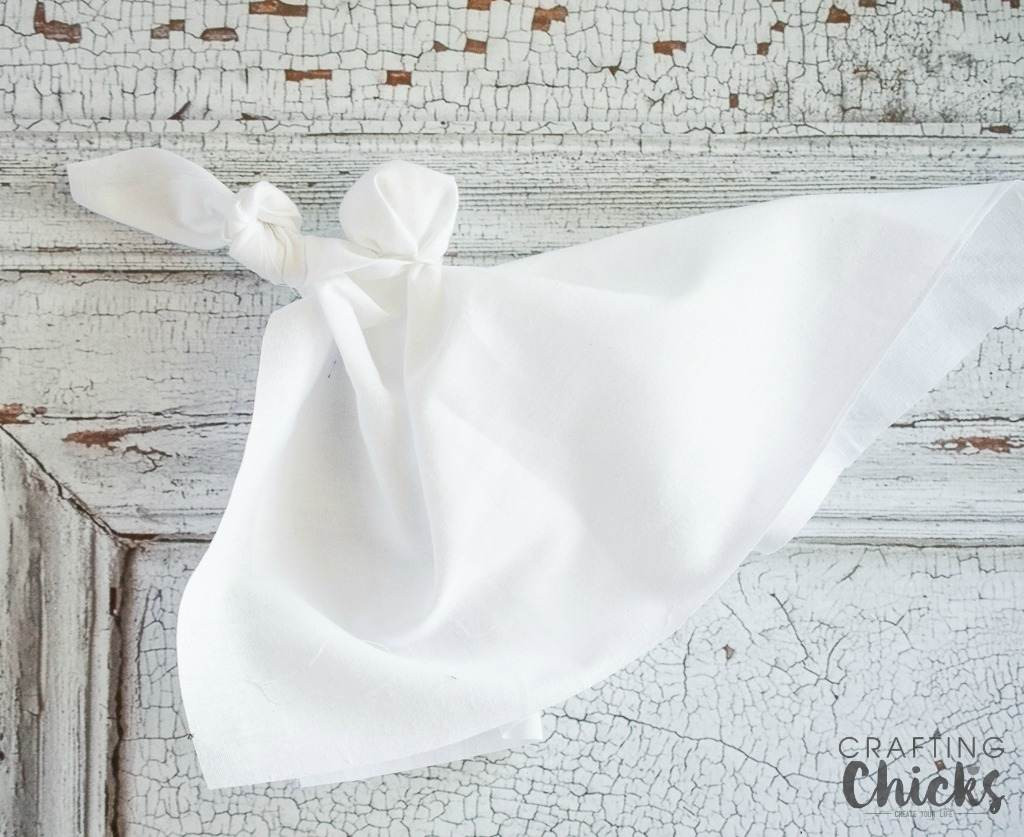 Tying a knot at the end of a muslin strip to create the arm and hand of a no-sew pioneer doll.
Ensure both arms are of a similar length. If needed, trim any excess fabric to even them out.
 Evening out the arms of a pioneer rag doll by trimming excess fabric to ensure they are the same length.
Step 4: Adding the Pioneer Apron
Take your 3″x6″ piece of fabric for the apron. Cut a small, approximately 1-inch slit on each of the shorter sides of the fabric. These slits will create ties for the apron.
 Cutting slits into a fabric piece to create ties for the apron of a handmade pioneer doll.
Wrap the apron fabric around the doll’s body. Use the slits you just made to tie the apron securely around the doll’s waist in a knot.
 Tying the apron onto a no-sew rag doll using fabric slits to create the ties around the waist.
Step 5: Fashioning the Bonnet
Take the 3″x3″ fabric square for the bonnet. Fold it diagonally to create a triangle. Place the folded fabric on the doll’s head to form a bonnet. Secure the bonnet in place by tying it under the doll’s chin using baker’s twine.
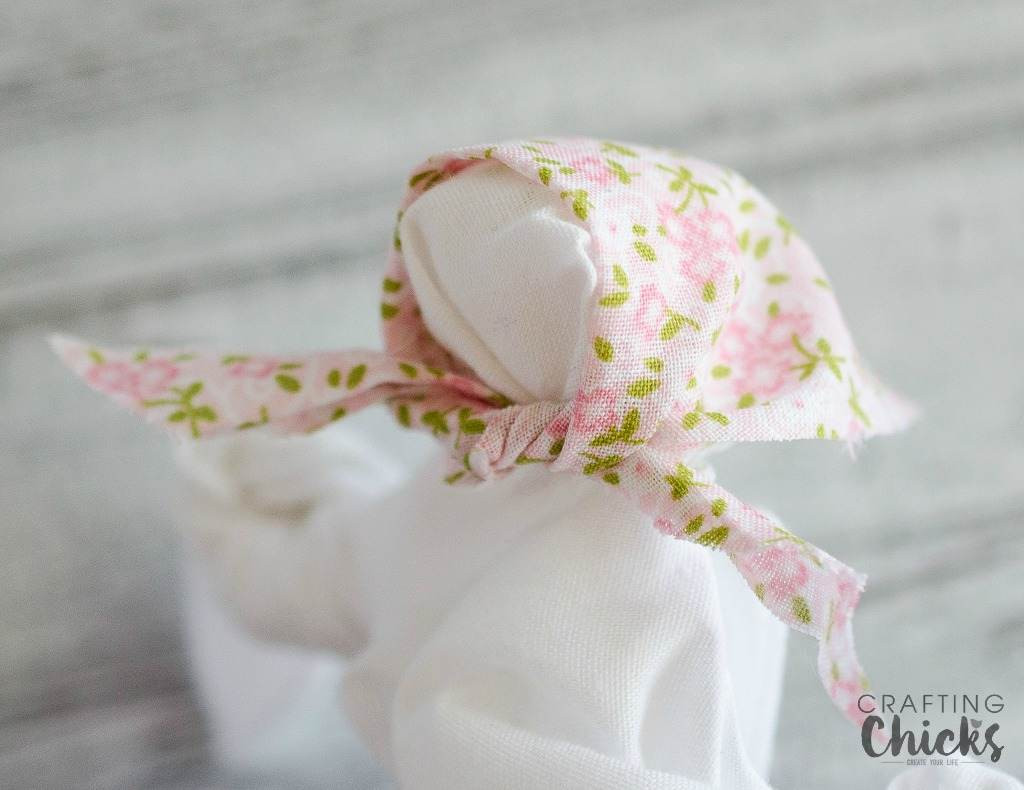 Securing a fabric bonnet onto a pioneer doll by tying it under the chin with baker's twine.
Your Pioneer Doll is Complete!
And just like that, your no-sew pioneer rag doll is ready for playtime adventures! These dolls are not only quick and easy to make but also offer a wonderful opportunity to explore creativity.
 A finished no-sew pioneer rag doll, showcasing the completed bonnet, apron, and simple rag doll features.
A finished no-sew pioneer rag doll, showcasing the completed bonnet, apron, and simple rag doll features.
Feel free to personalize your Pioneer Dolls by using different fabric colors and patterns for their aprons and bonnets. Each doll can be unique, reflecting your own creative touch. Imagine the joy Laura Ingalls would have found in crafting and playing with such a doll! Now, you and your children can create your own charming pieces of pioneer history. No more corncob dolls needed! 😉