Hello! Welcome back to our DIY space! We’re thrilled to be back with a fun and simple project to brighten up your kitchen. After a recent adventure living in an RV, we’ve returned home with a renewed appreciation for our space and a desire to refresh our décor. Inspired by the charming Pioneer Woman collection, we decided to create a new kitchen curtain to perfectly complement our new dishes and kitchen accessories. If you’re looking to add a touch of country charm to your kitchen, this DIY project is for you. Even if you’re not a seasoned seamstress, you can easily create these delightful Pioneer Woman-inspired drapes using a tablecloth and a few basic sewing steps.
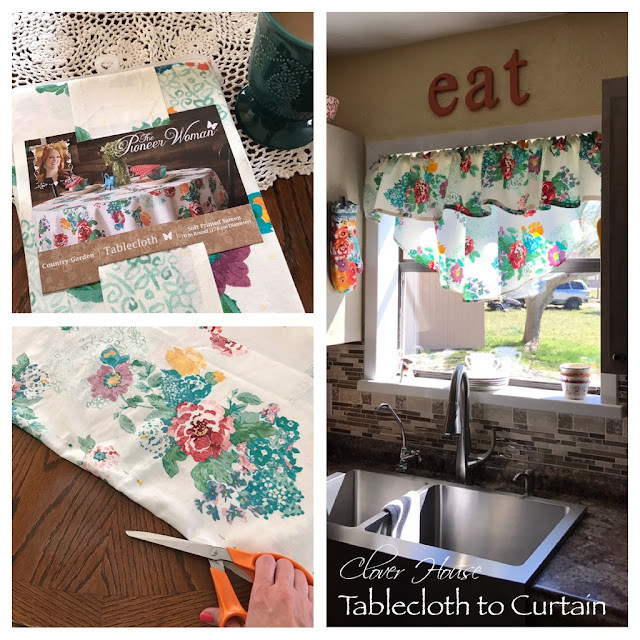 Pioneer Woman kitchen curtain project overview
Disclaimer: Please note that I am not a professional seamstress. This tutorial is designed for beginners and focuses on a simple, achievable method to create beautiful kitchen curtains. The goal is a charming finished product, not perfect seamstress-level tailoring!
 Close-up of the ruffle detail on the DIY Pioneer Woman drape
Materials You’ll Need:
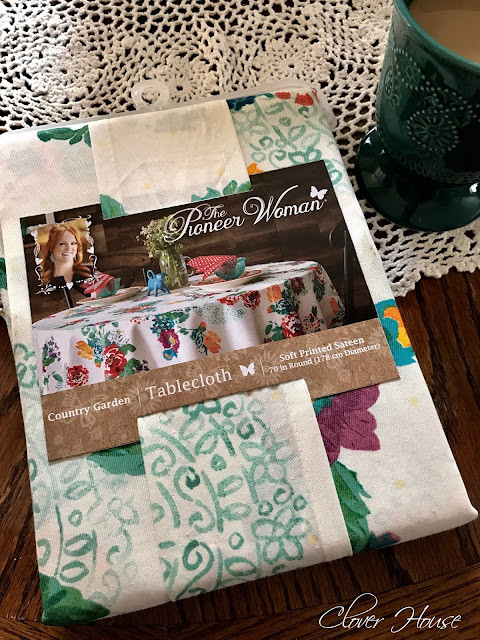
- Pioneer Woman Tablecloth: We used a 70″ round tablecloth in the Country Garden print from Walmart. This size is ideal for smaller kitchen windows and allows you to create two curtain panels. You can find similar Pioneer Woman tablecloths at Walmart or online.
- Sewing Machine: A basic sewing machine will work perfectly for this project.
- Thread: Matching thread for your tablecloth fabric.
- Scissors or Rotary Cutter: For cutting the fabric.
- Steam Iron: For pressing seams and hems.
- Pins: To hold fabric in place while sewing.
- Measuring Tape: To measure your window and fabric.
- Tension Rod: To hang your new curtains.
Note: Our kitchen window measures 33″ x 33″. Adjust fabric measurements accordingly for larger or smaller windows to achieve your desired look. Starting with a 70″ round tablecloth provides enough fabric for two curtain panels for a window of similar size and allows for a ruffled design.
 The Pioneer Woman Country Garden tablecloth used for the curtain project
Step-by-Step Guide to Creating Your Pioneer Woman Drapes:
-
Prepare Your Tablecloth: Begin by washing and drying your new Pioneer Woman tablecloth. This crucial step will pre-shrink the fabric and prevent any unwanted shrinkage after your curtains are made and washed in the future.
-
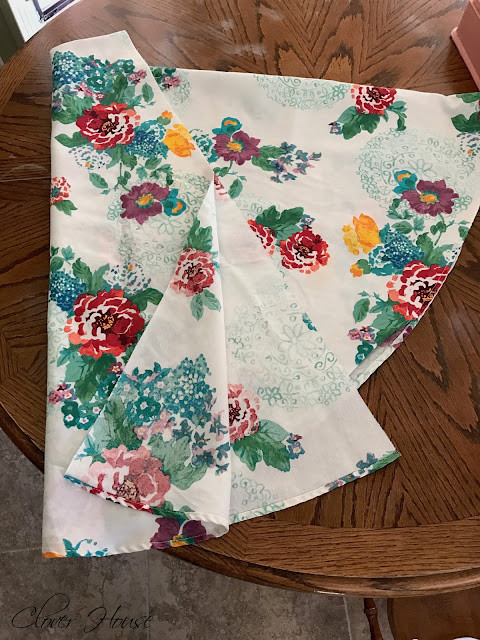
Cut the Tablecloth: Lay your washed and dried tablecloth on a flat surface. Cut the tablecloth directly in half. This will give you two equal pieces of fabric to create two curtain panels.
 Cutting the Pioneer Woman tablecloth in half
 -
Create the Ruffle: Decide how long you want your finished curtains to hang and how large you’d like the ruffle at the top to be. For our 33″ window, we decided to create a 12″ ruffle. Measure and cut 12″ off the unfinished top edge of each fabric piece to create the ruffle. This cut piece will form the decorative top ruffle of your curtain.
 Cutting fabric to create the ruffle for the curtain
 -
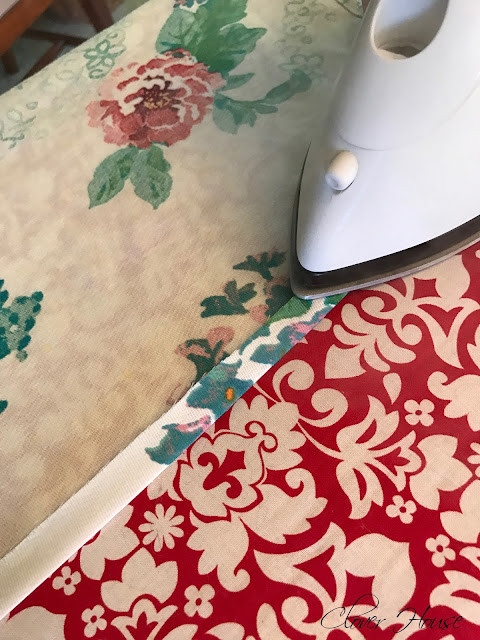
Hem the Raw Edges: To ensure a clean and professional finish and prevent fraying, hem all raw edges of both the main curtain panel pieces and the ruffle pieces. Use a steam iron to press the raw edges over by ¼ inch, then fold over again by another ¼ inch to encase the raw edge. Press firmly with the iron. Stitch along the folded edge to create a neat hem. Repeat this hemming process for all raw edges of both curtain and ruffle pieces.
 Hemming the edges of the ruffle fabric with an iron
 -
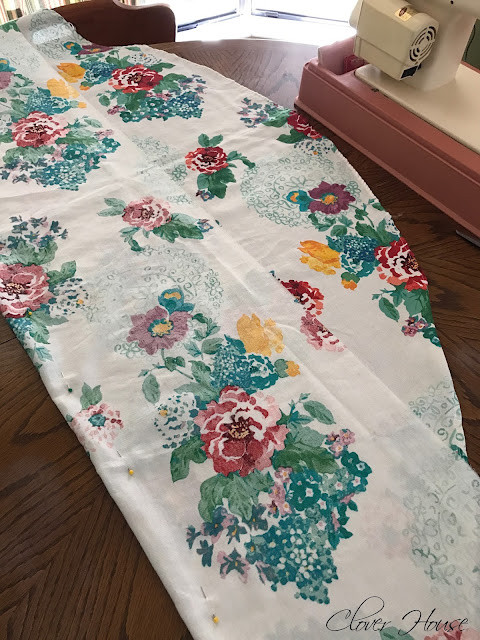
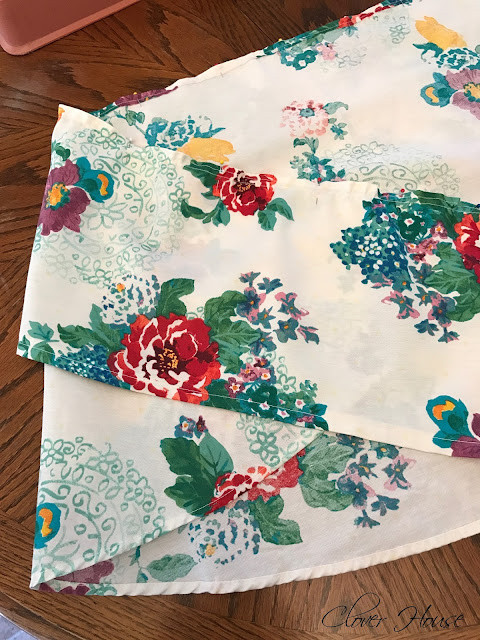
Assemble the Curtain Panel: Place the ruffle piece on top of the main curtain panel piece, with right sides facing up and raw edges aligned along the top. Pin the ruffle to the curtain panel along the top edge to secure it for sewing.
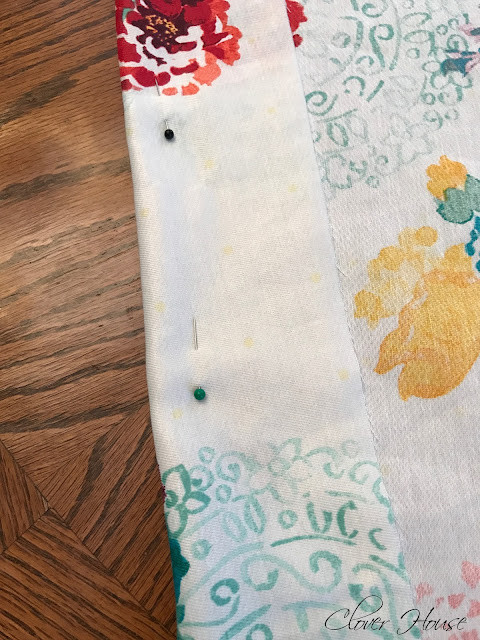 Pinning the ruffle to the main curtain panel piece
 -
Create the Rod Pocket: To hang your curtains, you’ll need to create a rod pocket. Using leftover fabric from the tablecloth, cut a strip that is approximately 3″ wide. Fold the long edges of this strip towards the center, and press with an iron. Fold the strip in half lengthwise, concealing the raw edges inside, and press again.
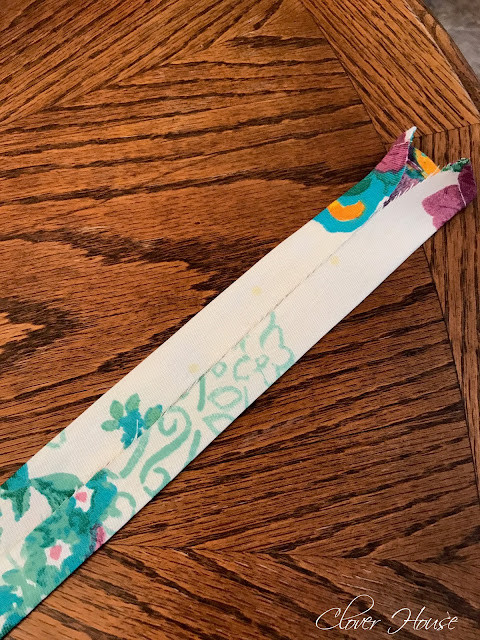 Folding the fabric strip to create the rod pocket
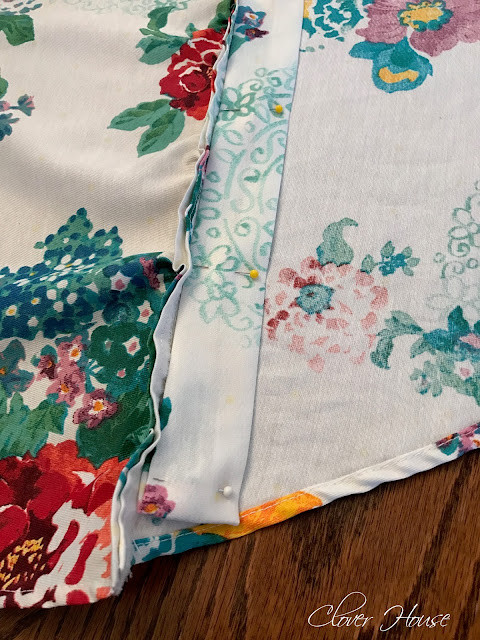 Pressing the folded rod pocket strip with an iron
 -
Attach the Rod Pocket: Position the folded rod pocket strip on the back of the curtain panel, aligning the top edge of the strip with the top edge of the curtain panel (beneath the ruffle). Pin the rod pocket in place, ensuring the ruffle remains free. Stitch along both the lower and upper edges of the rod pocket strip, securing it to the curtain panel and creating a sleeve for the tension rod.
-
Finishing Touches: Press your newly sewn curtain panels with steam and spray starch for a crisp, smooth finish.
 Pressing the completed curtain panel
 -
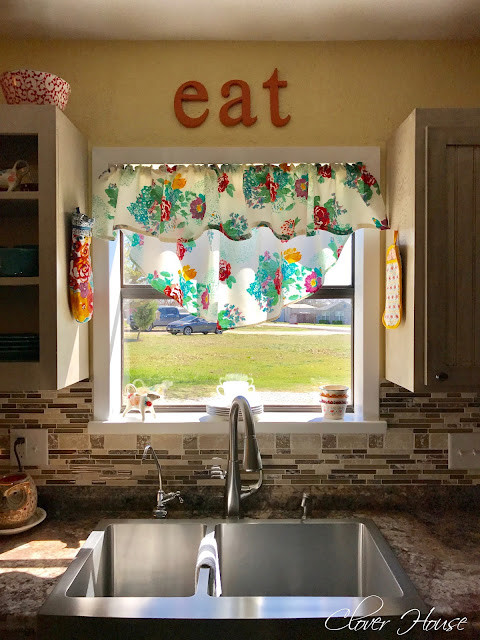
Hang and Enjoy! Thread the tension rod through the rod pocket of your new Pioneer Woman drapes. Install the tension rod in your kitchen window and fluff and adjust the curtains to achieve your desired look. Enjoy the fresh, country charm your DIY curtains bring to your kitchen!
 Finished Pioneer Woman kitchen curtains hanging in the window
Bonus Project: Under Sink Curtains
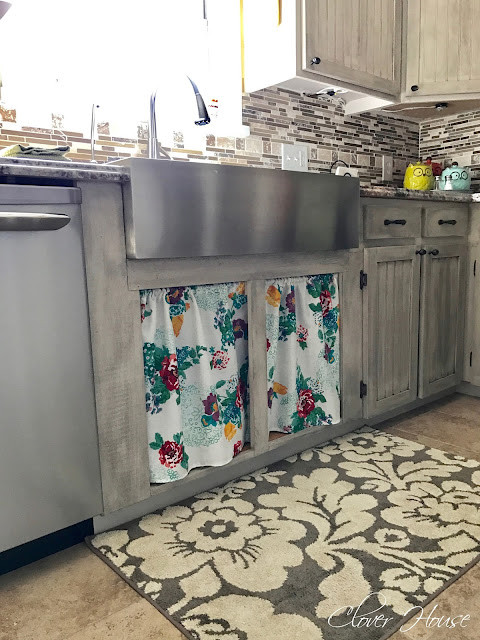
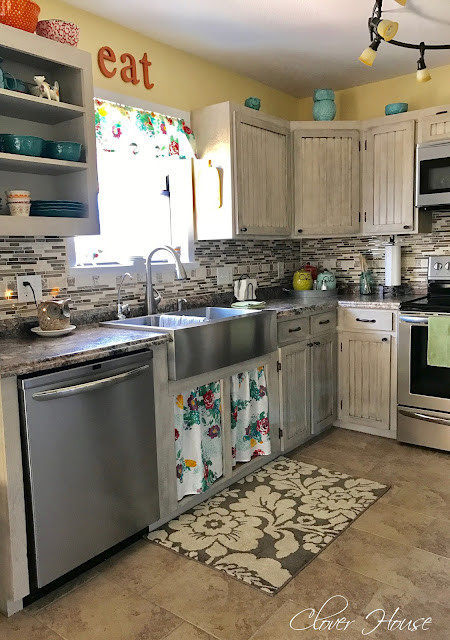
With the leftover fabric, you can also create adorable matching under-sink curtains! These are a simple way to add extra charm and hide under-sink storage.
 Pioneer Woman under-sink curtains
To make these, simply measure the opening under your sink, adding extra for hems. Hem all sides of the fabric pieces and mount them using a tension rod. The process is even simpler than the main kitchen curtains!
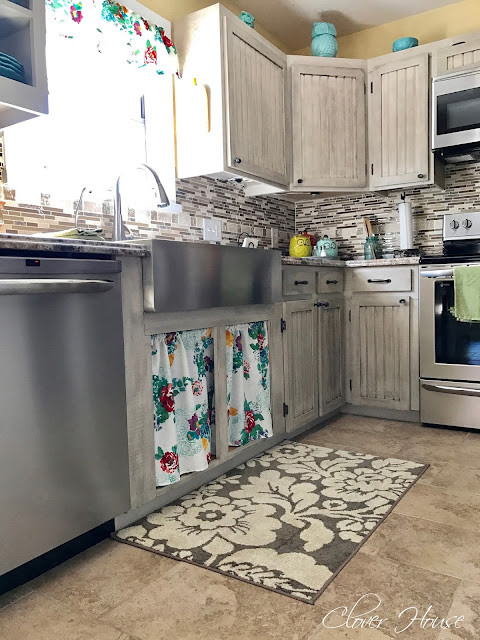 Pioneer Woman under-sink curtains installed under the kitchen sink
We adore the Pioneer Woman collection and its ability to bring a warm, inviting, and stylish touch to any kitchen. While it’s tempting to decorate the entire kitchen with Pioneer Woman pieces, these DIY drapes are a wonderful and budget-friendly way to incorporate the brand’s signature style. We’d love to hear if you try this project and see your own Pioneer Woman-inspired kitchens!

