Inspired by a family Easter gathering and armed with my Pioneer Woman cookbooks, I embarked on a baking adventure to create the perfect sugar cookies. The recipe I found for Roll-Out Sugar Cookies was a delightful discovery, and I’m thrilled to guide you through each step to recreate these classic treats in your own kitchen. Whether it’s for a holiday, a special occasion, or just a fun baking day, these Pioneer Woman Sugar Cookies are guaranteed to be a hit.
 Feature Cookie
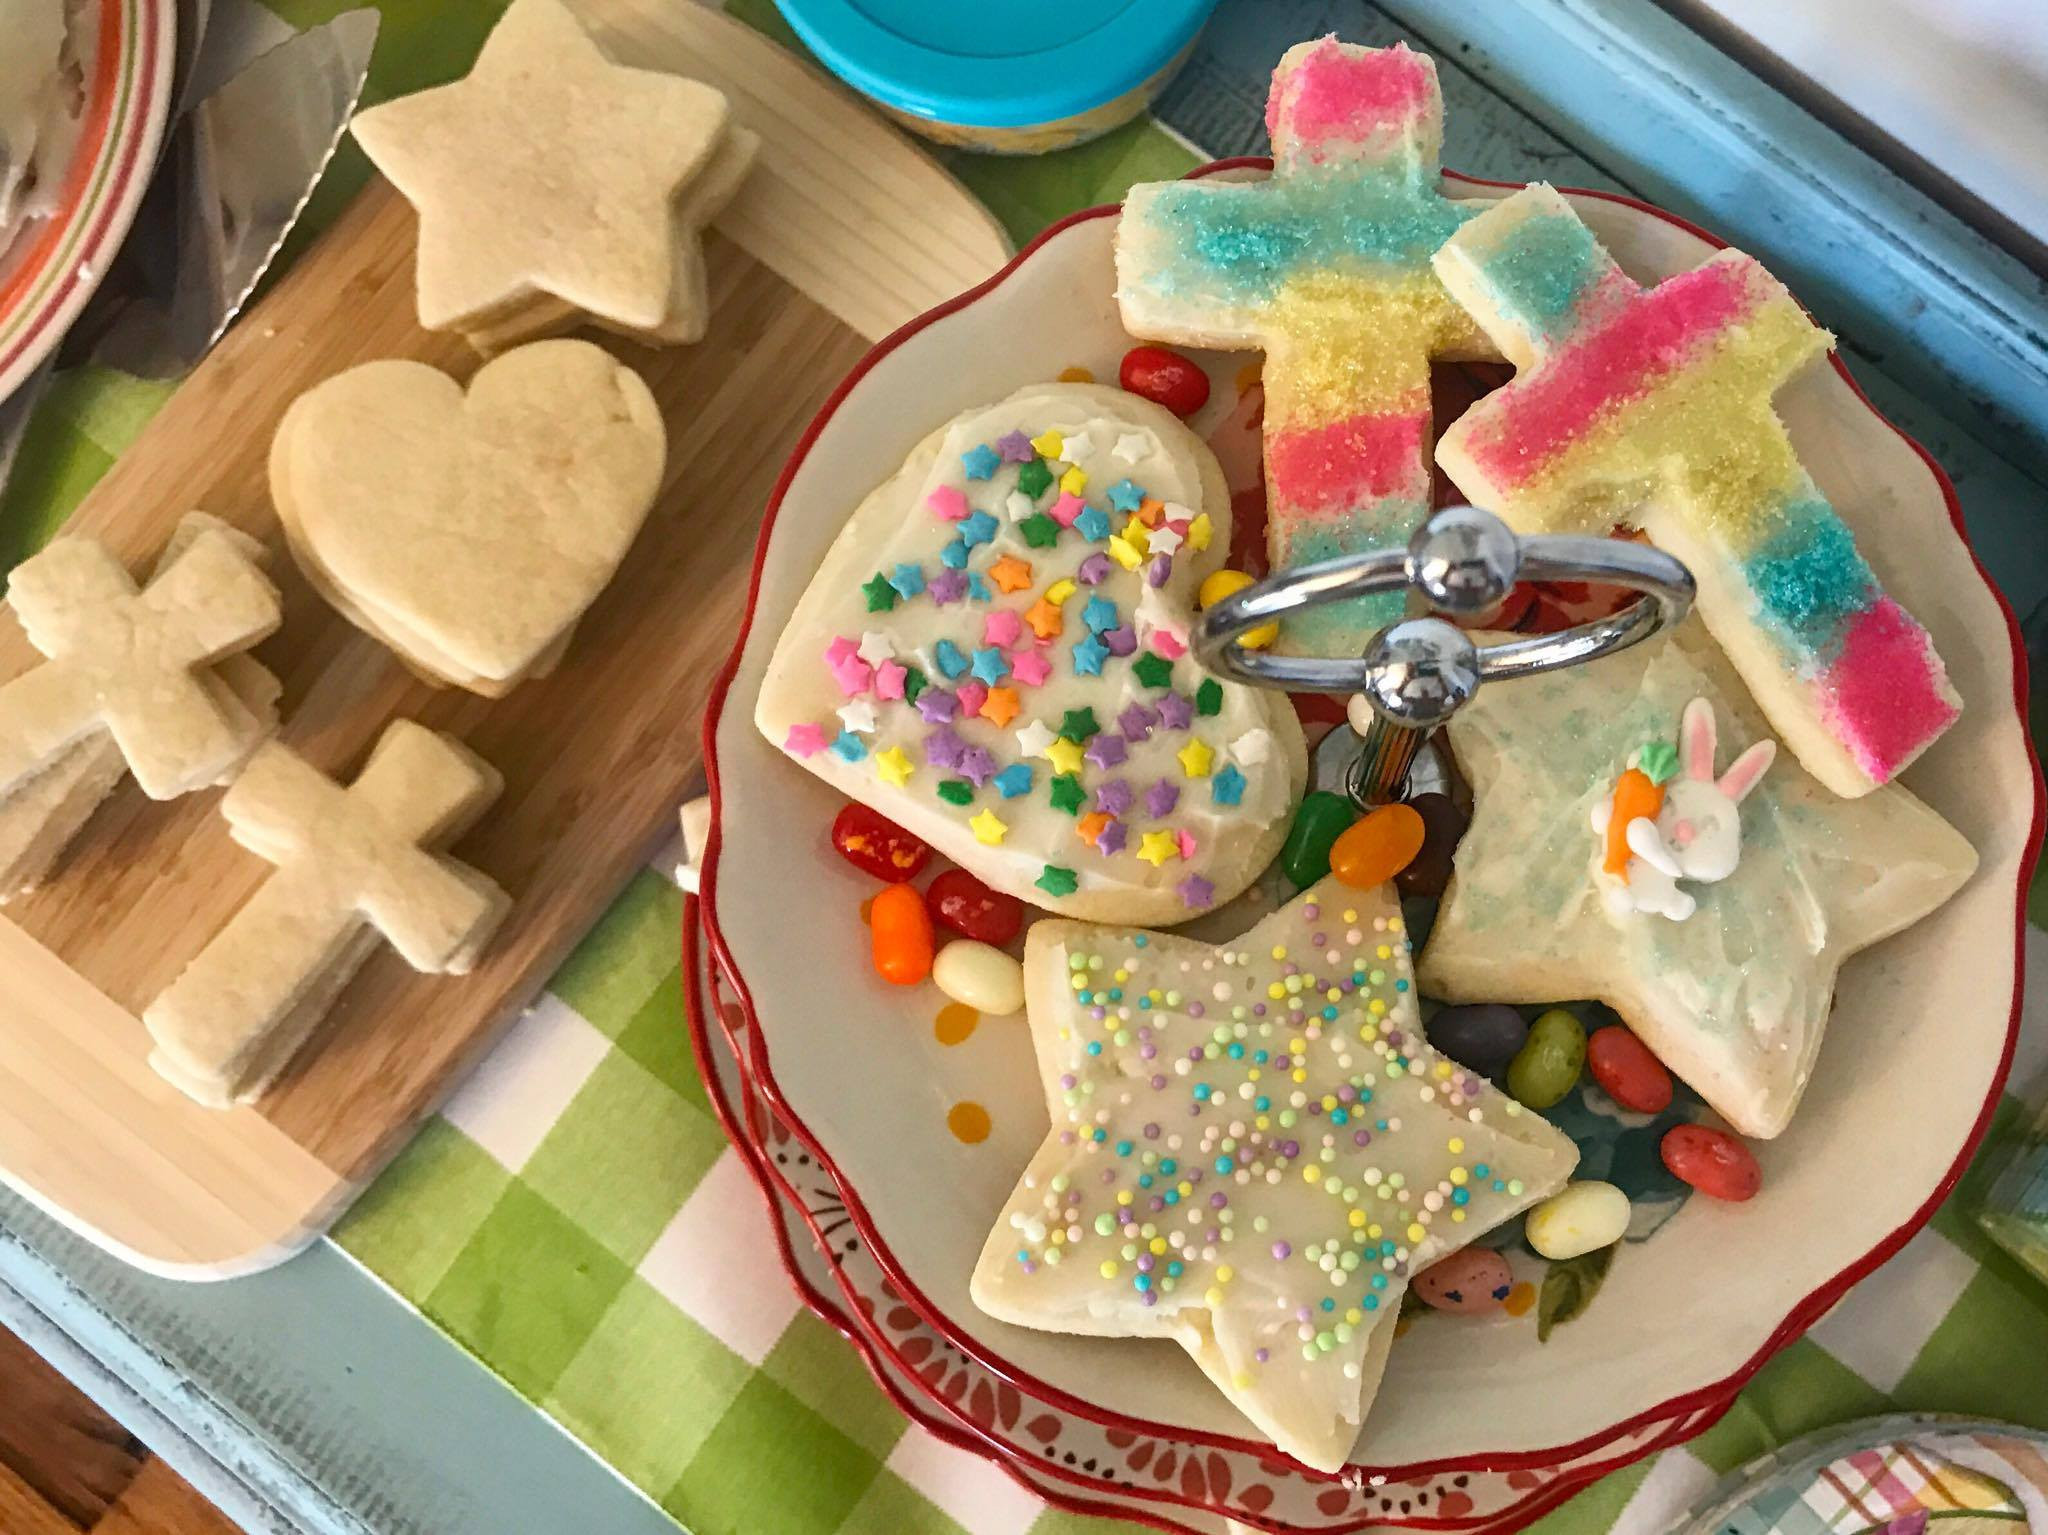
Image: A batch of beautifully decorated Pioneer Woman sugar cookies, showcasing various shapes and colorful frosting, perfect for any celebration.
This recipe is wonderfully versatile; the number of cookies you’ll get depends on your cookie cutter sizes. I personally ended up with about 45 delicious cookies, ready for frosting and decorating!
Ingredients for Pioneer Woman Sugar Cookies
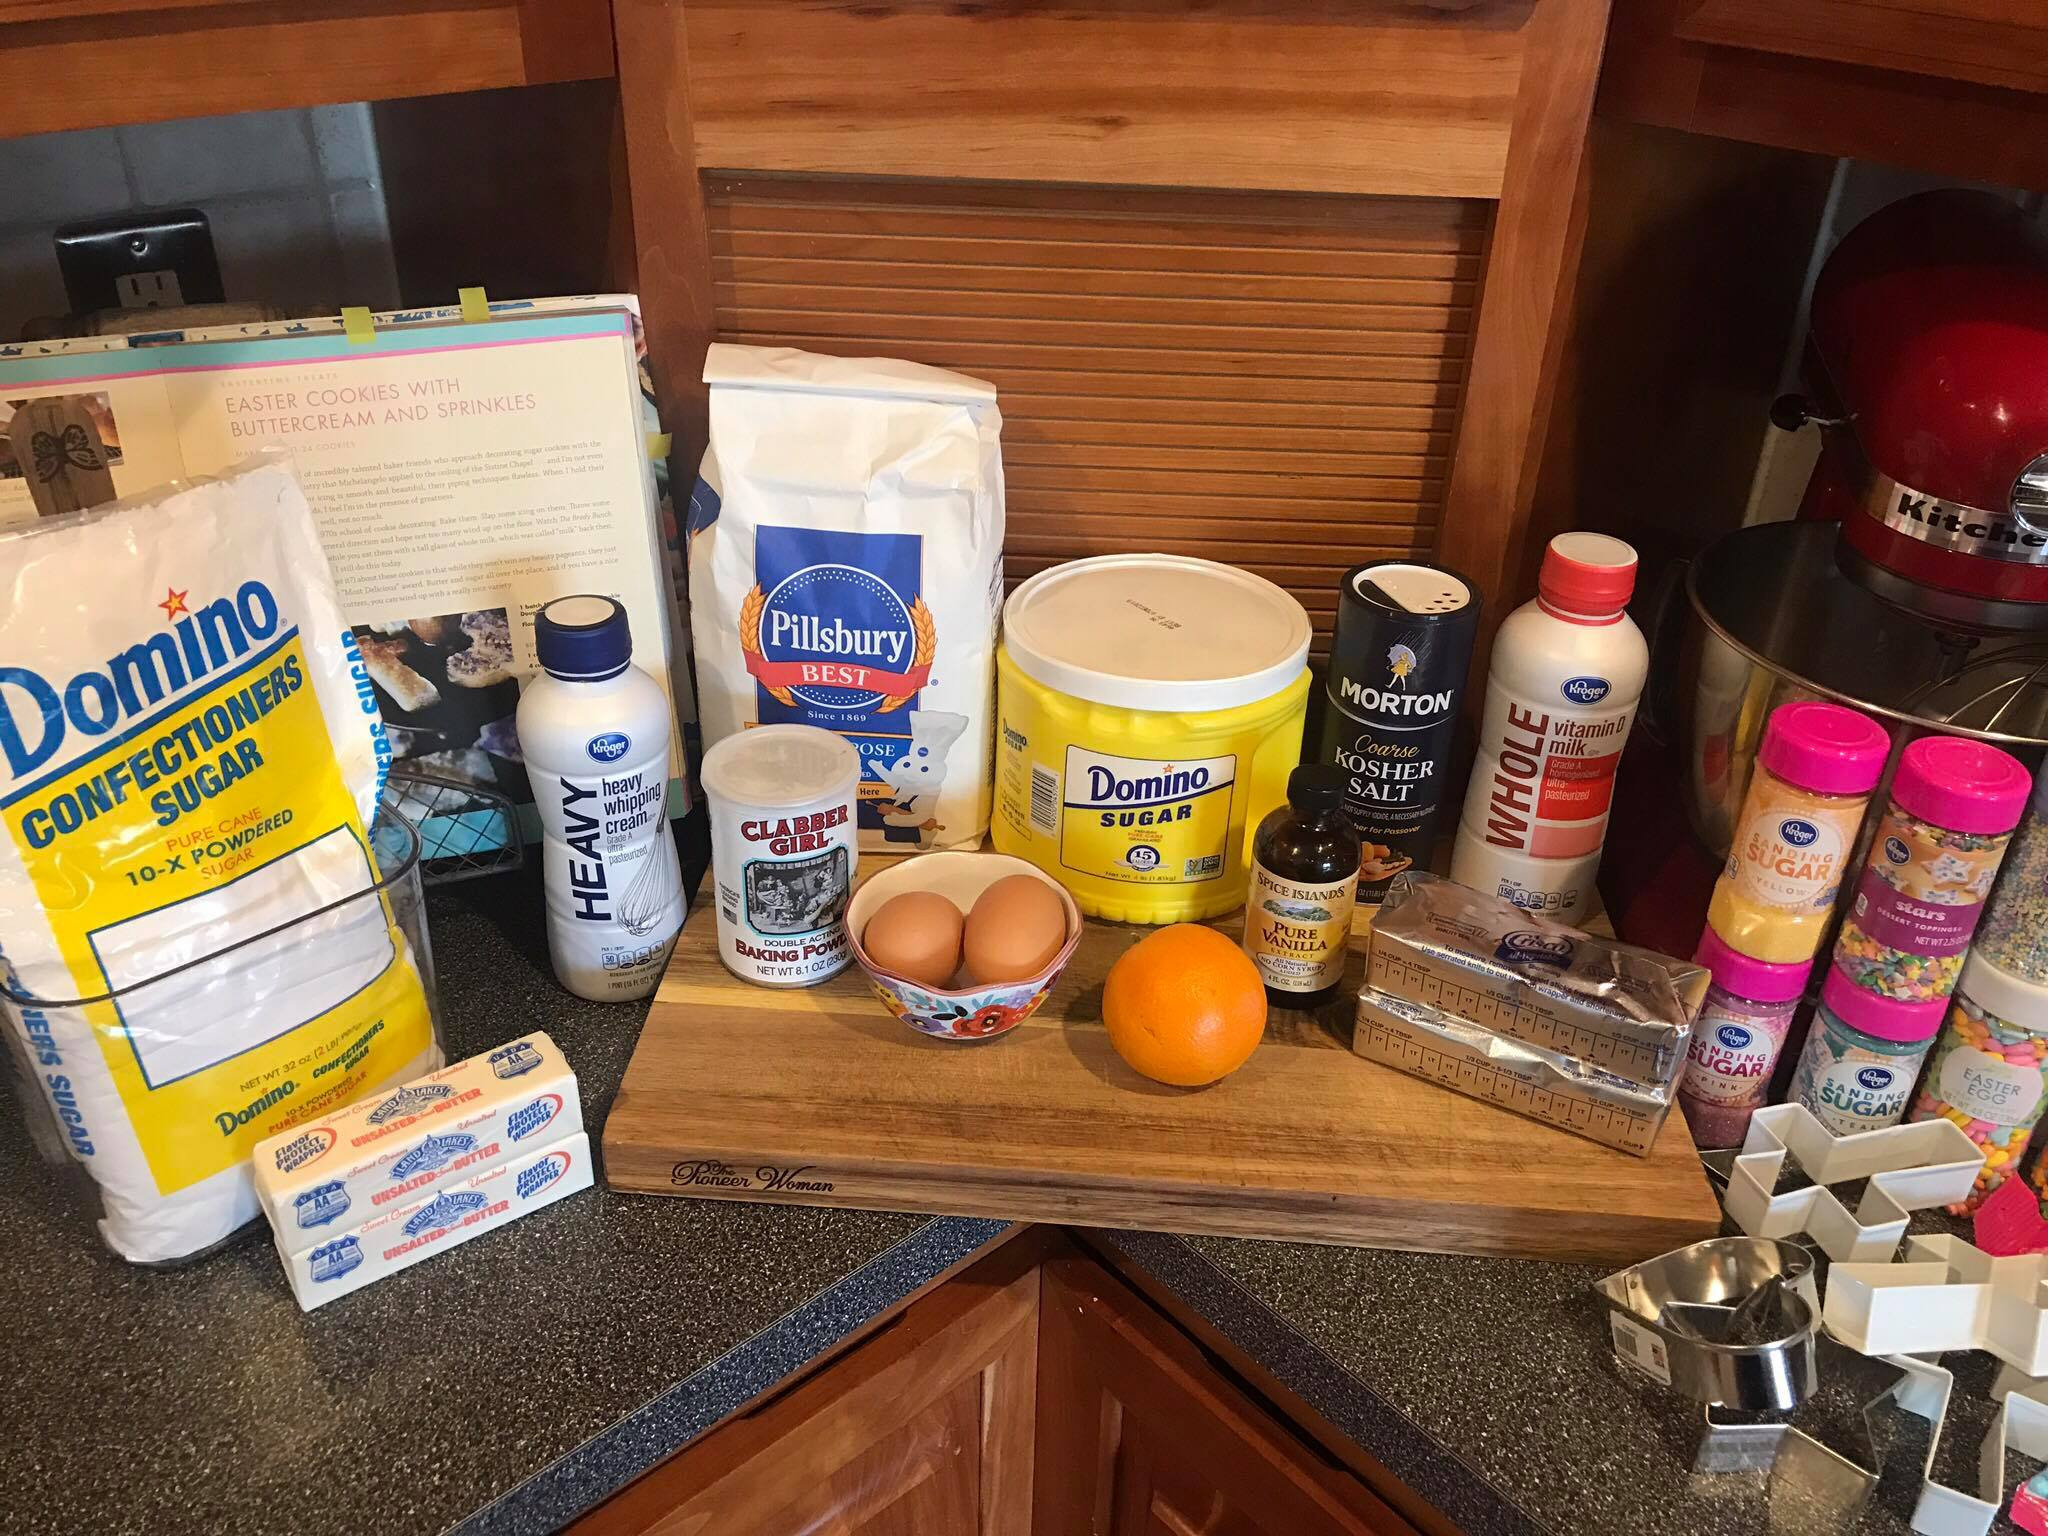
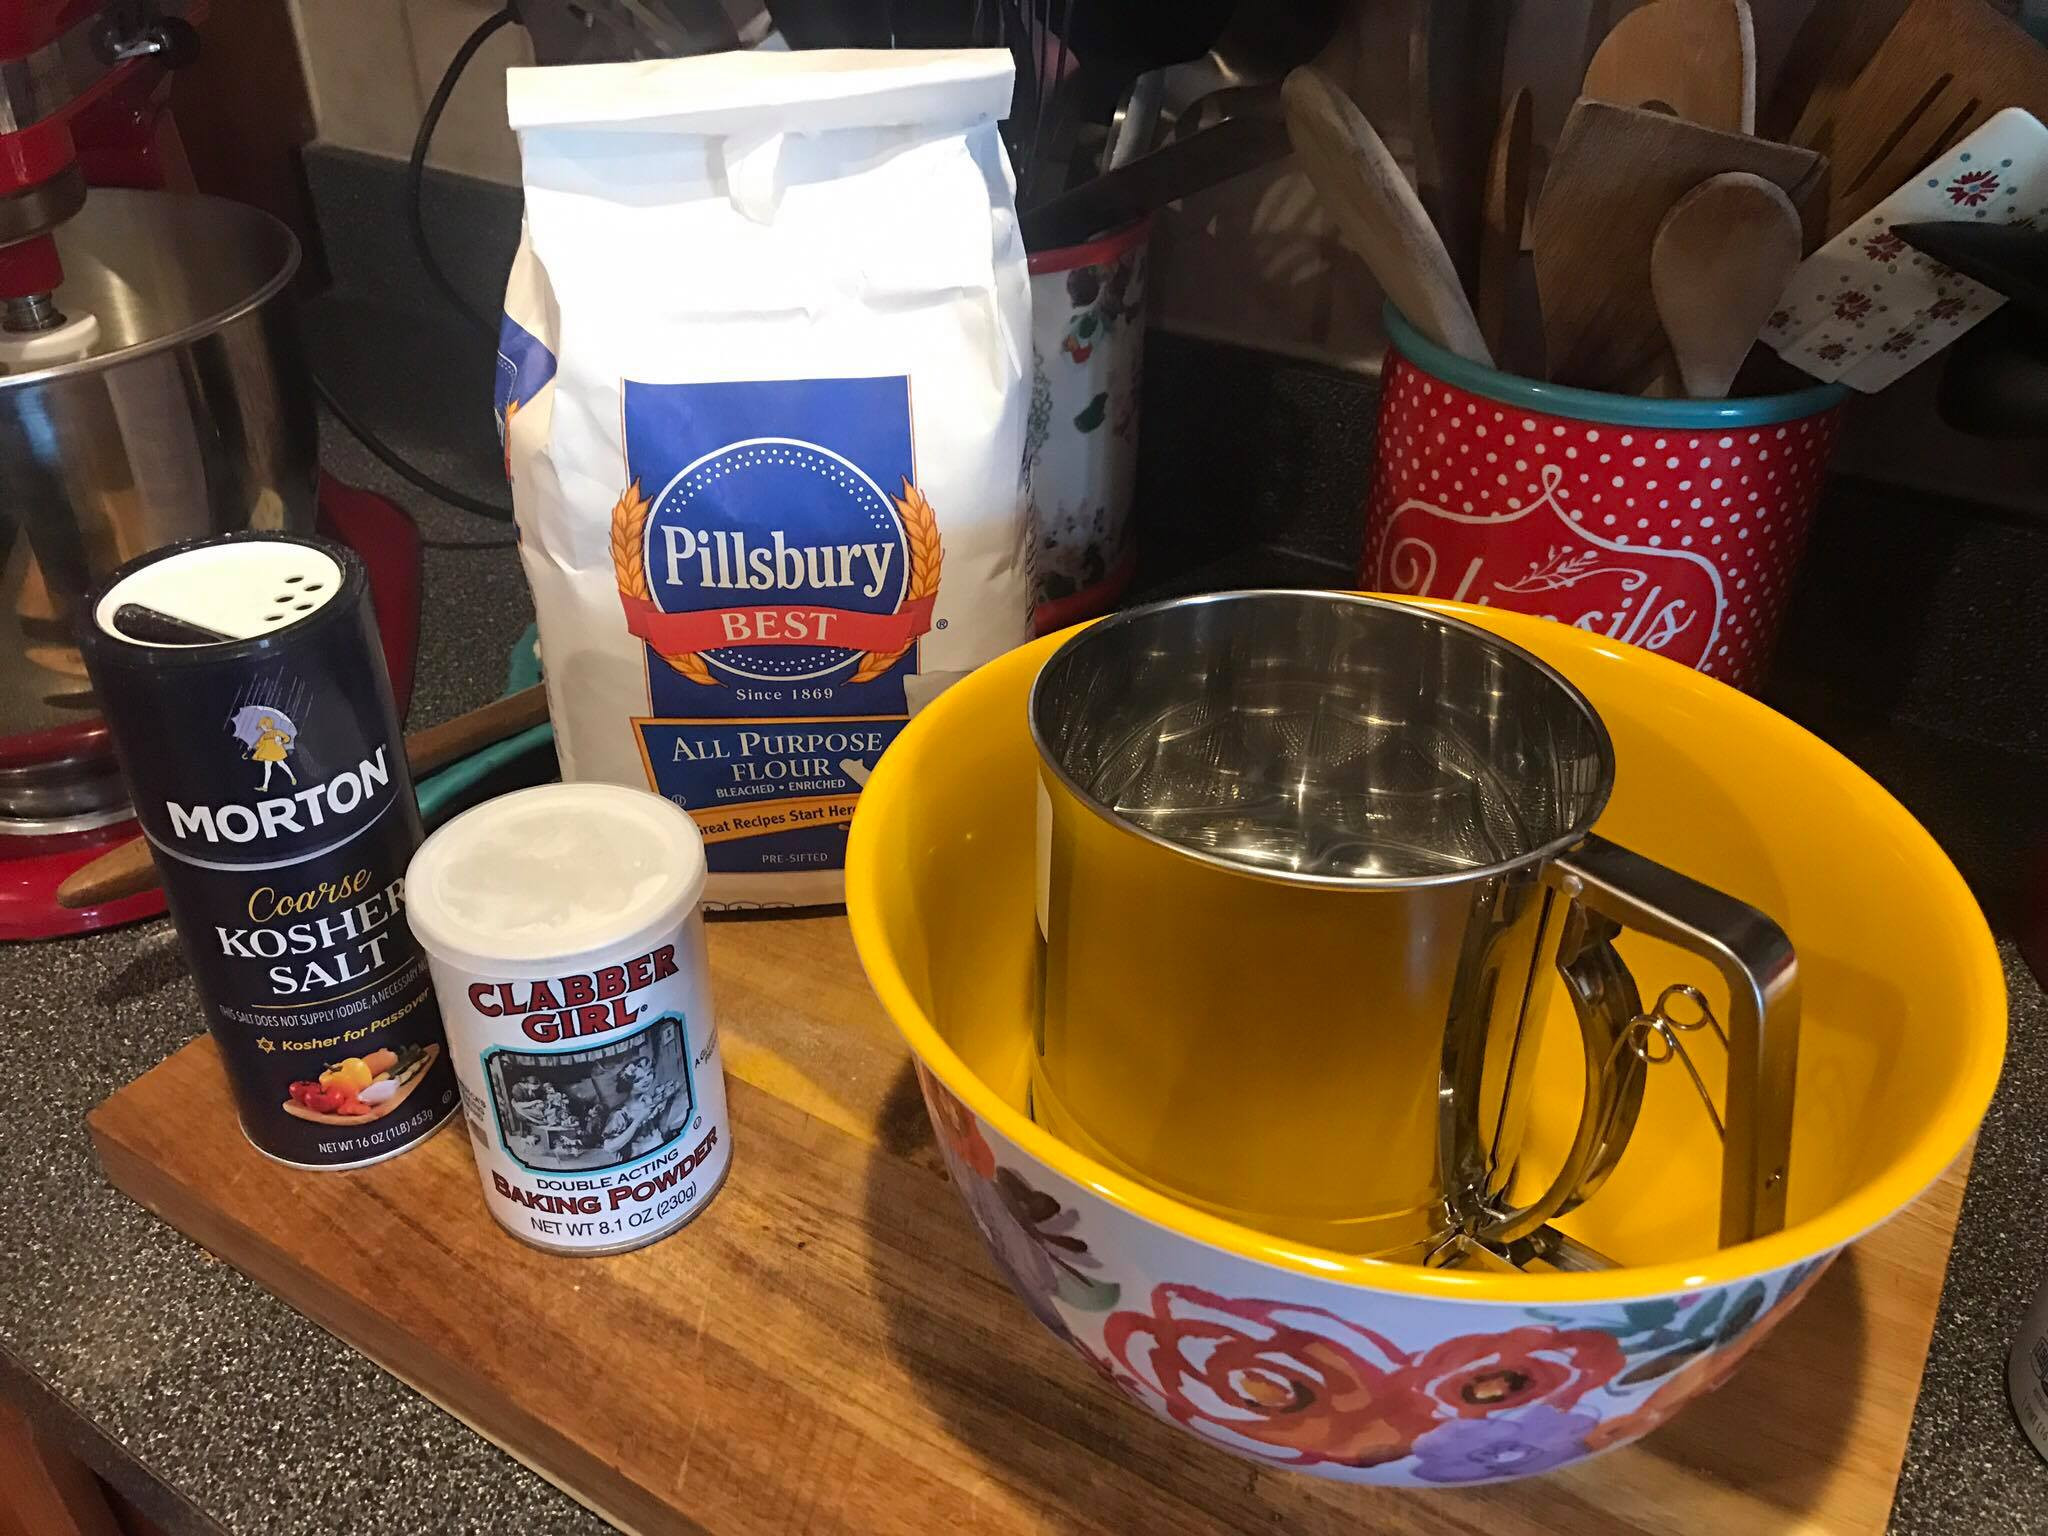
Before we begin, let’s gather all the necessary ingredients for both the sugar cookies and the buttercream frosting. Having everything measured and ready will make the baking process smoother and more enjoyable.
Sugar Cookie Ingredients:
- 1 1/3 cups Shortening
- 1 1/2 cups Sugar
- 1 teaspoon grated Orange Zest
- 2 Large Eggs
- 1 teaspoon Vanilla Extract
- 4 cups All-Purpose Flour, plus extra for rolling
- 3 teaspoons Baking Powder
- 1/2 teaspoon Salt
- 2 tablespoons plus 2 teaspoons Whole Milk
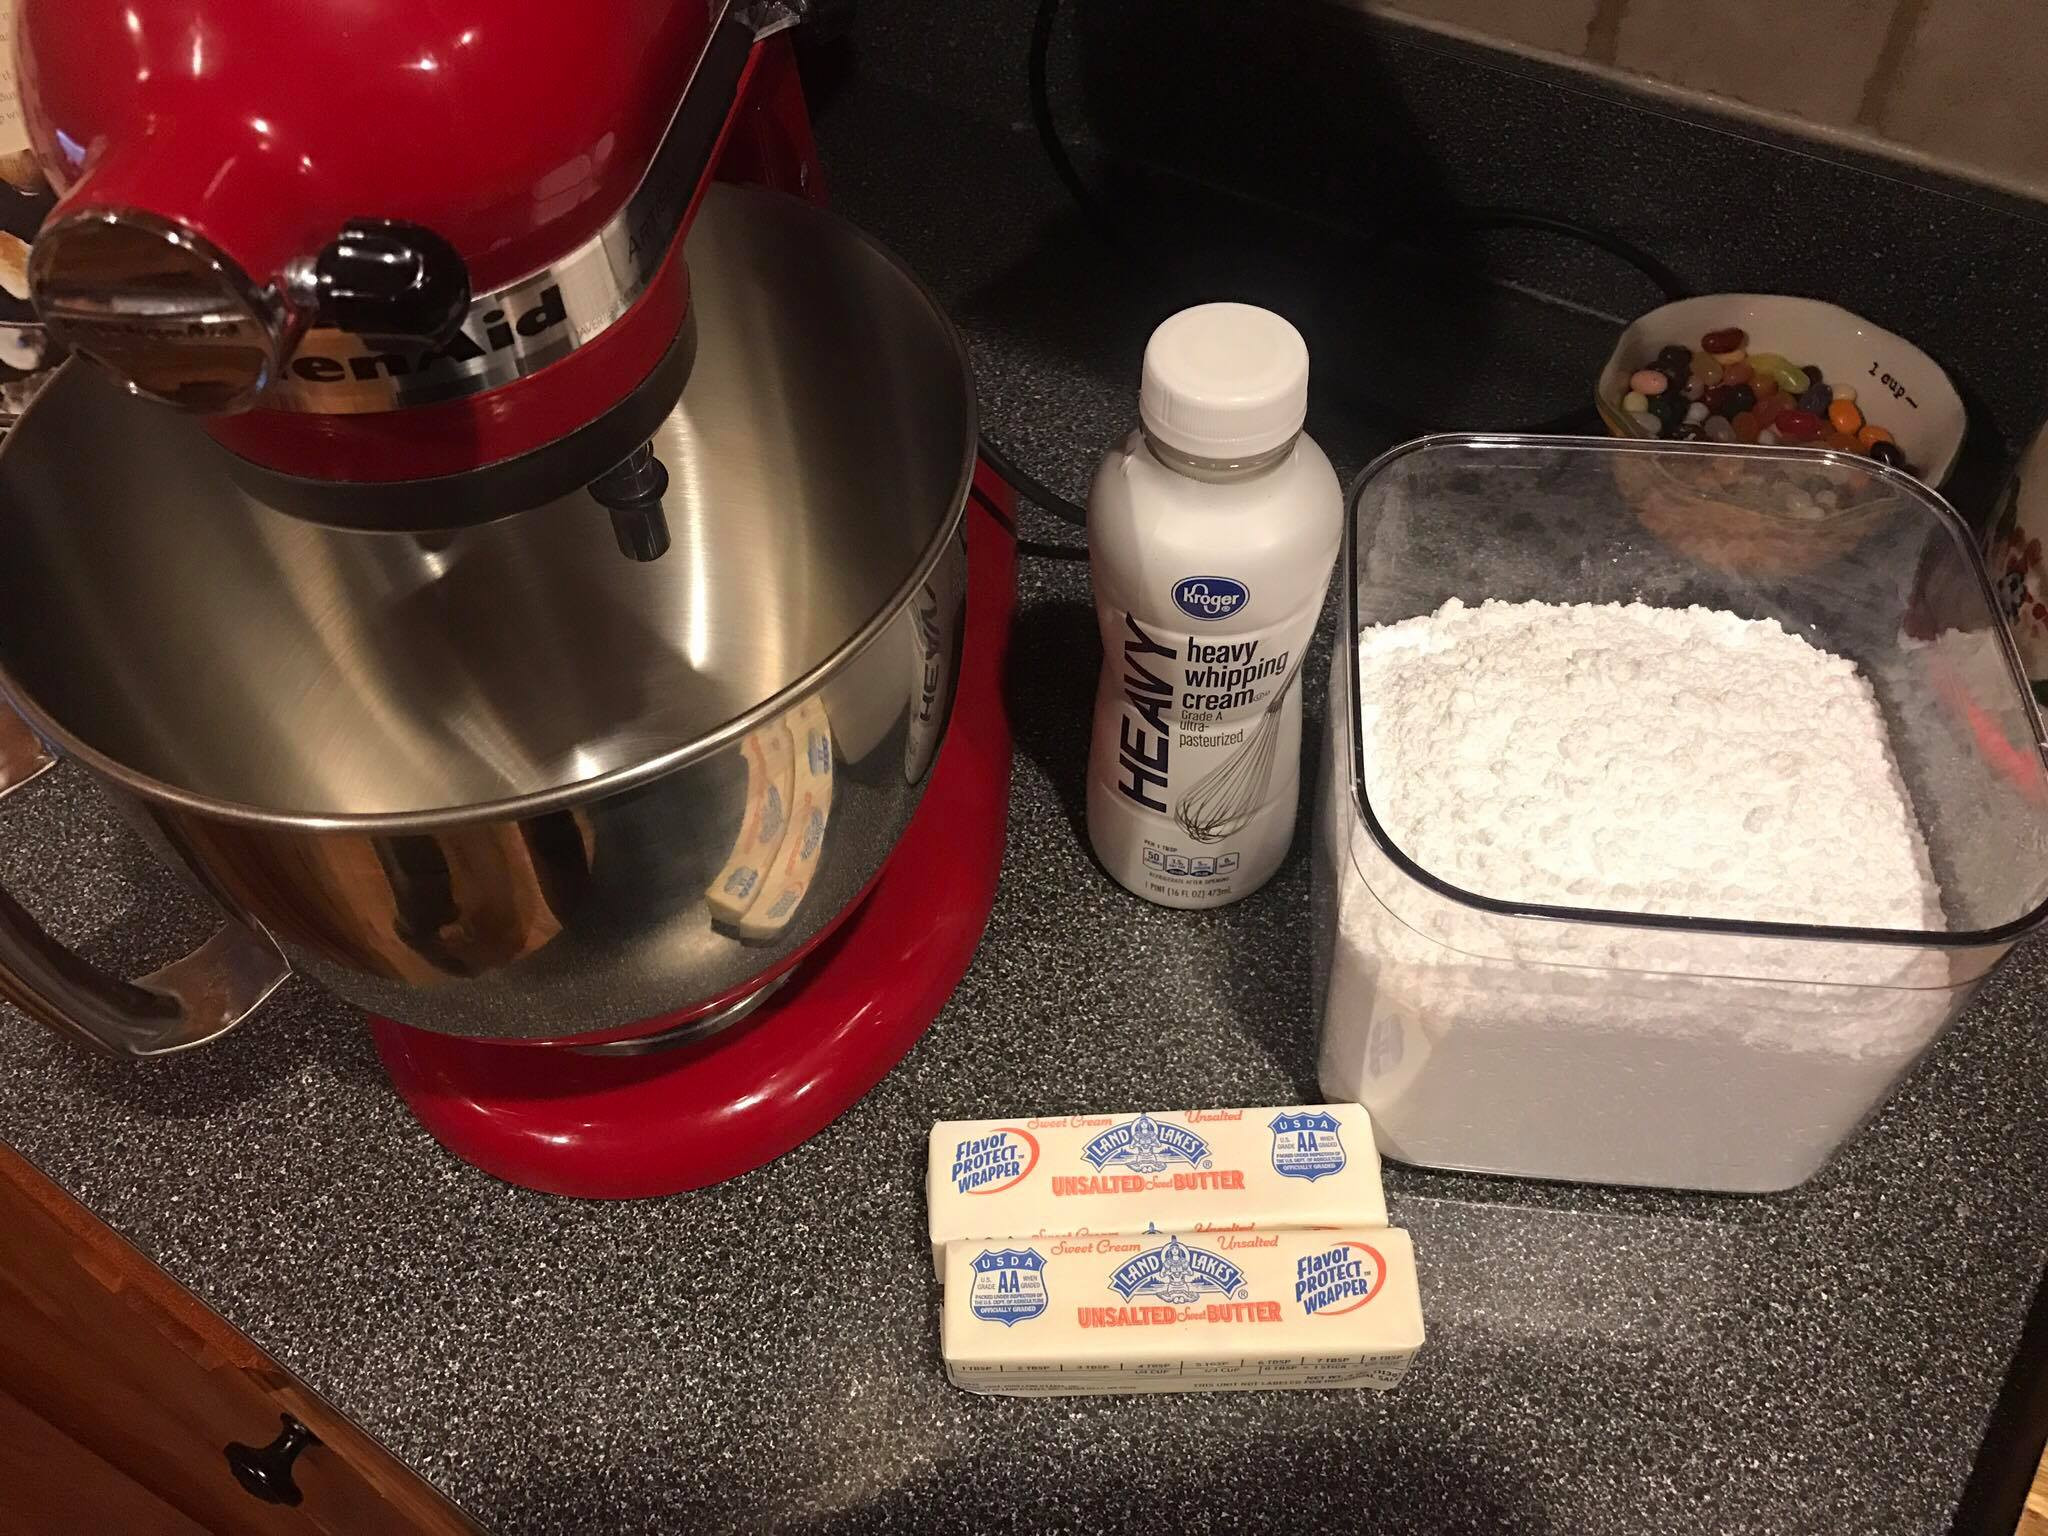
 Ingredients Sugar Cookies with Icing
Image: A well-organized display of all the ingredients needed to make Pioneer Woman sugar cookies and buttercream frosting, emphasizing fresh and quality components.
Buttercream Frosting Ingredients:
- 2 sticks (1 cup) Butter, softened
- 4 cups Powdered Sugar
- 1/4 cup Heavy Cream
- Cookie Sprinkles and Decorations (optional)
- Gel Food Coloring (optional)
Step-by-Step Instructions for Pioneer Woman Sugar Cookies
Now, let’s move on to the exciting part – baking these delightful sugar cookies! Follow these step-by-step instructions to create your own batch of Pioneer Woman-inspired treats.
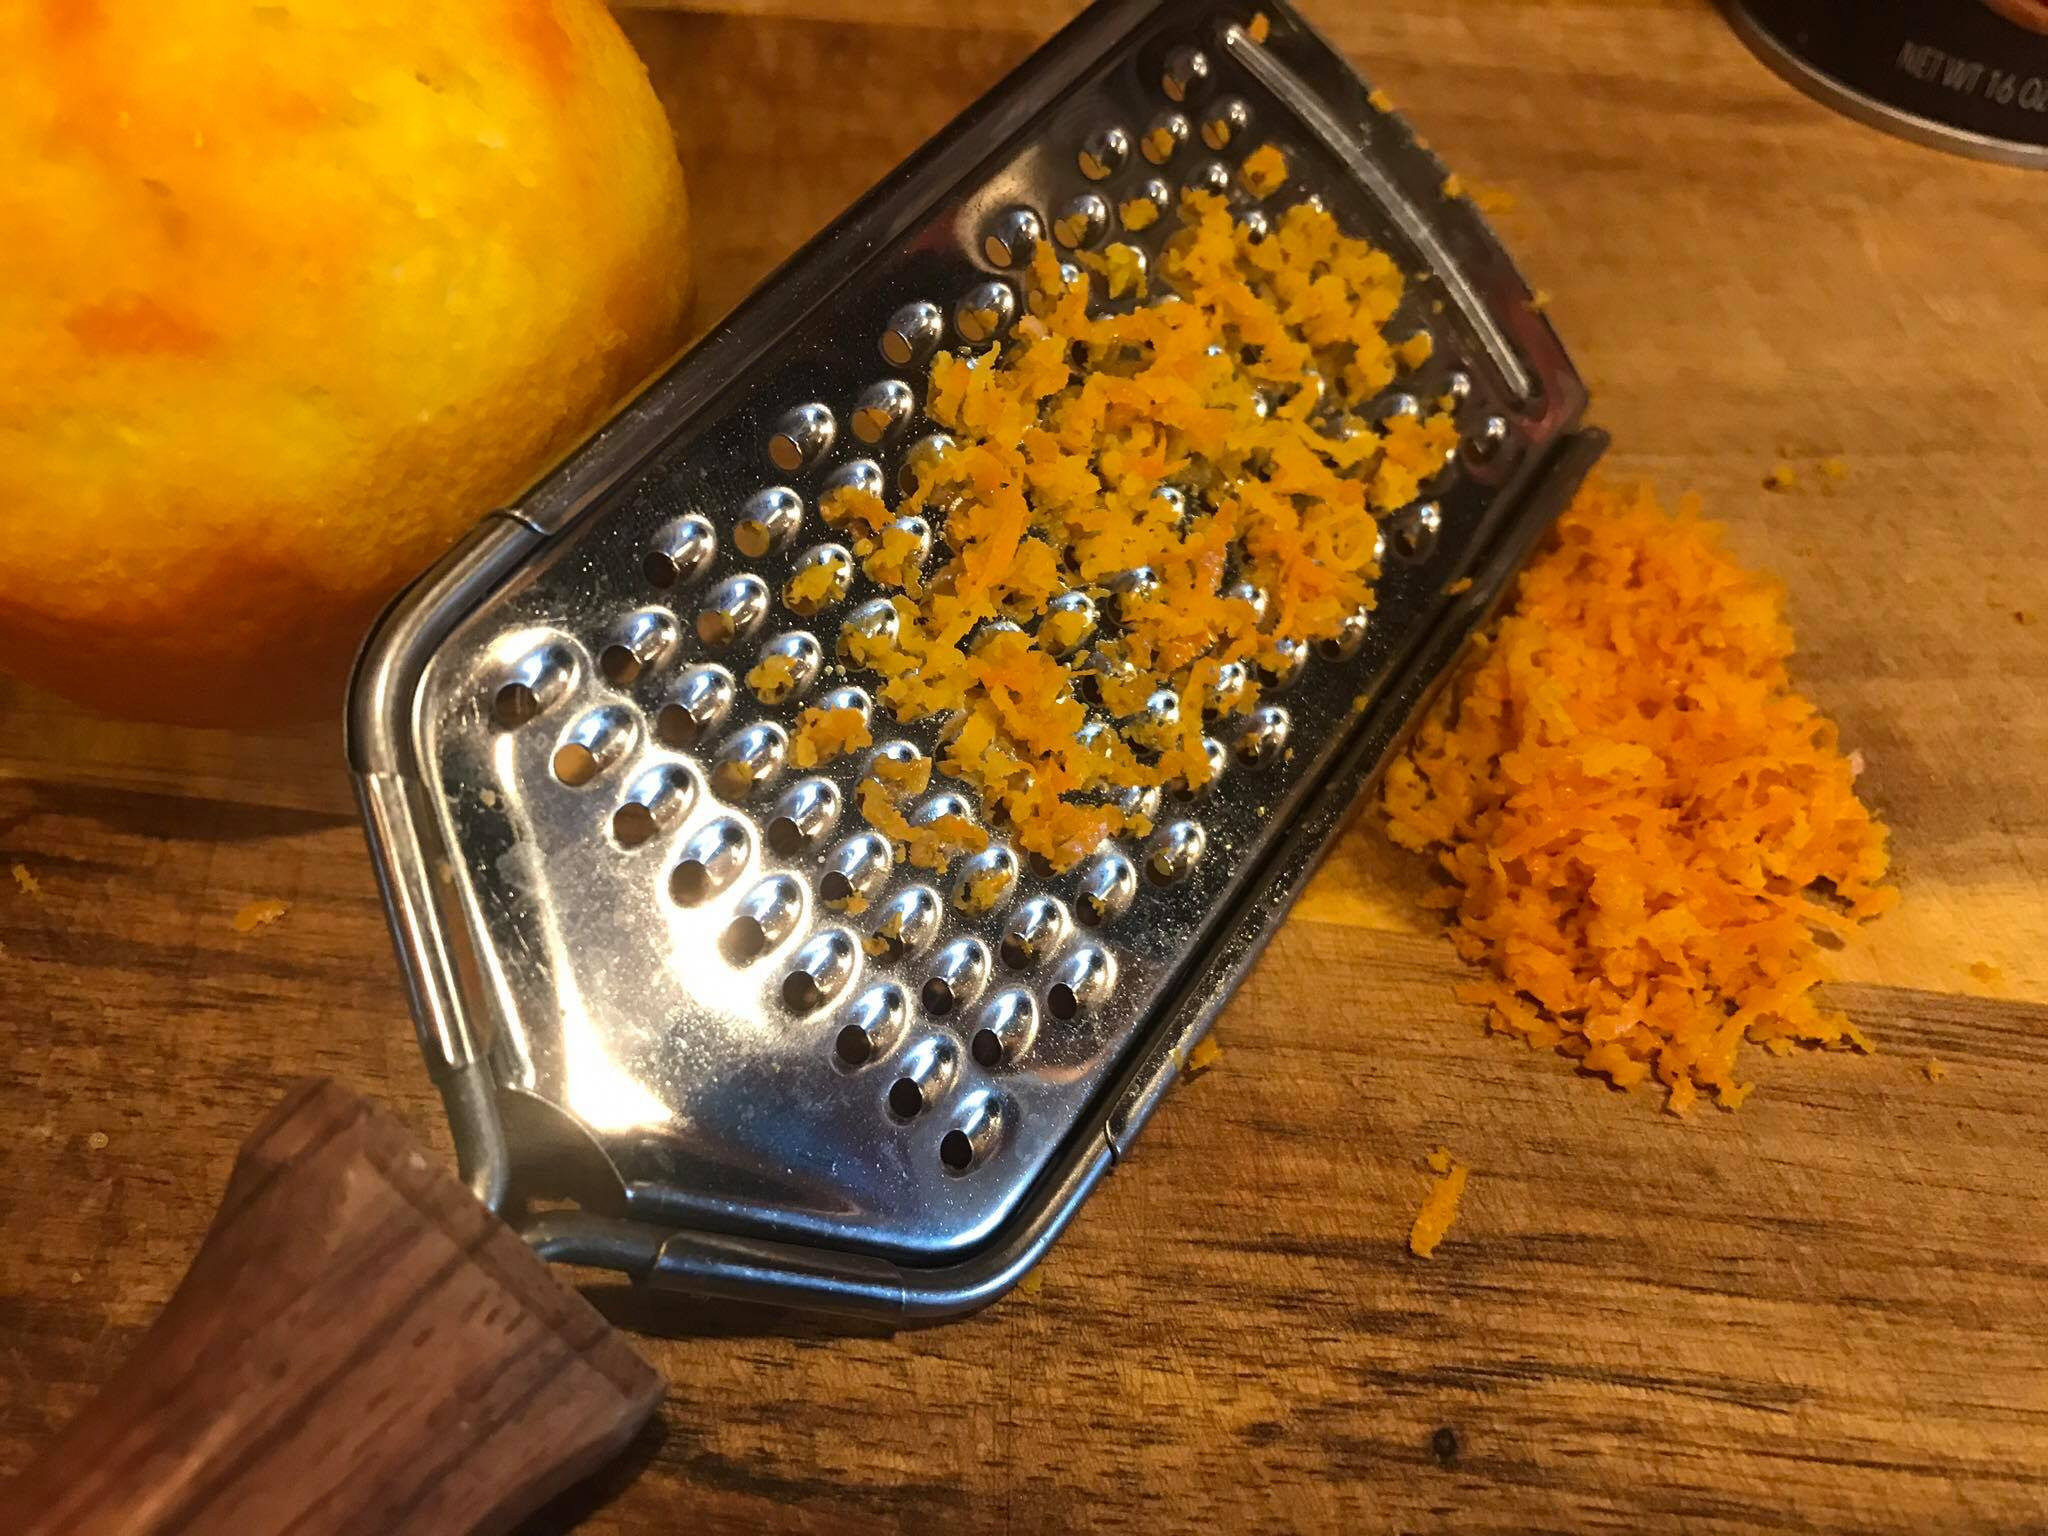
Step 1: Zest the Orange
Begin by grating 1 teaspoon of fresh orange zest. This small addition of orange zest adds a subtle citrus note that beautifully complements the sweetness of the sugar cookies.
 18012965_721269349985_1605624299_o
Image: Close-up shot of grating fresh orange zest, highlighting the vibrant color and aromatic citrus element being added to the recipe.
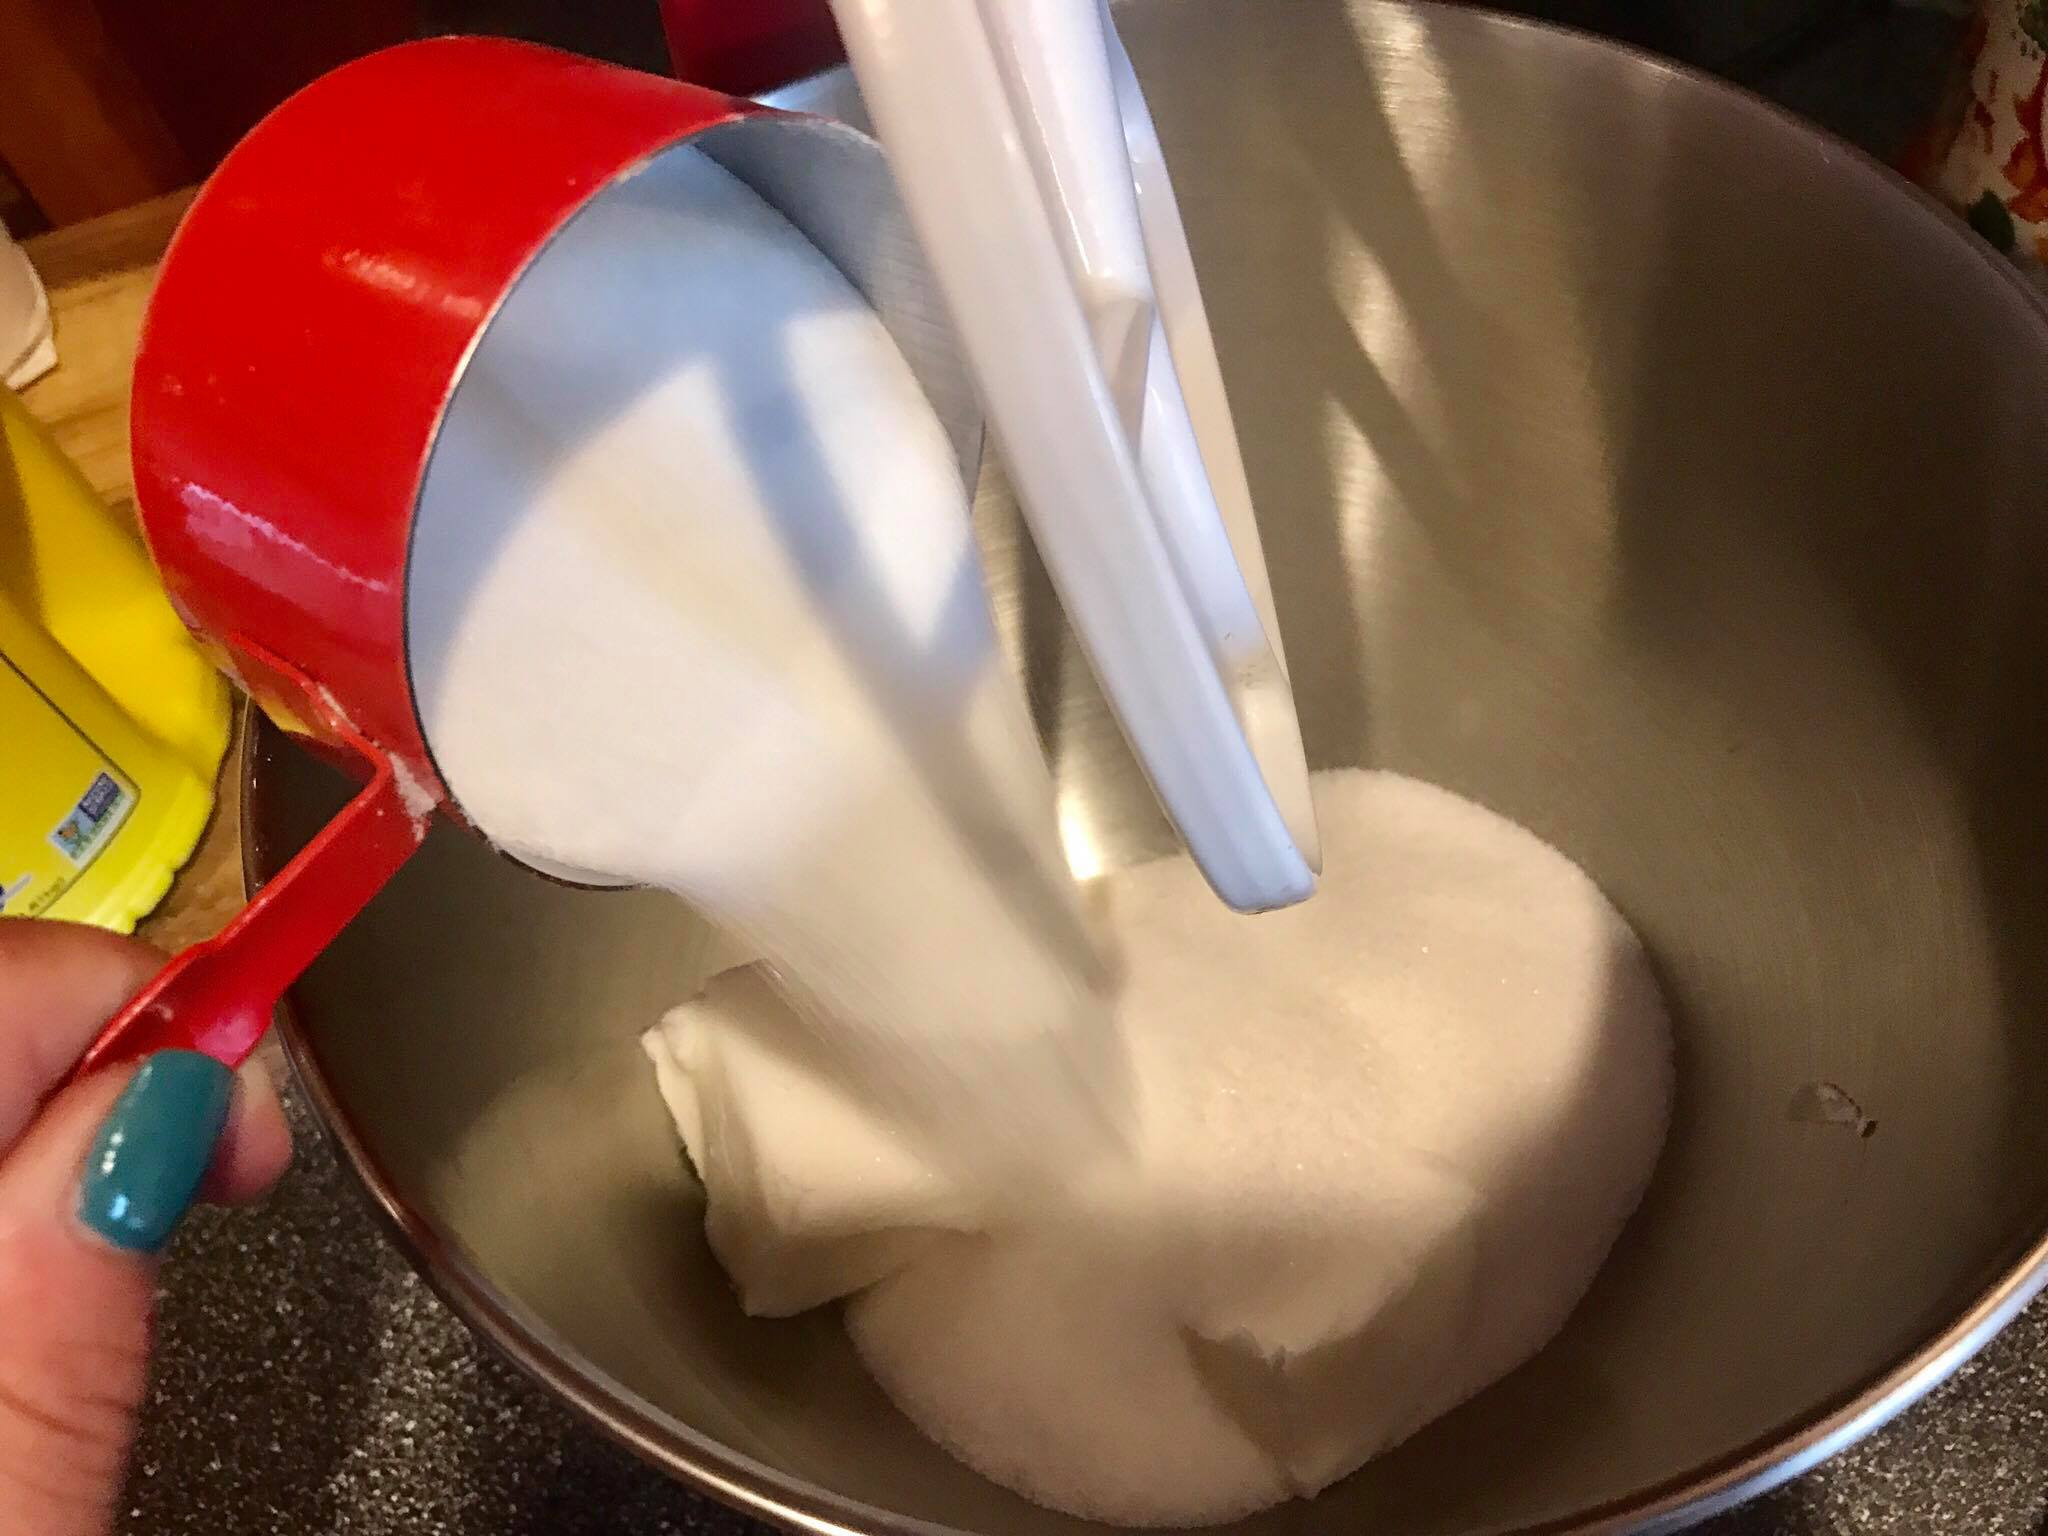
Step 2: Combine Shortening, Sugar, and Orange Zest
In the bowl of an electric mixer fitted with the paddle attachment, combine 1 1/3 cups of shortening and 1 1/2 cups of sugar.
 18012725_721269958765_1912652760_o
Image: Shortening and sugar being combined in a mixing bowl with an electric mixer, illustrating the initial steps of creating the cookie dough base.
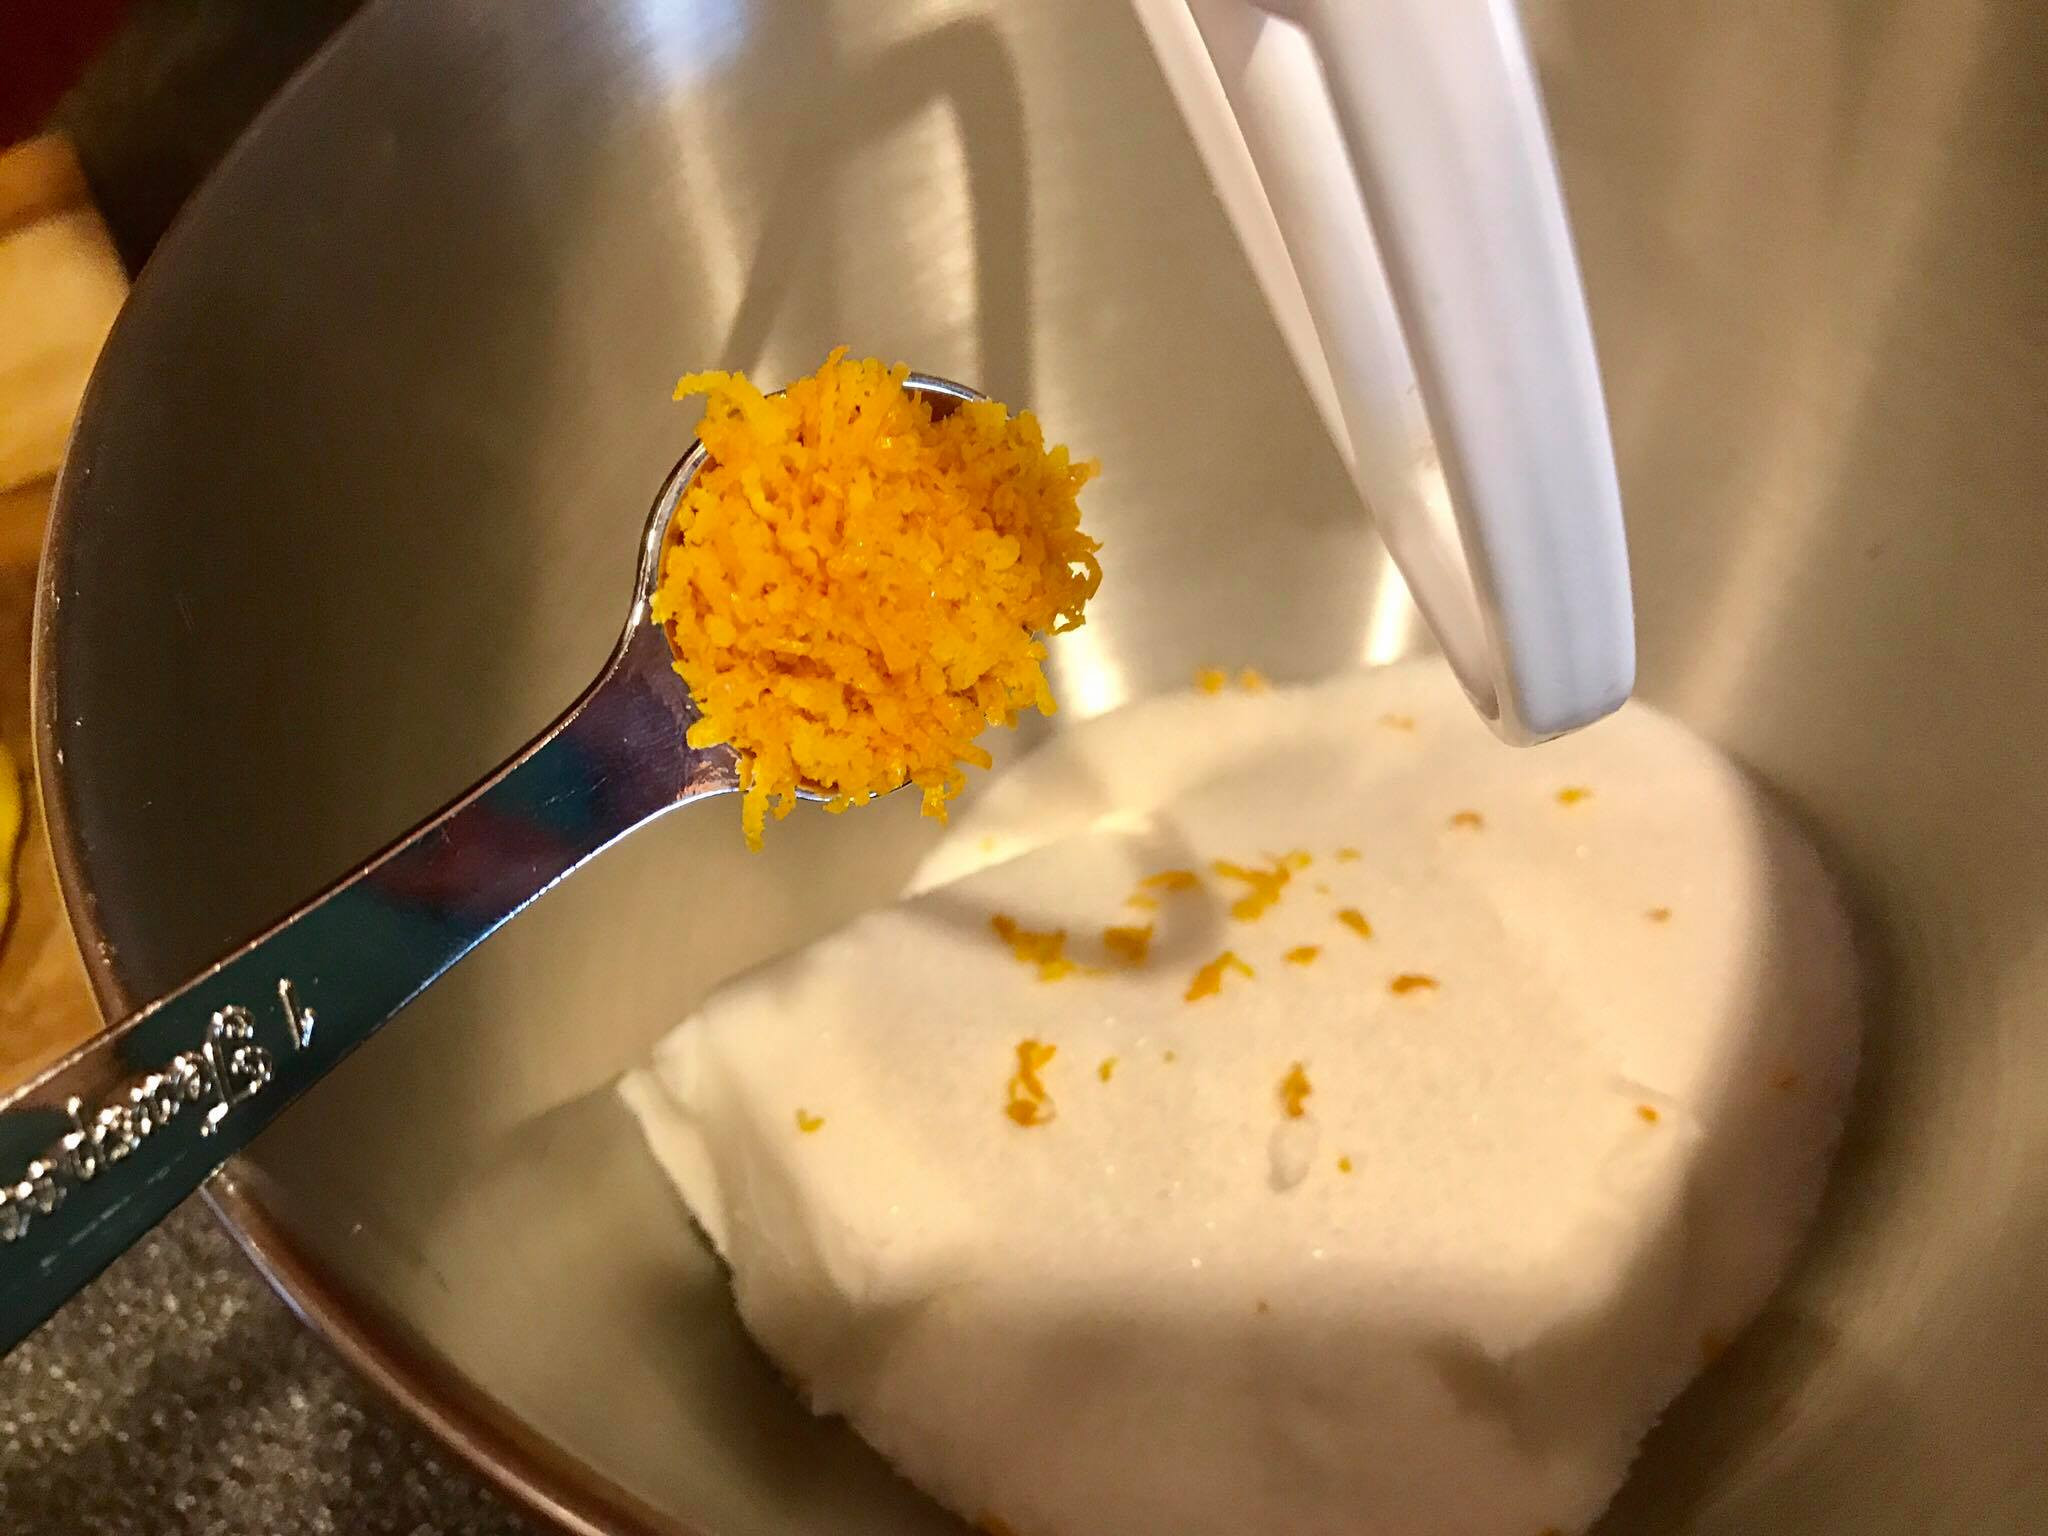
Add the 1 teaspoon of freshly grated orange zest to the mixture.
 17949675_721269963755_308368174_o
Image: Orange zest being added to the bowl with shortening and sugar, emphasizing the incorporation of the aromatic zest into the initial mixture.
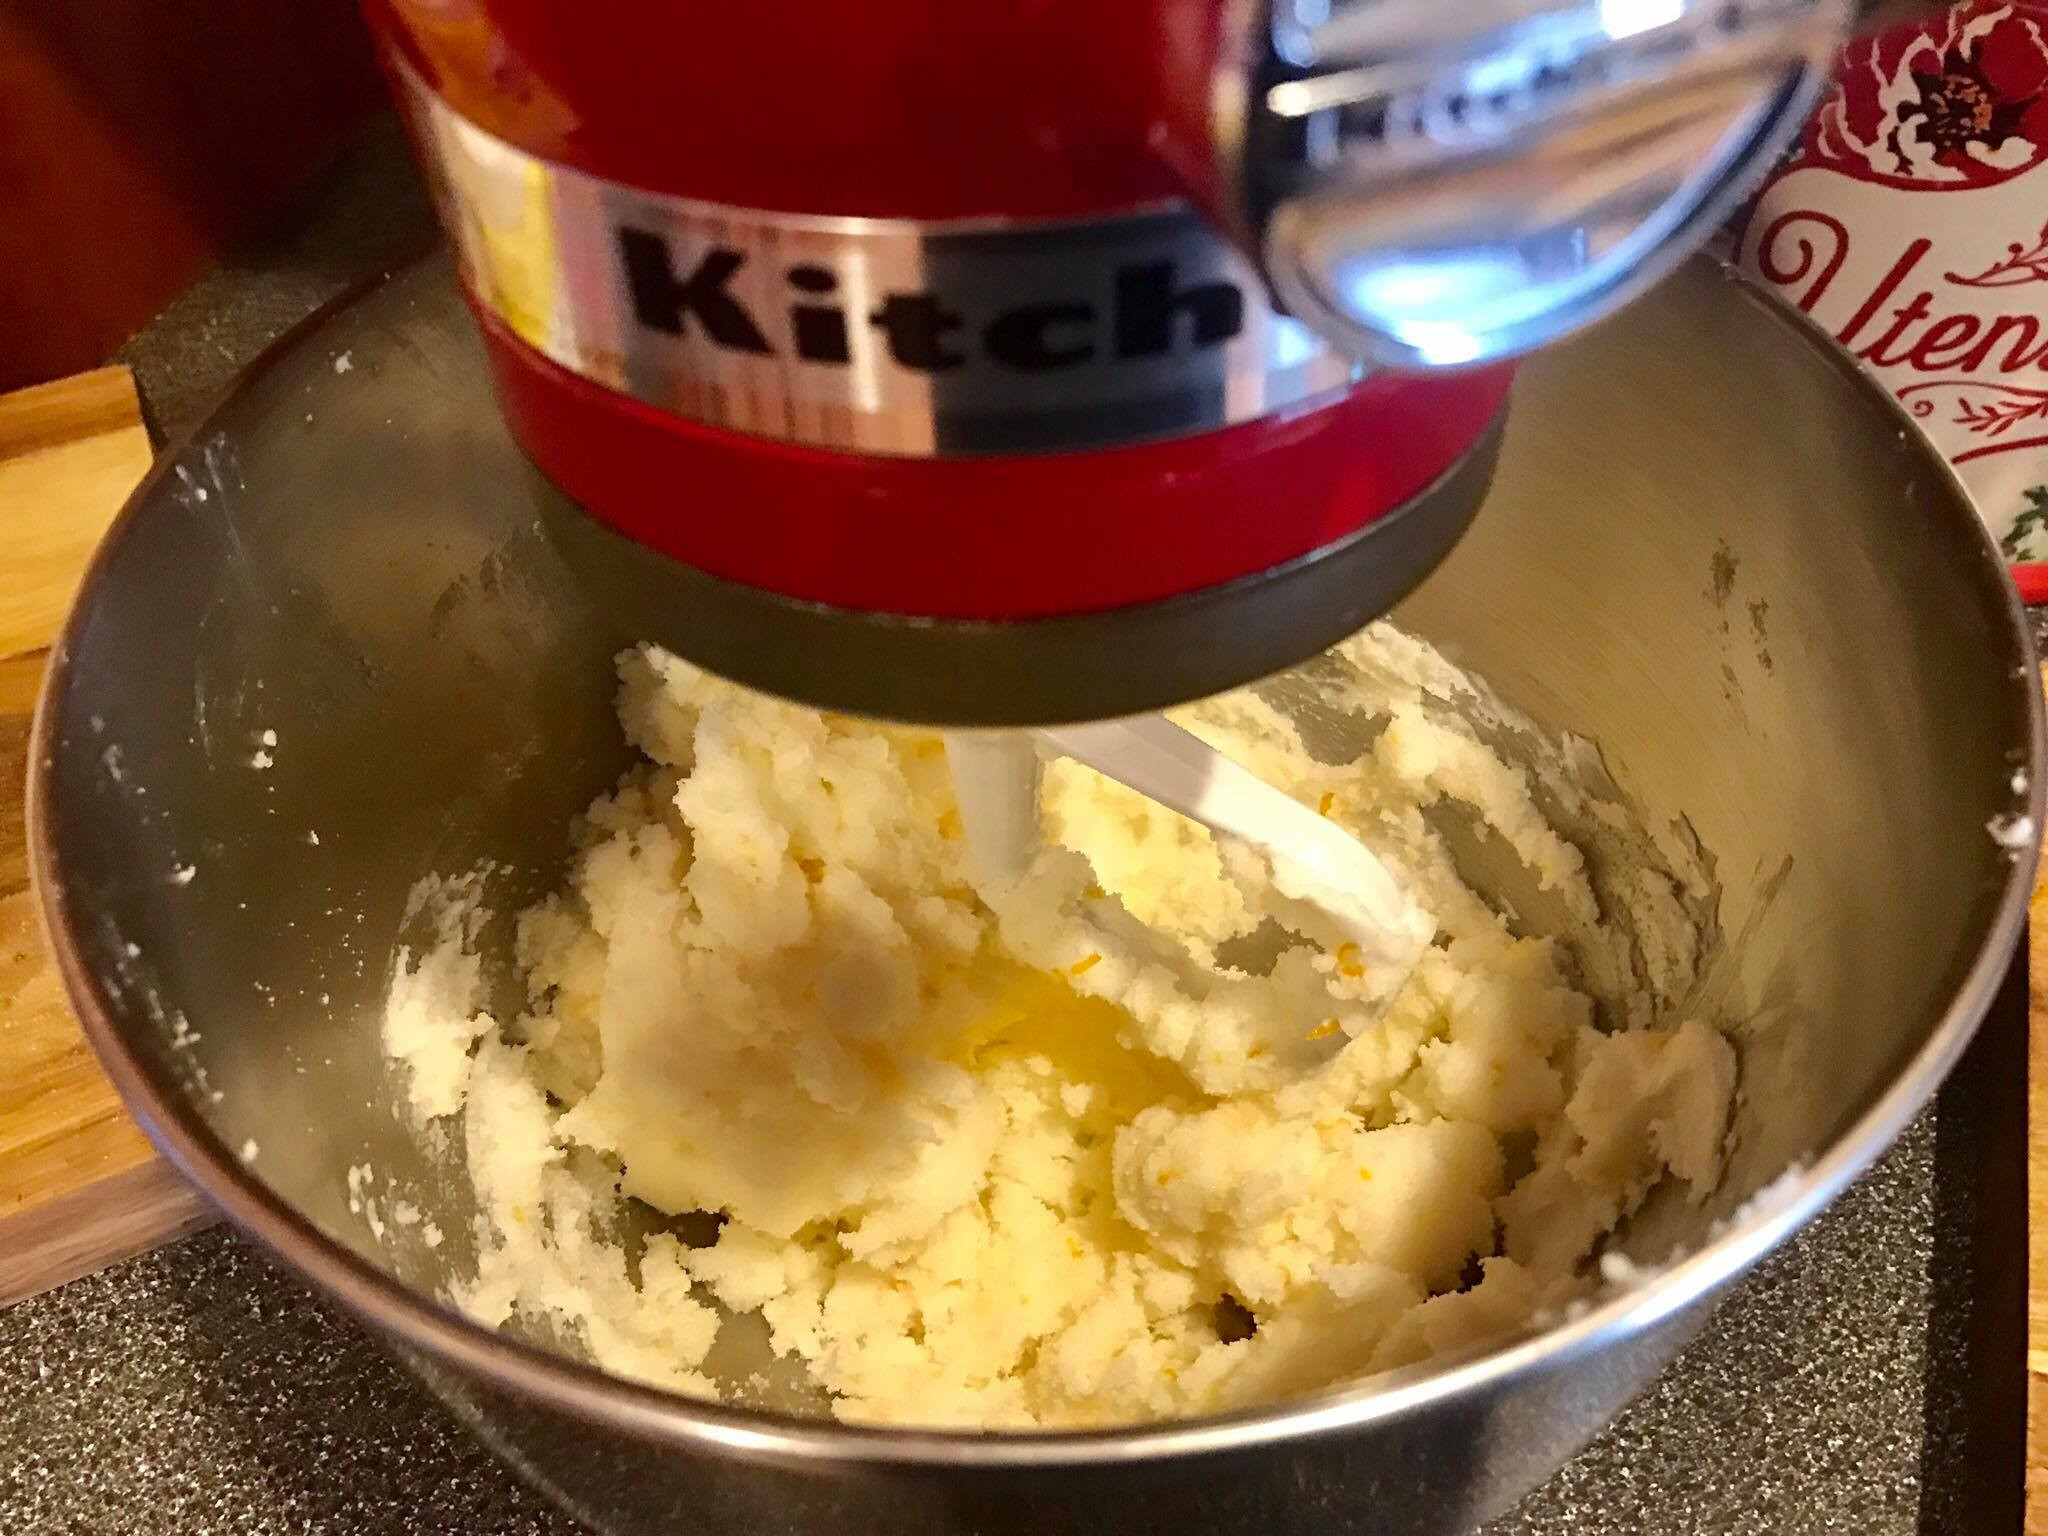
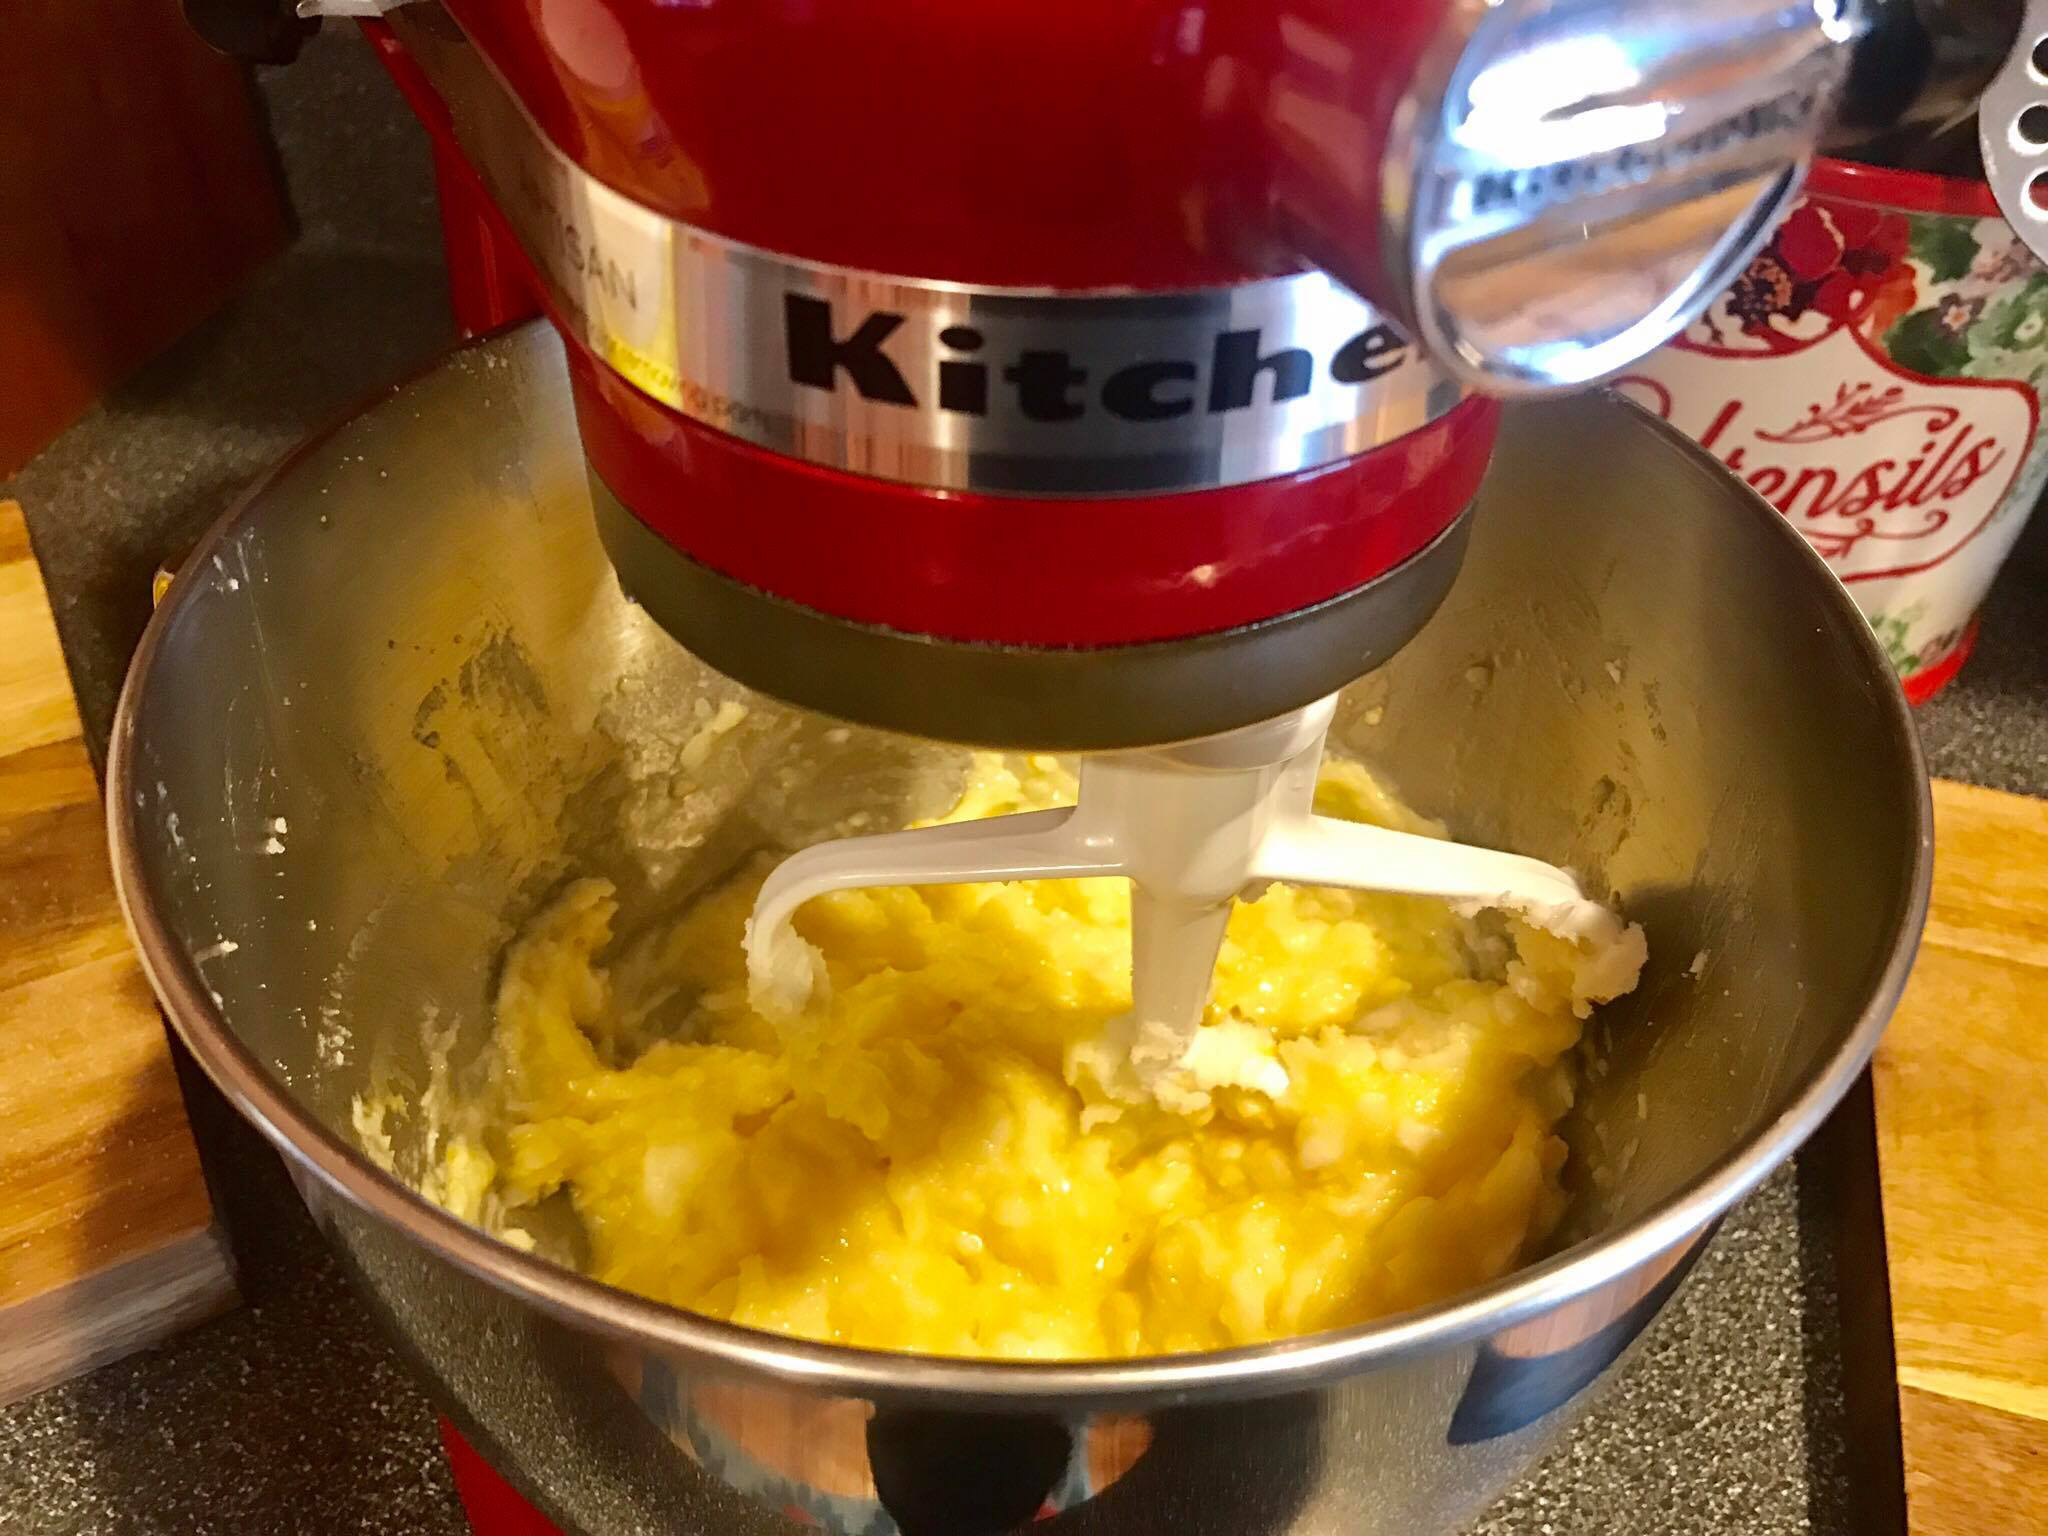
Step 3: Cream the Ingredients
Beat the shortening, sugar, and orange zest together until the mixture becomes smooth and creamy. This step is crucial for achieving the right texture for your sugar cookies. While an electric mixer makes this process easier, you can also mix by hand if you’re feeling up for a bit of a workout! Our grandmothers did it this way, showcasing their incredible baking strength.
 18015569_721270003675_432734109_o
Image: The mixture of shortening, sugar, and orange zest being creamed together with an electric mixer until smooth, demonstrating the desired consistency of the base.
Step 4: Add Eggs
Next, add 2 large eggs to the bowl. Fresh, quality eggs make a noticeable difference in baking, and if you have access to farm-fresh eggs, they will elevate your cookies even further.
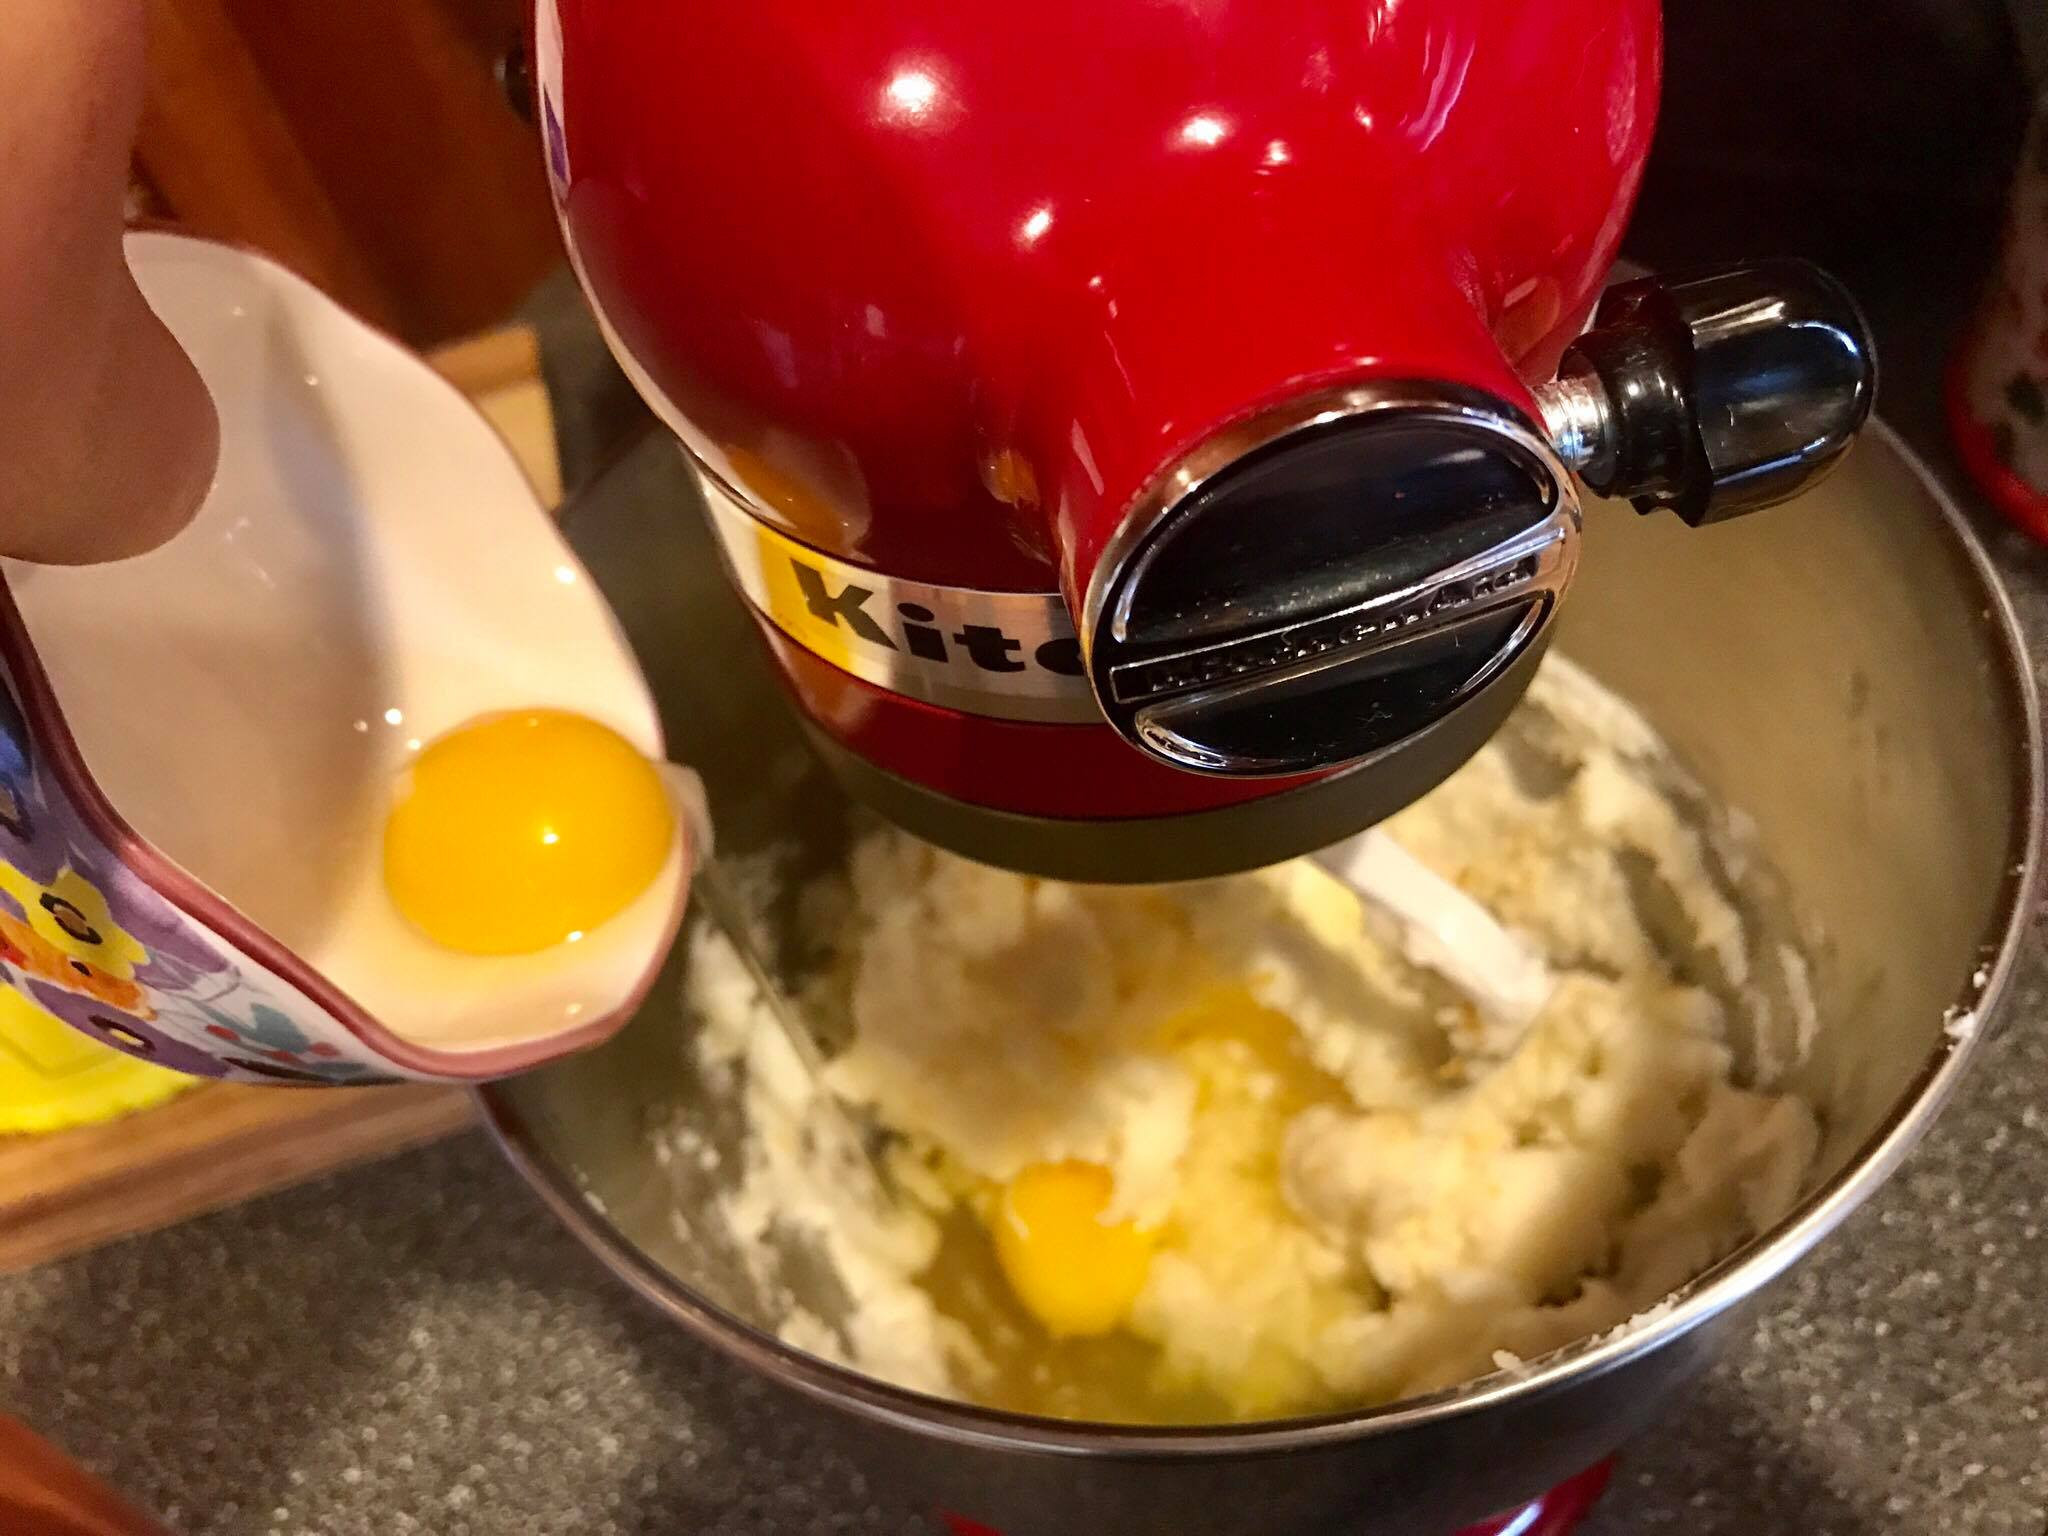 18015884_721270008665_173594243_o
Image: Eggs being added to the mixing bowl, highlighting the addition of a binding agent to the cookie dough mixture.
Step 5: Incorporate Vanilla Extract
Pour in 1 teaspoon of vanilla extract. Vanilla extract enhances the overall flavor profile of the cookies, adding a warm and comforting note.
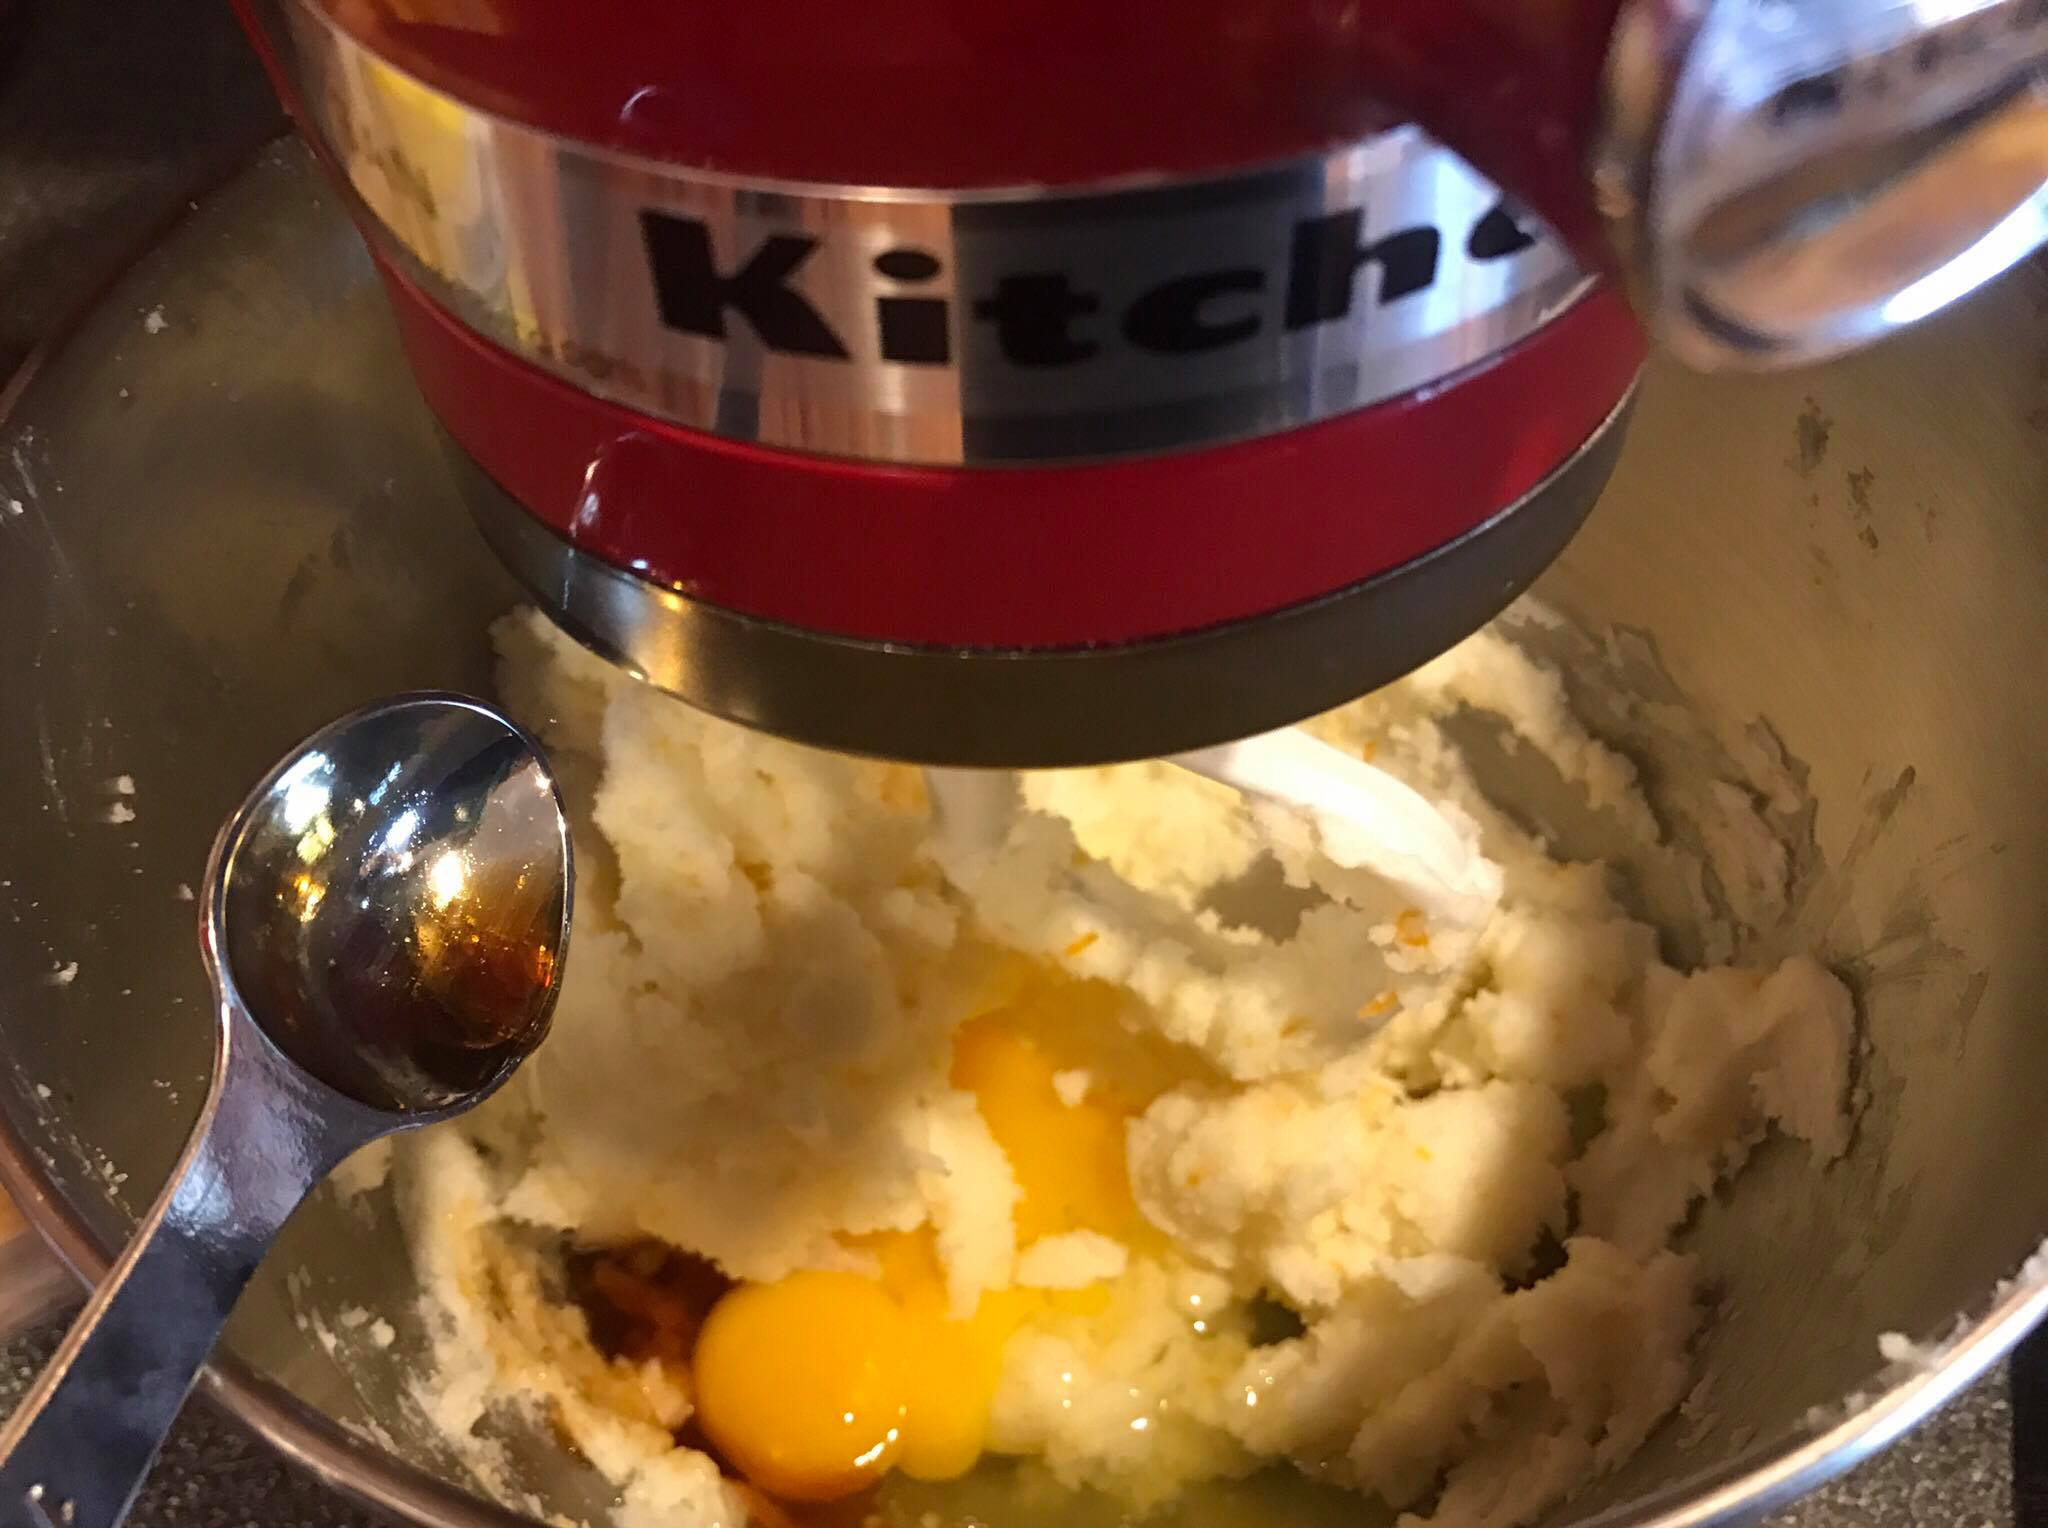 17950059_721270013655_1228472425_o
Image: Vanilla extract being poured into the mixing bowl, showcasing the addition of flavor enhancement to the cookie dough.
Step 6: Continue Mixing
Resume beating the mixture to fully incorporate the eggs and vanilla extract.
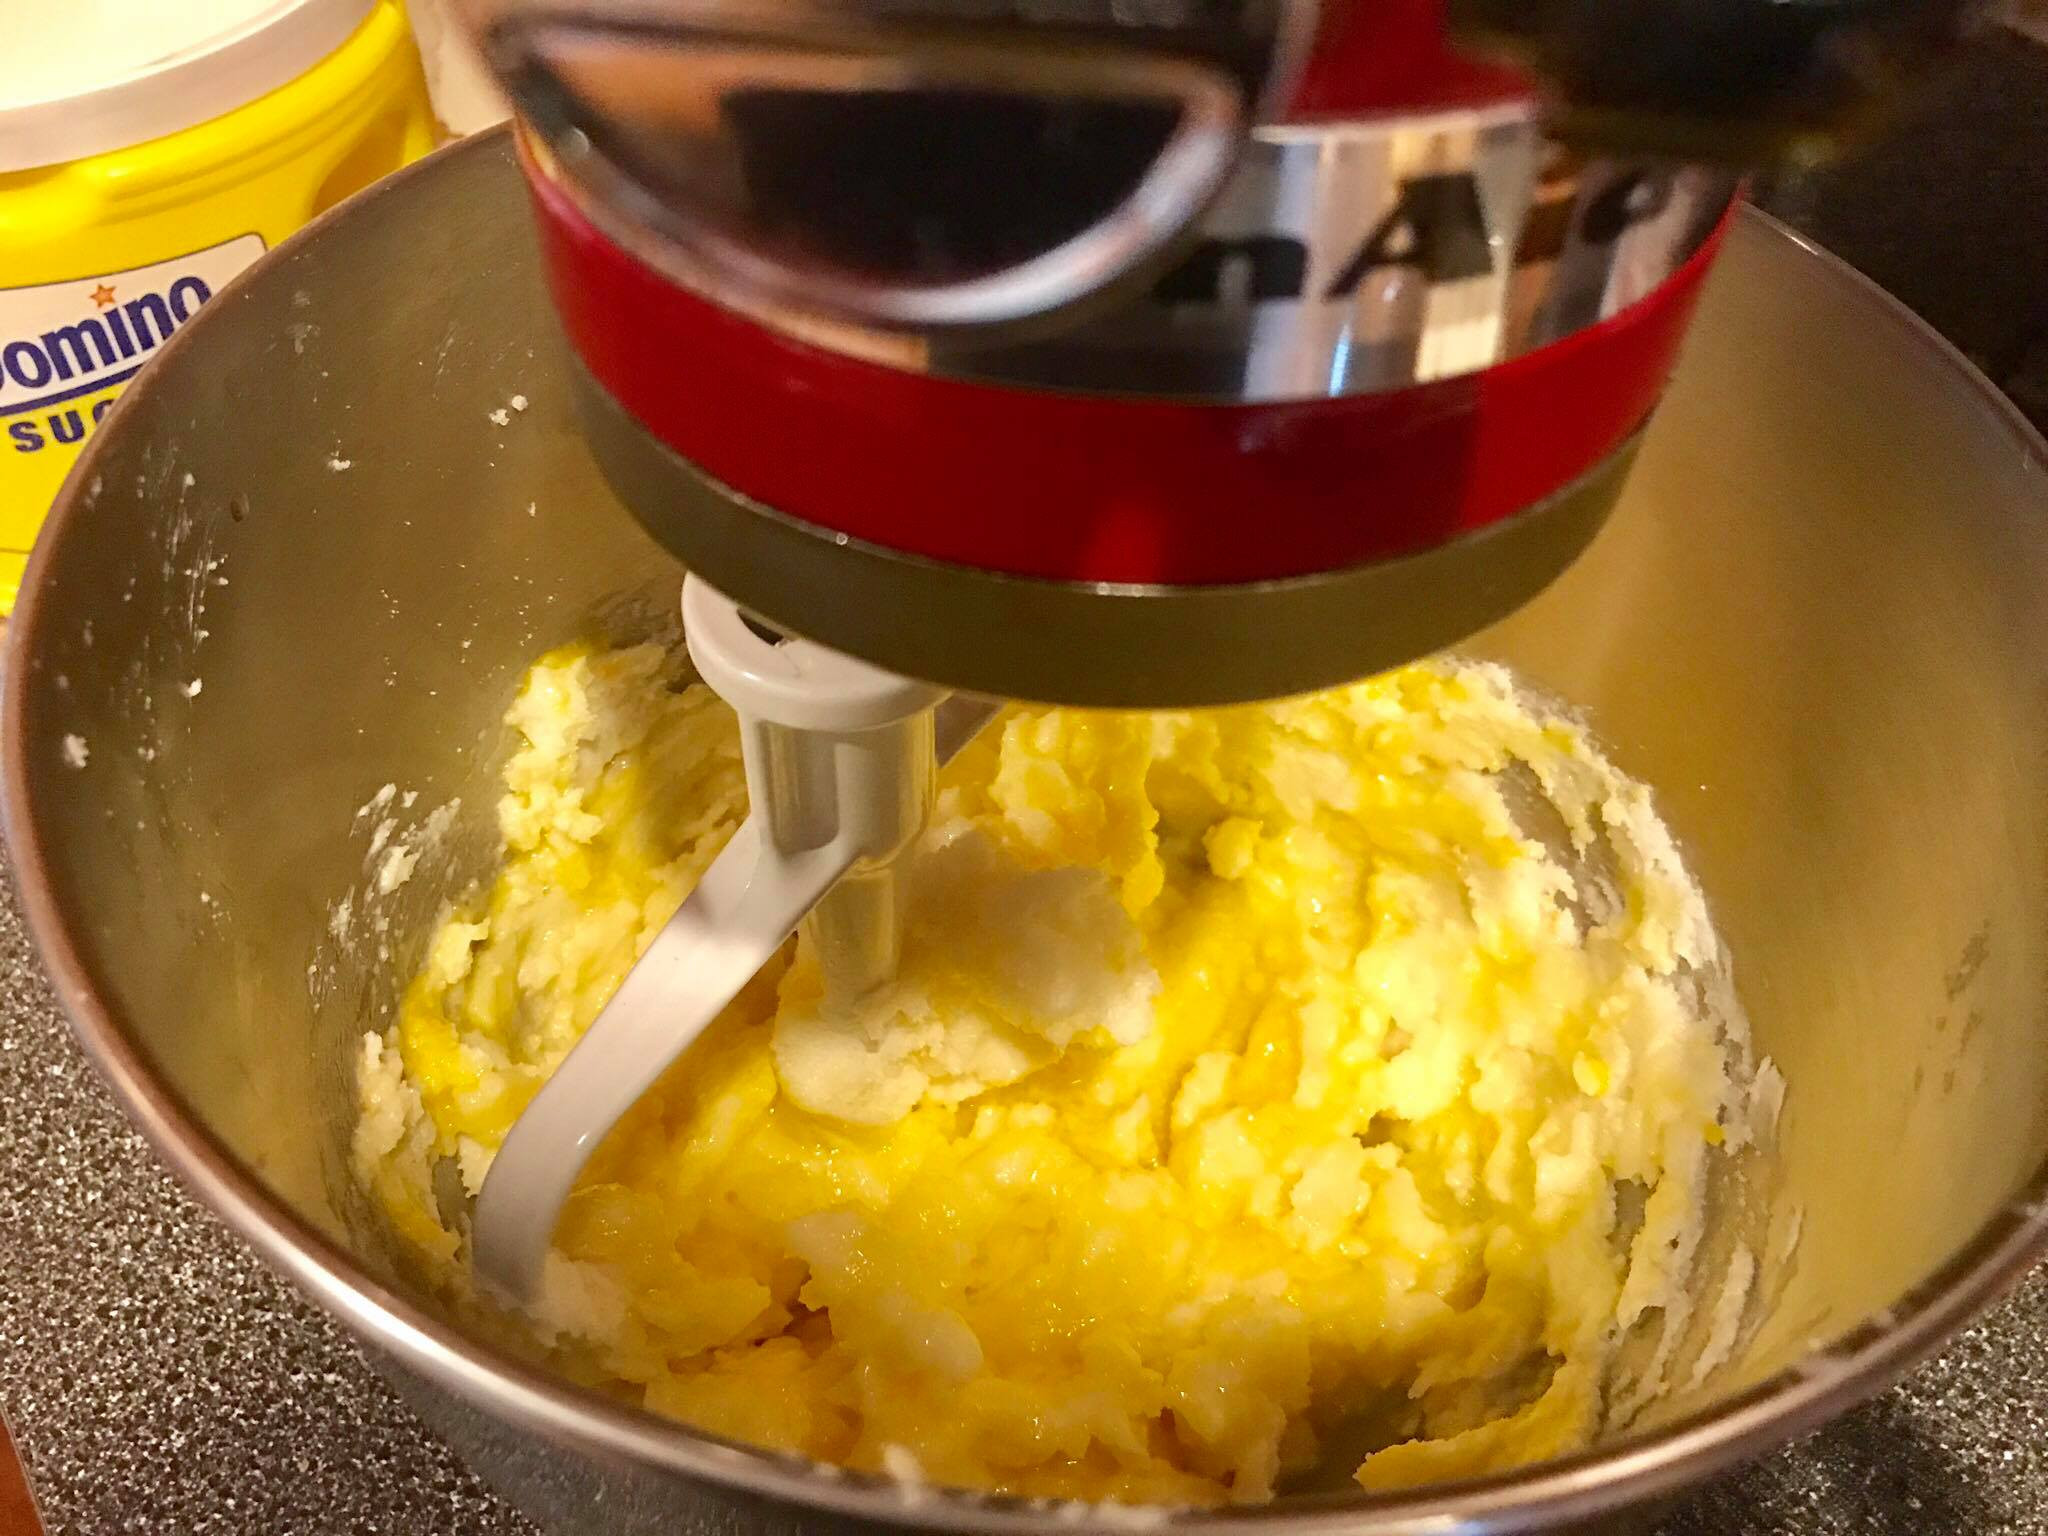 17950088_721270018645_999541909_o
Image: The mixture being further mixed with an electric mixer, ensuring all wet ingredients are well combined into the cookie dough.
Step 7: Scrape Down the Bowl
Stop the mixer and scrape down the sides of the bowl with a spatula. This ensures that all ingredients are evenly incorporated, preventing any pockets of unmixed ingredients.
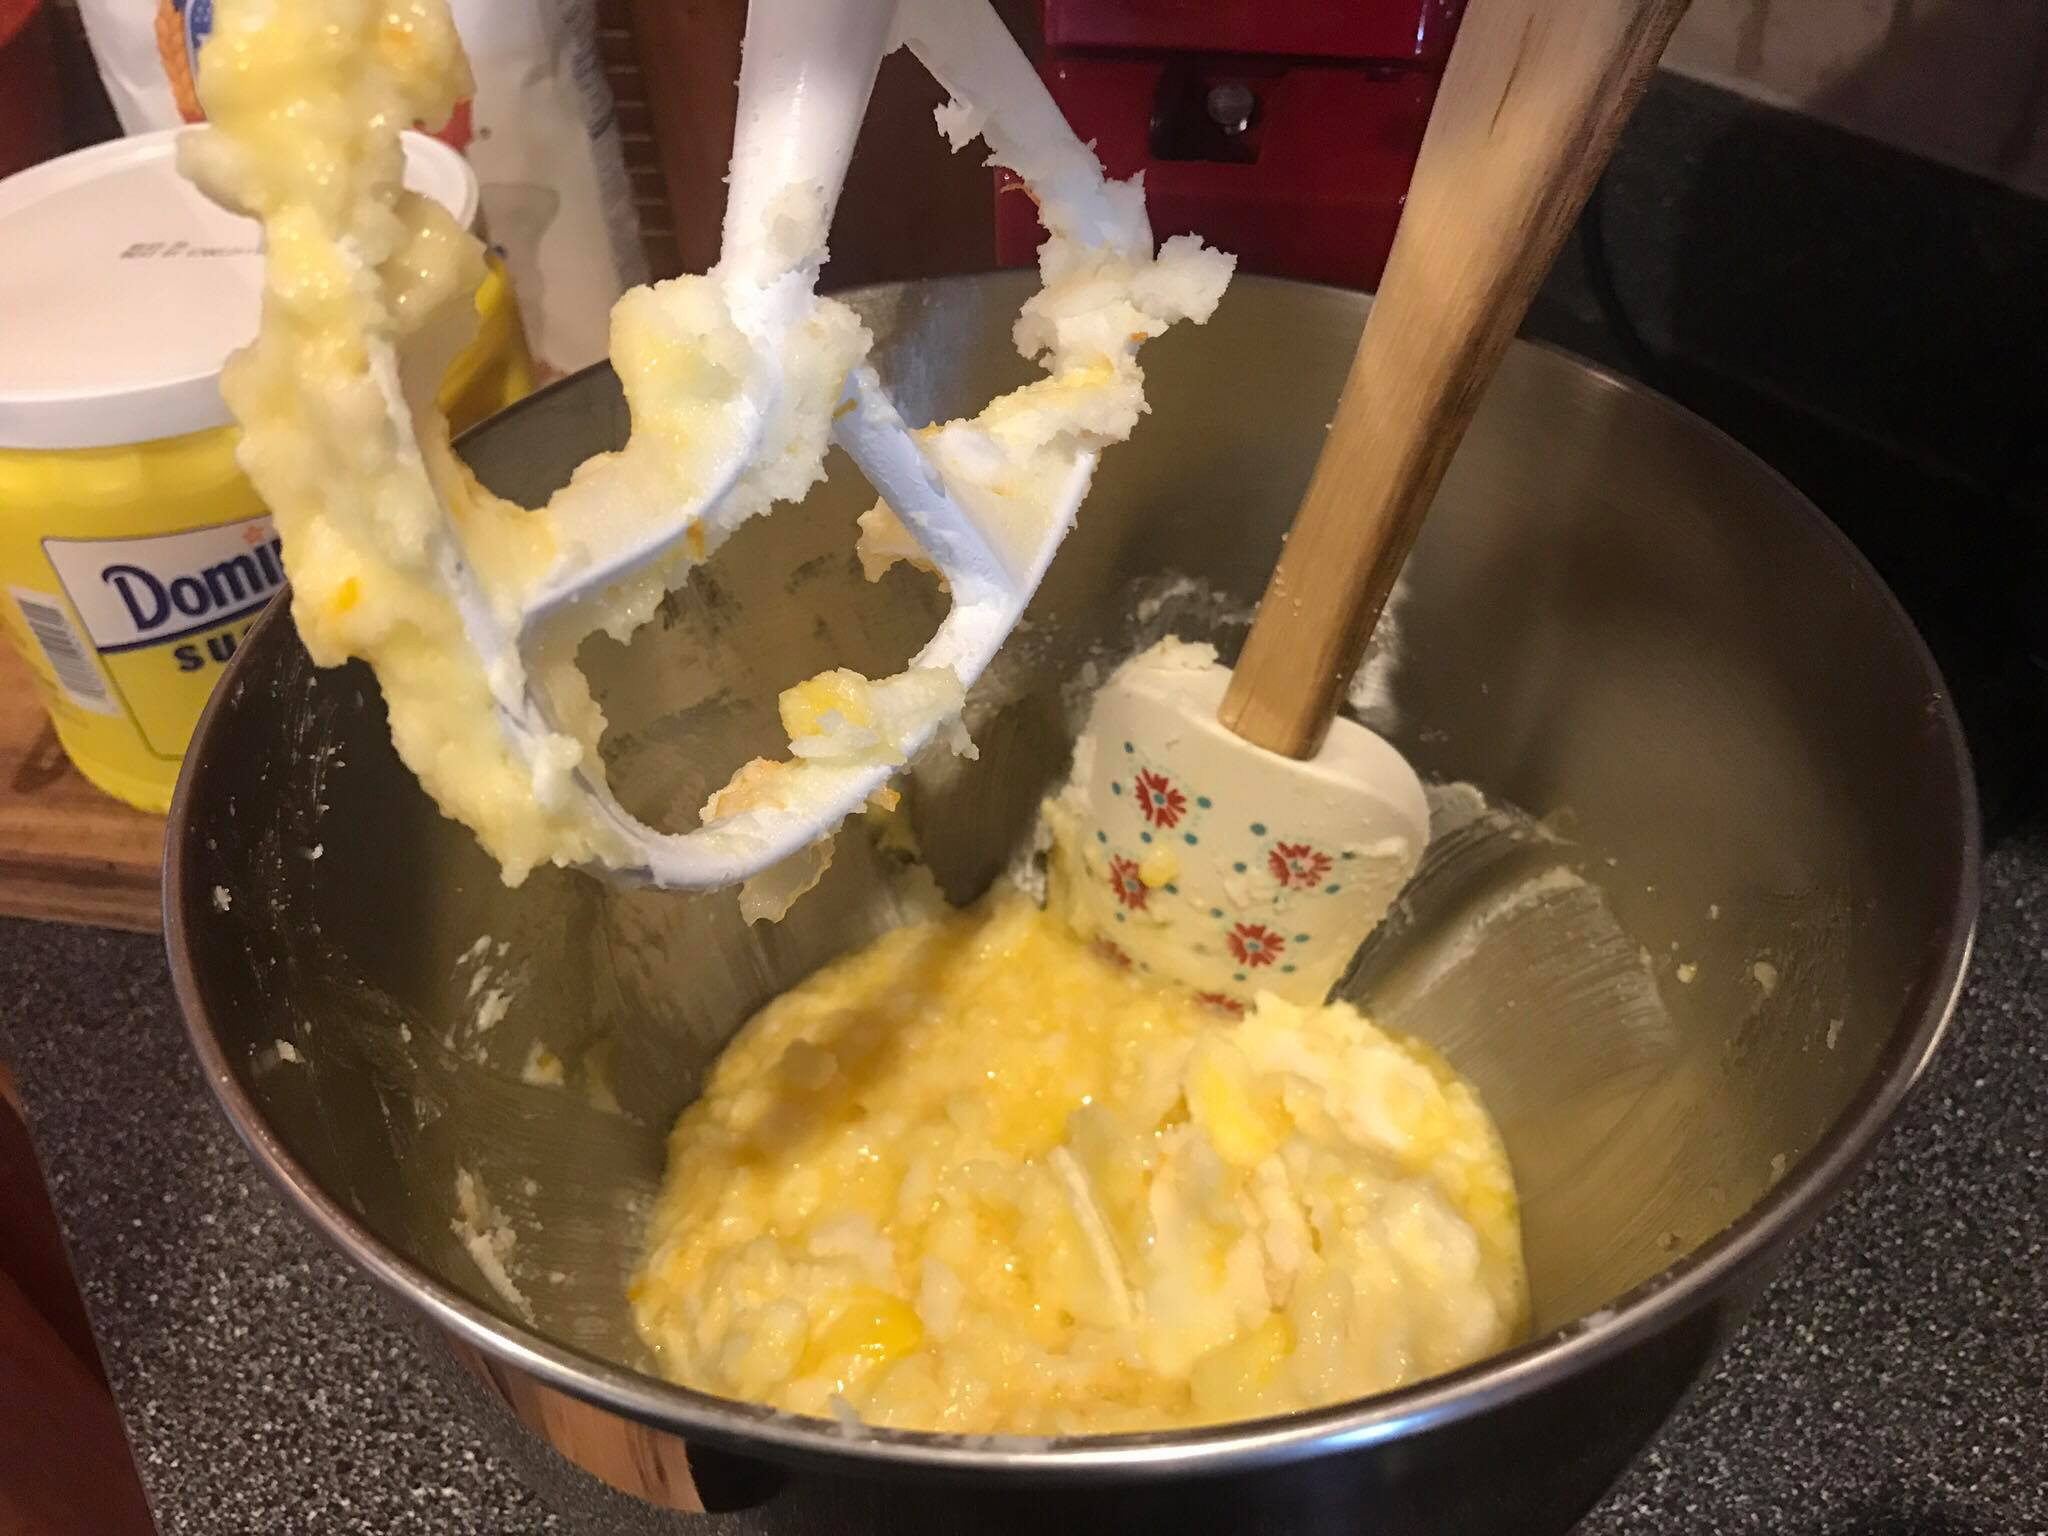 17950111_721270028625_1546915486_o
Image: Using a spatula to scrape down the sides of the mixing bowl, emphasizing the importance of even ingredient distribution in the dough.
Step 8: Mix Again
Continue mixing the batter after scraping down the sides to ensure everything is thoroughly combined.
 17968090_721270038605_893436751_o
Image: Mixing the cookie dough again after scraping down the sides, ensuring a homogenous and well-mixed batter.
Step 9: Sift Dry Ingredients
In a separate large bowl, sift together 4 cups of all-purpose flour, 3 teaspoons of baking powder, and 1/2 teaspoon of salt. Sifting ensures a light and airy texture for your cookies by removing any lumps from the dry ingredients.
 17976378_721270093495_559500316_o
Image: Sifting flour, baking powder, and salt into a bowl, highlighting the process of aerating and combining dry ingredients for the recipe.
 17968652_721270123435_861584152_o
Image: Close-up of the sifting process, showing the fine texture of sifted dry ingredients ready to be incorporated into the wet mixture.
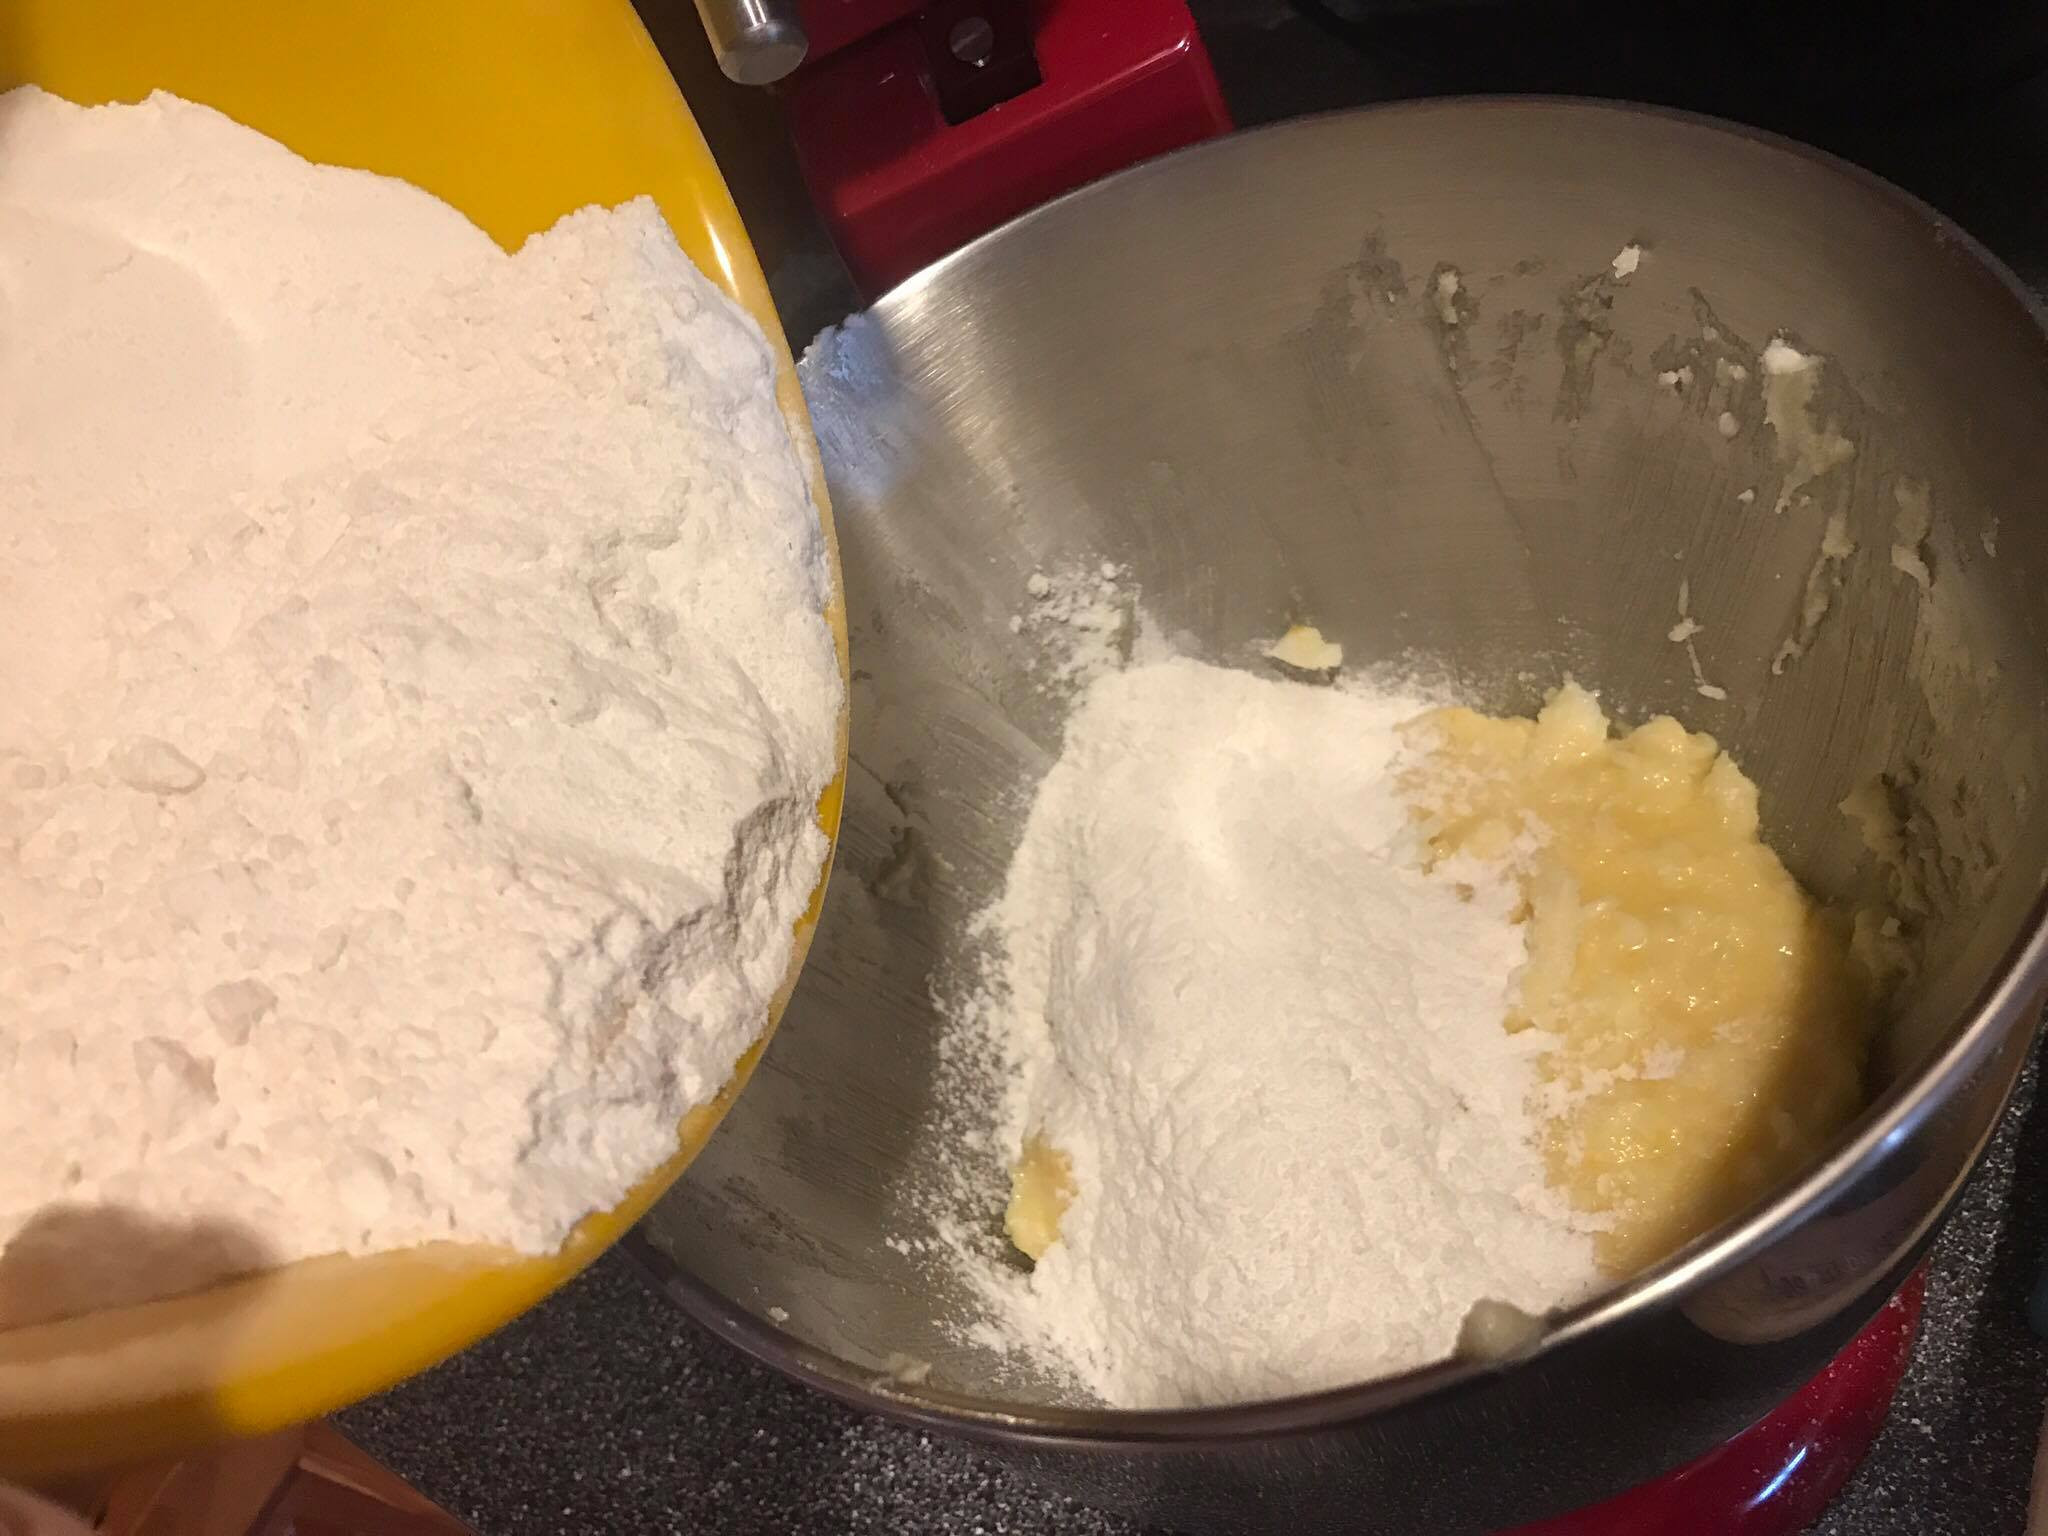
Step 10: Add Dry Ingredients to Wet Ingredients
Gradually add the sifted dry ingredients to the wet ingredients in the mixing bowl.
 17968199_721270183315_381759998_o
Image: Gradually adding sifted dry ingredients to the wet mixture in the mixing bowl, demonstrating the incorporation process.
Step 11: Mix Until Just Combined
Mix the dry and wet ingredients until just combined. Be careful not to overmix the dough, as this can result in tougher cookies.
 18012903_721270422835_704664102_o
Image: Mixing the dough until just combined, emphasizing the point of stopping to avoid overmixing and maintain cookie tenderness.
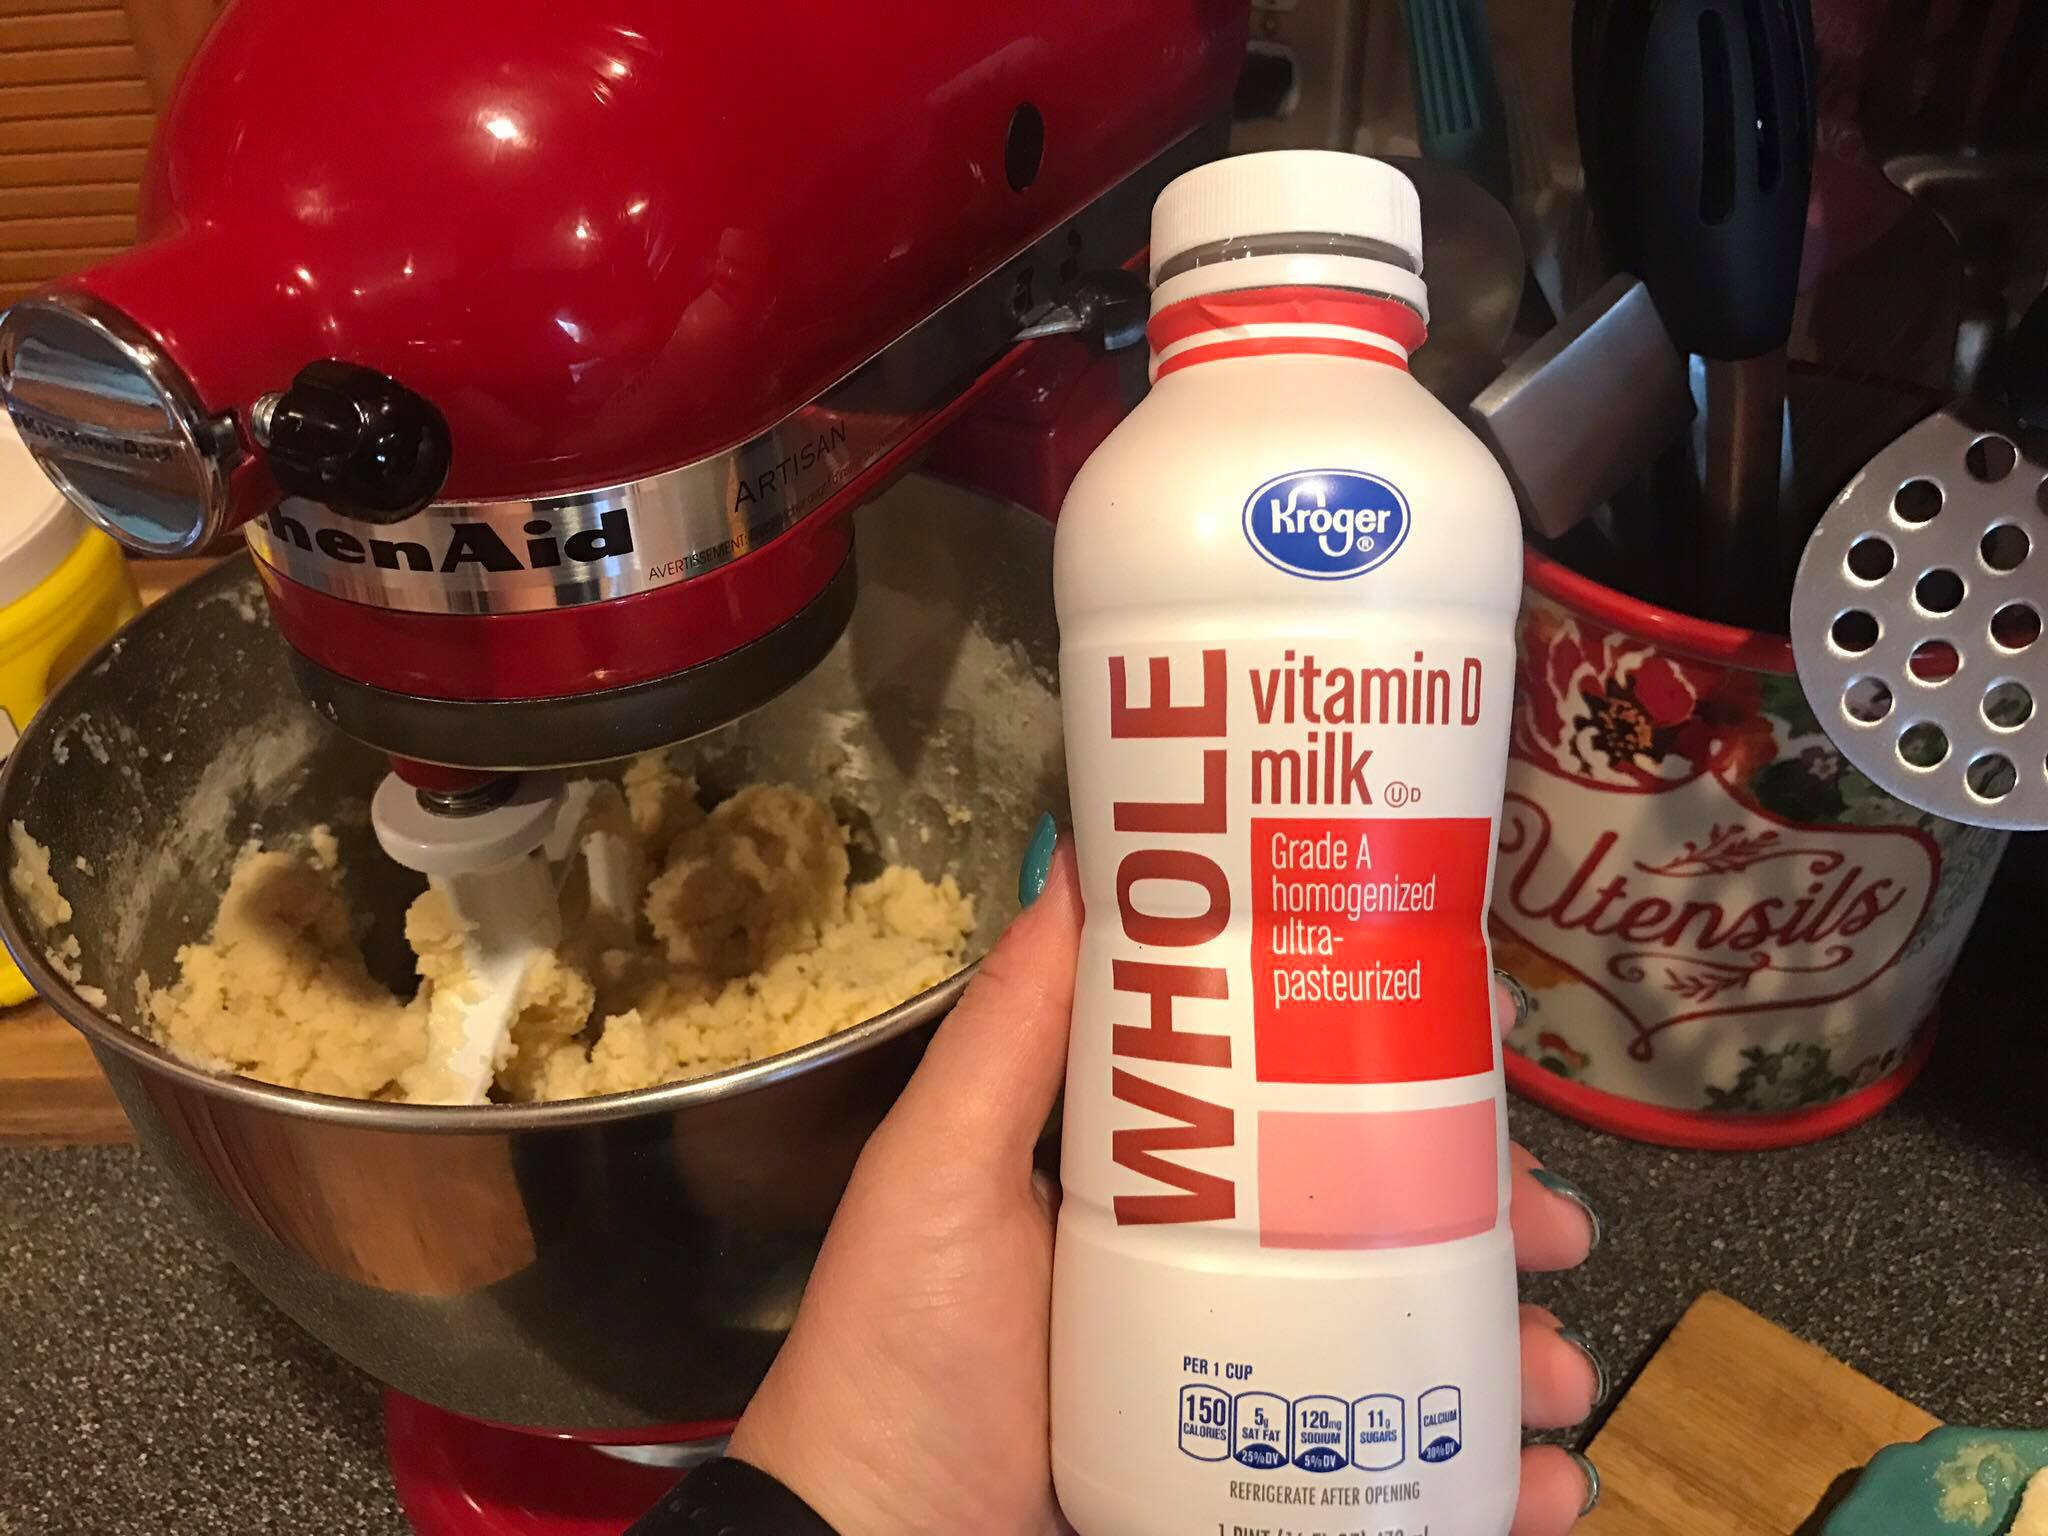
Step 12: Add Milk
Pour in 2 tablespoons plus 2 teaspoons of whole milk.
 18012775_721270427825_395918795_o
Image: Whole milk being added to the cookie dough, showing the final liquid component being incorporated into the mixture.
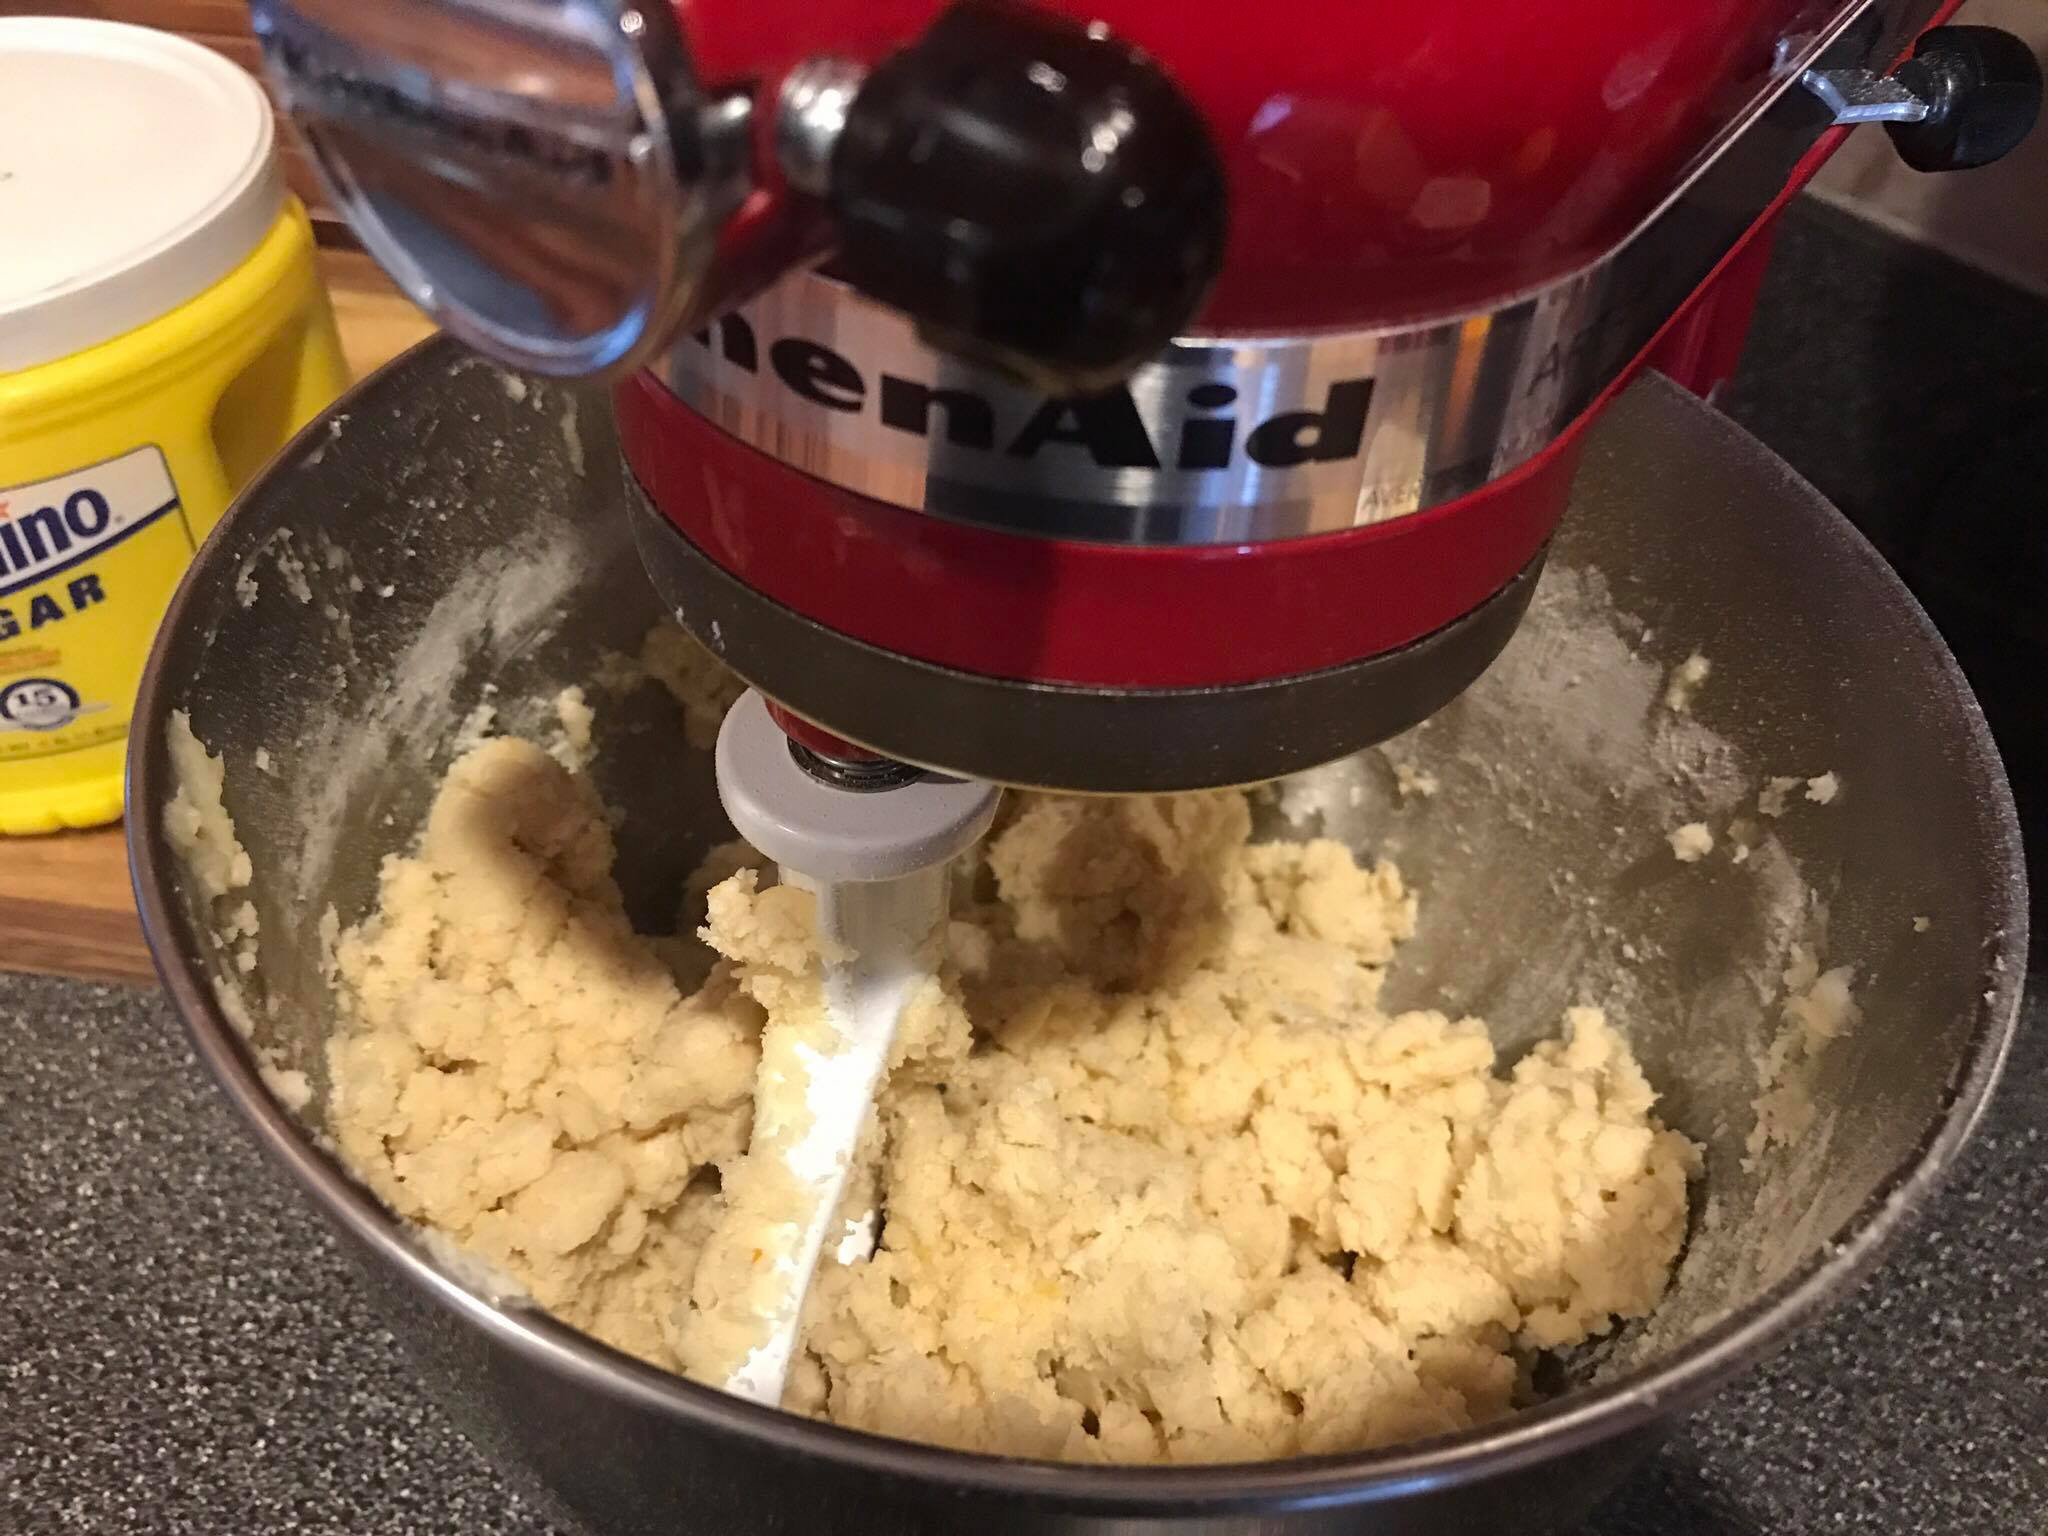
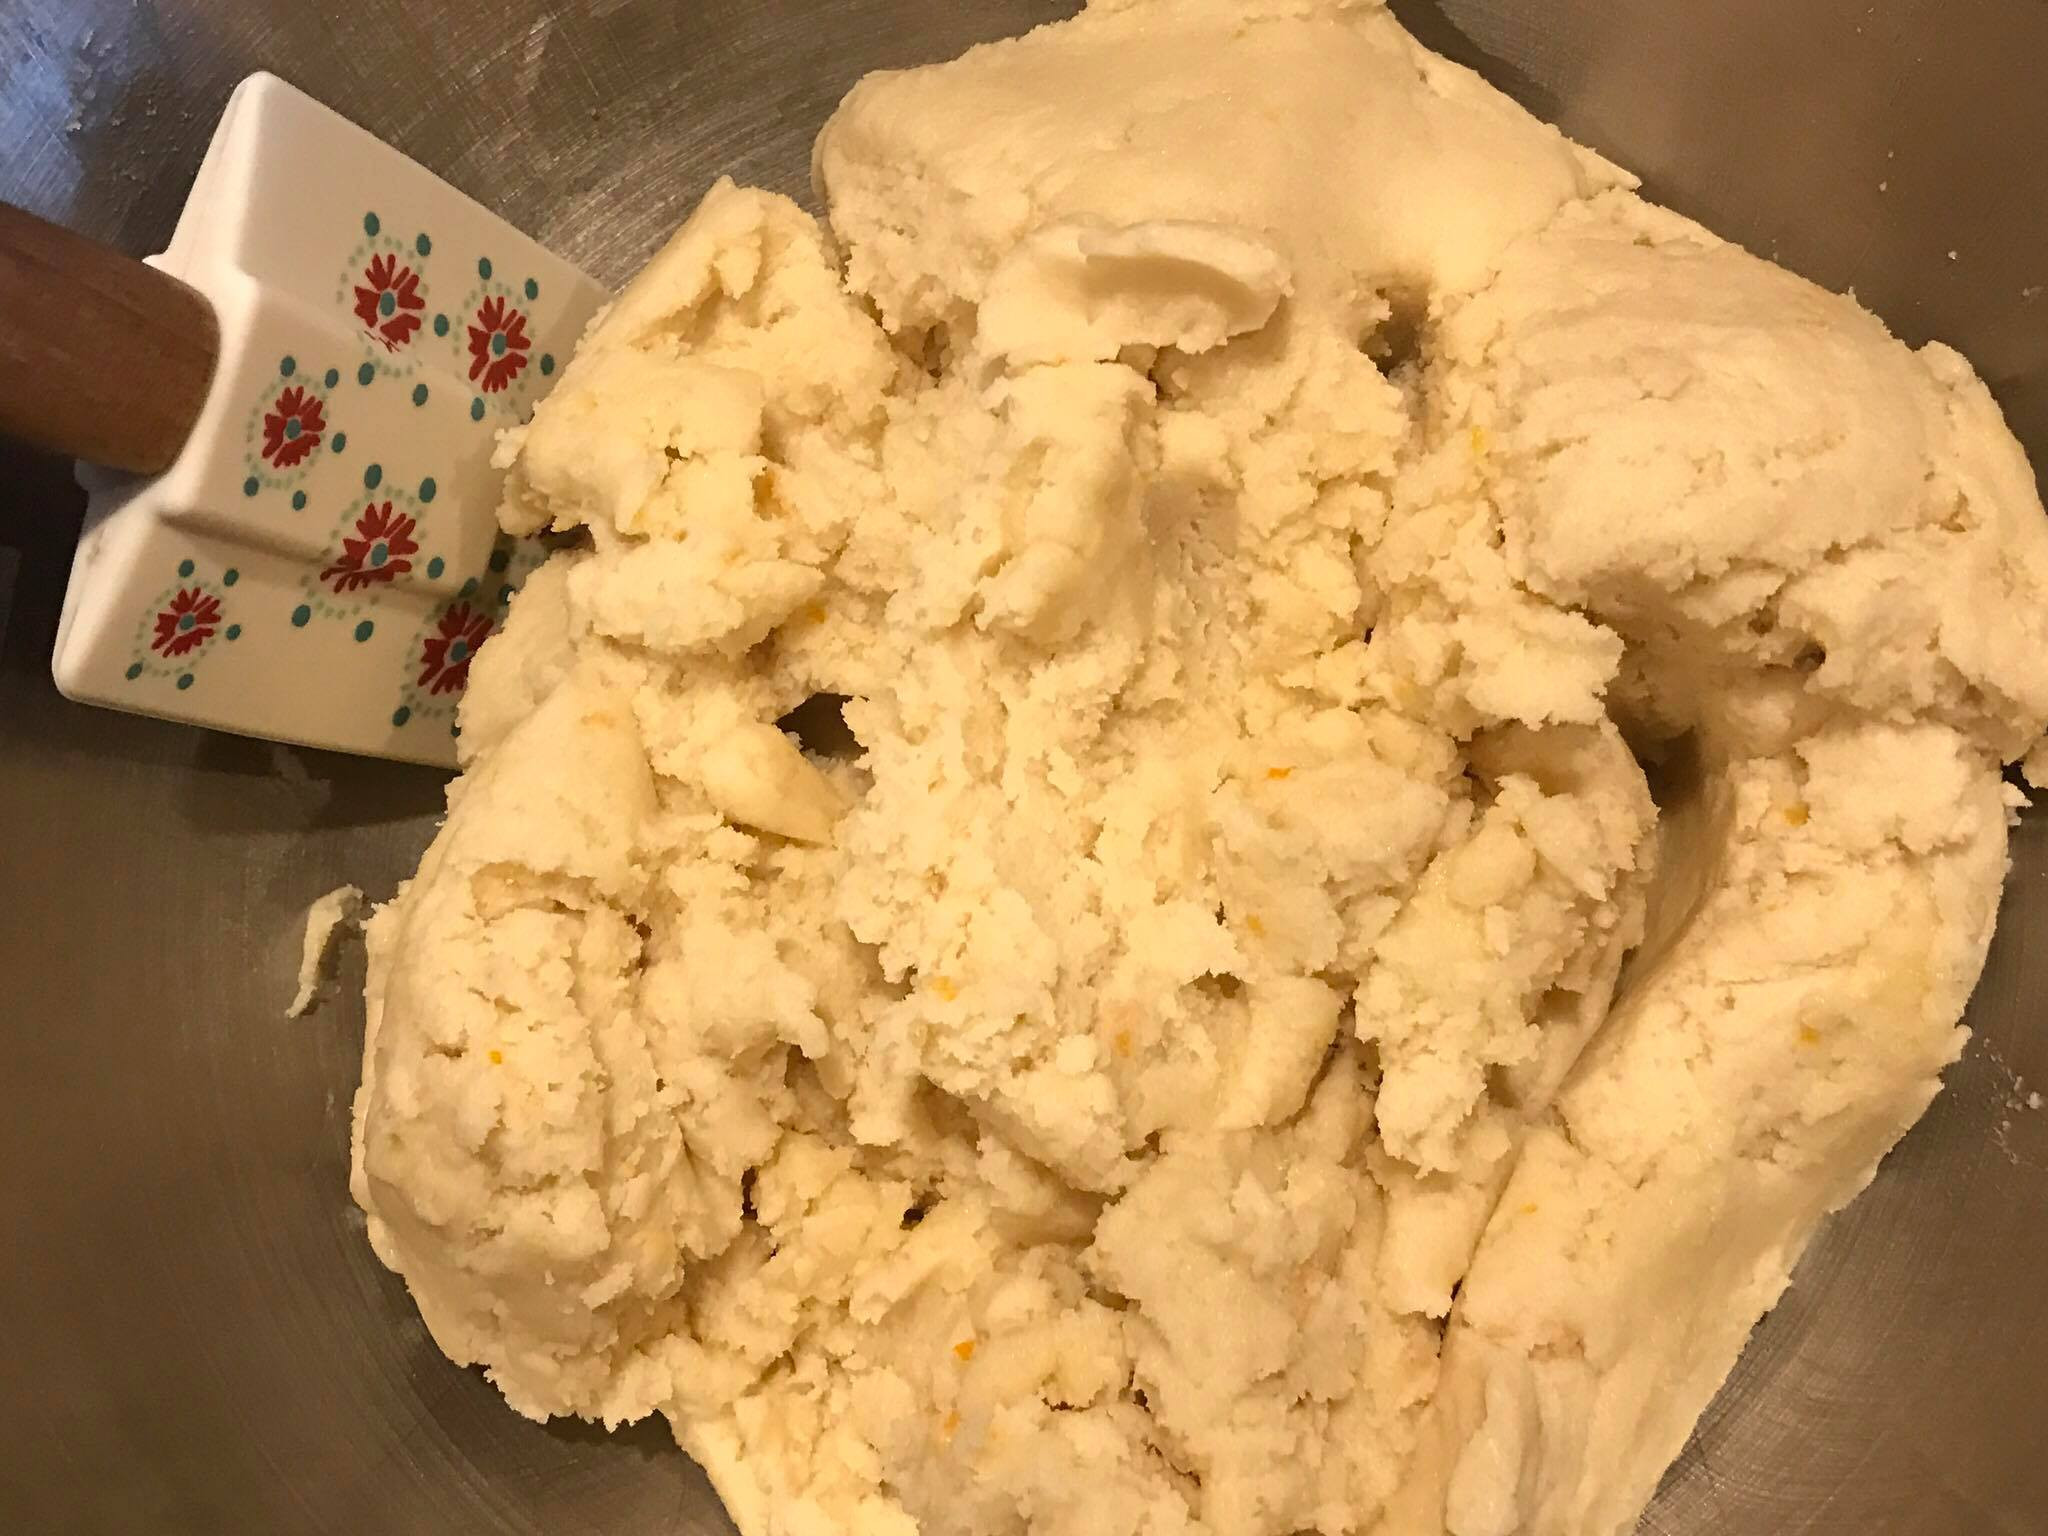
Step 13: Final Mix – Cookie Dough Ready!
Mix again until the milk is fully incorporated and you have a smooth cookie dough.
 17976310_721270437805_1250301472_o
Image: Finished cookie dough in the mixing bowl, showcasing the smooth and ready-to-chill consistency of the Pioneer Woman sugar cookie dough.
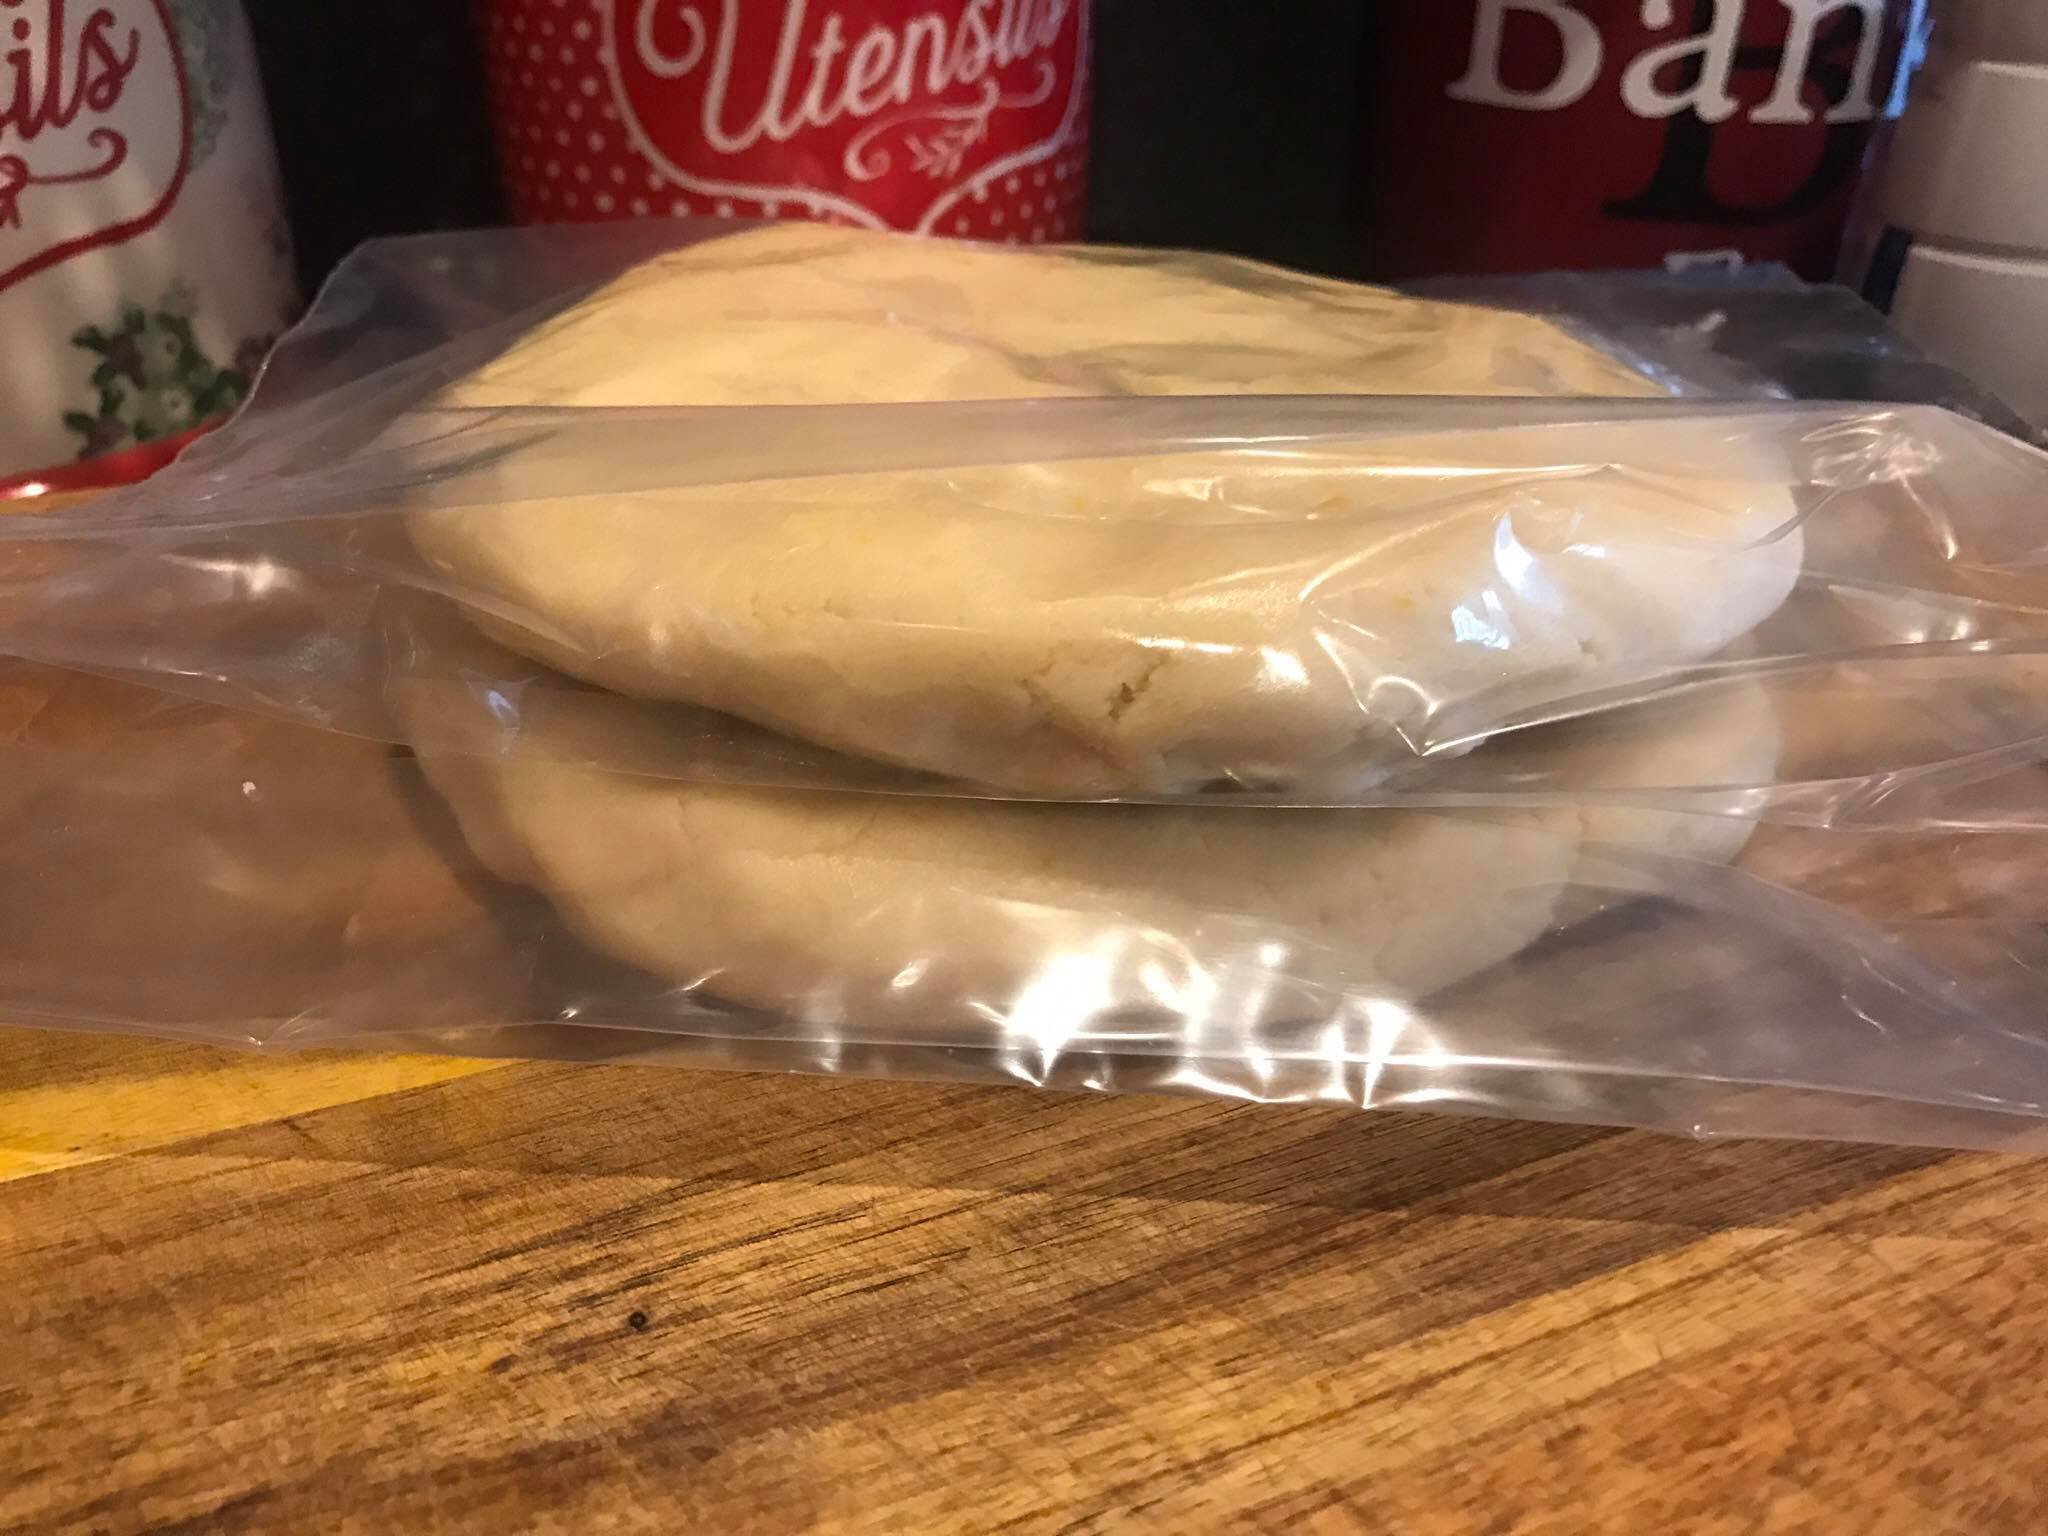
Step 14: Chill the Dough
Divide the dough in half, flatten each half into a disk, and place each disk in its own plastic/ziplock bag. Chill the dough in the refrigerator for at least 1 hour. Chilling is essential as it makes the dough easier to handle and roll out.
 17976736_721270452775_224637524_o
Image: Cookie dough disks being placed in ziplock bags for chilling, illustrating the dough portioning and preparation for refrigeration.
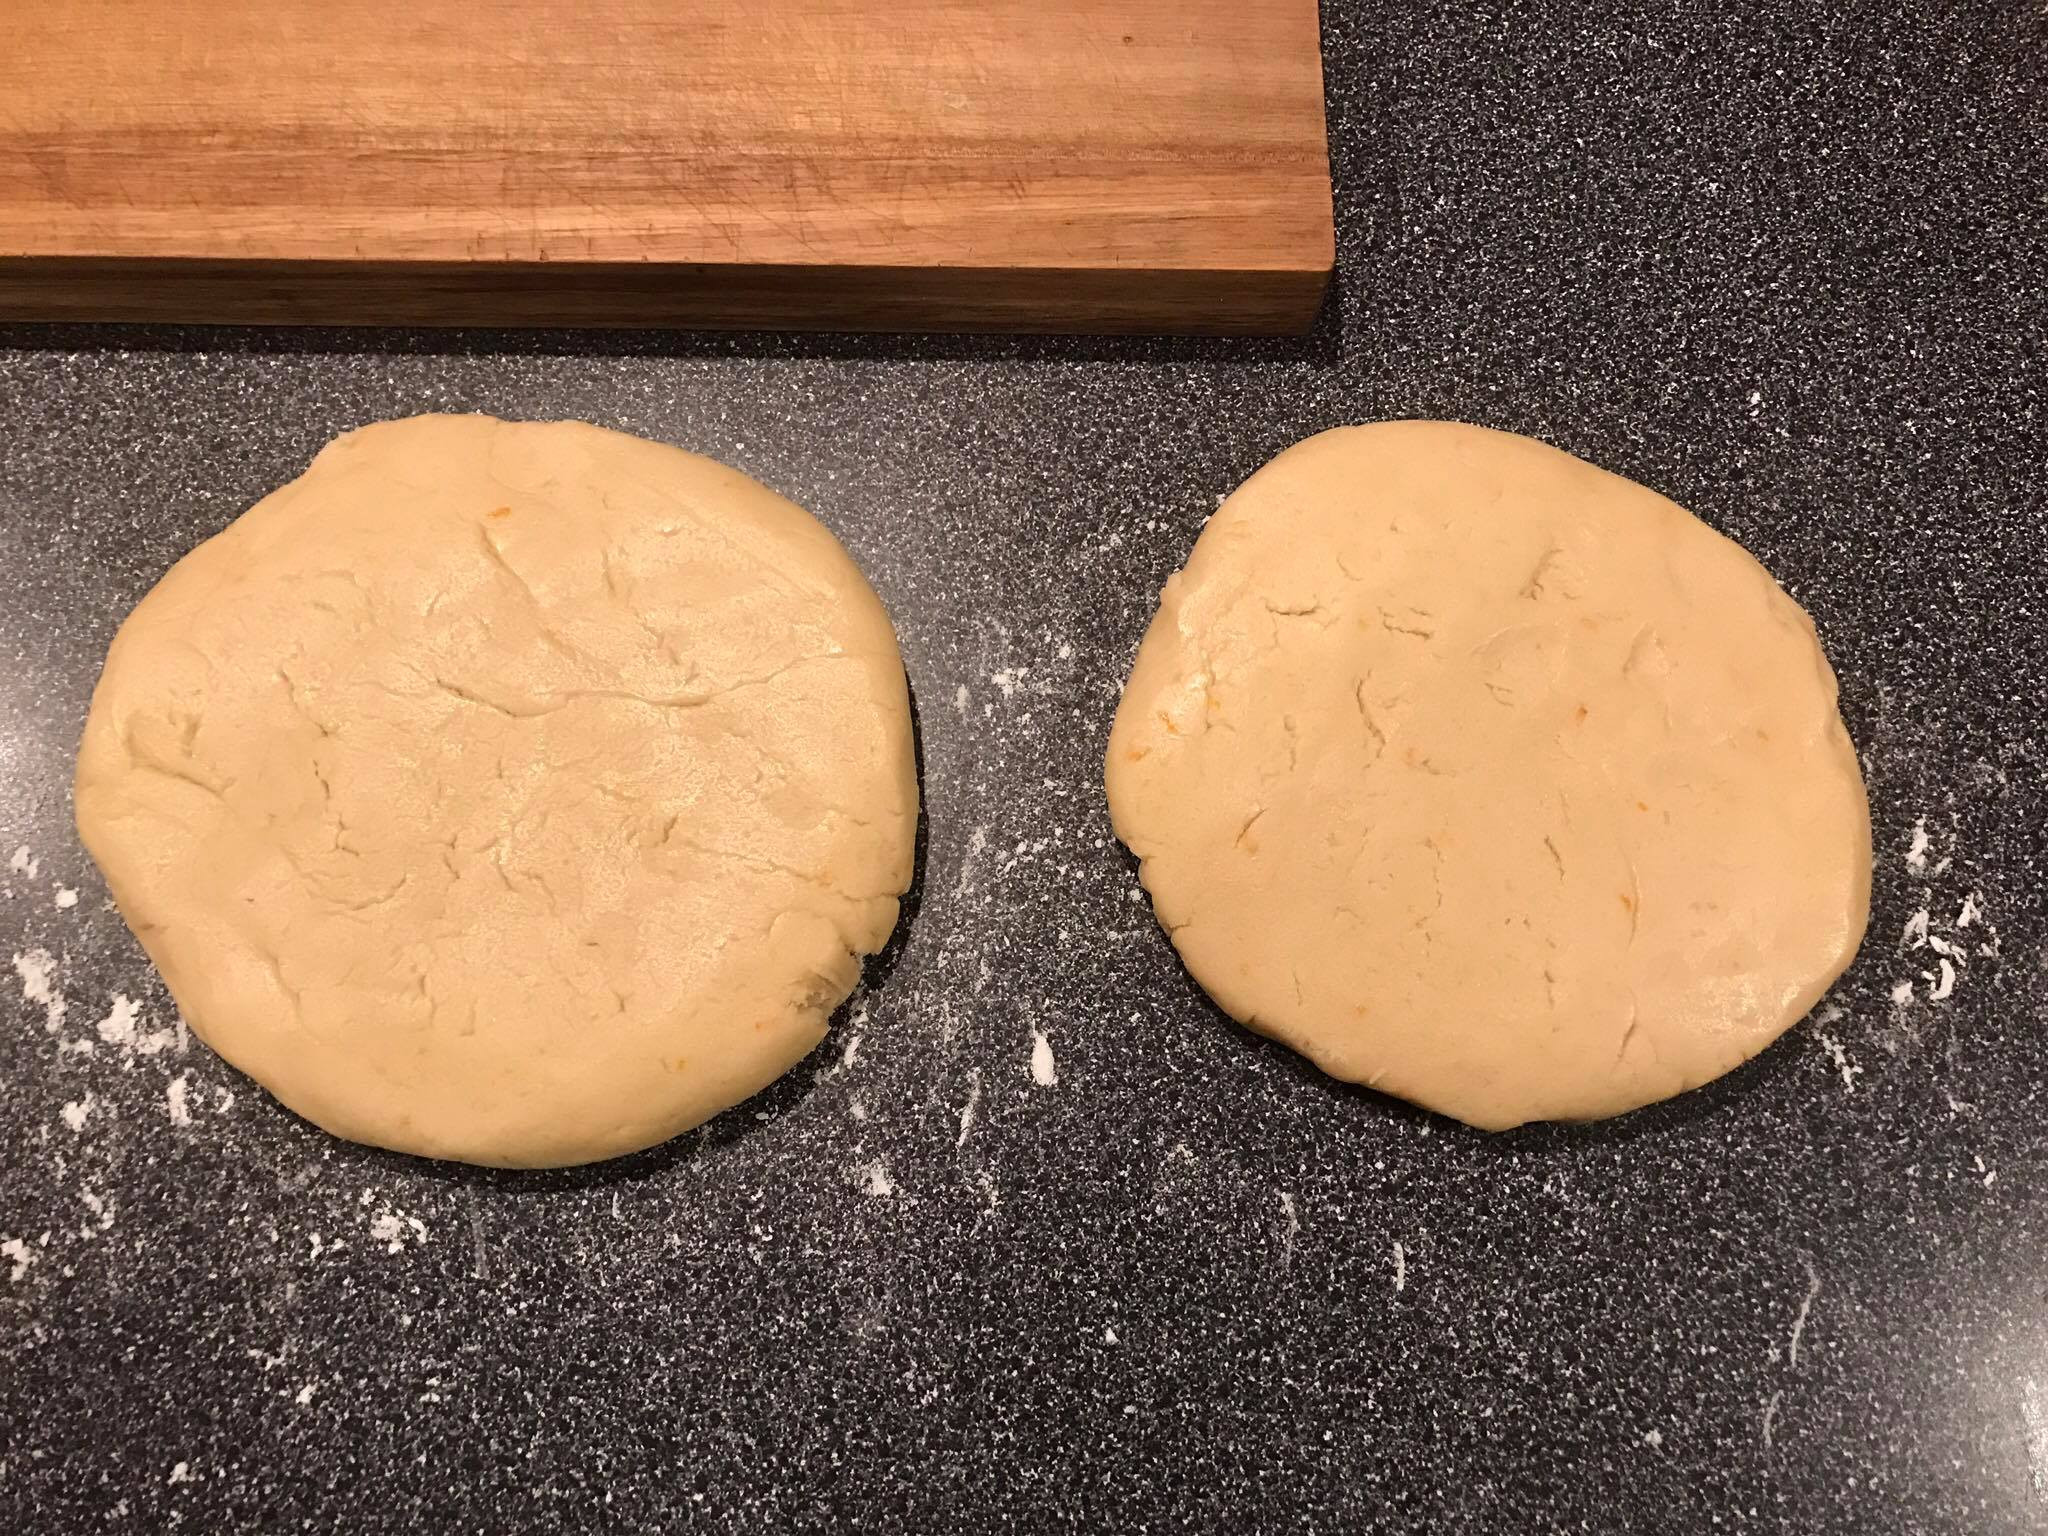
Step 15: Preheat and Prepare for Rolling
After chilling for at least an hour, remove the dough from the fridge and let it sit at room temperature for about 10 minutes to soften slightly. Preheat your oven to 375°F (190°C).
 17949720_721270482715_397798405_o
Image: Cookie dough disk being taken out of the ziplock bag, ready for rolling after chilling, alongside oven preheating indication.
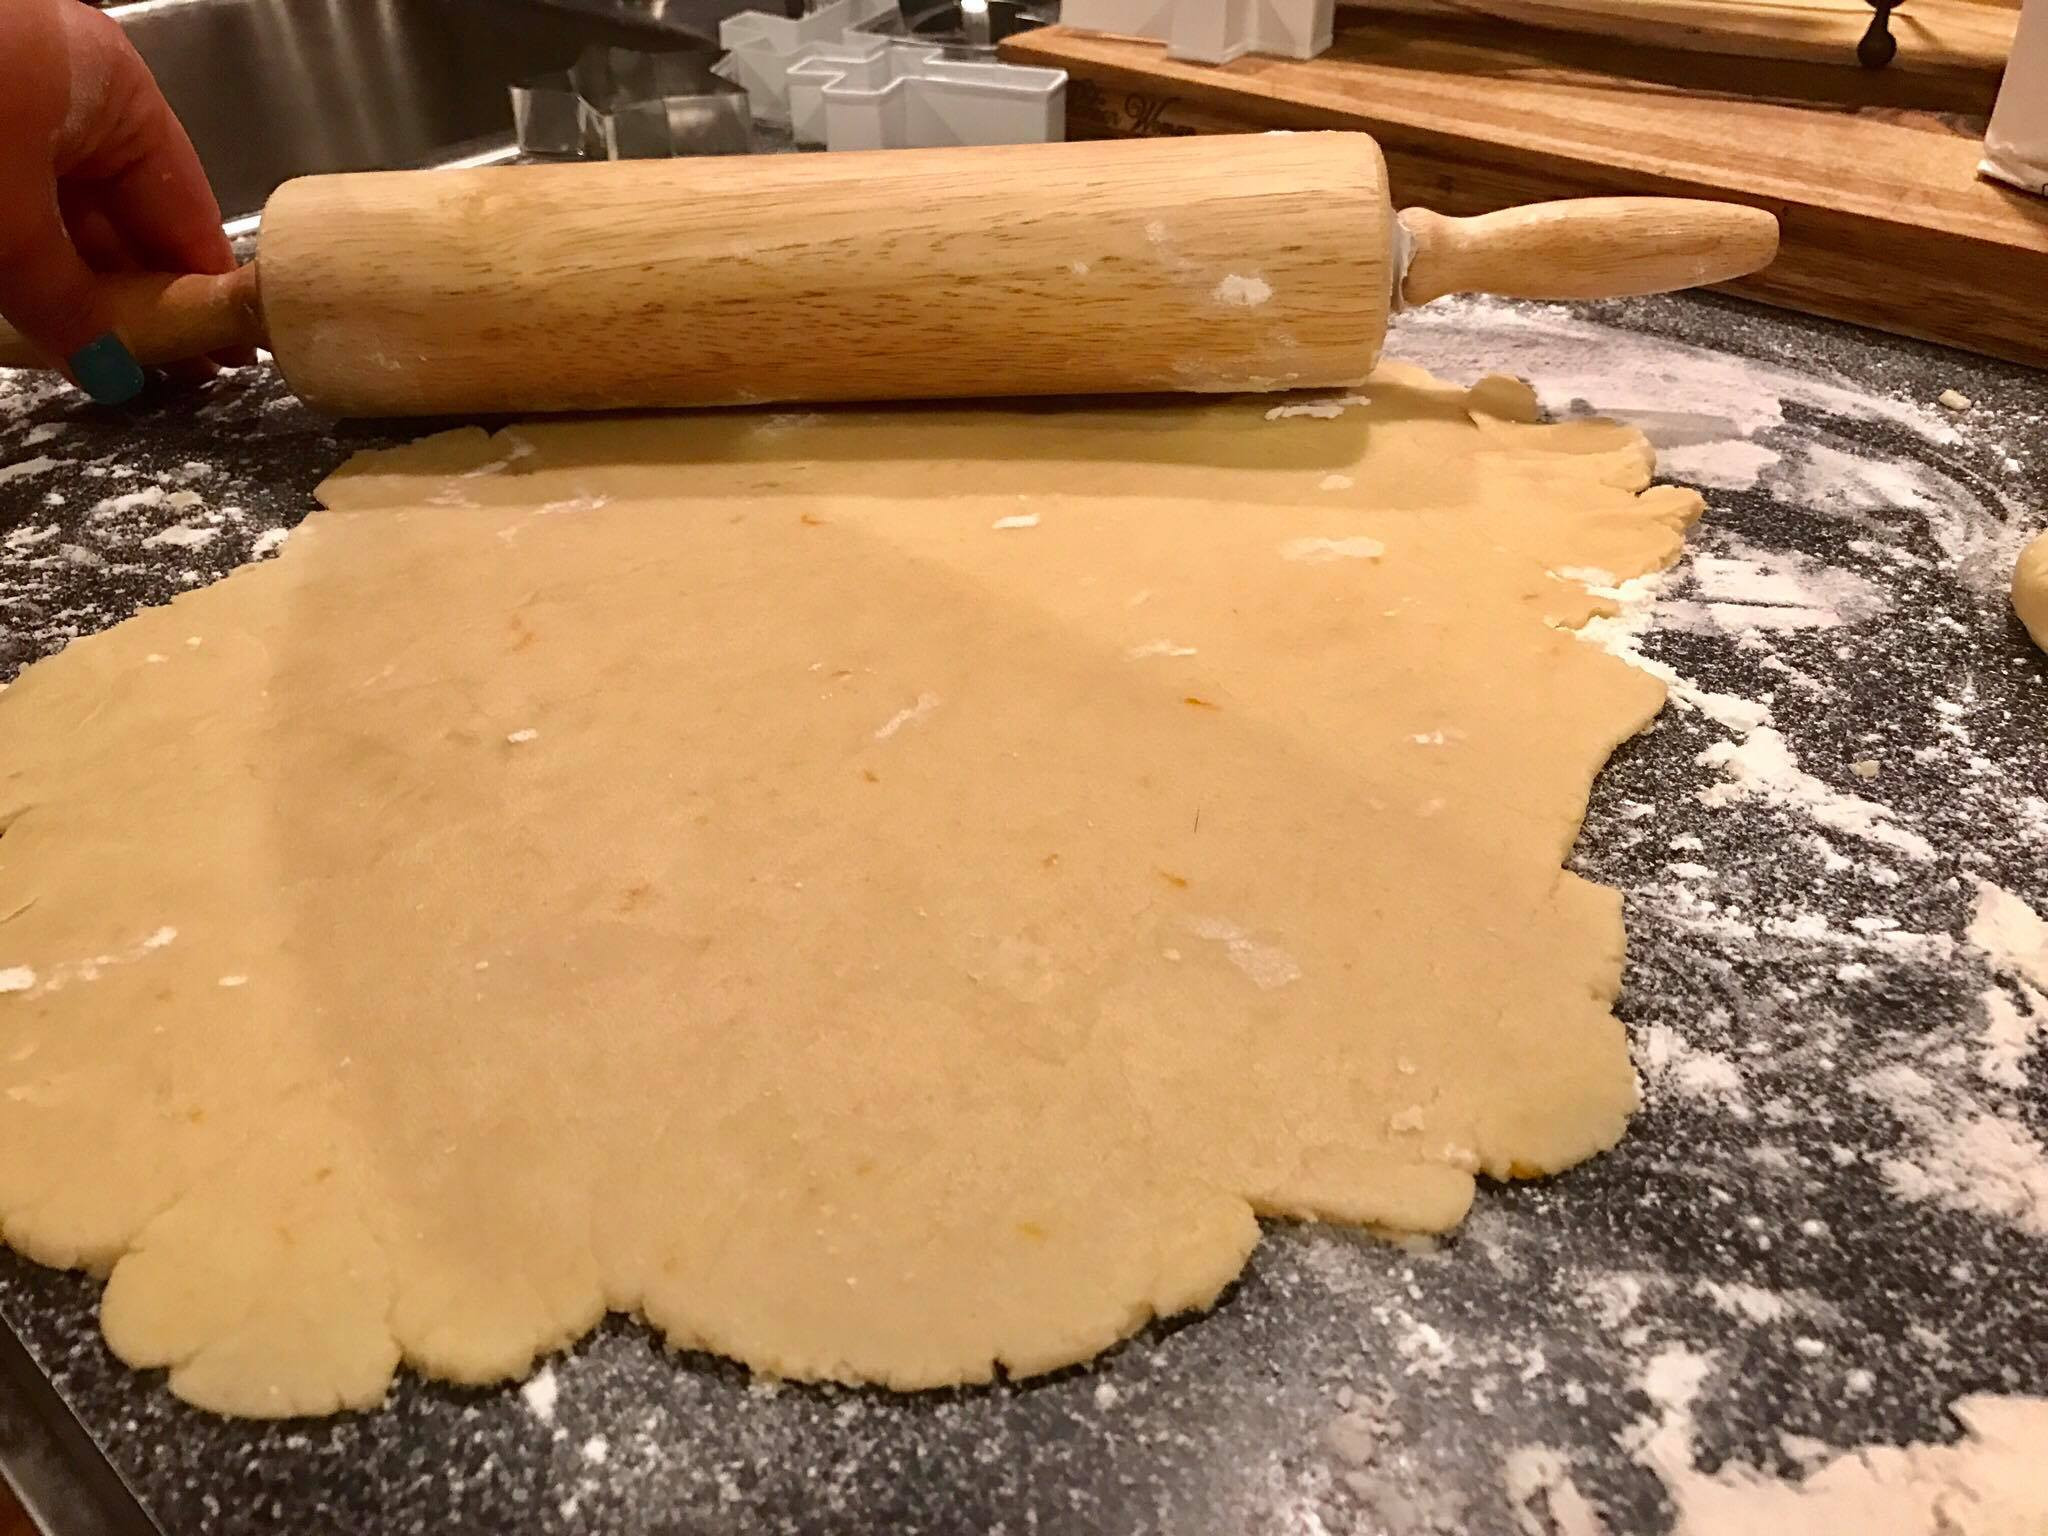
Step 16: Roll Out the Dough
On a lightly floured surface, roll out the dough to approximately 1/4 inch thickness.
 17976635_721270487705_1690808809_o
Image: Rolling out chilled cookie dough on a floured surface with a rolling pin, demonstrating the dough preparation for cookie cutting.
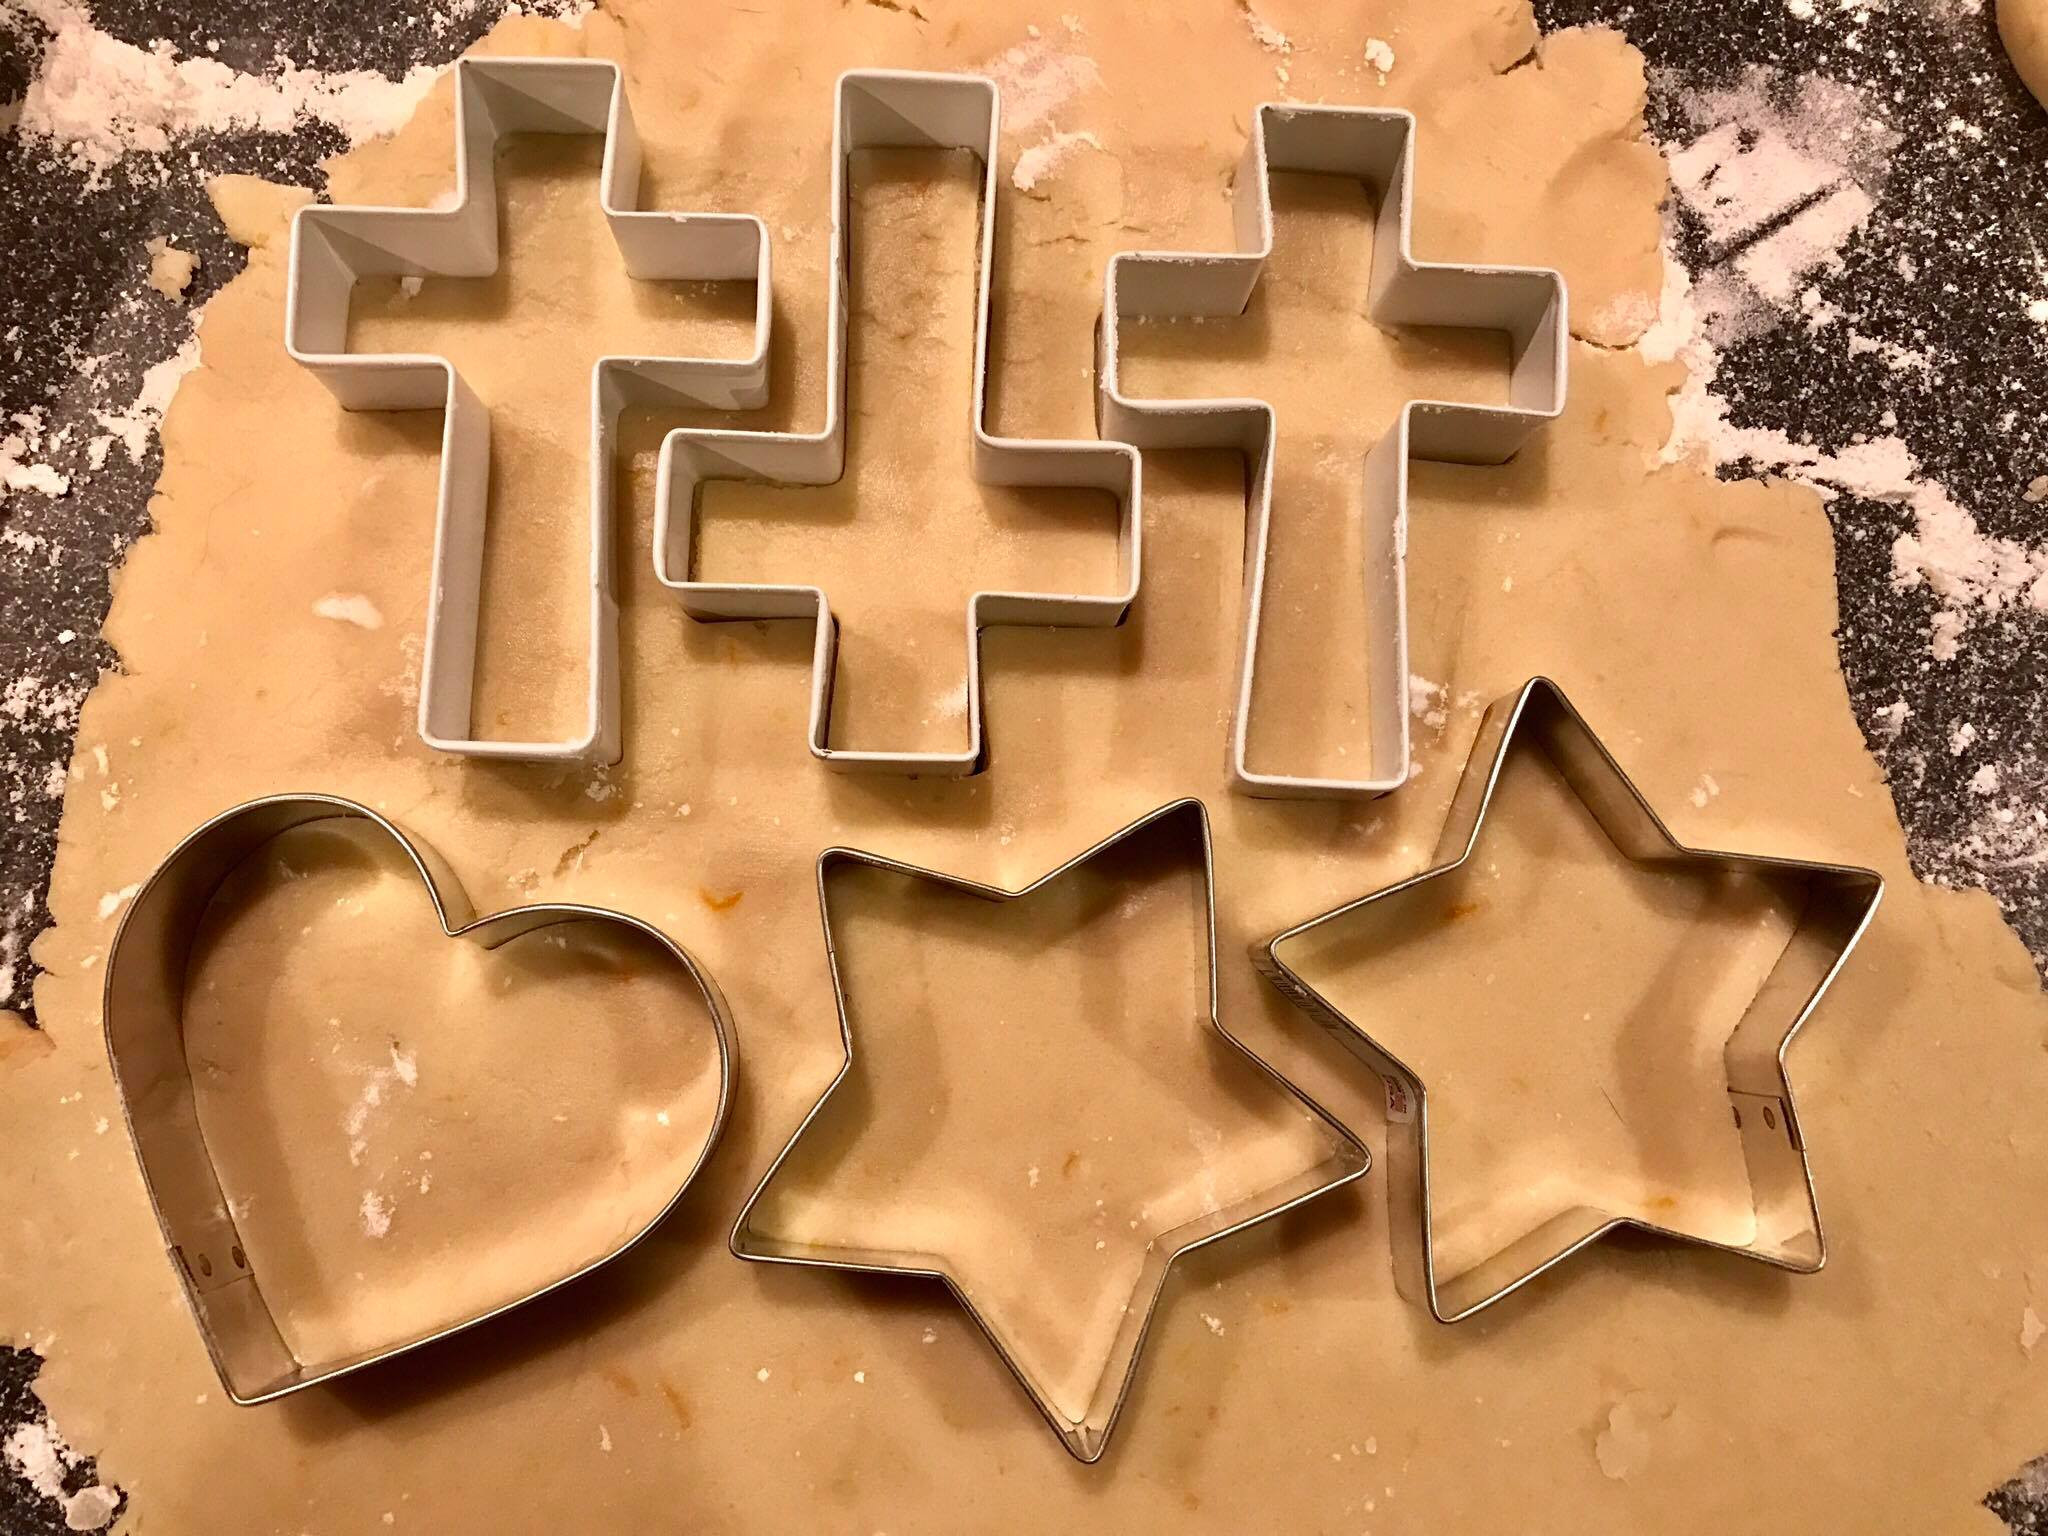
Step 17: Cut Out Cookies
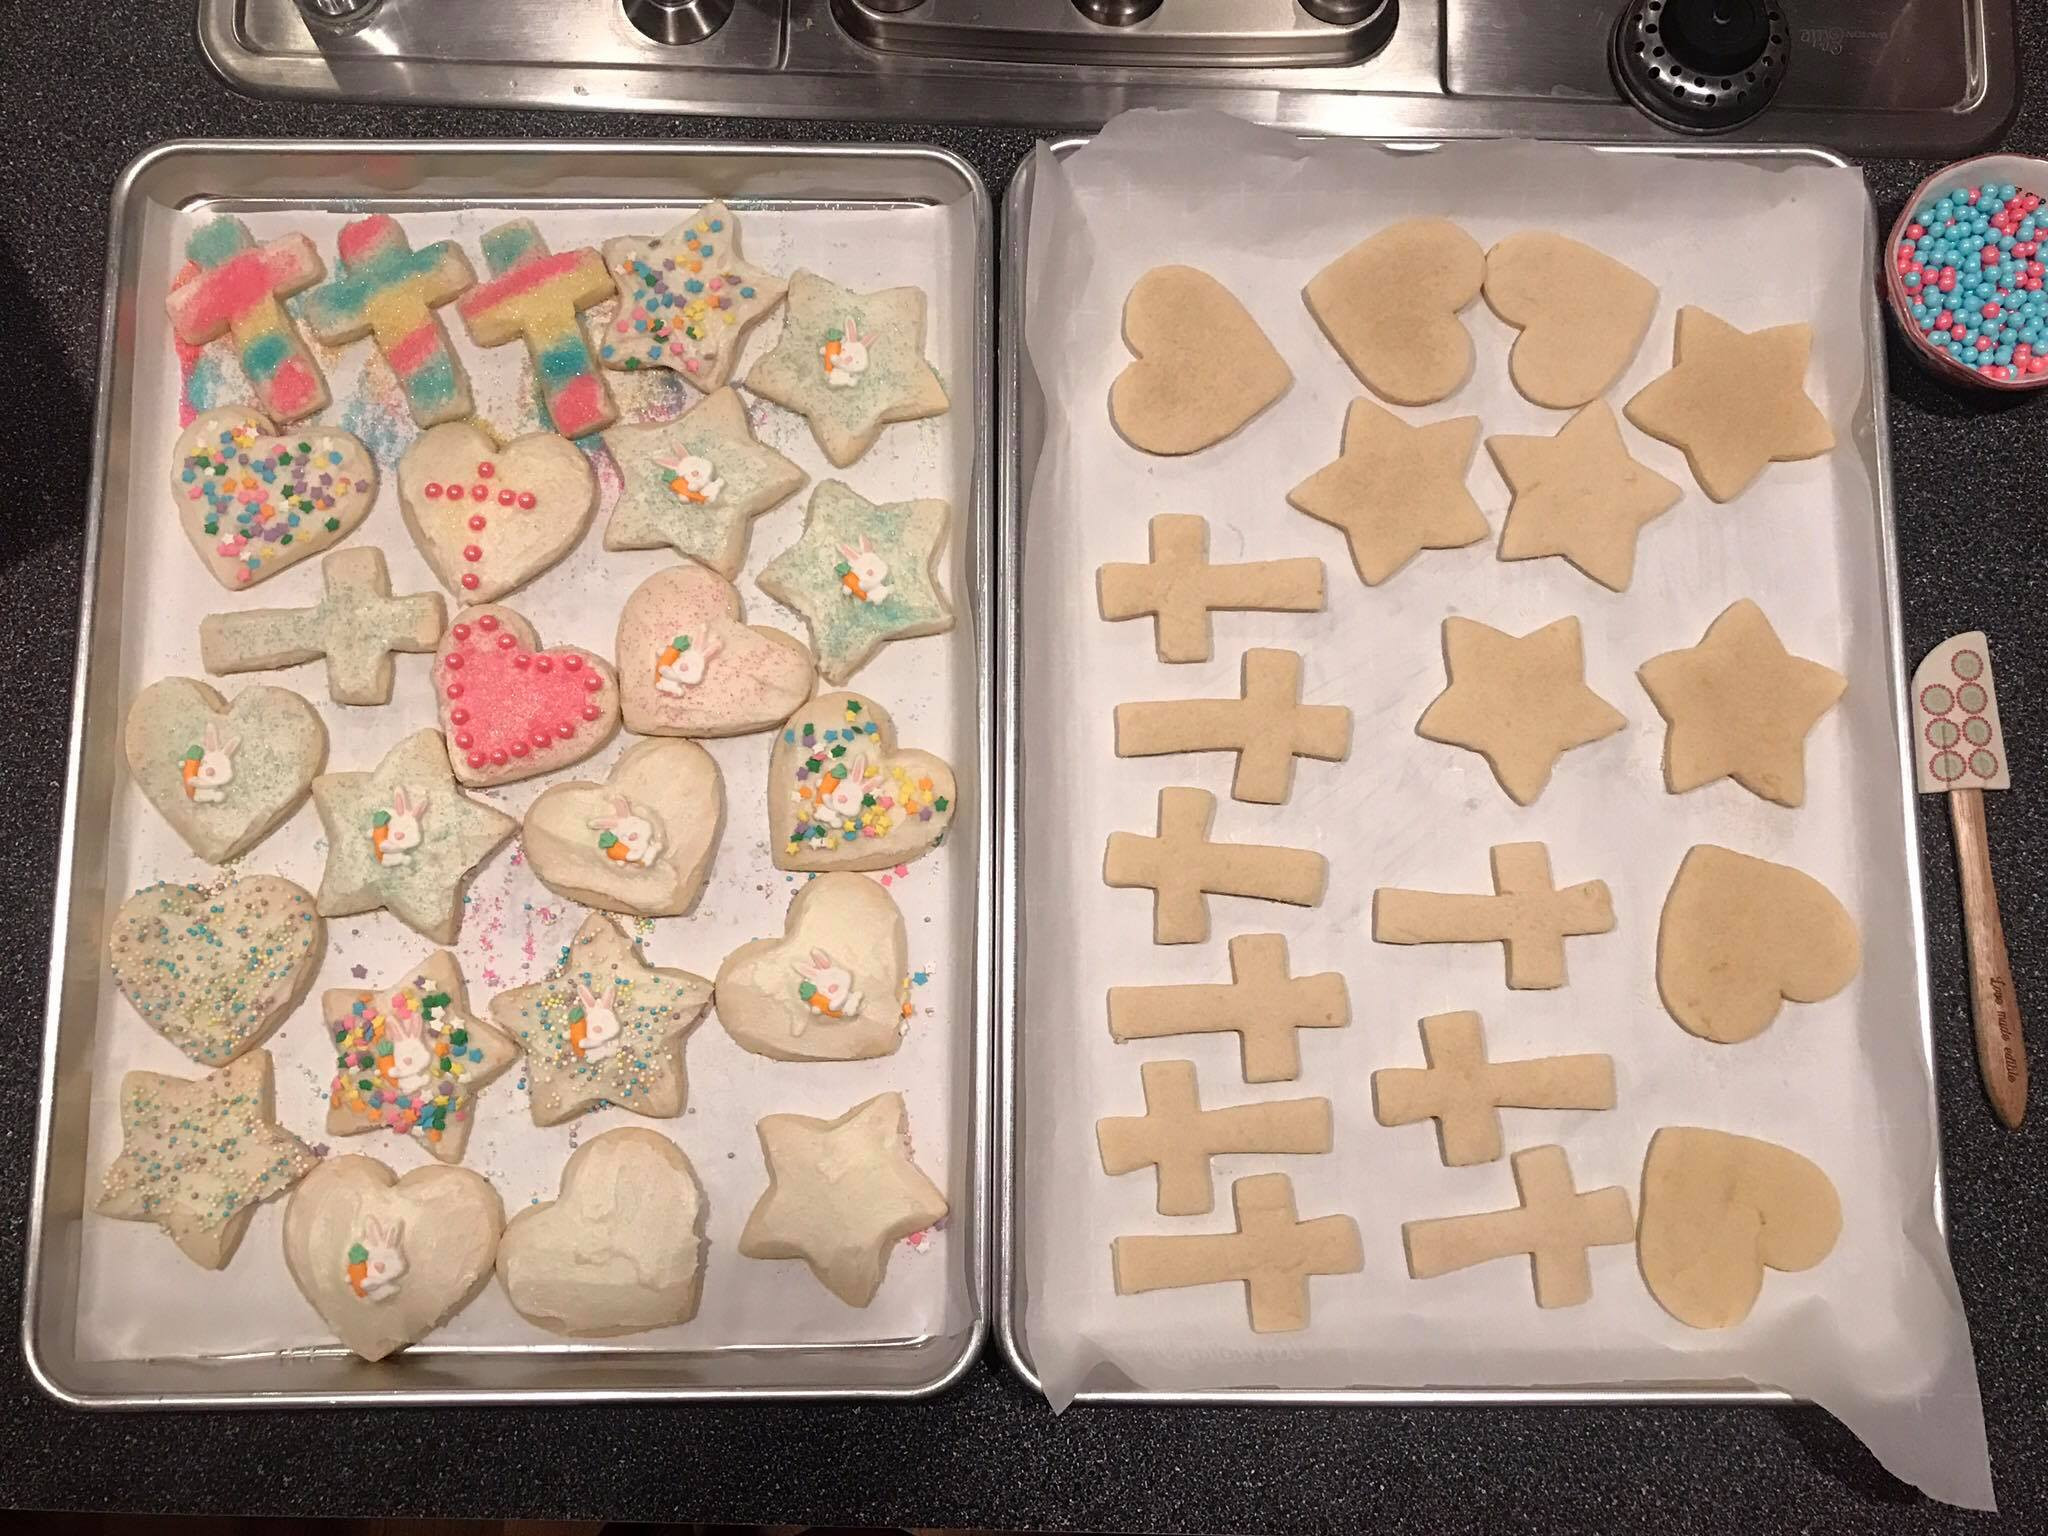
Use your favorite cookie cutters to cut out shapes from the dough. For Easter brunch, I chose crosses, hearts, and stars, but you can use any shapes you like to match your occasion.
 17976437_721270497685_1762222484_o
Image: Cutting out cookie shapes from rolled dough using various cookie cutters, illustrating the fun and creative aspect of cookie preparation.
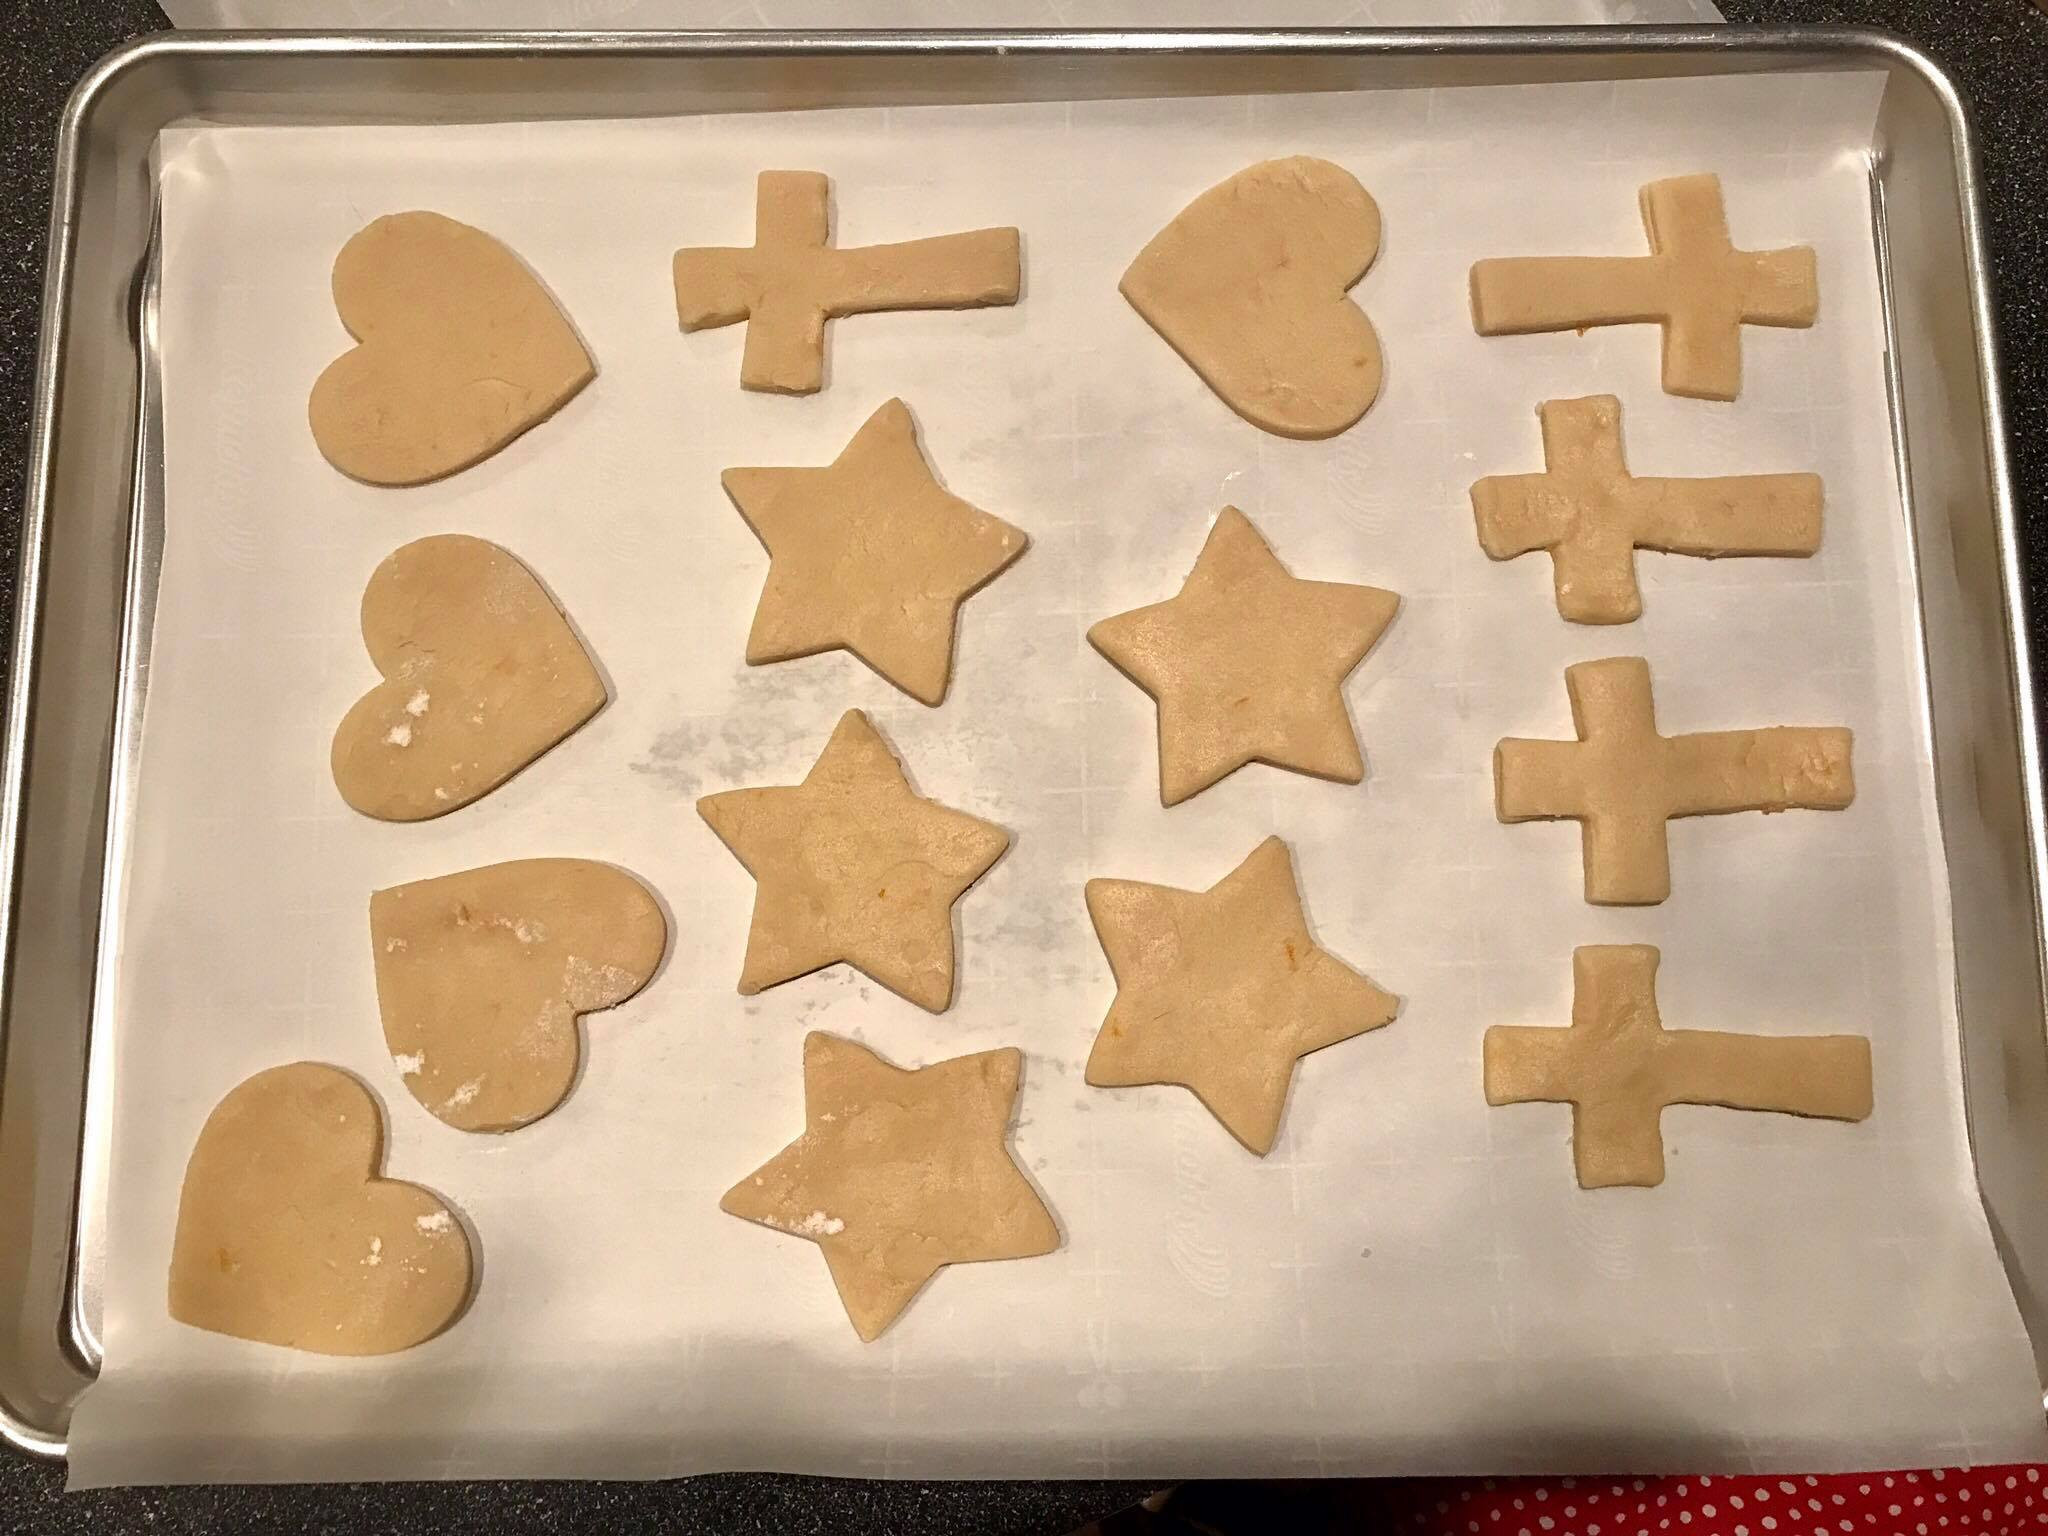
Step 18: Bake the Cookies
Place the cut-out cookies on a baking sheet lined with parchment paper or a silicone baking mat. Bake in the preheated oven for 8 to 10 minutes. Keep a close eye on them; you want to bake them until they are just set and not browned.
 17976684_721270507665_234235596_o
Image: Cookie cutouts arranged on a baking sheet lined with parchment paper, ready for baking in the oven.
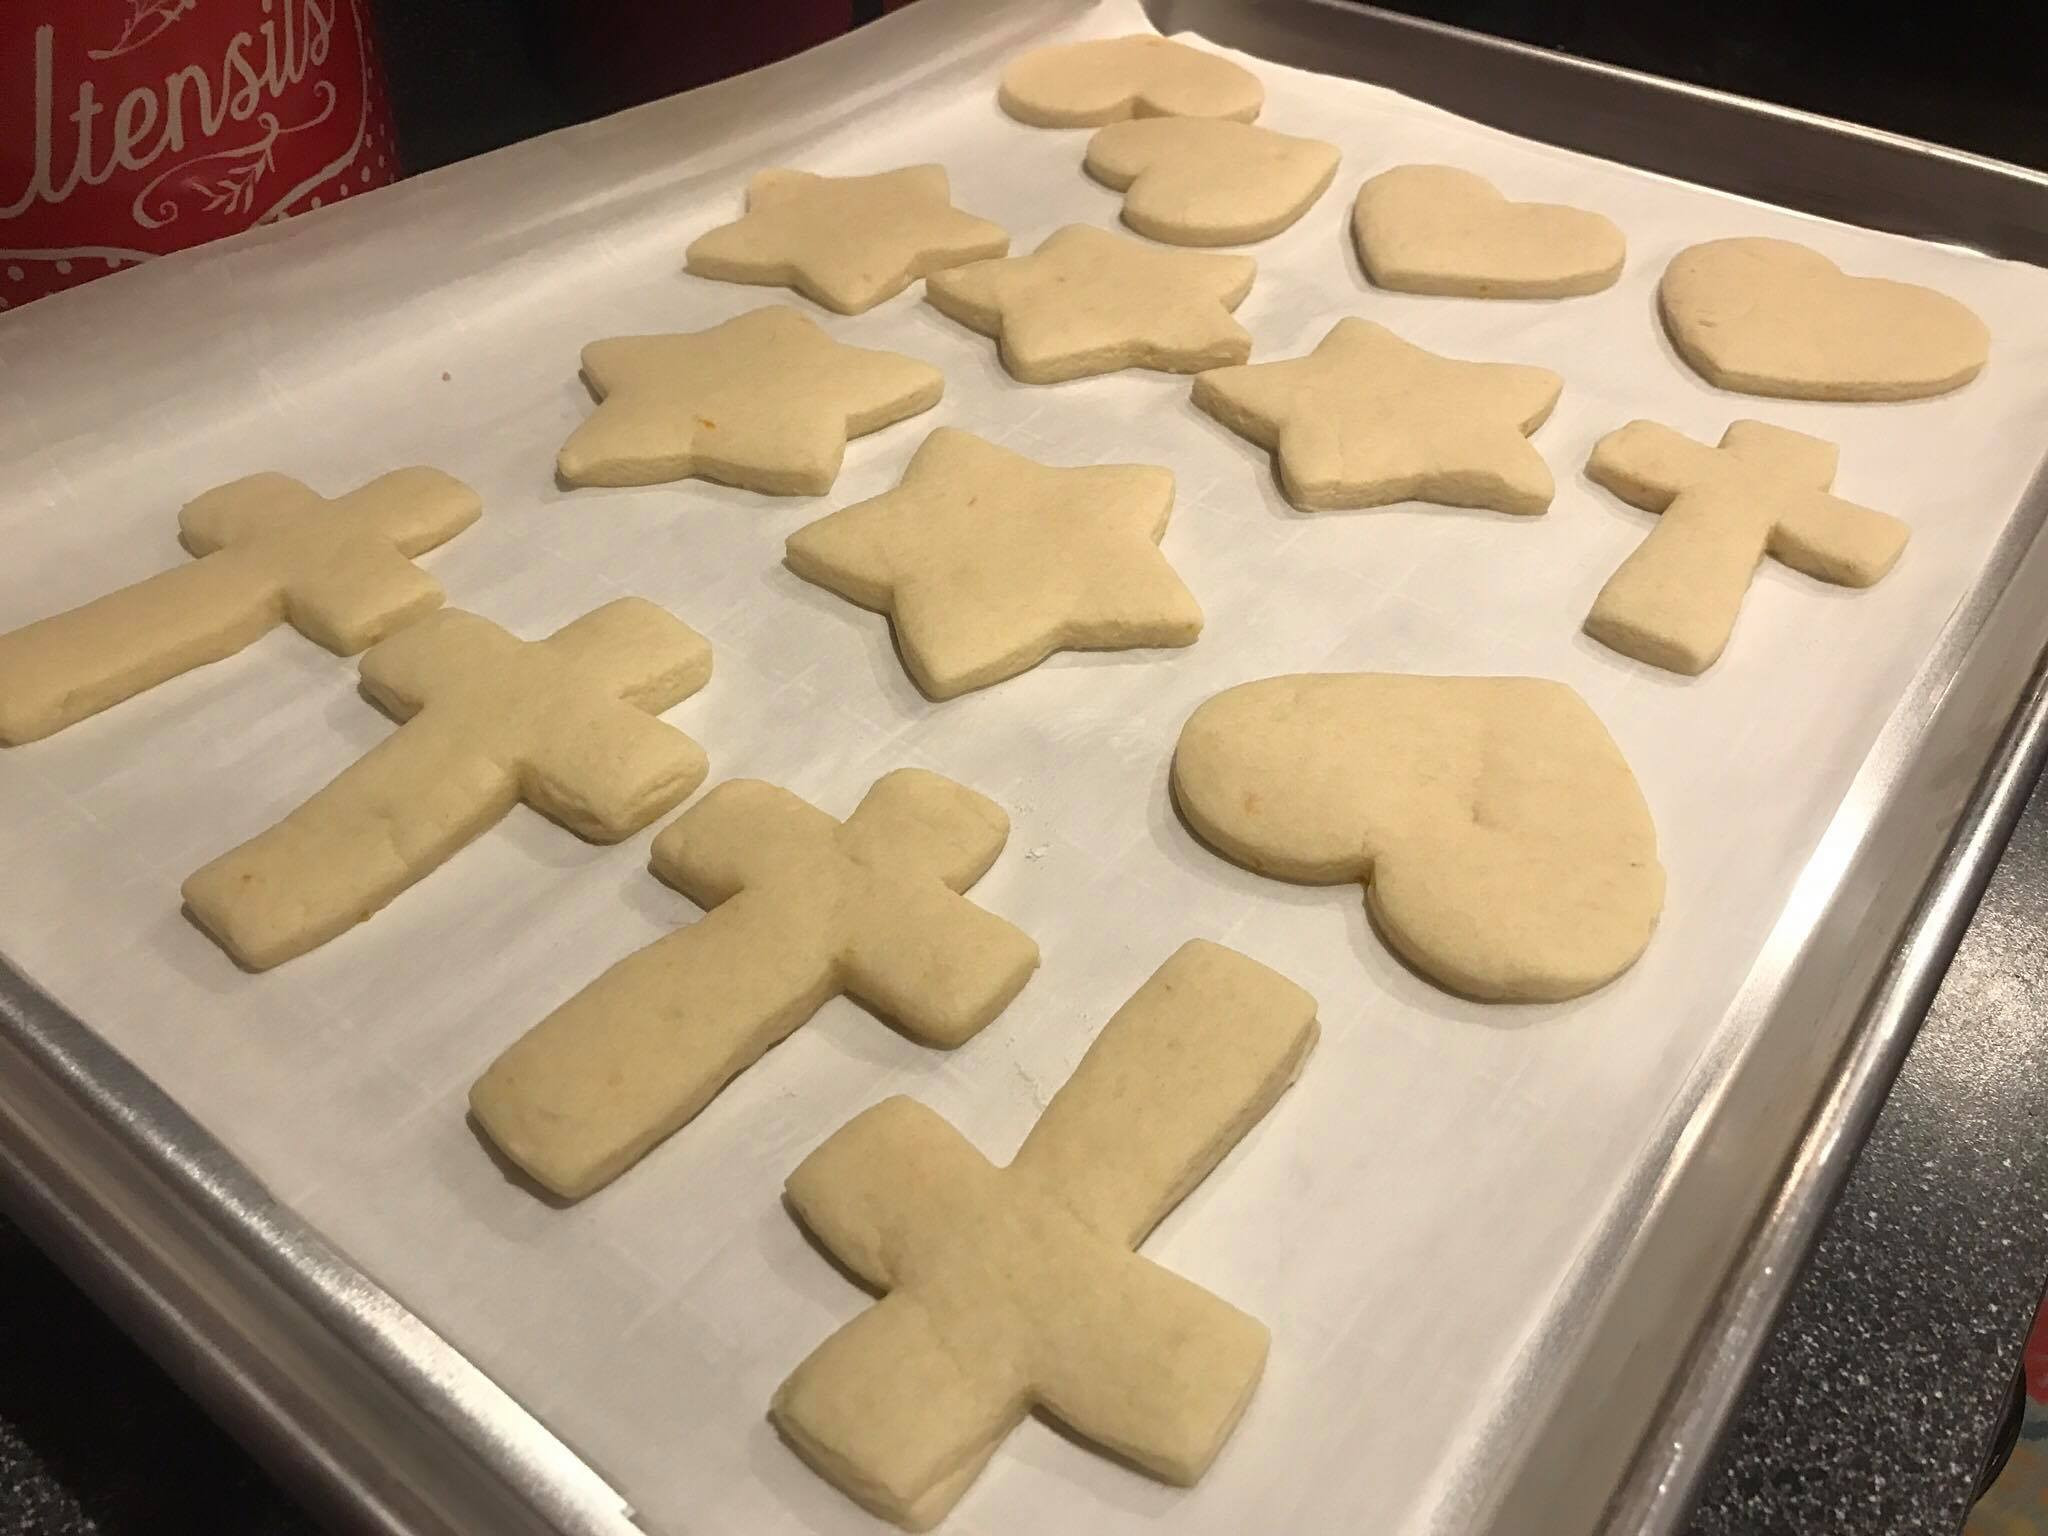
Step 19: Cooled Baked Cookies
Once baked, the cookies should look pale and set. I baked three pans of cookies in total for my batch.
 18012708_721270512655_802157080_o
Image: Baked sugar cookies on a baking sheet, showcasing their pale color and perfectly baked texture after coming out of the oven.
Step 20: Prepare Buttercream Frosting
While the cookies are cooling, you can prepare the buttercream frosting. First, make sure to clean your mixing bowl.
 18013004_721270522635_896279014_o
Image: Cleaning the mixing bowl in preparation for making buttercream frosting, ensuring a clean start for the frosting process.
Step 21: Cream Softened Butter
Add 2 sticks of softened butter to the clean mixing bowl.
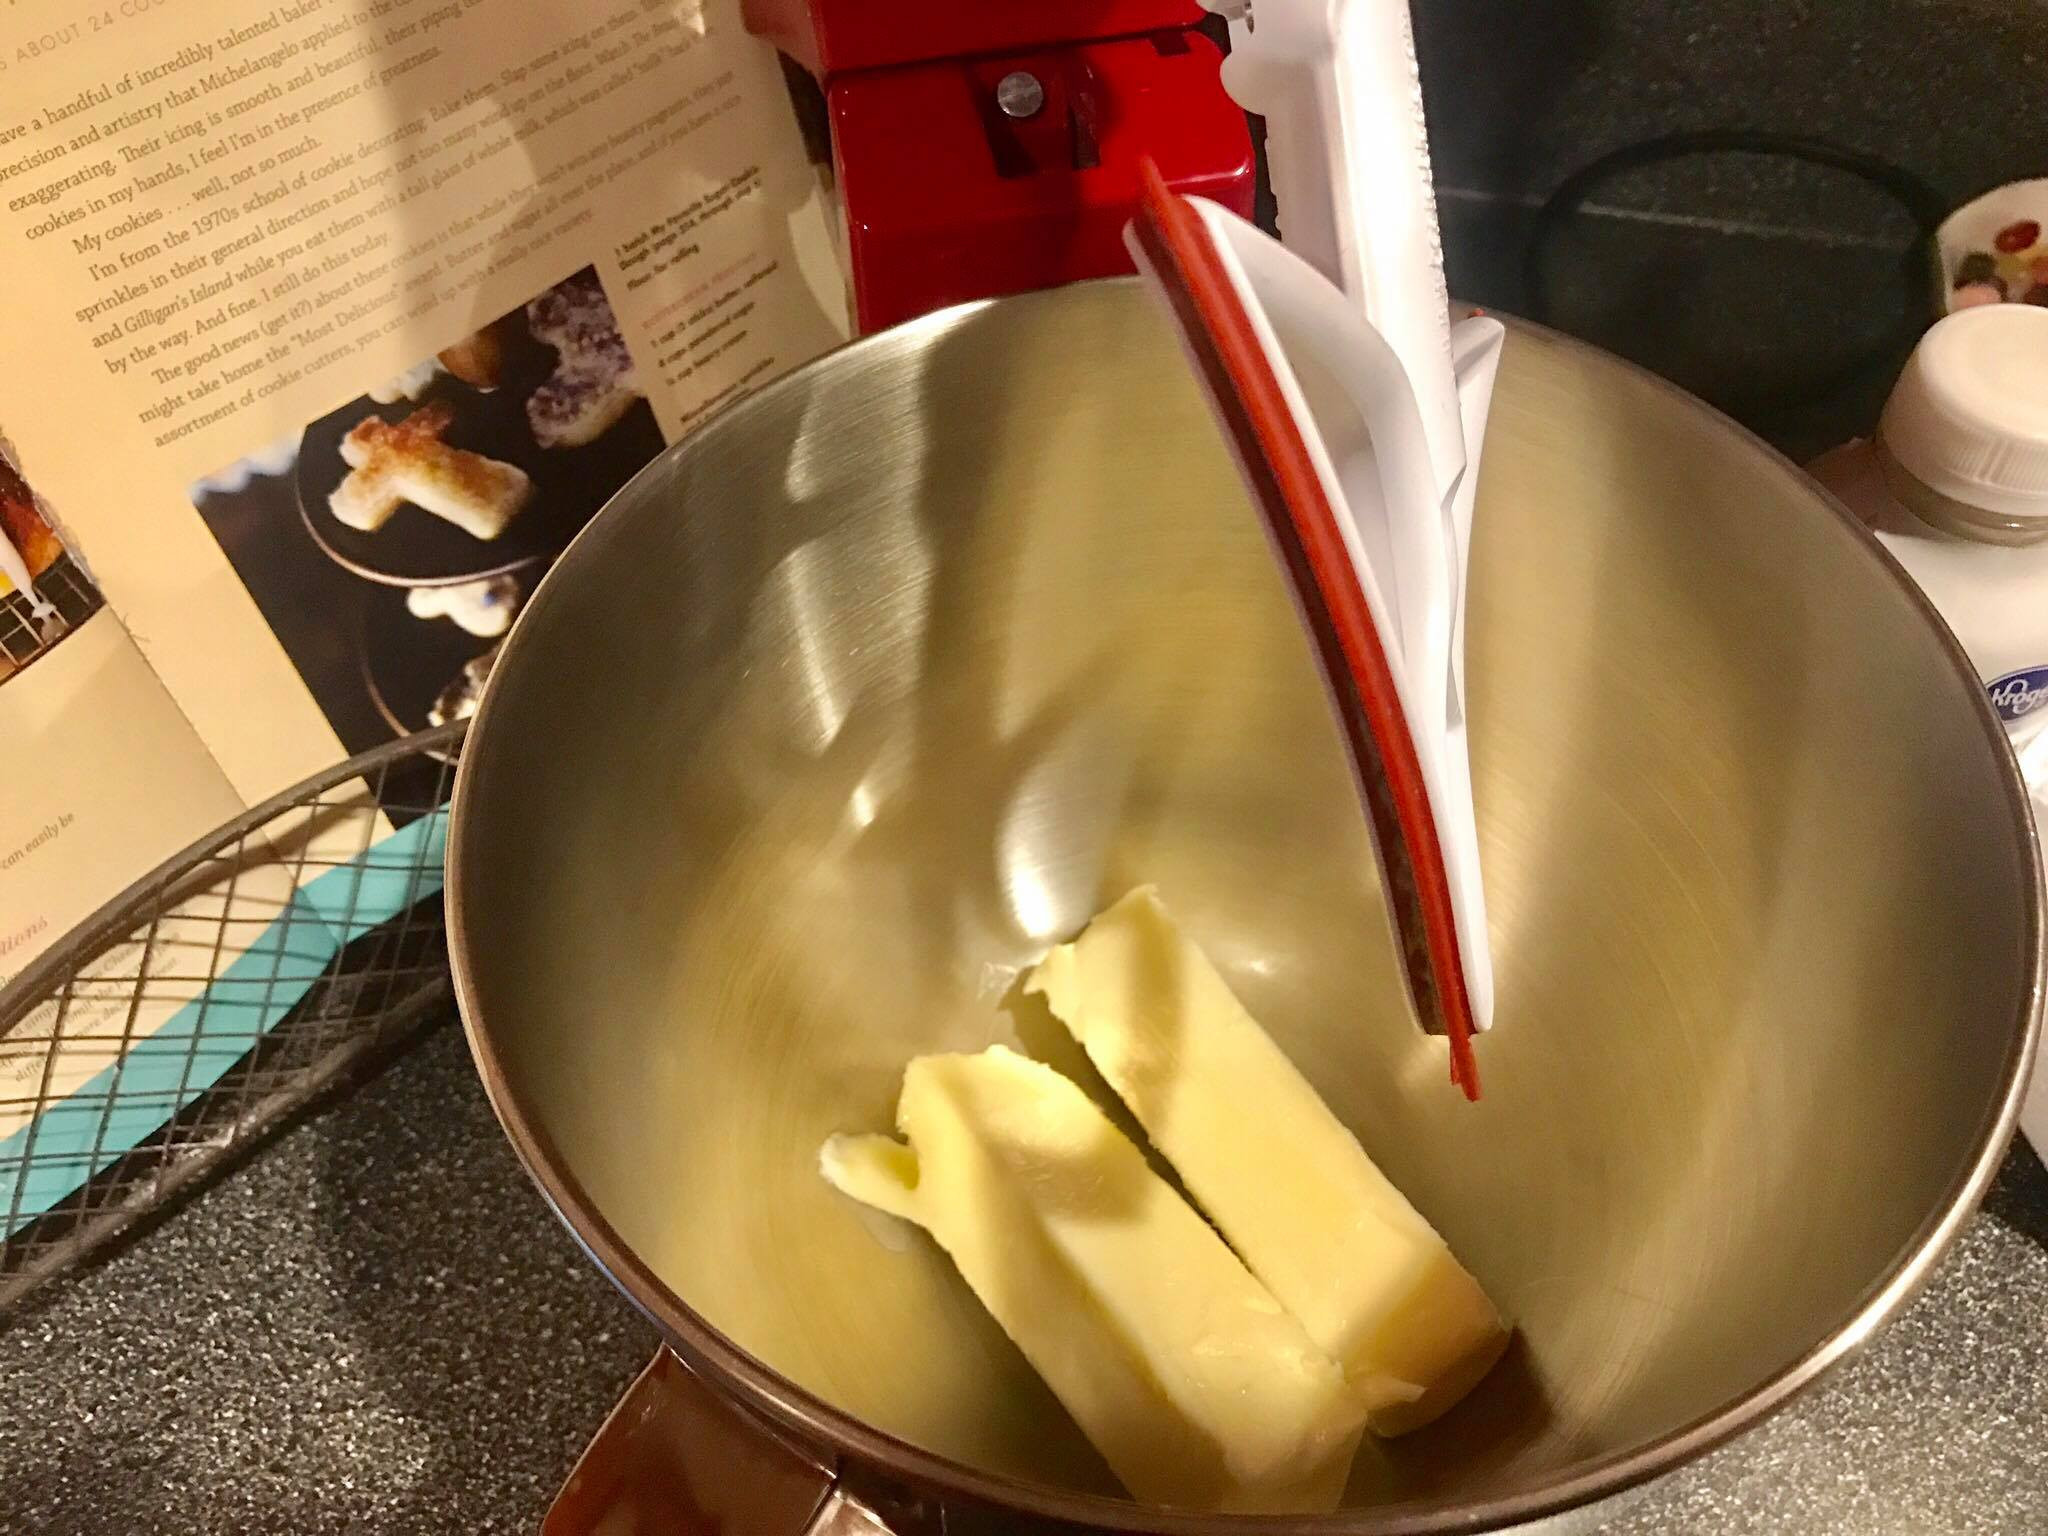 18012639_721270532615_1945058401_o
Image: Softened butter being added to the mixing bowl for buttercream frosting, highlighting the creamy base of the frosting.
Step 22: Add Powdered Sugar
Follow with 4 cups of powdered sugar.
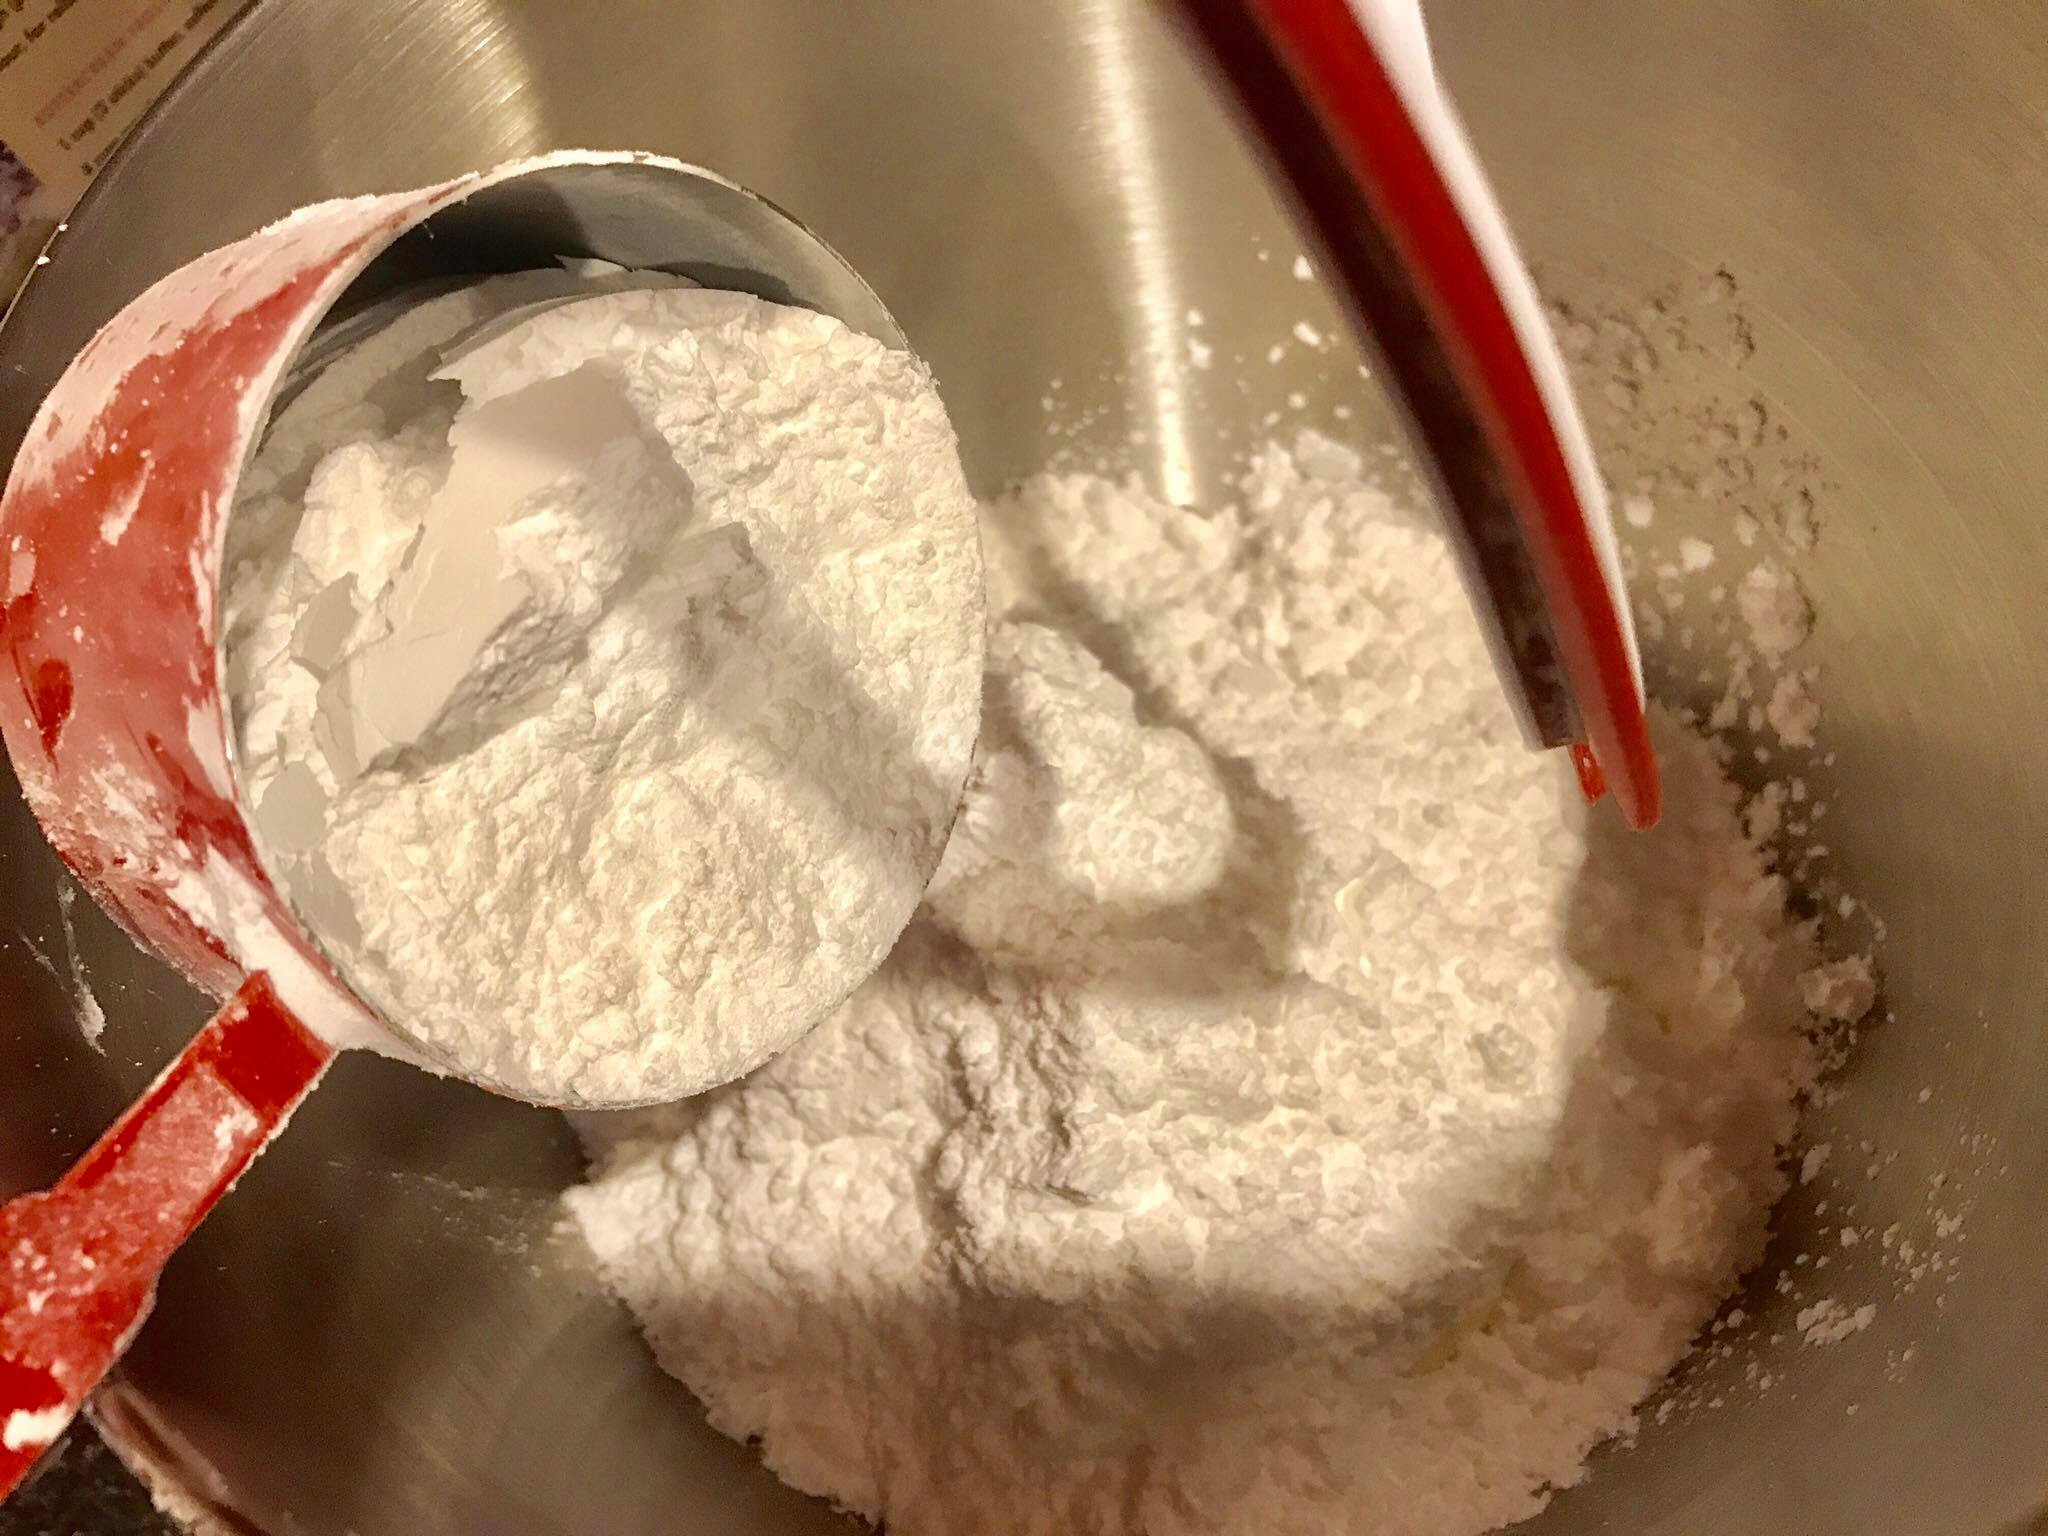 17976561_721270542595_1345114083_o
Image: Powdered sugar being added to the mixing bowl with softened butter, illustrating the sweetening component of the buttercream frosting.
Step 23: Add Heavy Cream
Pour in 1/4 cup of heavy cream.
 18015752_721270577525_1118541960_o
Image: Heavy cream being added to the mixing bowl with butter and powdered sugar, indicating the liquid component for frosting consistency.
Step 24: Beat the Frosting
Beat all frosting ingredients together until the frosting is light and fluffy. If you wish to add color, this is the stage to divide the frosting and add gel food coloring to each portion.
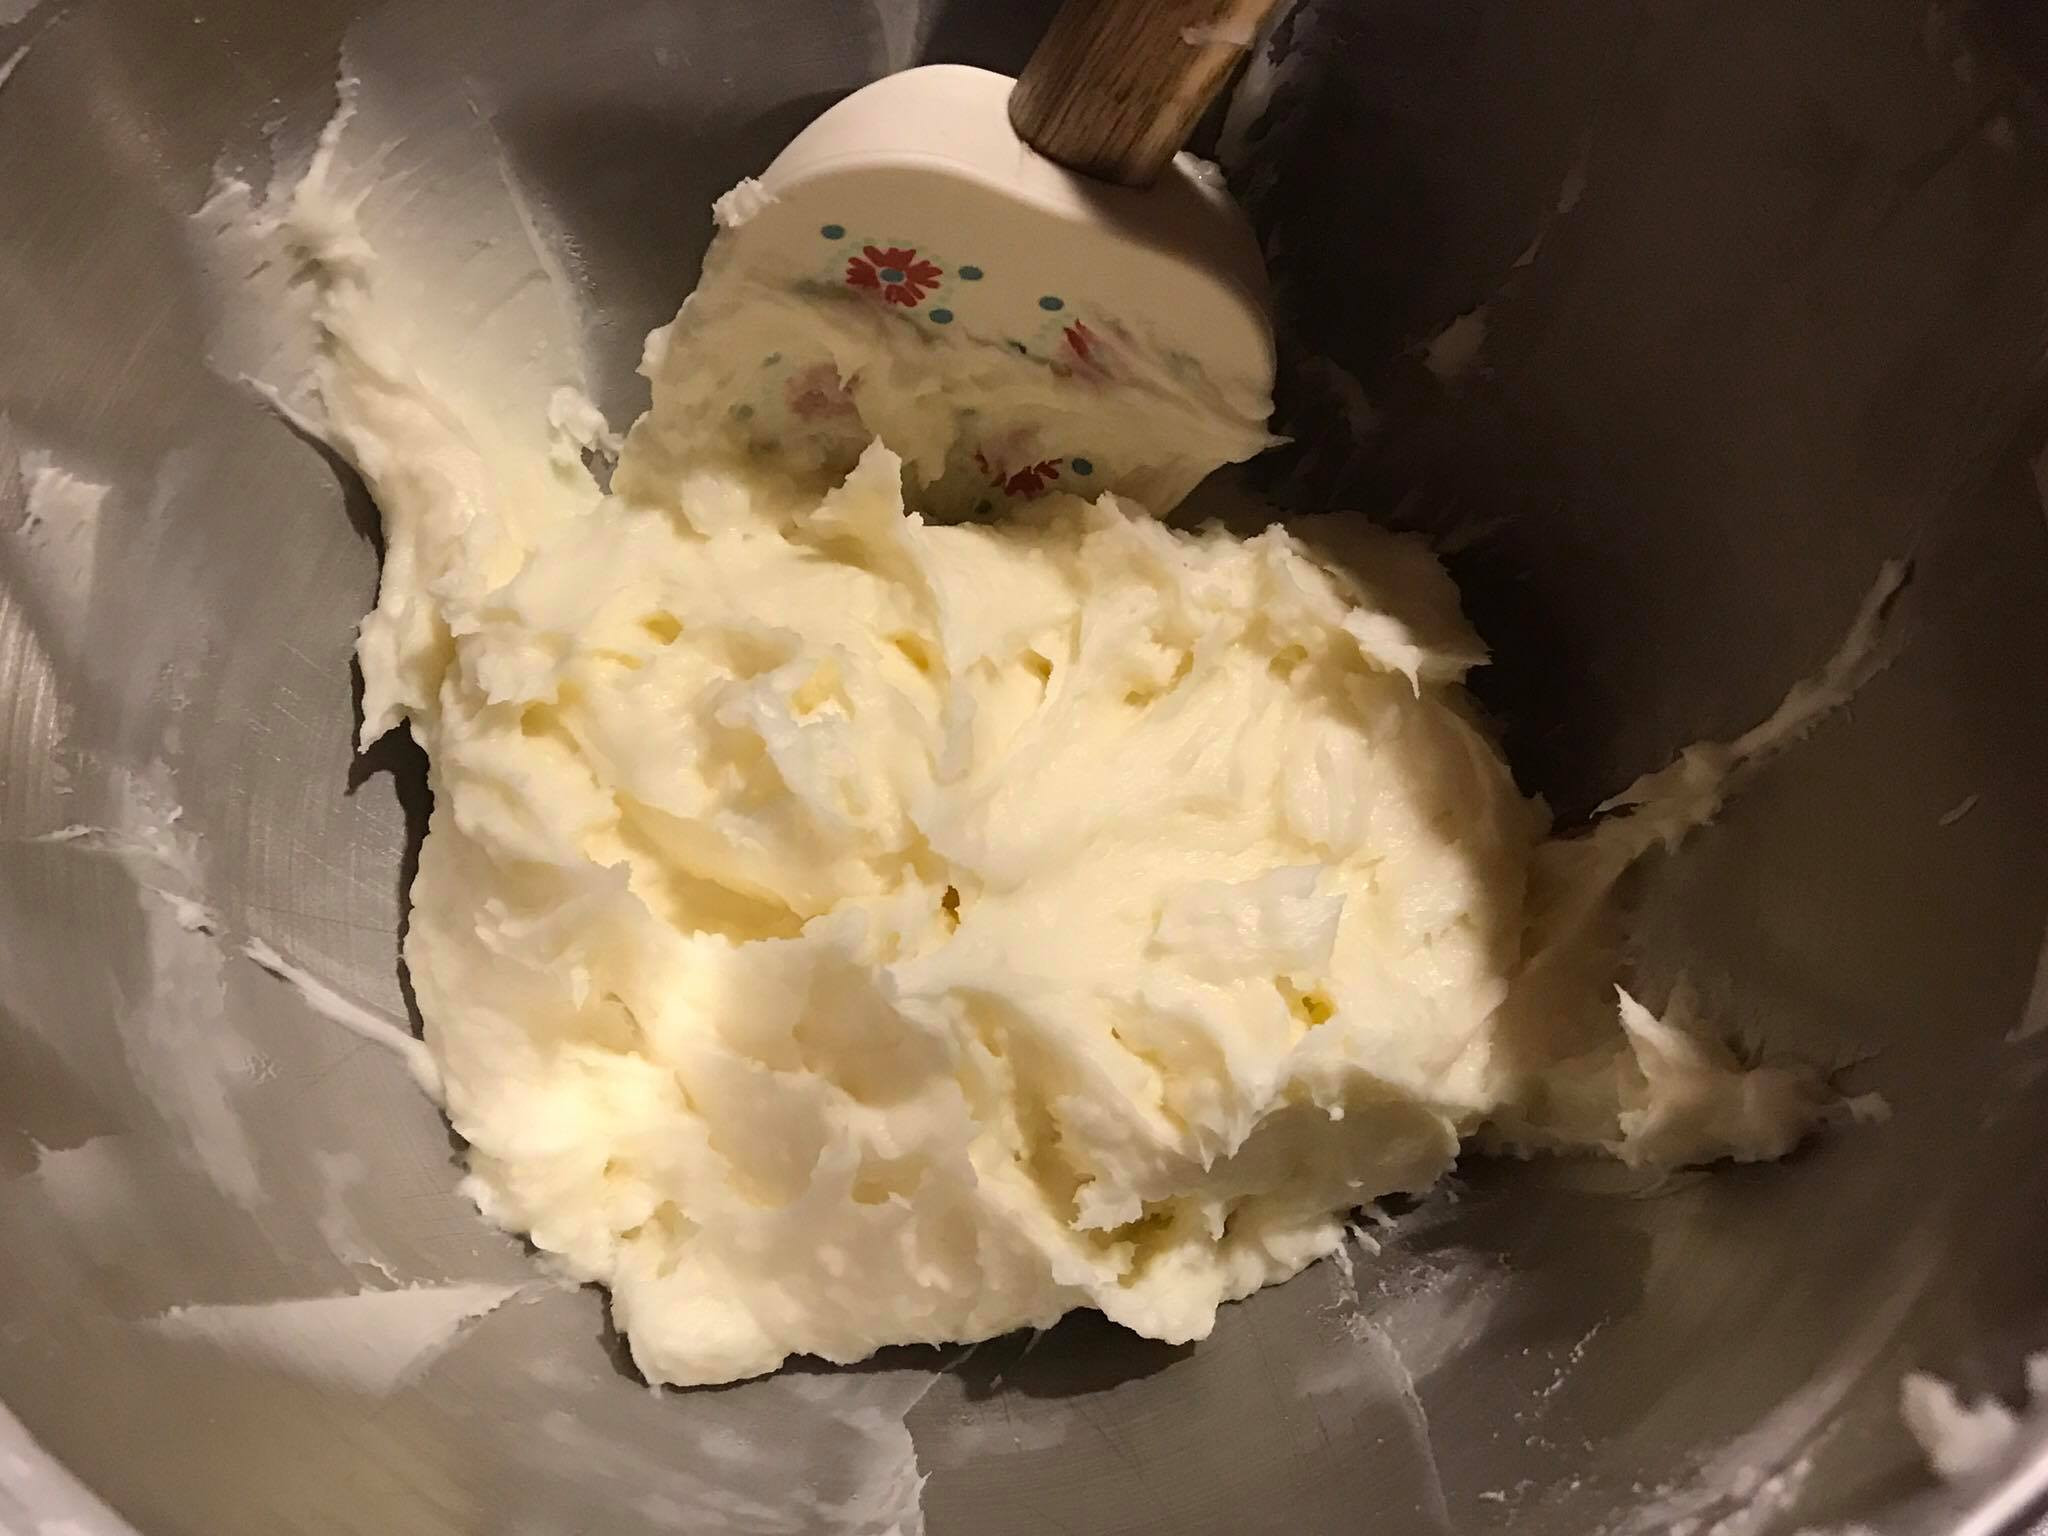 17976340_721270612455_643587946_o
Image: Buttercream frosting being whipped in the mixing bowl until light and fluffy, showcasing the final texture of the homemade frosting.
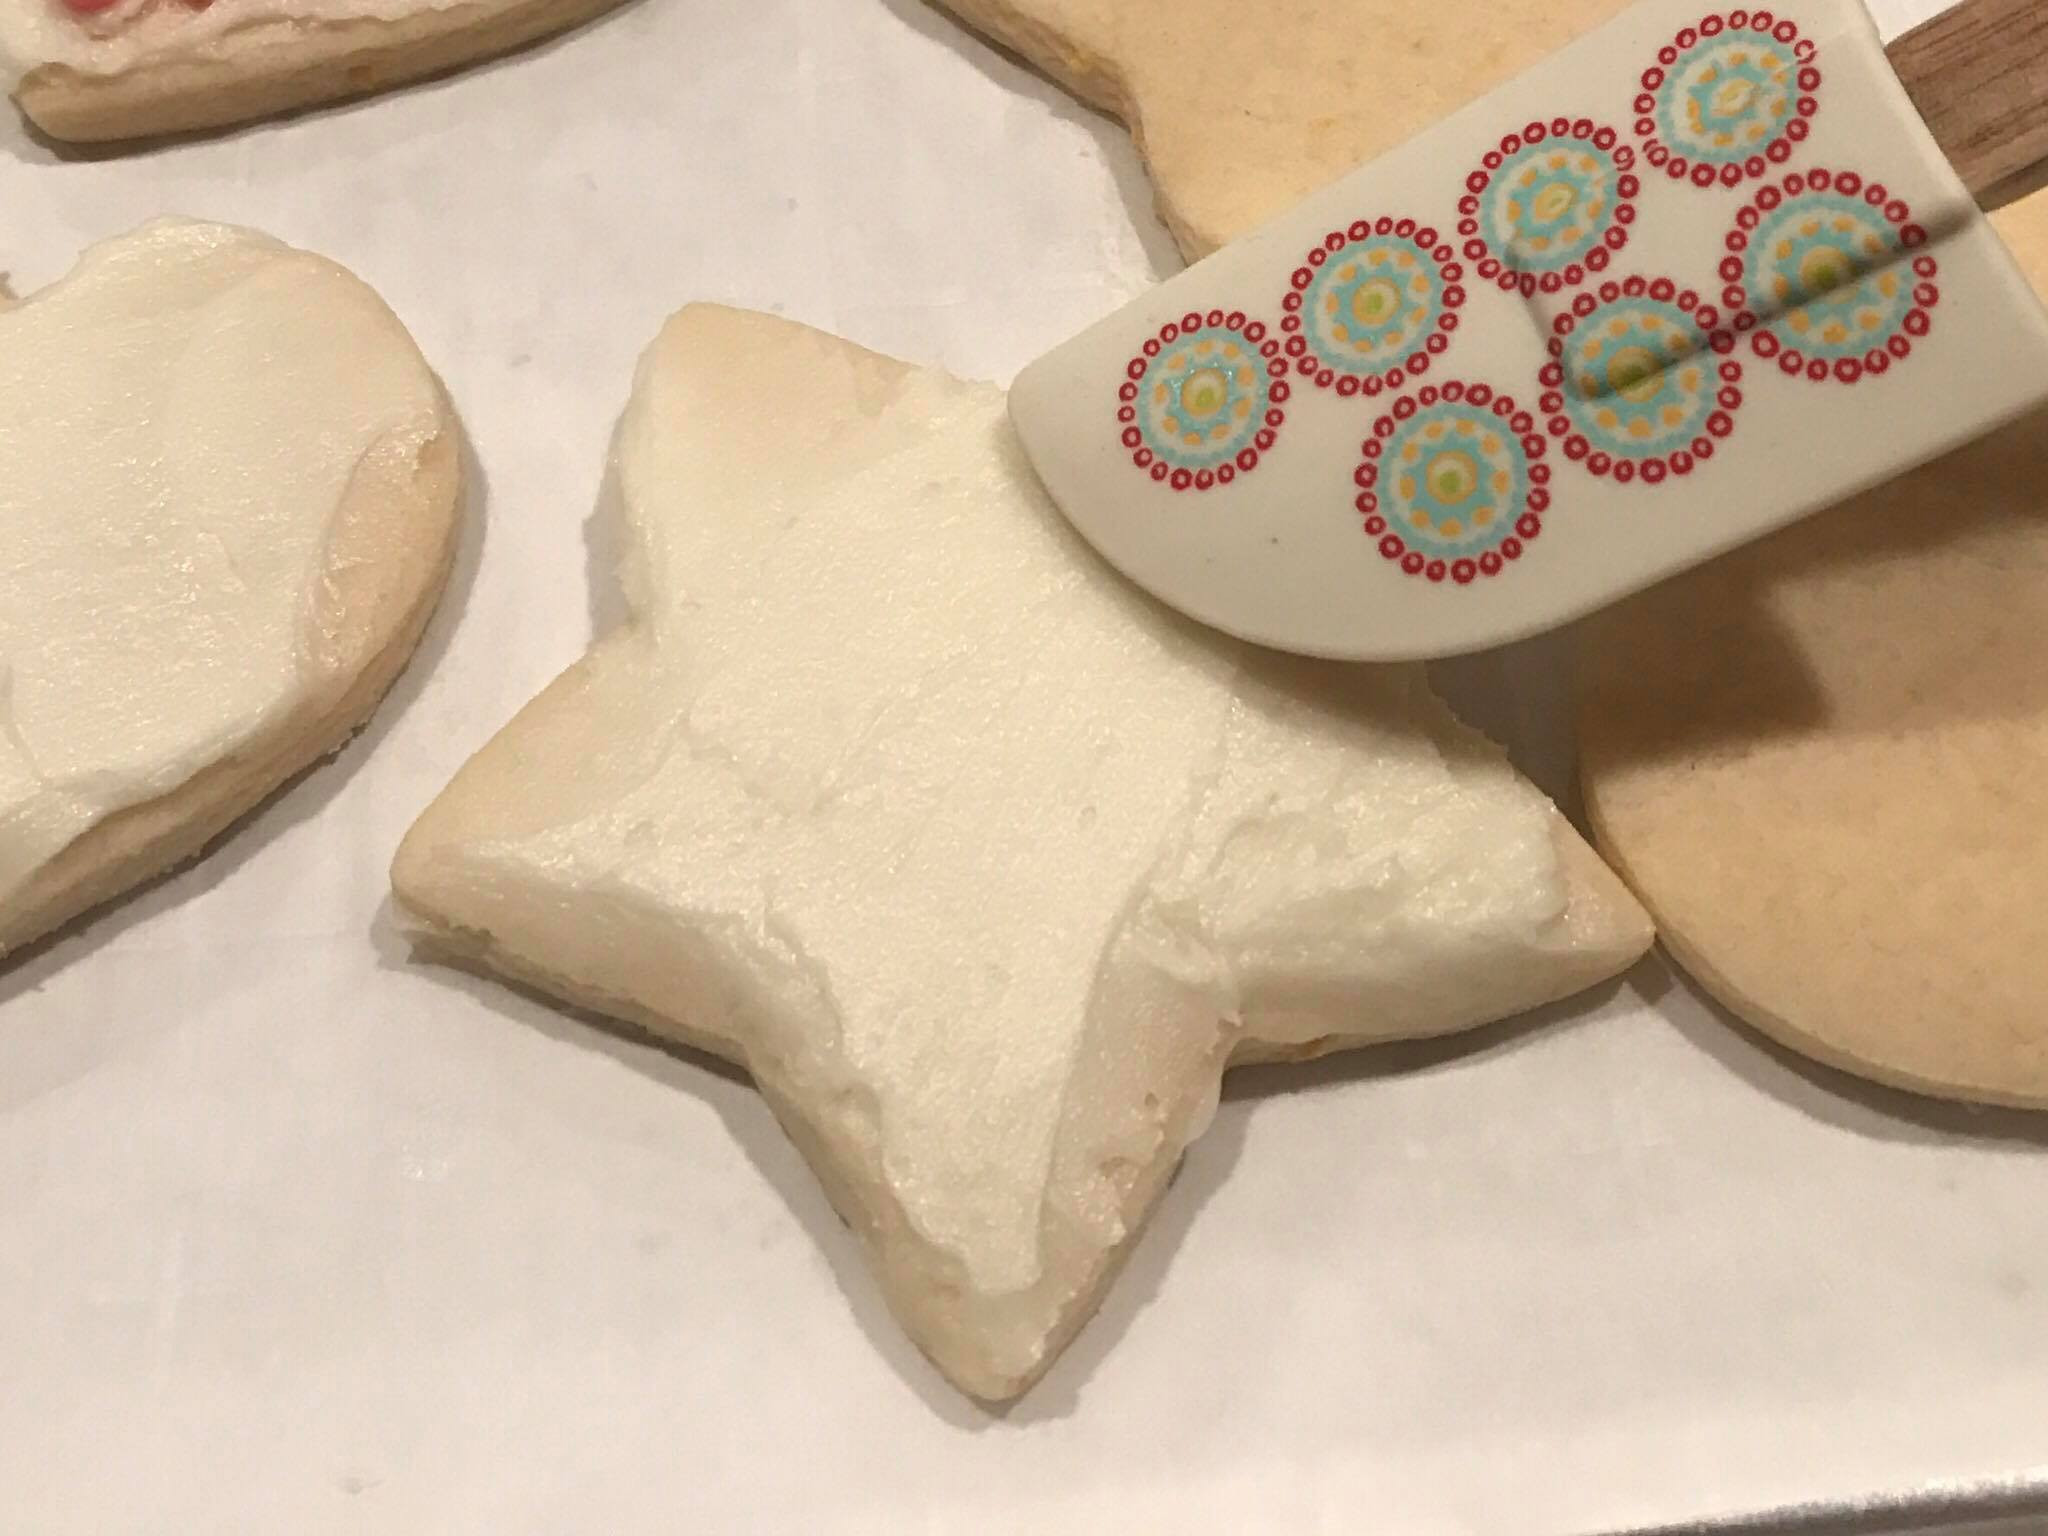
Step 25: Frost and Decorate
Once the cookies are completely cooled, it’s time for the most creative part – frosting and decorating! You can use a knife or a spatula for frosting. A Pioneer Woman silicone spatula works wonderfully for smooth and even frosting.
 17976264_721270742195_658037235_o
Image: Frosting a cooled sugar cookie with a spatula, demonstrating the application of homemade buttercream frosting onto the baked cookie.
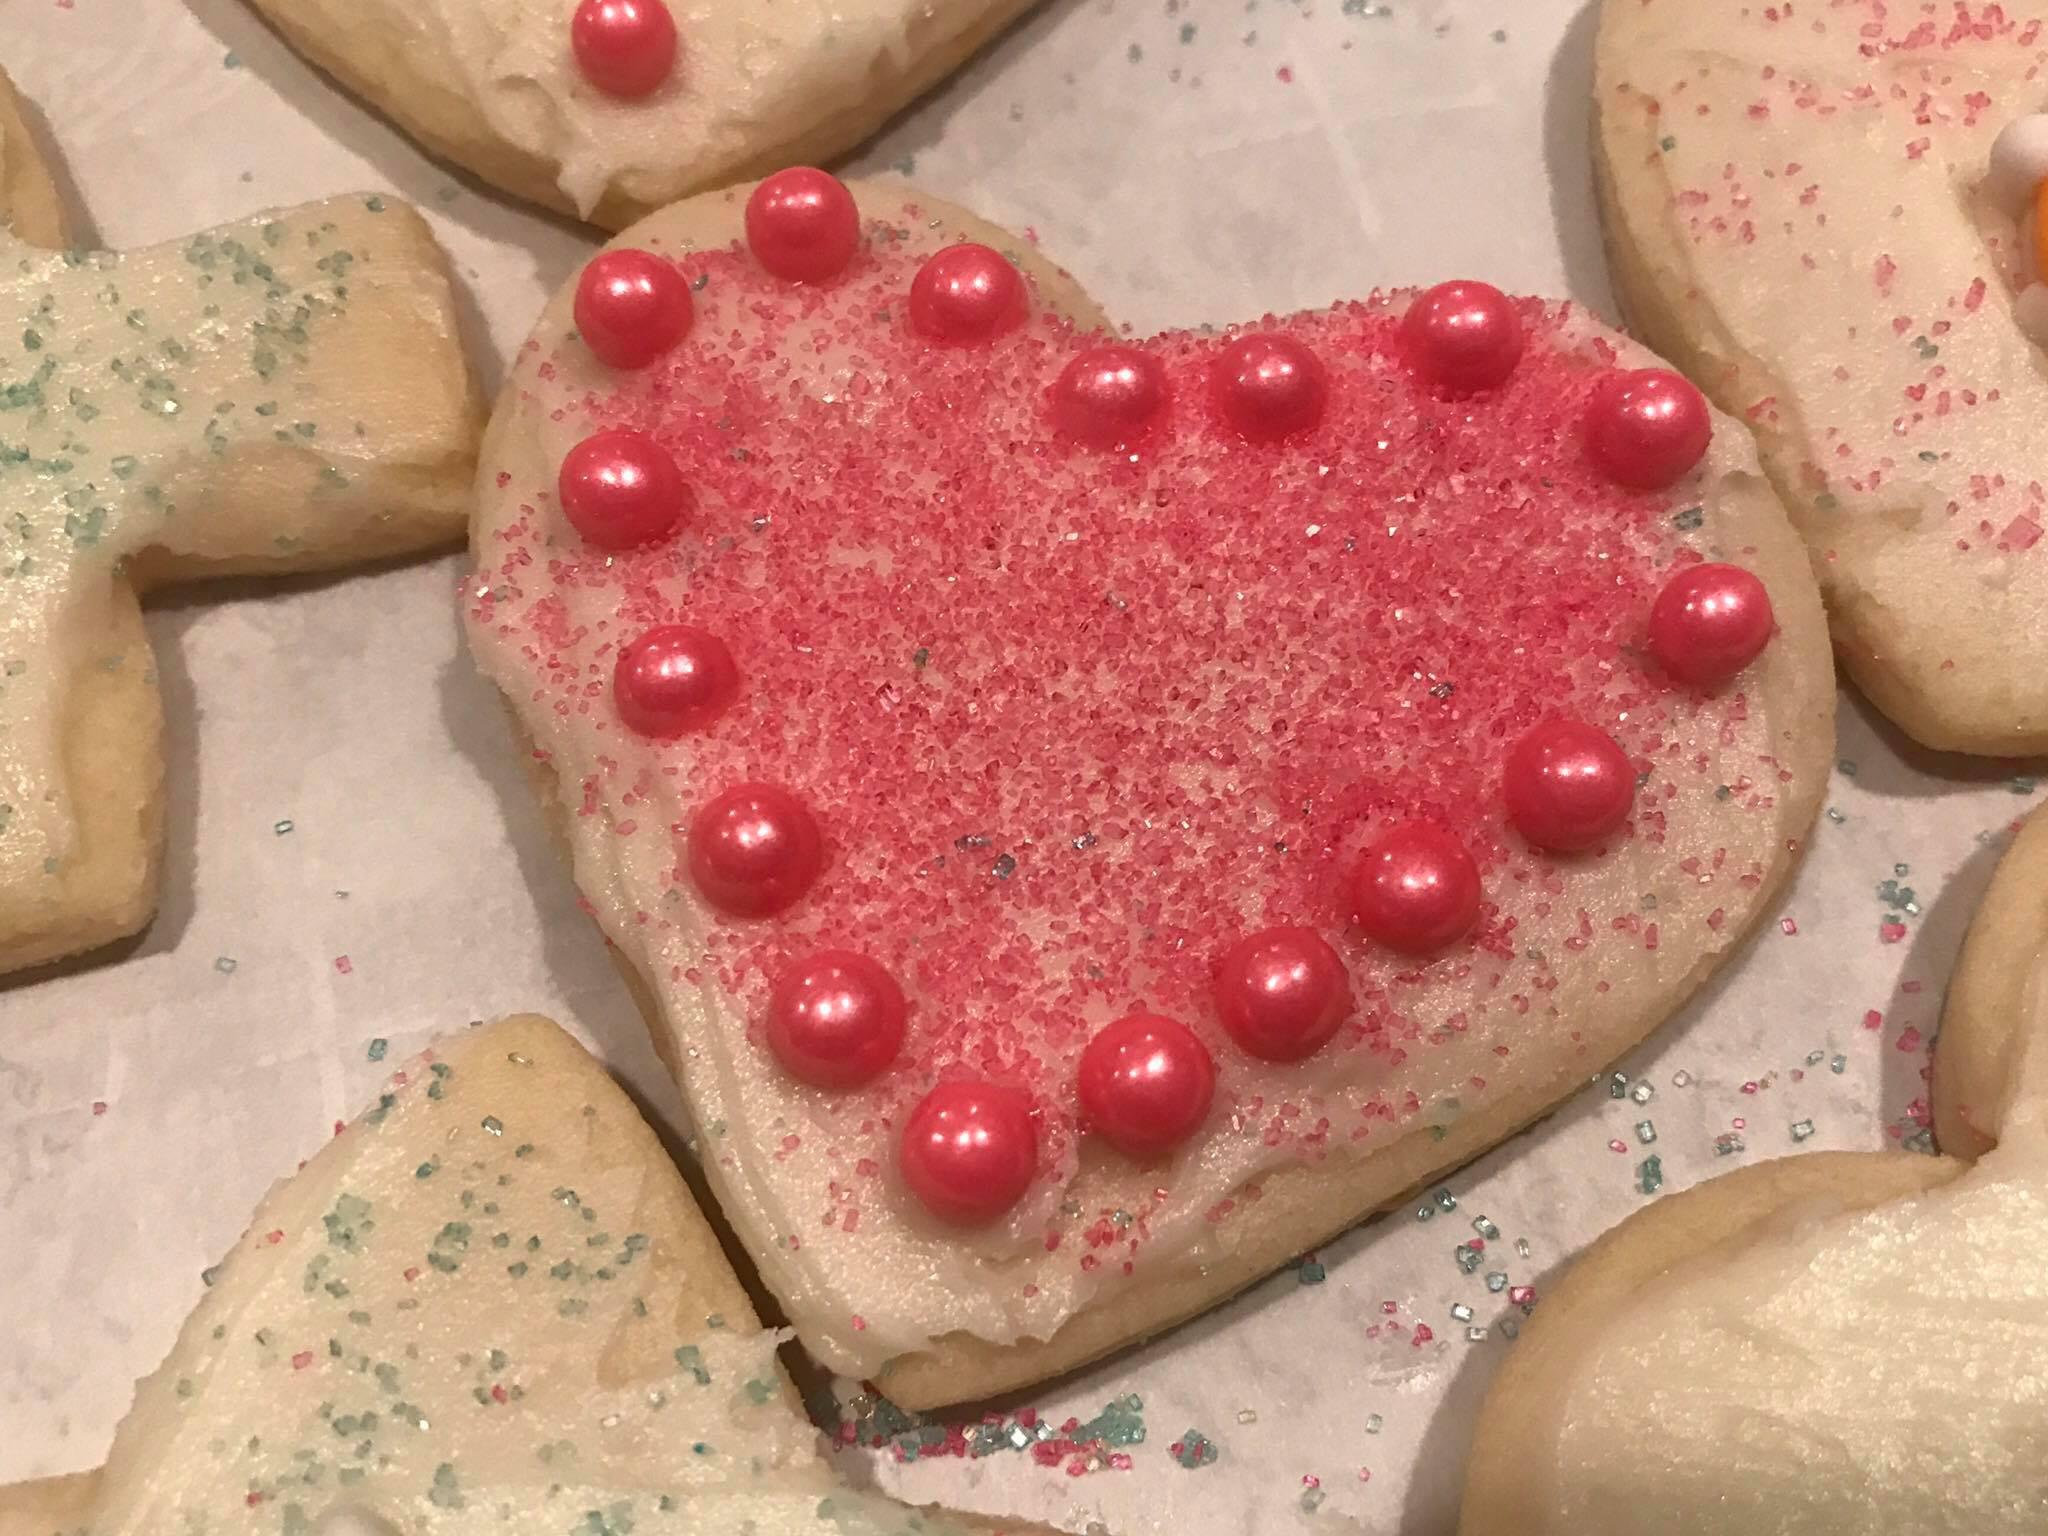
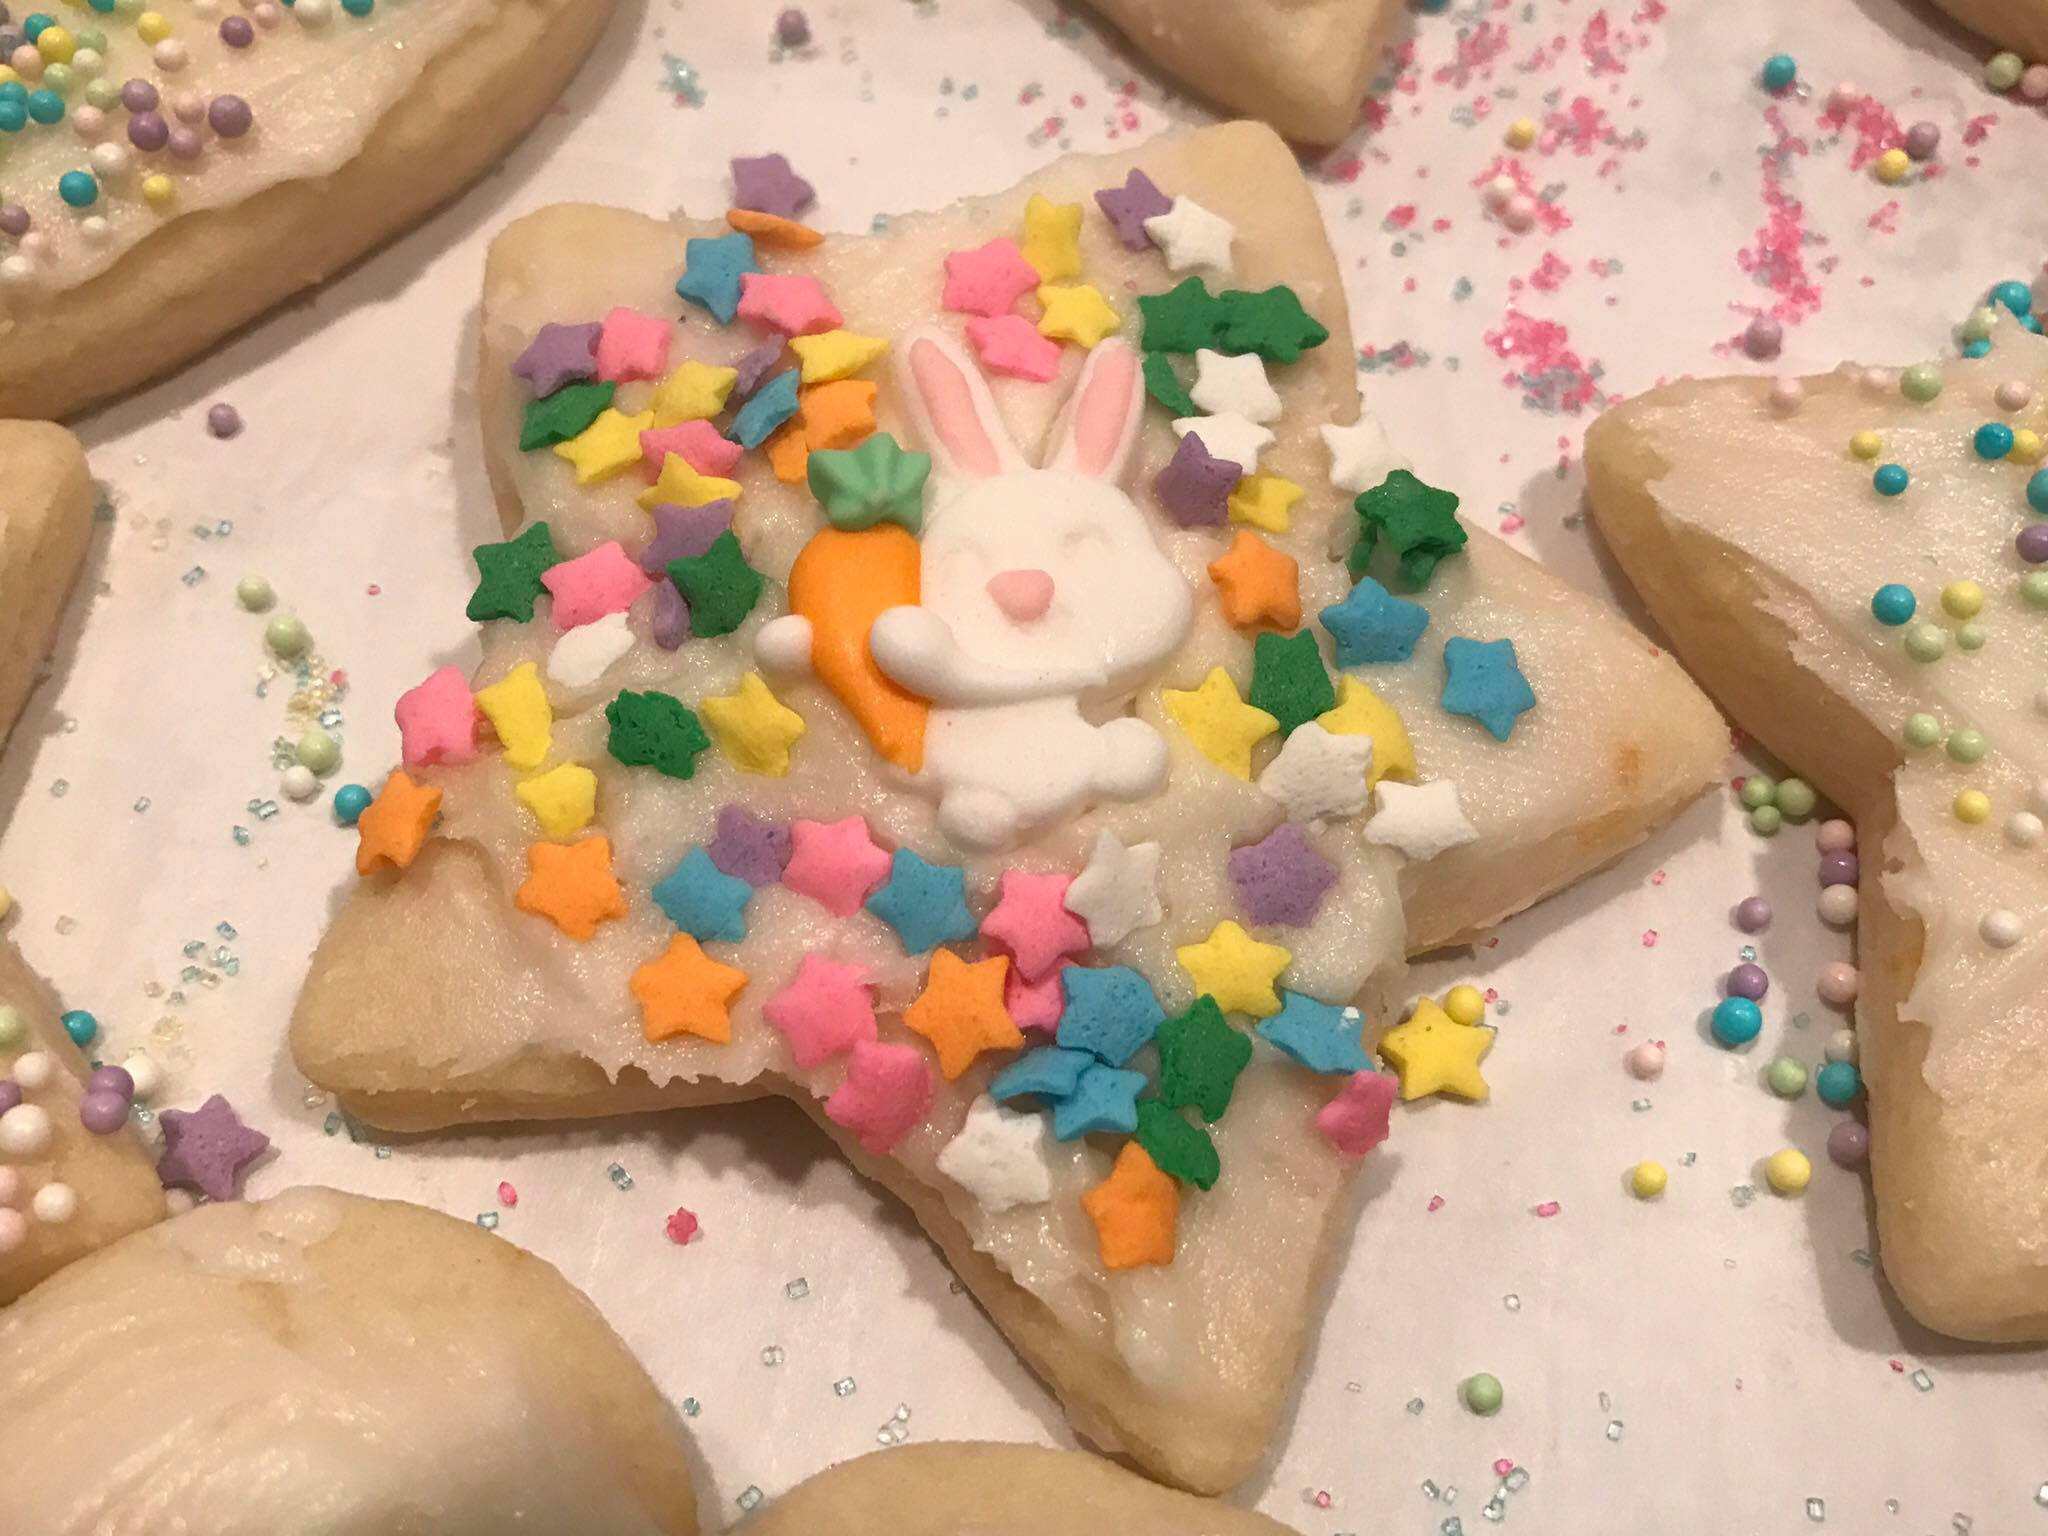
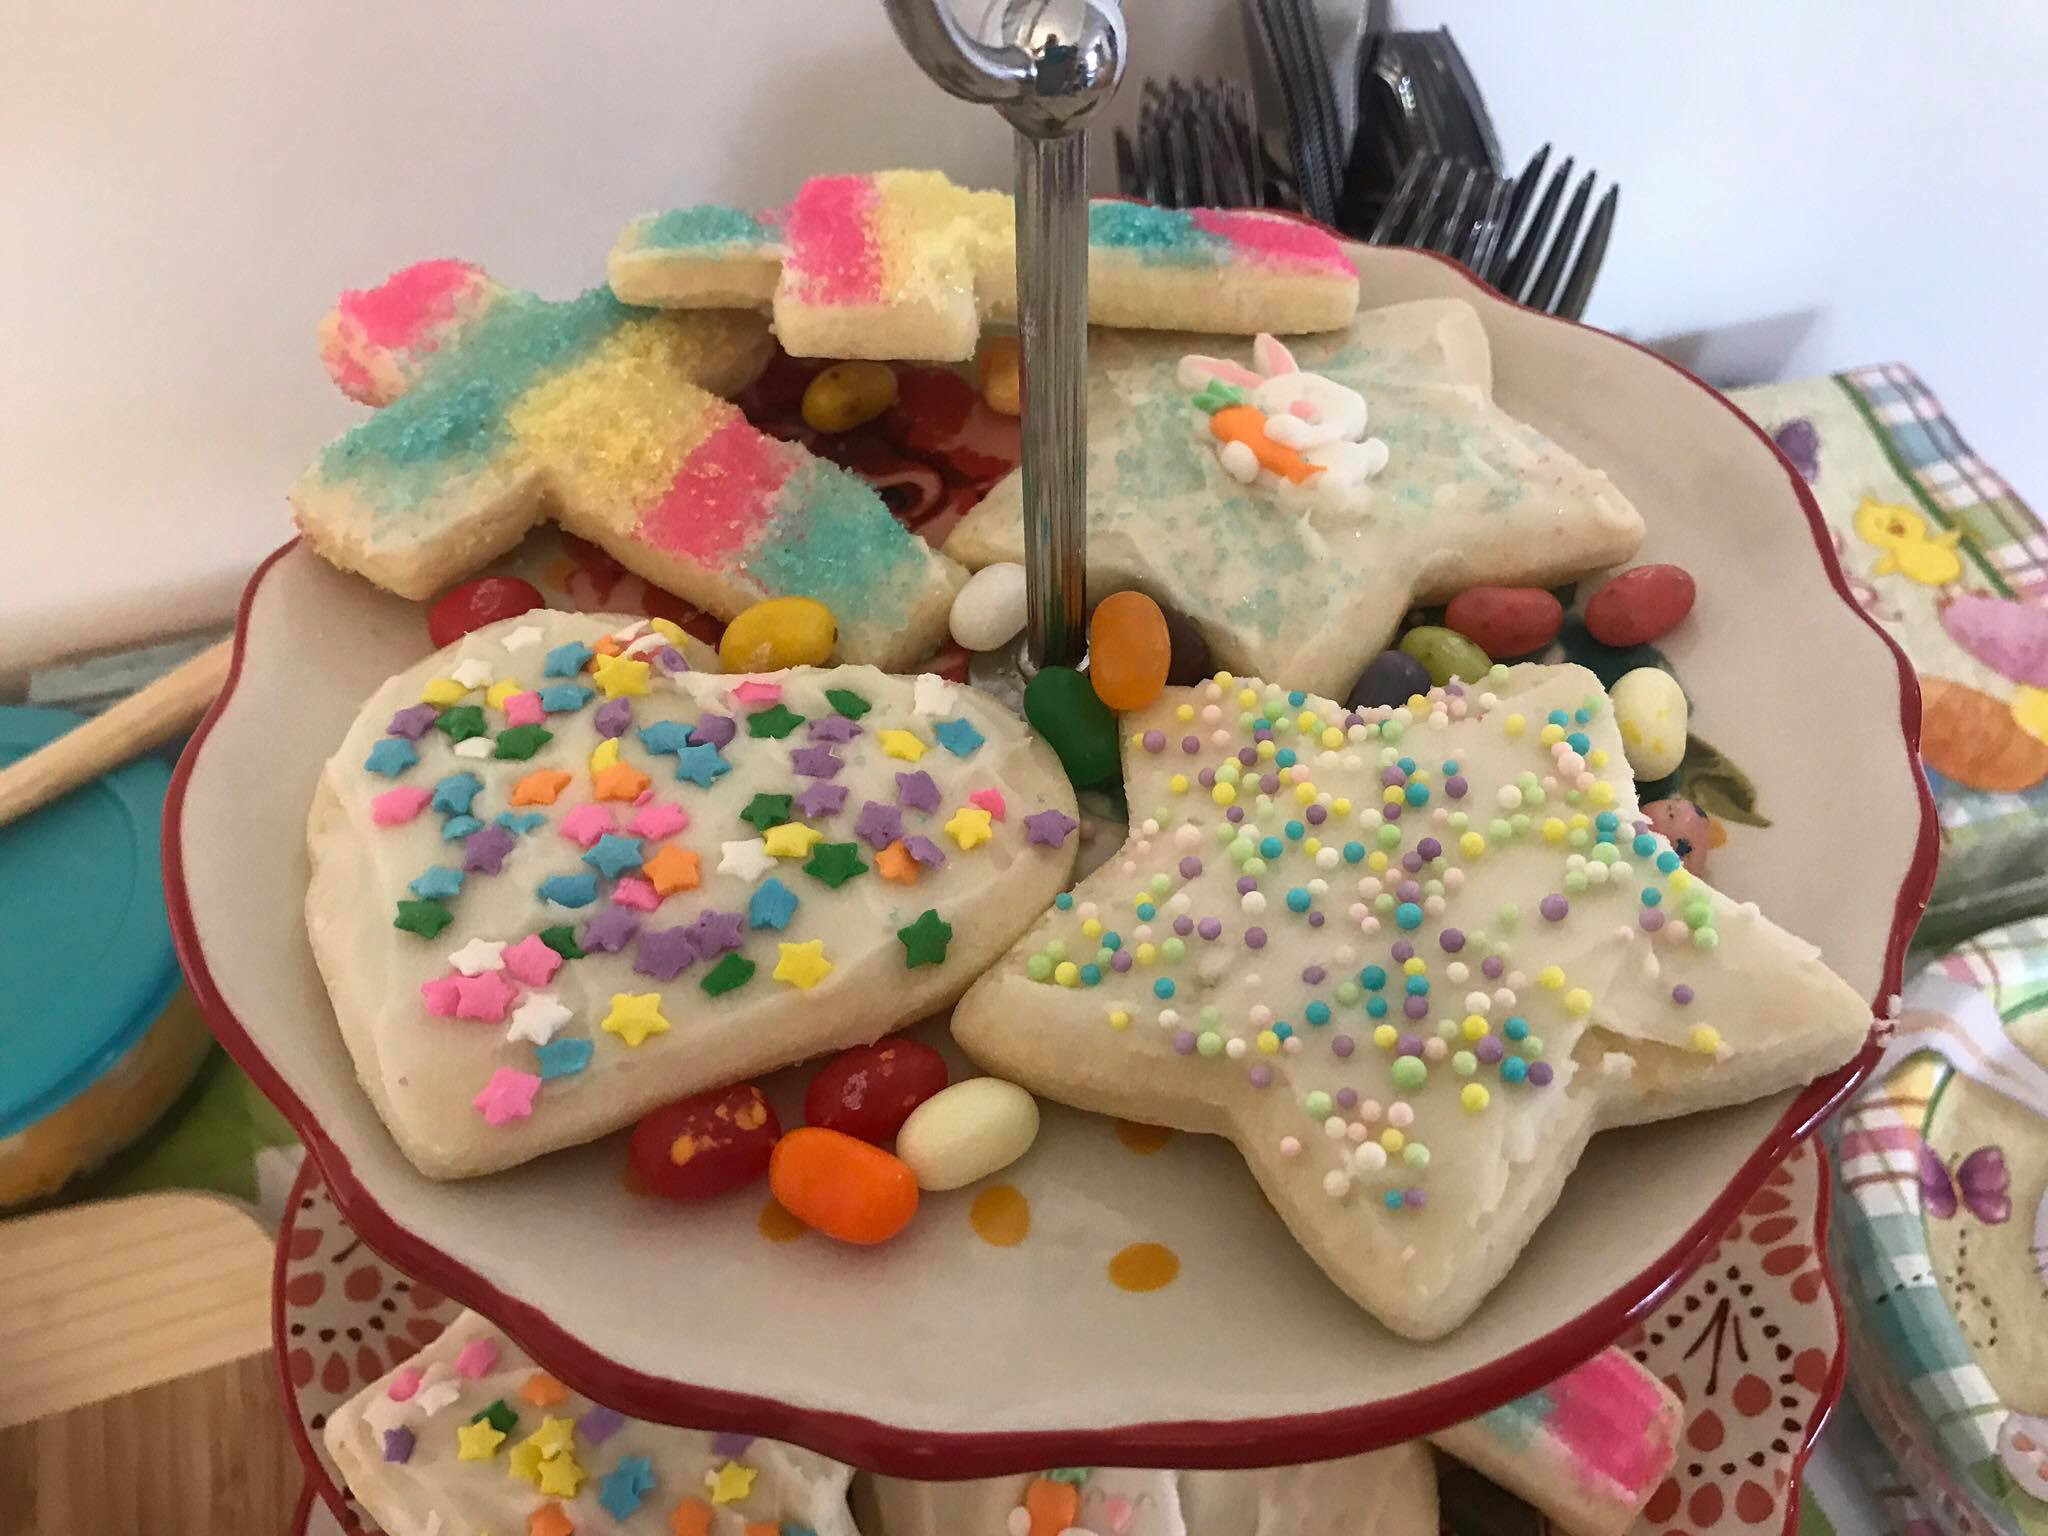
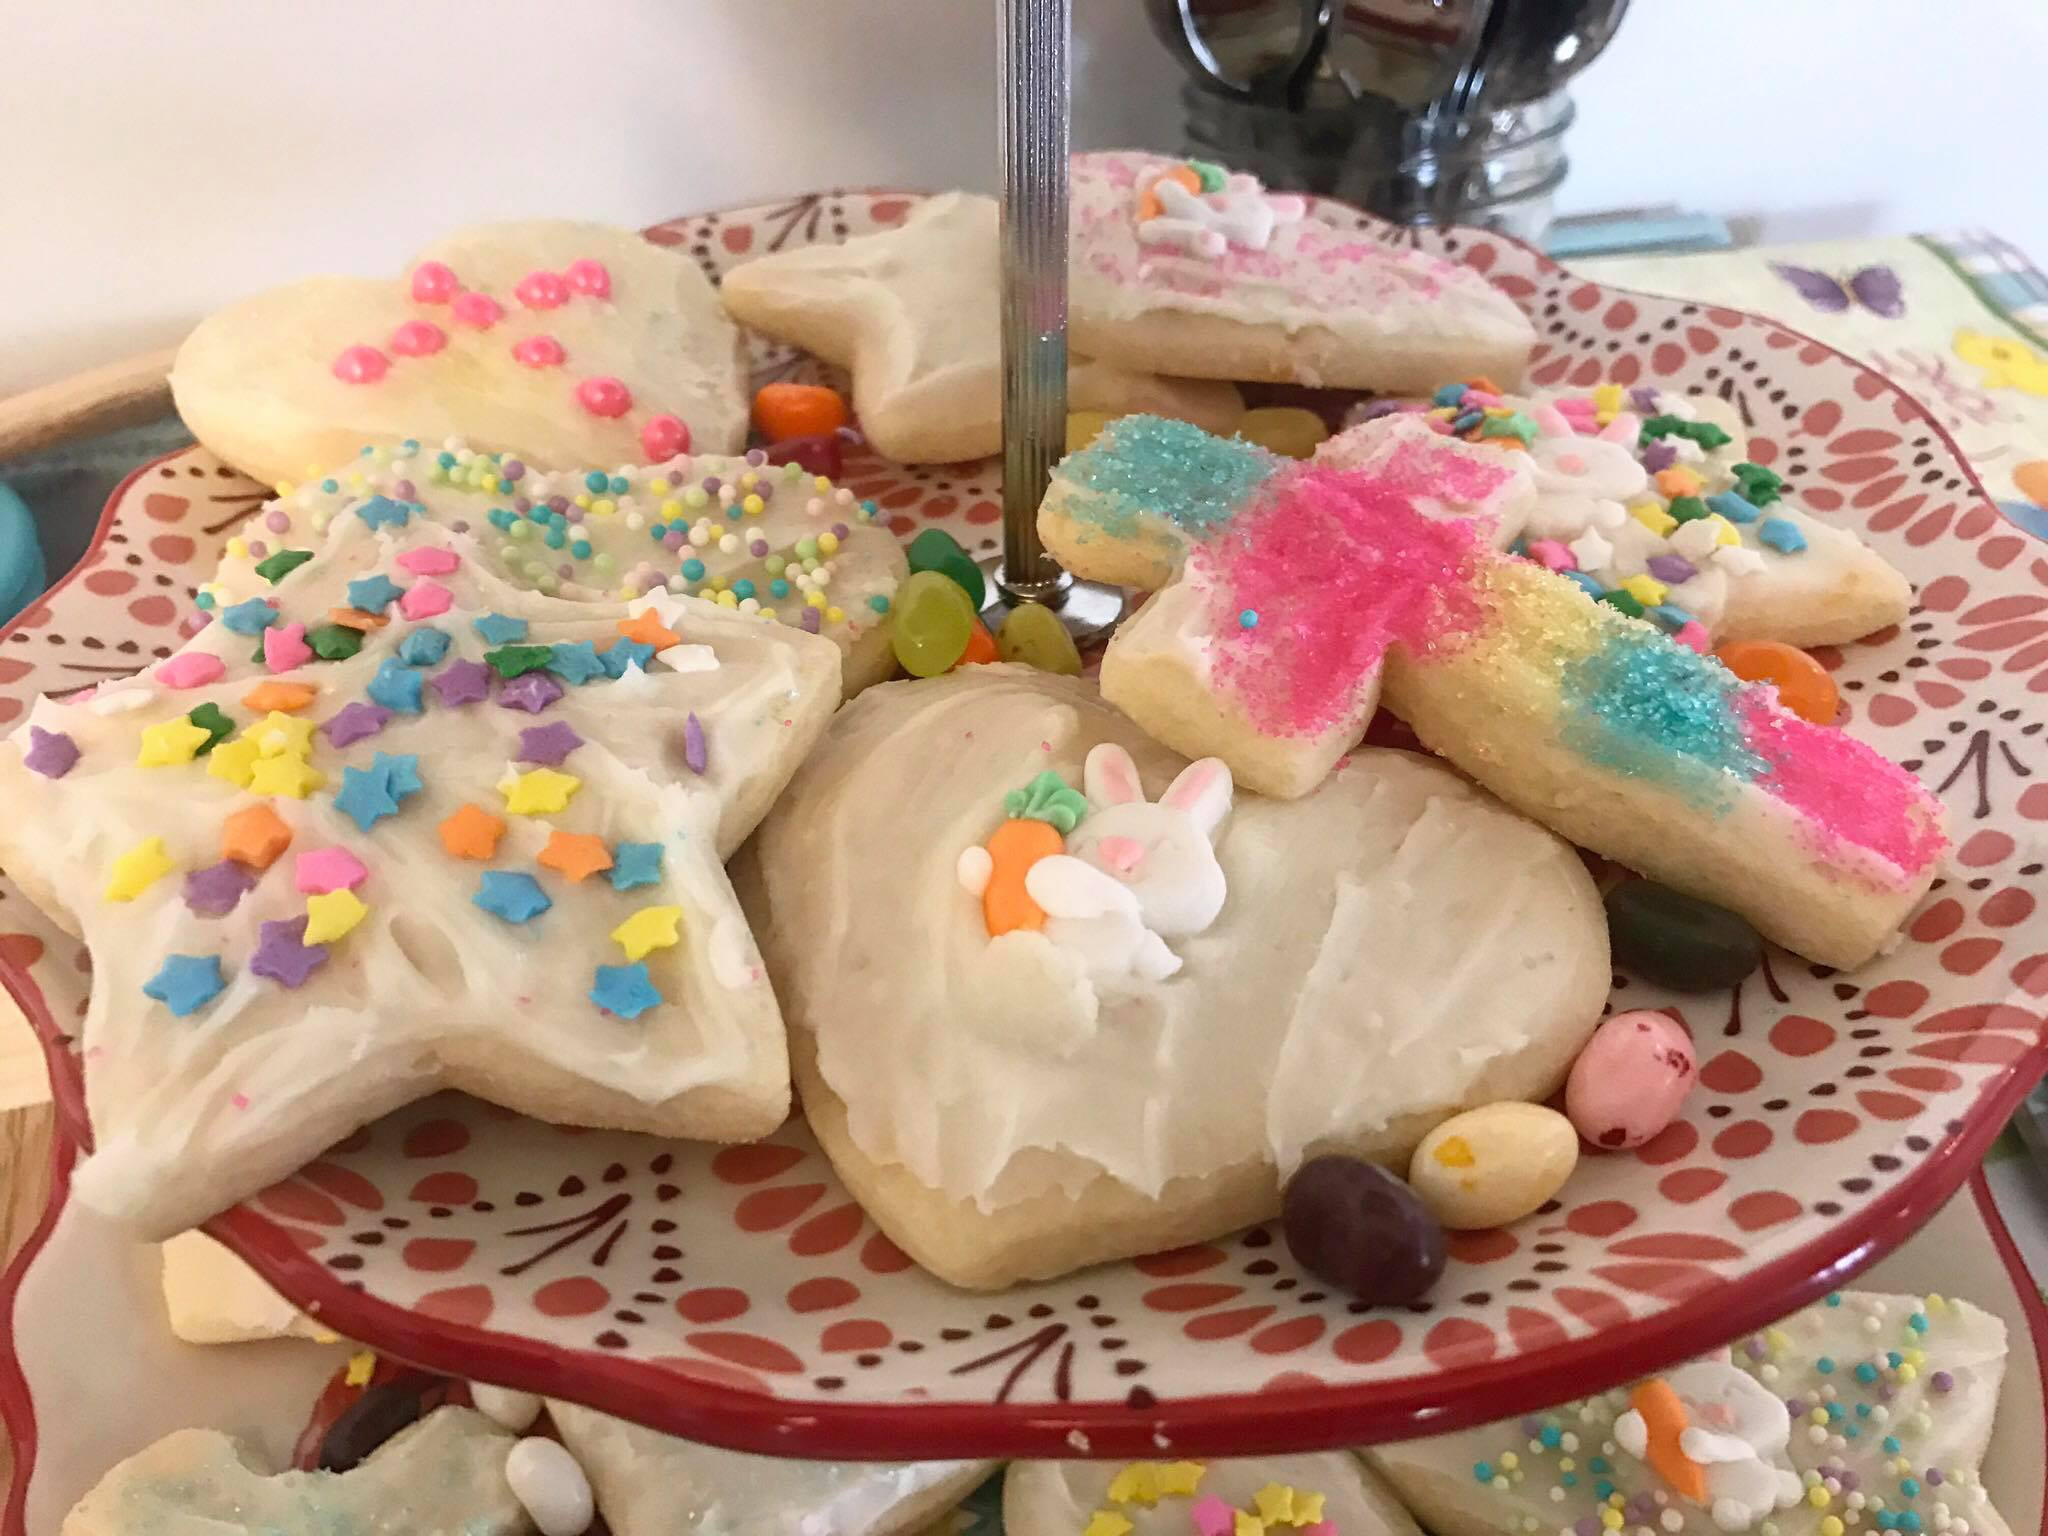
Let your creativity flow when decorating. There’s only one rule: have fun! I decorated a heart cookie with candy pearls and a star cookie with star sprinkles and a bunny, perfect for Easter.
 18012678_721270747185_968924393_o
Image: Decorated heart-shaped sugar cookie with candy pearls, showcasing a creative and festive cookie decoration.
 18012661_721270846985_635950775_o
Image: Decorated star-shaped sugar cookie with star sprinkles and a bunny candy, emphasizing the Easter theme and playful decoration.
And of course, I made some cross-shaped cookies to remember the reason for Easter. I decorated one pan myself and left another pan undecorated.
 17976342_721270886905_1942497356_o
Image: Decorated cross-shaped sugar cookies, highlighting the religious significance of Easter through themed cookie decorations.
For my Easter brunch, I set out bowls of buttercream frosting and sprinkles so guests could decorate their own cookies – a fun and interactive activity for everyone!
 Feature 1
Image: A table setting featuring a bowl of buttercream frosting and sprinkles, inviting guests to decorate their own sugar cookies as a fun brunch activity.
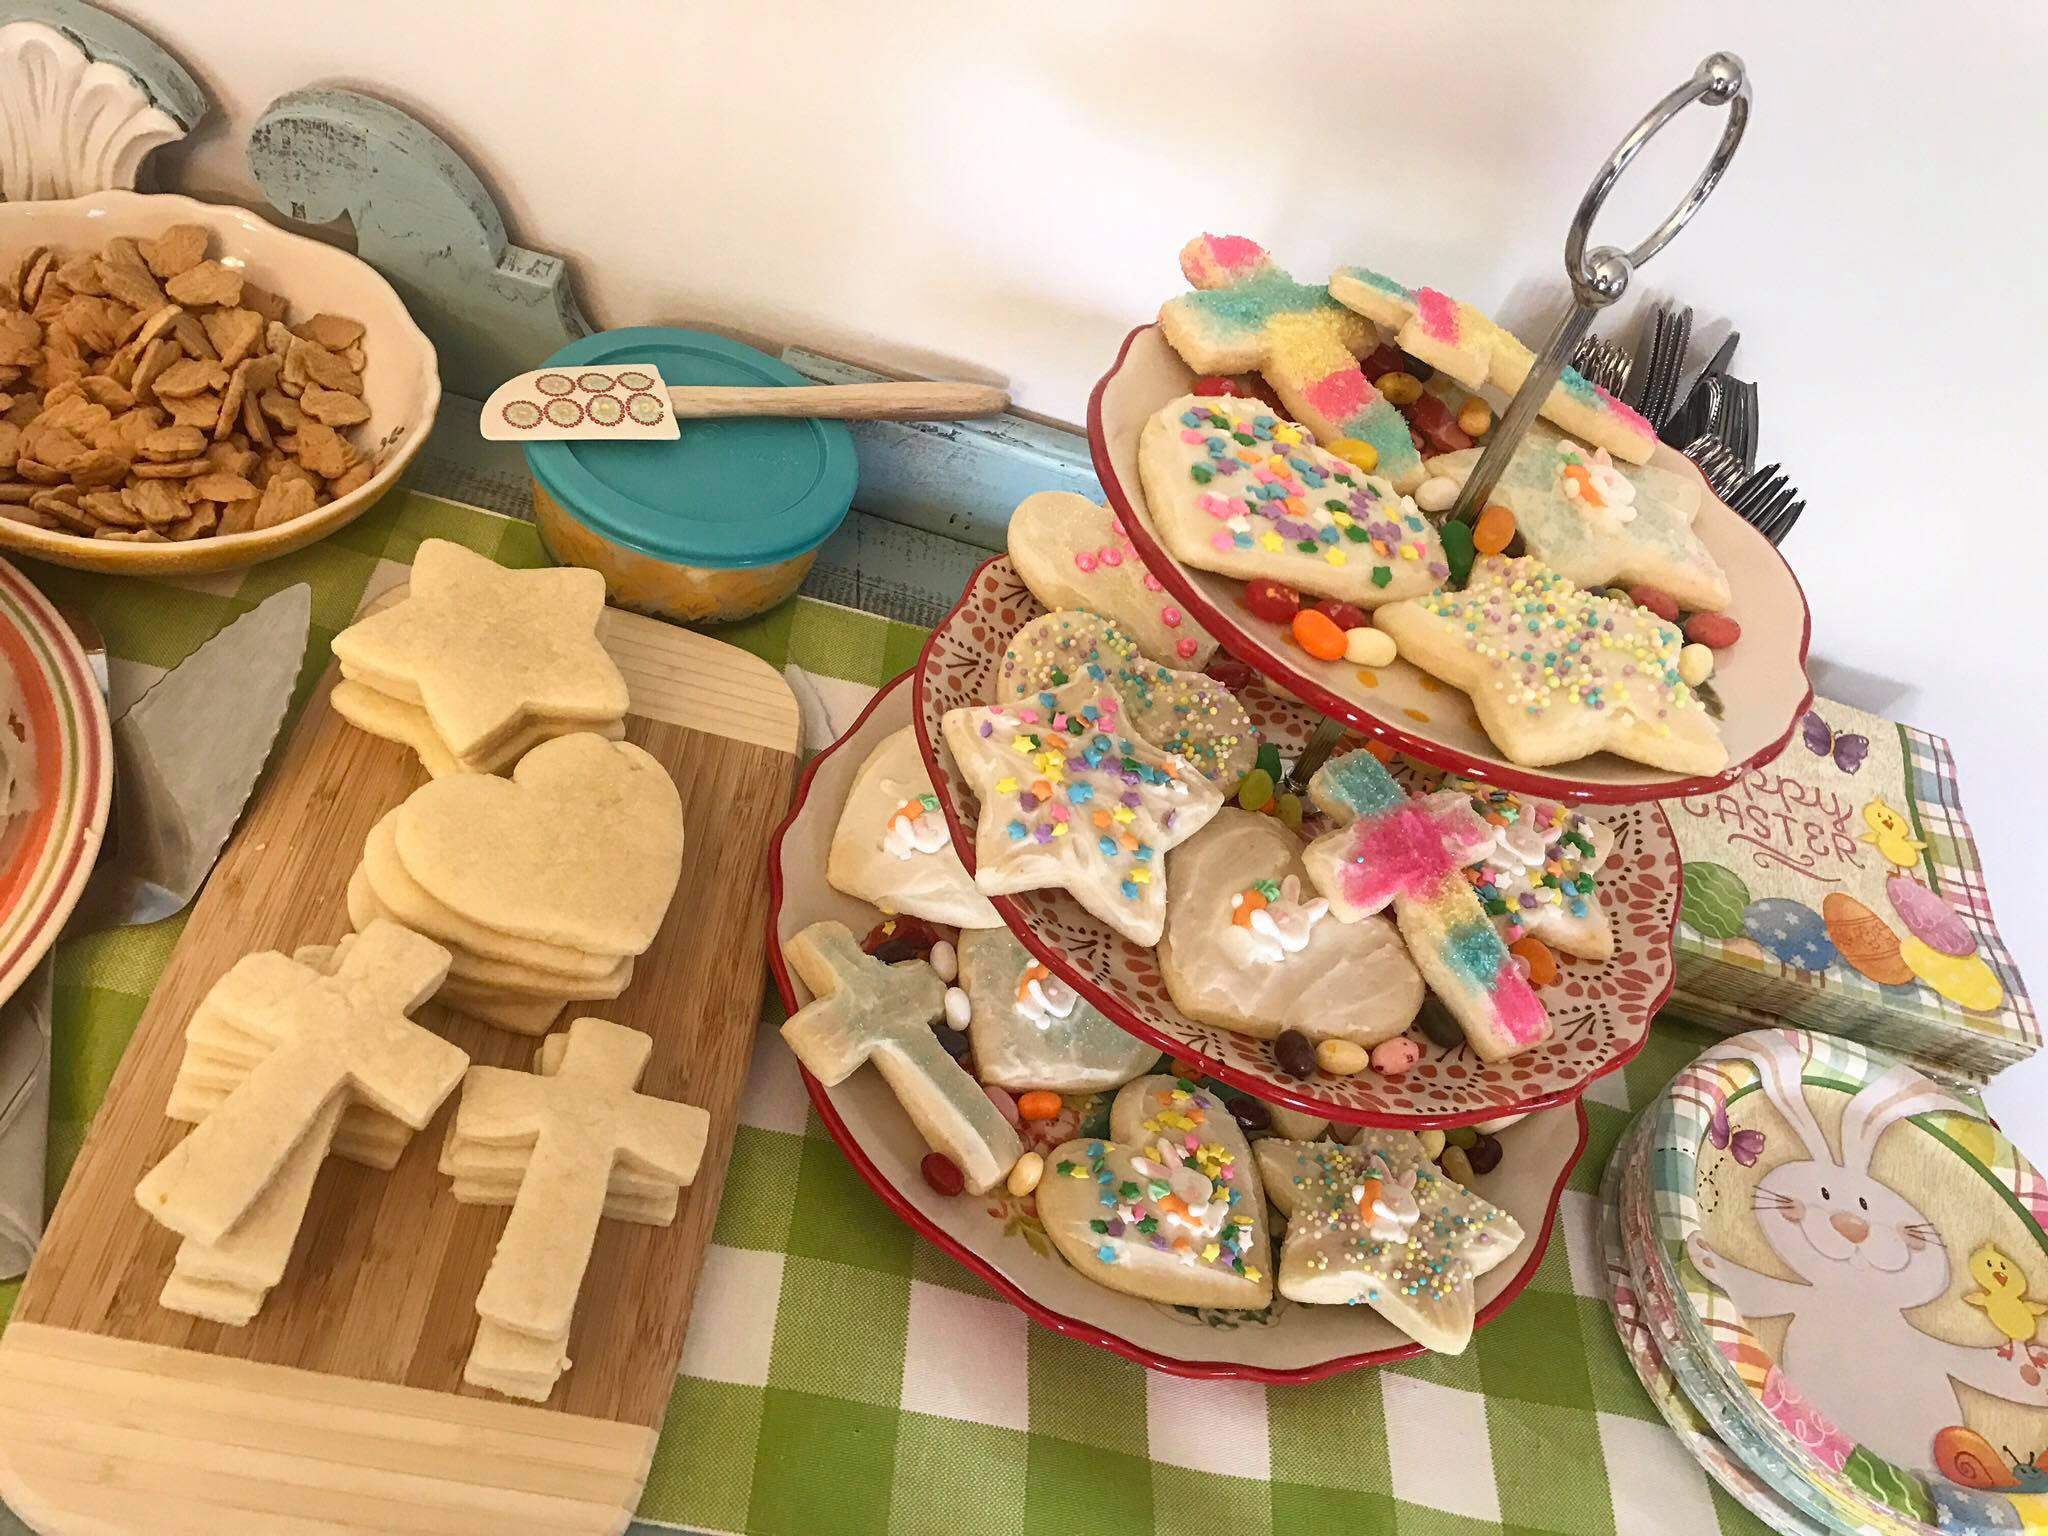
These Pioneer Woman sugar cookies were a delightful addition to the dessert table, alongside a delicious carrot cake.
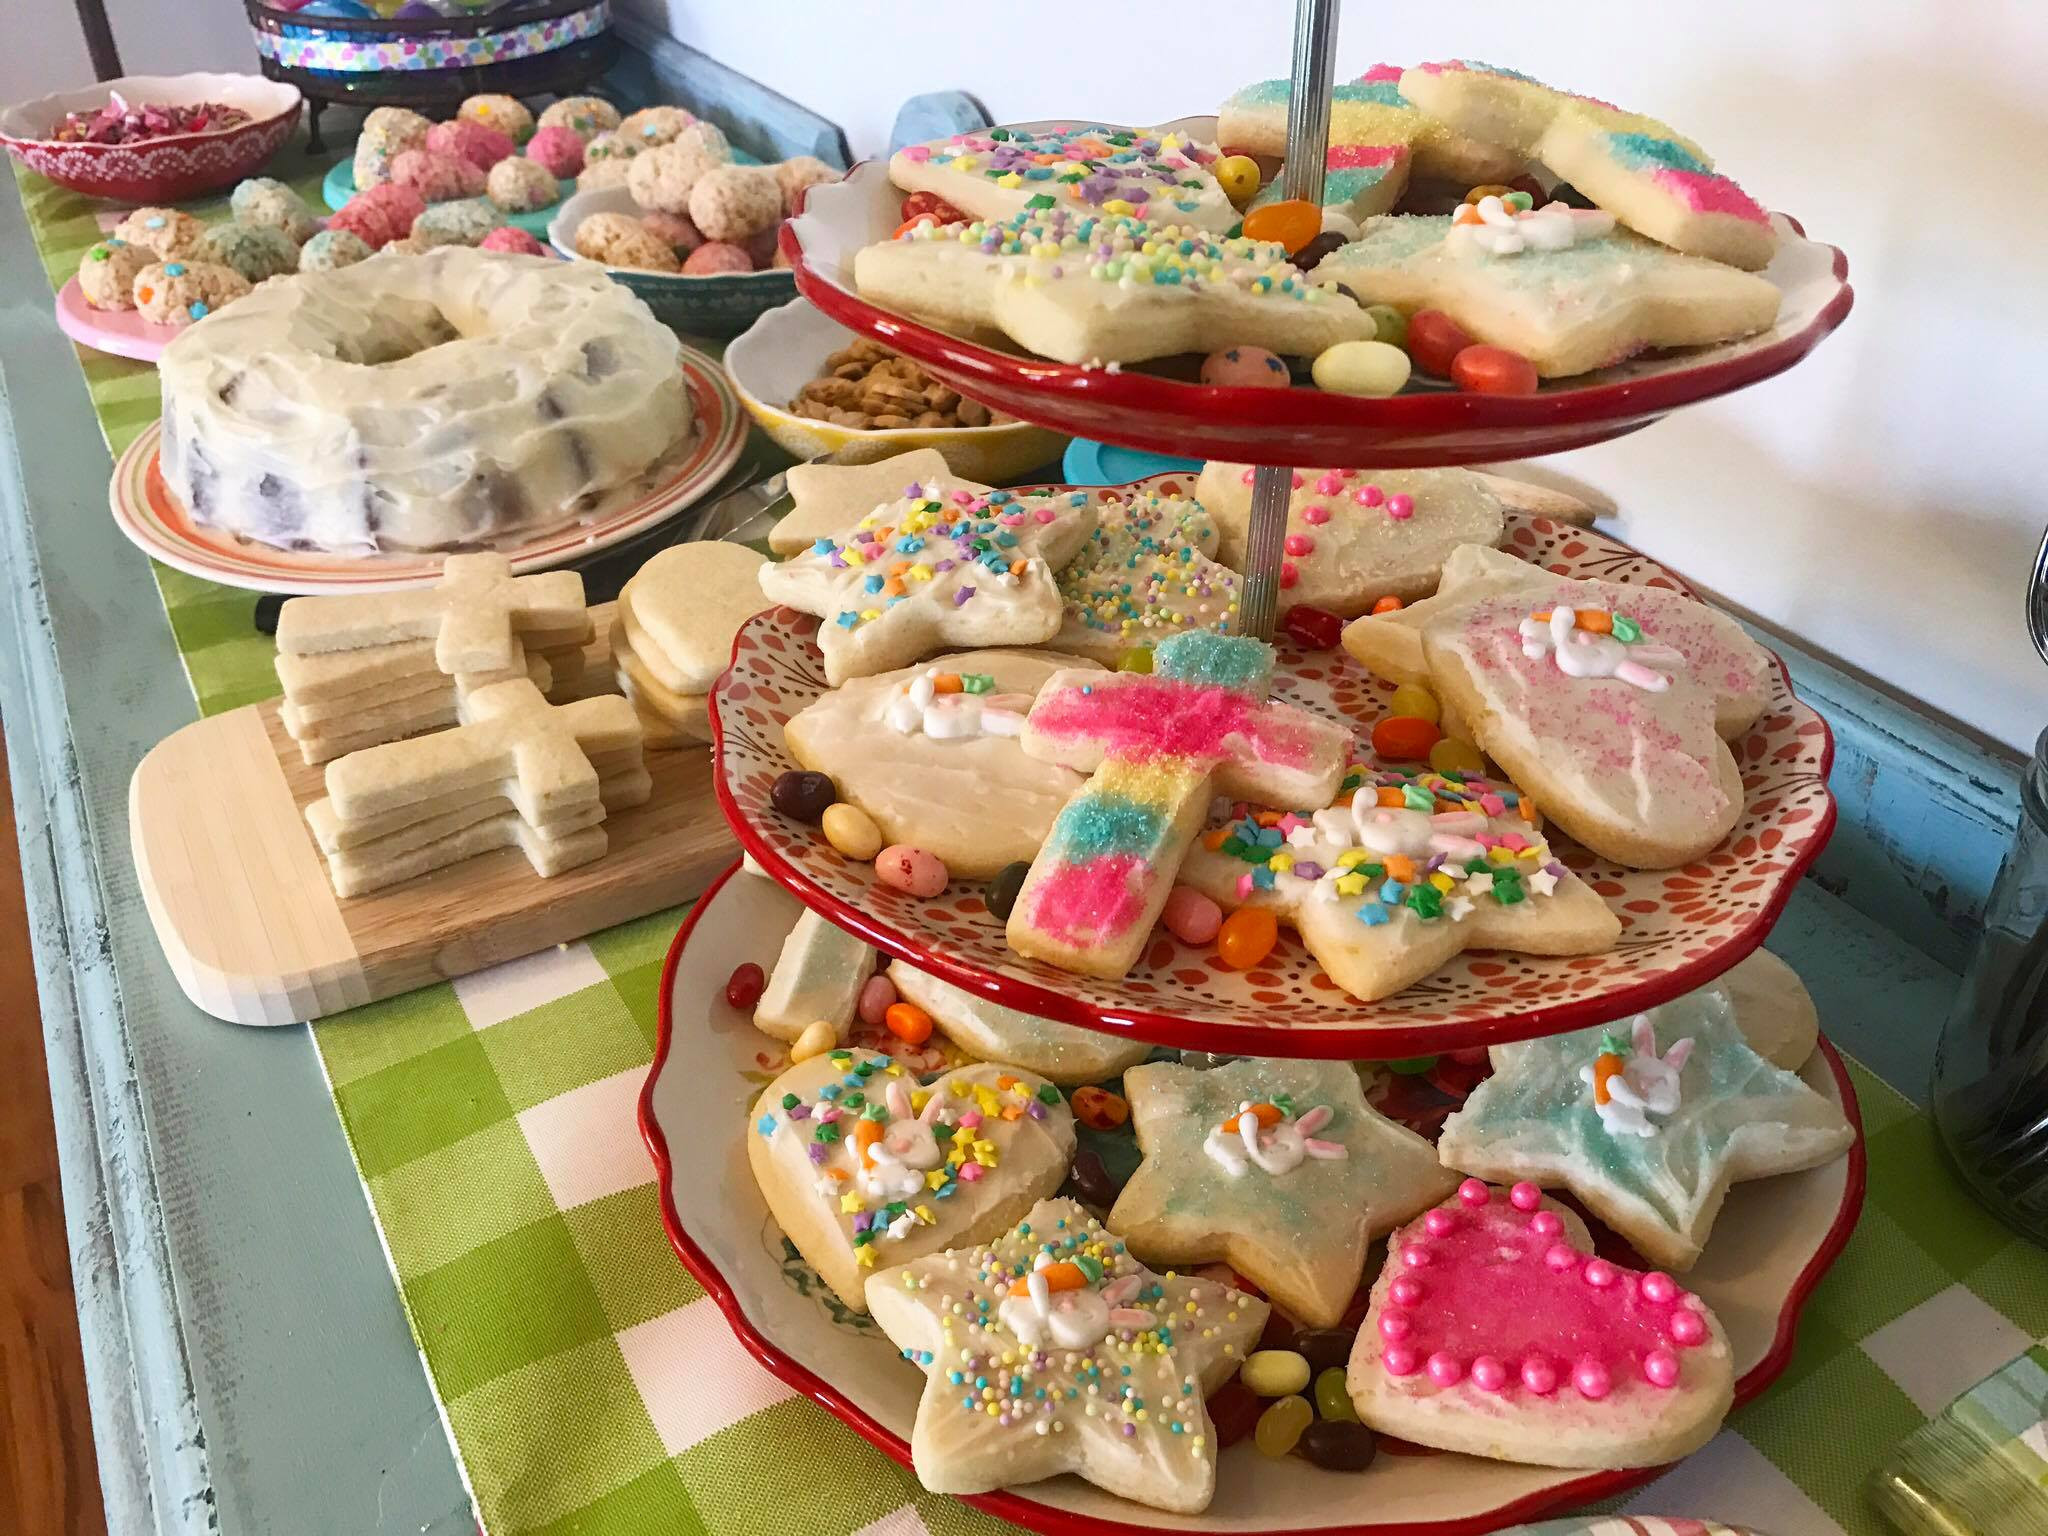 Feature 3
Image: A dessert table spread featuring Pioneer Woman sugar cookies and other treats, showcasing the cookies as part of a festive dessert arrangement.
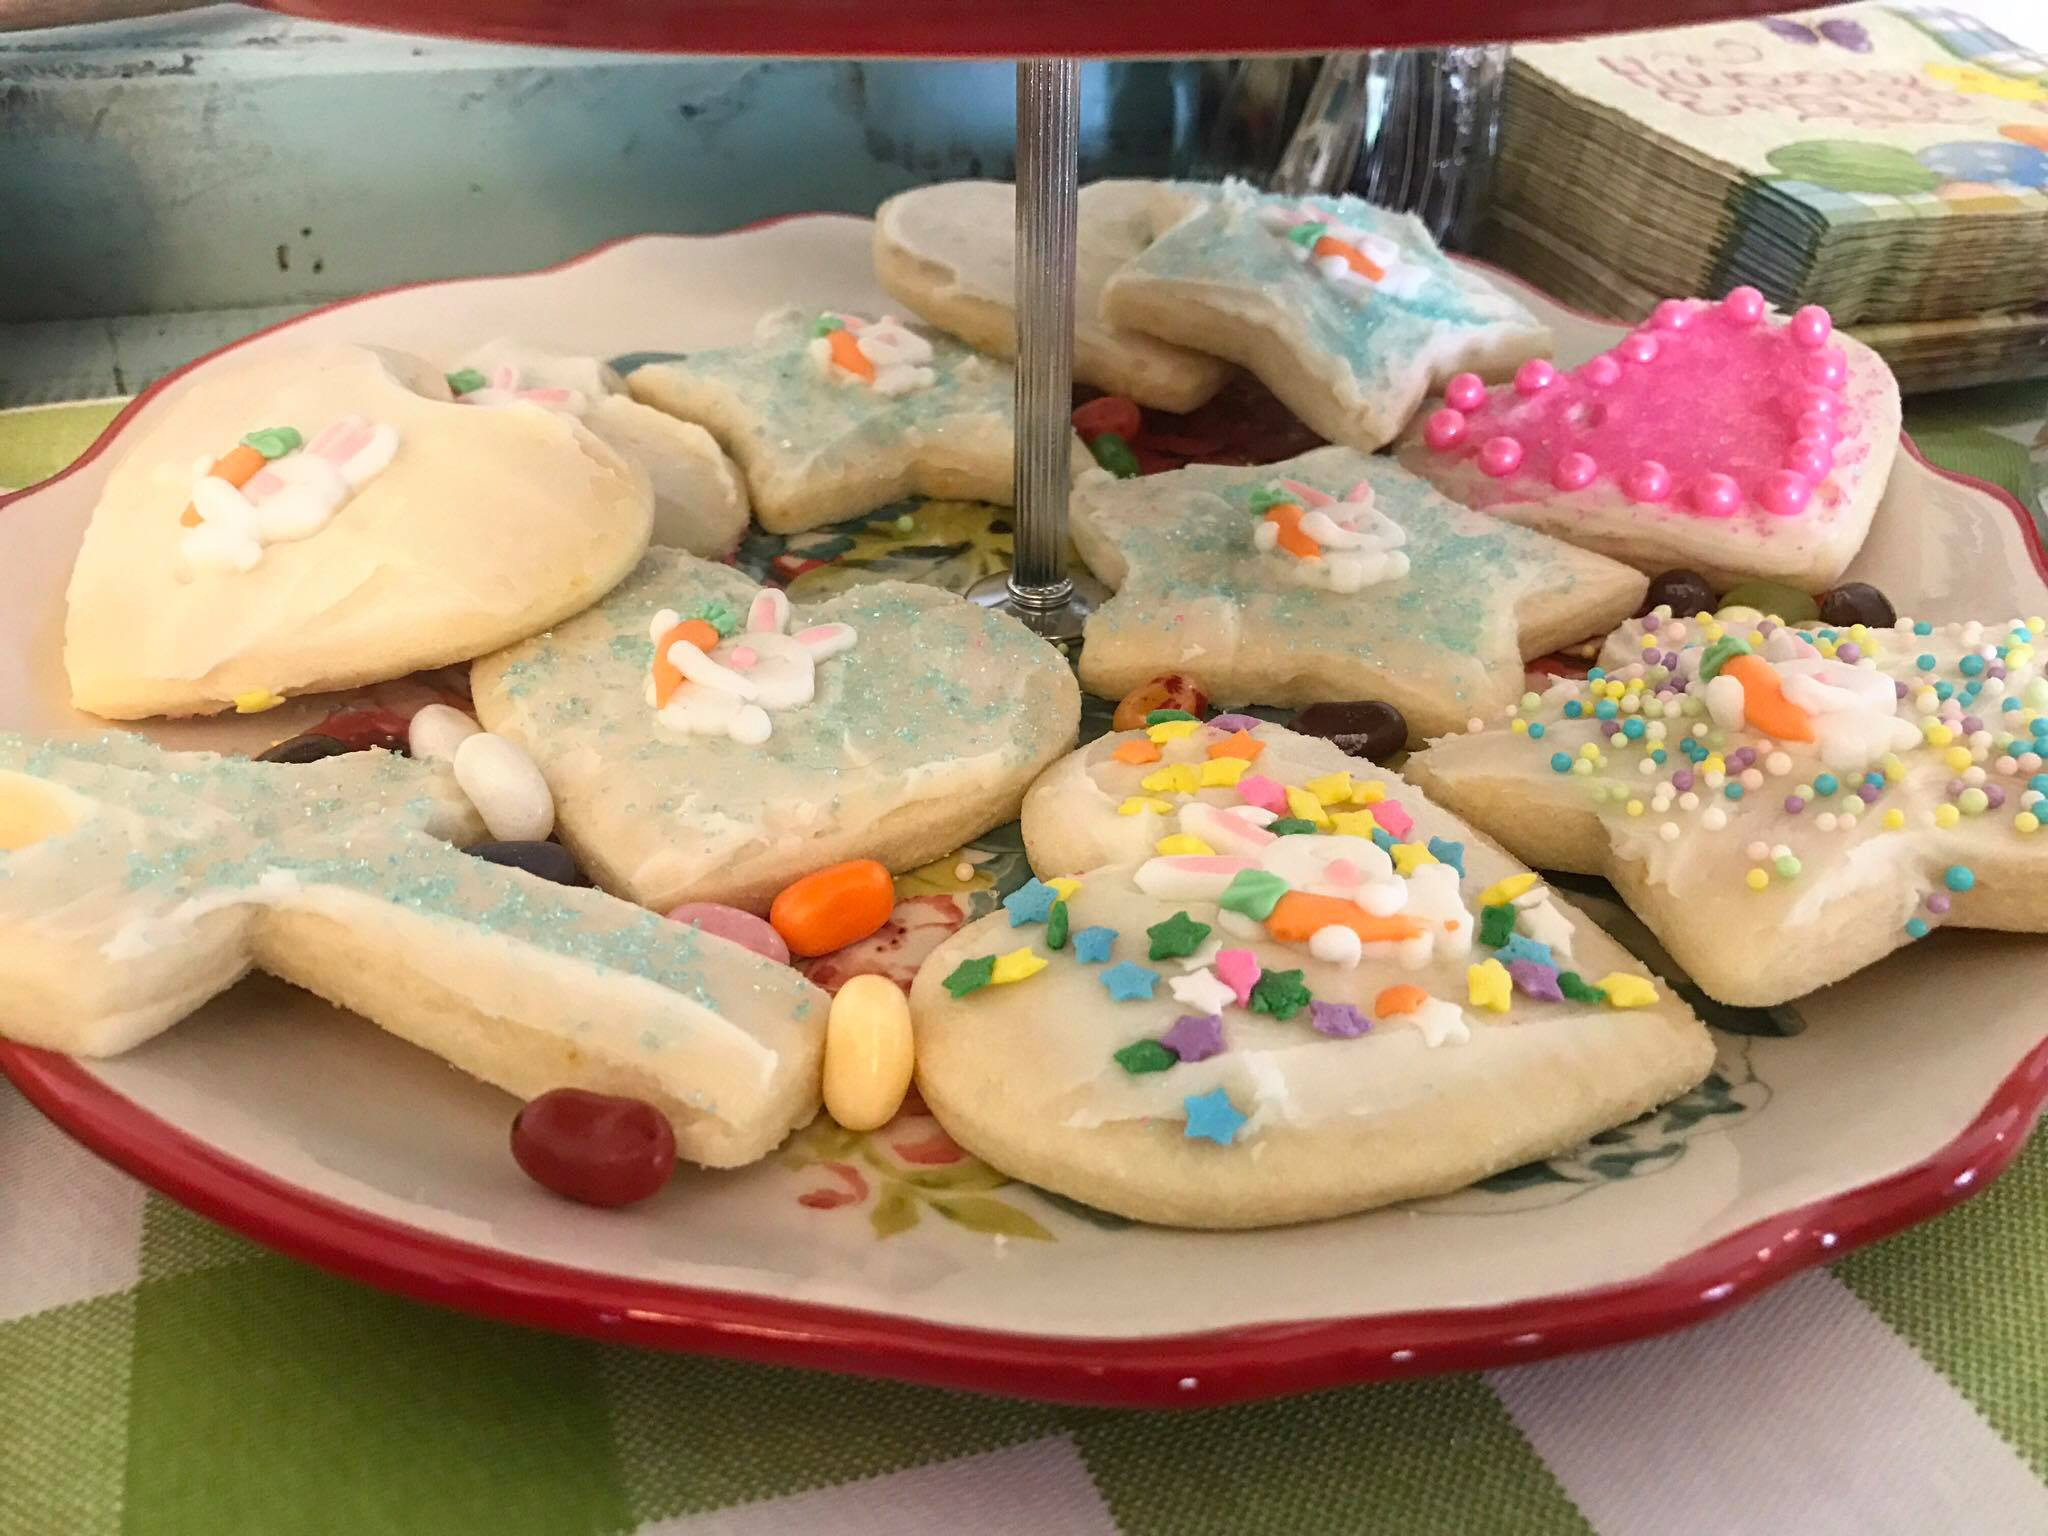
I used a Pioneer Woman 3-Tier Serving Tray to display these cookies, which was absolutely adorable! Here’s a closer look at each tier:
Tier 1:
 T 1
T 1
Image: Close-up of the top tier of a Pioneer Woman 3-Tier Serving Tray, showcasing decorated sugar cookies arranged beautifully on the tray.
Tier 2:
 T 2
T 2
Image: Close-up of the middle tier of a Pioneer Woman 3-Tier Serving Tray, displaying more decorated sugar cookies in an organized and appealing manner.
Tier 3:
 T 3
T 3
Image: Close-up of the bottom tier of a Pioneer Woman 3-Tier Serving Tray, featuring the final layer of decorated sugar cookies, completing the tiered display.
These sugar cookies are fantastic, but if you prefer chocolate chip or coffee flavors, you might also enjoy this recipe: Chocolate Chip Coffee Cookies.
This Easter Sugar Cookie recipe is adapted from the Pioneer Woman’s cookbook, A Year of Holidays!. You can also find a version of this recipe online: Easter Cookies by The Pioneer Woman.
Enjoy baking these Pioneer Woman sugar cookies and “Cookie Long and Prosper”!
Love,
The Uncustomary Housewife