The Pioneer PL-12D turntable is a name that resonates with vinyl enthusiasts and audio aficionados alike. Introduced in the early 1970s, this belt-drive turntable quickly became a favorite for its blend of performance, reliability, and affordability. Even decades later, the PL-12D remains a sought-after piece of vintage audio equipment, prized for its warm sound and robust construction. If you’ve acquired a Pioneer PL-12D, perhaps from a second-hand market or even a fortunate free find, you’re in possession of a turntable with significant potential. However, like any piece of vintage technology, it likely requires some care and servicing to bring it back to its optimal performance. This guide will walk you through a detailed service and restoration process for your Pioneer PL-12D, ensuring it spins vinyl beautifully for years to come.
Initial Inspection and Disassembly
Before diving into any servicing, it’s crucial to assess the current state of your Pioneer PL-12D. Begin by visually inspecting the turntable for any obvious damage or missing parts. Check the condition of the dust cover, tonearm, platter, and base. Gently rotate the platter by hand to feel for any resistance or unusual noises from the main bearing. Power on the turntable (if safe to do so) and observe if the motor spins and if the platter rotates. Note any excessive noise from the motor or platter.

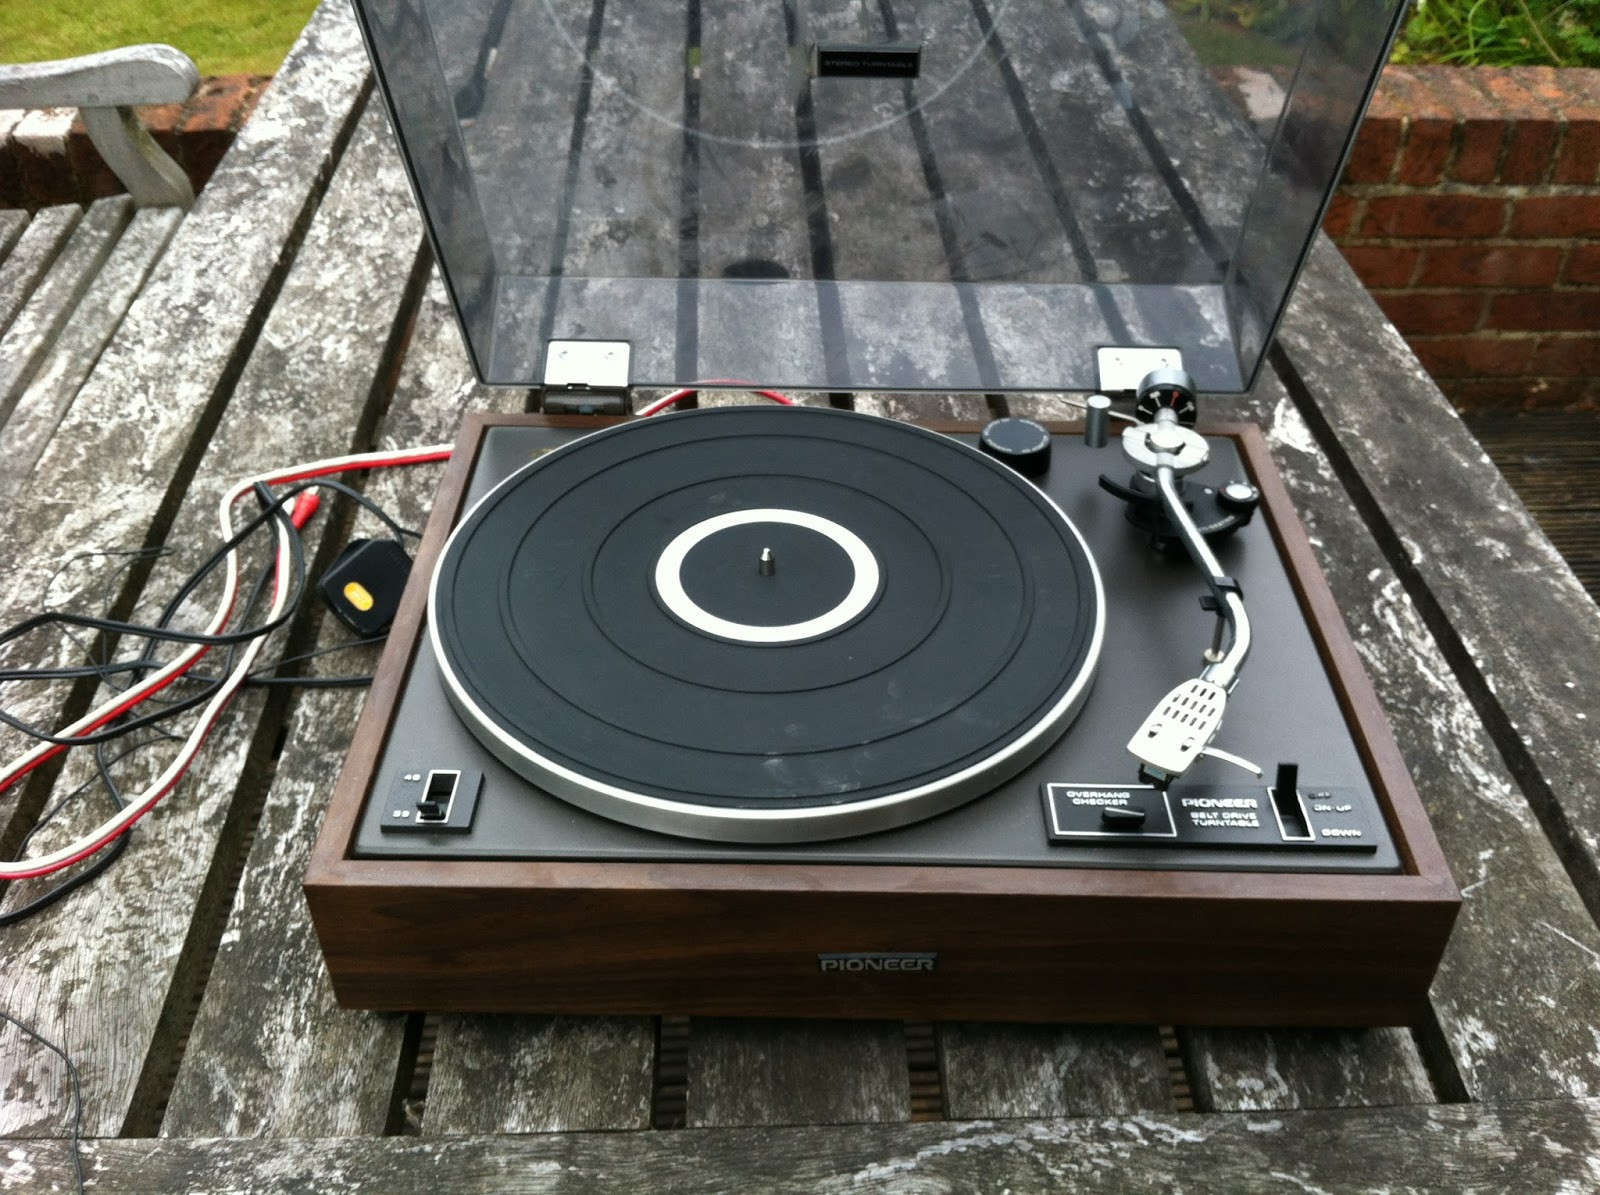
Pioneer PL-12D turntable in original condition, ready for servicing.
Removing the Headshell and Lid:
The first step in disassembly is to safely remove the headshell and cartridge assembly. The PL-12D utilizes a standard SME-style headshell connector. To remove it, gently unscrew the collar on the tonearm and carefully pull the headshell straight out. Store the headshell and cartridge in a safe place to prevent damage to the delicate stylus. Next, detach the dust cover. Open the lid and gently apply pressure to the right side of the hinges at the back. The lid should disengage from the hinge lugs, allowing you to lift it off.
Platter and Mat Removal:
With the headshell and lid removed, carefully lift off the rubber mat from the platter. It should come off easily. Underneath, you’ll see the platter itself. To remove the platter, you’ll first need to remove the drive belt. Looking through the access holes on the platter, locate the motor pulley and gently slip the belt off the motor spindle. Once the belt is detached, you should be able to lift the platter vertically off the spindle. If it’s slightly stiff, apply gentle upward pressure to the spindle while gripping the platter edges. Place the platter, mat, and belt aside in a safe location.
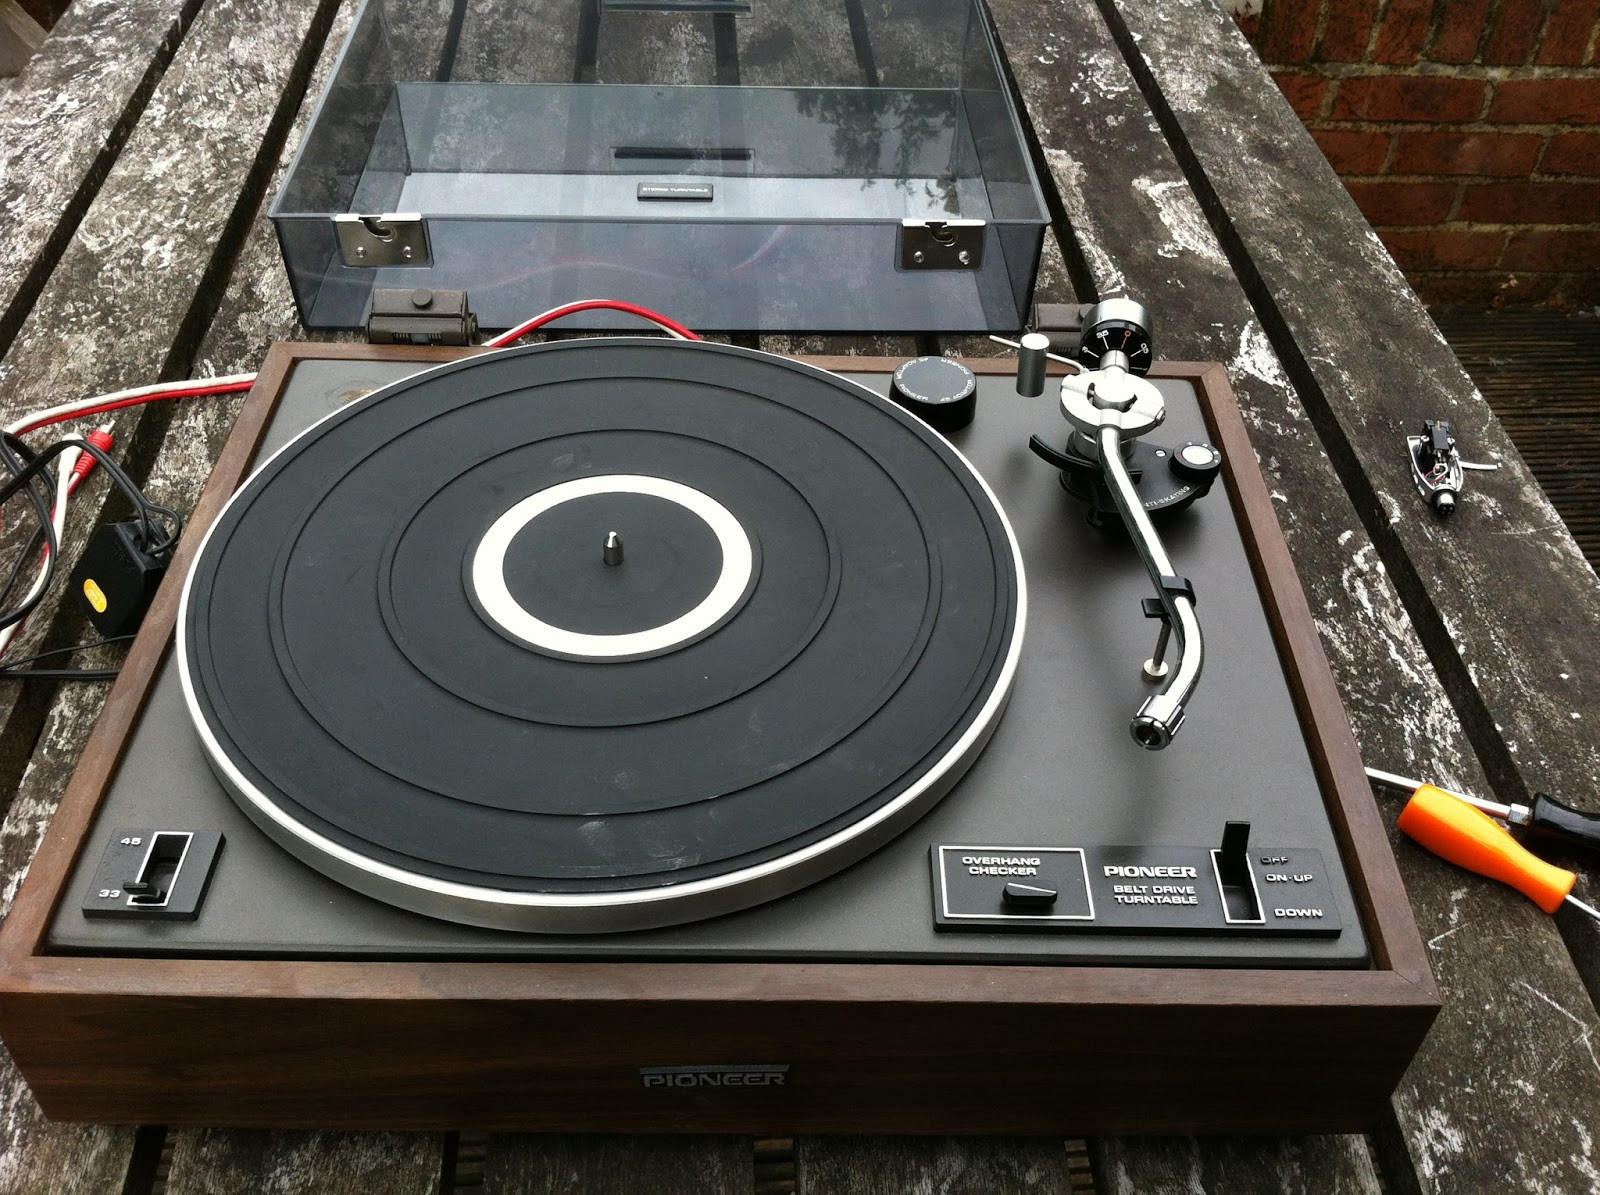
Pioneer PL-12D with headshell and dust cover removed, ready for further disassembly.
Accessing the Turntable Internals
To access the underside of the PL-12D, you’ll need to carefully invert the top plate assembly. On the top of the turntable, locate the two screws near the front edge. Loosen these screws; they don’t need to be fully removed. Slide the screw brackets towards the center of the deck. This will disengage the clamps holding the top plate to the wooden plinth.
Inverting the Top Plate:
Carefully lift the front edge of the top plate assembly. Be mindful of the wires connected at the back. You can prop up the top plate using a soft object like a wooden block or a tool handle. This will give you access to the components underneath. Alternatively, for complete access, you can disconnect the ground wire from the base and carefully maneuver the top plate, ensuring you don’t strain the audio and power cables.
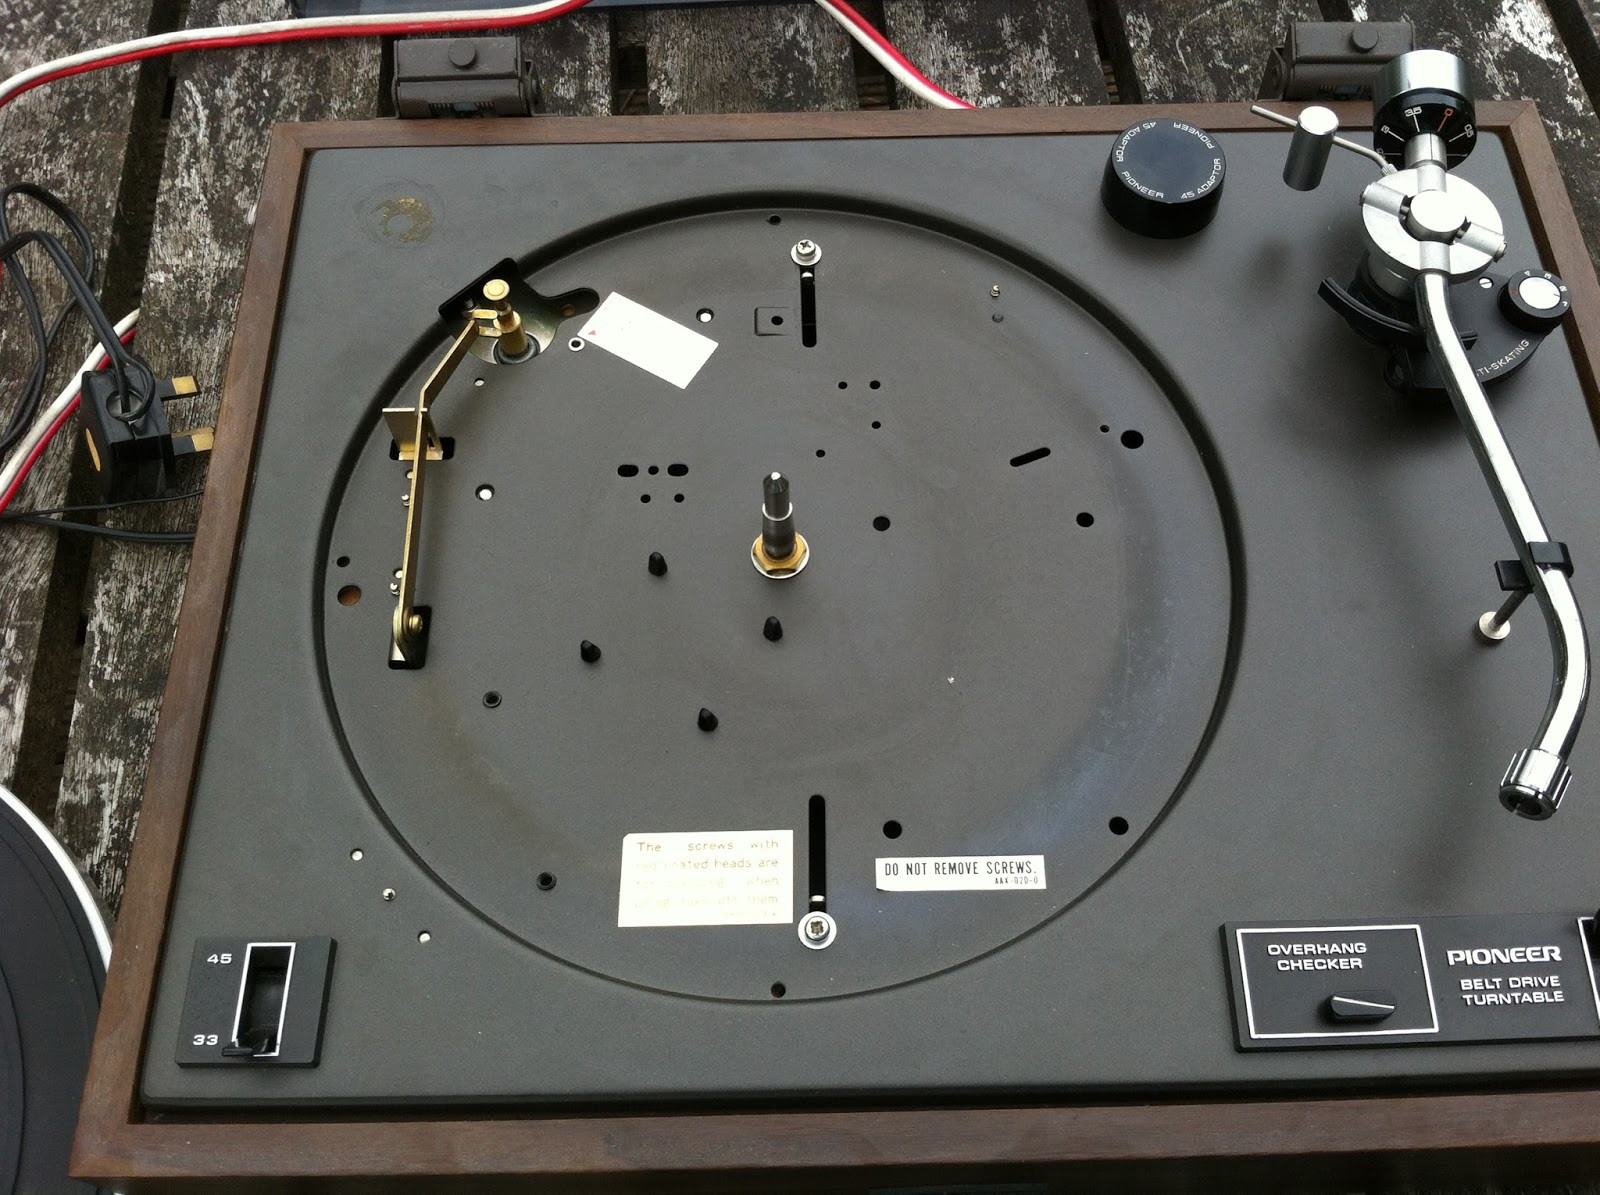
Top plate lifted, revealing the internal components of the Pioneer PL-12D.
Cleaning and Lubricating the Motor
A common issue in vintage turntables is dried-up lubricant in the motor, leading to noise and reduced performance. The Pioneer PL-12D motor is a synchronous AC motor, designed for quiet and consistent operation. Over time, the oil in the motor bearings can dry out, causing friction and noise.
Motor Lubrication Point:
Locate the motor pulley on the top plate. Adjacent to it, you’ll find a small rivet or sticker indicating the oil point for the motor. This is a crucial lubrication point for the top motor bearing. Apply a few drops of high-quality, lightweight oil, such as sewing machine oil or specialized turntable oil, to this point. Allow the oil to penetrate into the bearing.
Accessing and Lubricating the Lower Motor Bearing (Advanced):
For more thorough motor servicing, and if motor noise persists, you can attempt to lubricate the lower motor bearing. This is a more advanced step that requires careful handling. With the turntable top plate inverted, locate the motor assembly. You’ll see three screws or rods securing the motor to the top plate. Unscrew these rods carefully to detach the motor. Be mindful that the motor is still connected by wires.
Motor assembly of the Pioneer PL-12D, showing the lubrication point.
Applying Lubricant to the Lower Bearing:
Using a precision oil applicator, carefully apply a drop or two of oil to the lower part of the motor spindle, where it enters the motor housing. Rotate the motor spindle gently to help the oil distribute within the lower bearing. Reassemble the motor by reattaching the securing rods.
Caution: Disassembling the motor itself for deep cleaning and lubrication is a complex procedure and is generally not recommended unless you have significant experience with motor repair. Incorrect reassembly can lead to motor damage or increased noise. For most servicing needs, top and lower bearing lubrication as described above should be sufficient.
Servicing the Main Spindle Bearing
The main spindle bearing is another critical component for smooth platter rotation and low noise. Over time, the grease in the spindle bearing can dry out and harden, causing friction and affecting the turntable’s performance.
Accessing the Spindle Bearing:
With the platter removed and the top plate inverted, locate the brass bearing well that houses the spindle. On the side of the bearing well, you’ll find a small screw. Loosen this screw; it prevents the spindle from being lifted out from the top. Once loosened, you should be able to gently pull the spindle out from the top of the turntable.
Cleaning the Spindle and Bearing Well:
Examine the spindle shaft for old, hardened grease. Clean the spindle using a soft cloth and isopropyl alcohol or warm soapy water. For the bearing well, use cotton swabs dampened with isopropyl alcohol or a specialized cleaning solution to remove the old grease. Clean until the swabs come out clean.
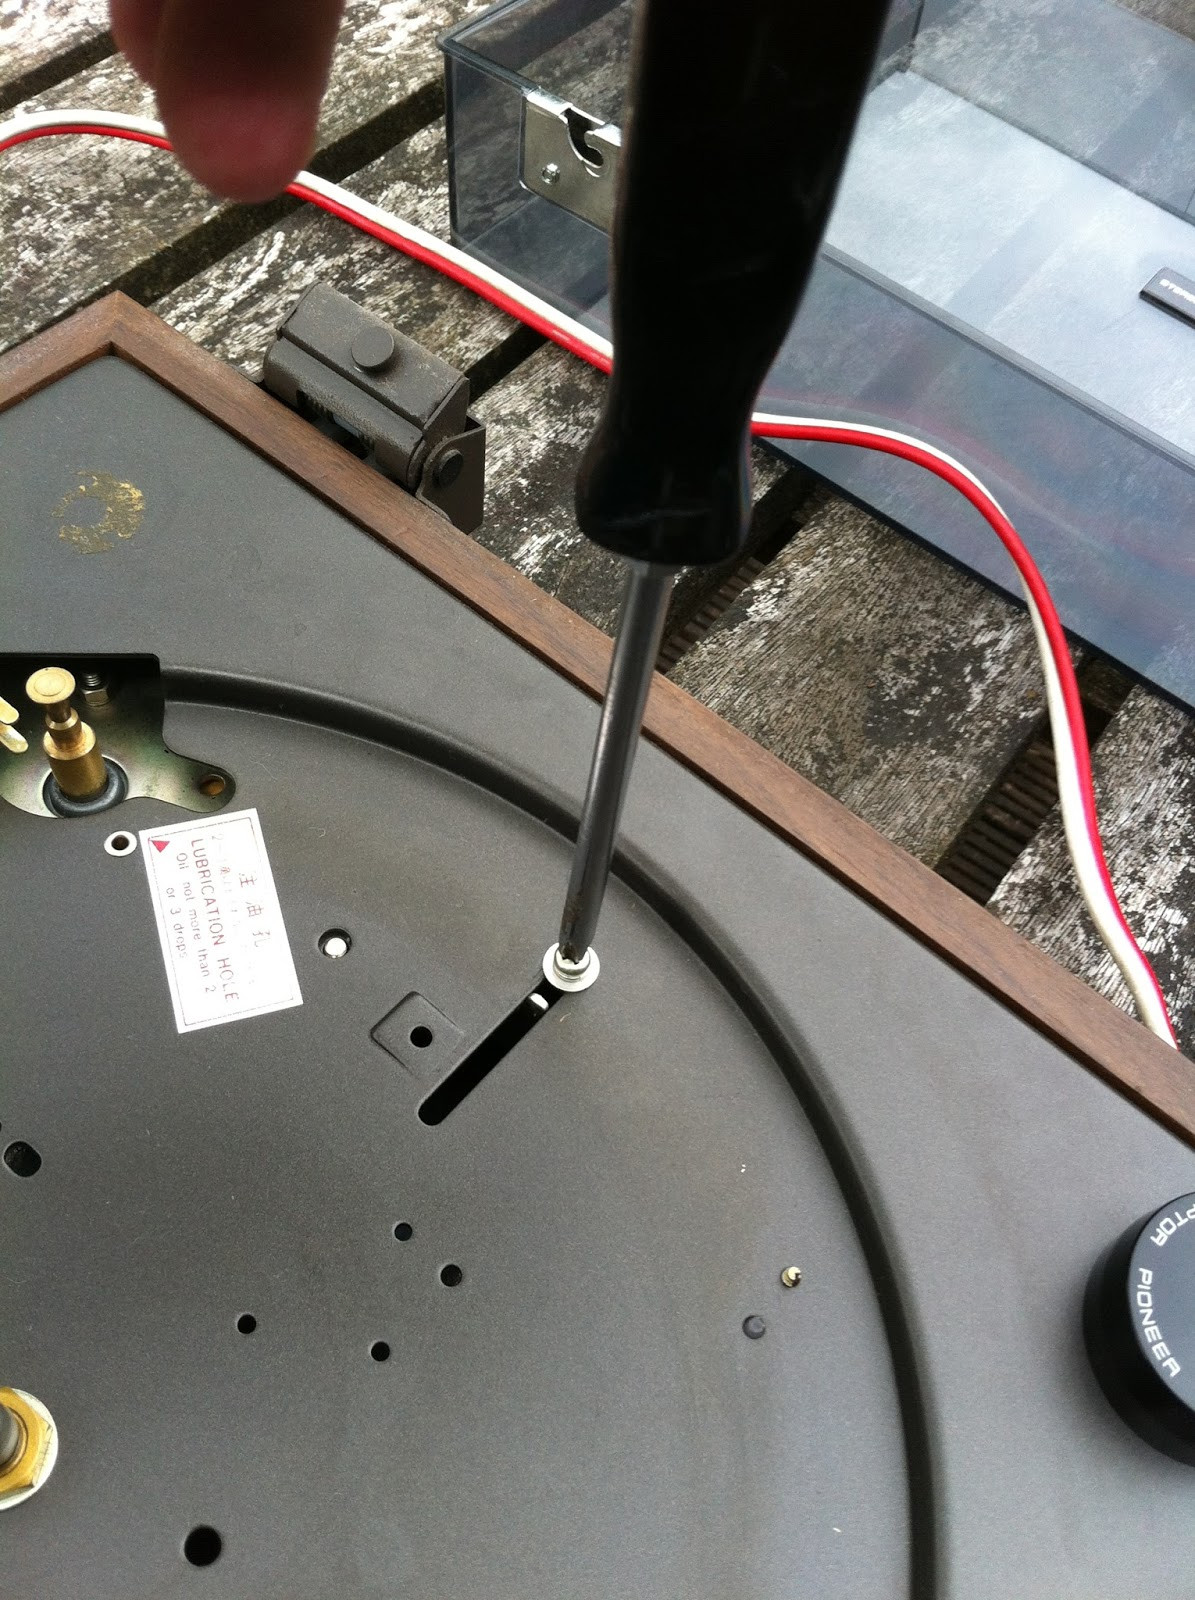
Accessing the underside of the Pioneer PL-12D for motor and bearing service.
Ball Bearing Inspection and Replacement:
Inside the bearing well, you should find a small ball bearing at the bottom. Carefully remove the ball bearing. Inspect it for wear, pitting, or damage. A worn ball bearing can contribute to rumble and noise. If the bearing appears worn or if you’ve lost it, replace it with a new 1/8″ steel ball bearing, readily available from online retailers or bicycle shops.
Lubricating and Reassembling the Spindle Bearing:
Place the cleaned or new ball bearing back into the bearing well. Apply a few drops of fresh, high-quality bearing grease or specialized turntable bearing oil into the well. Slowly reinsert the spindle into the bearing well. Rotate the spindle to distribute the lubricant. Tighten the side screw on the bearing well just enough to secure the spindle, but not so tight that it restricts rotation. The spindle should now rotate freely and smoothly.
Addressing the Suspension System
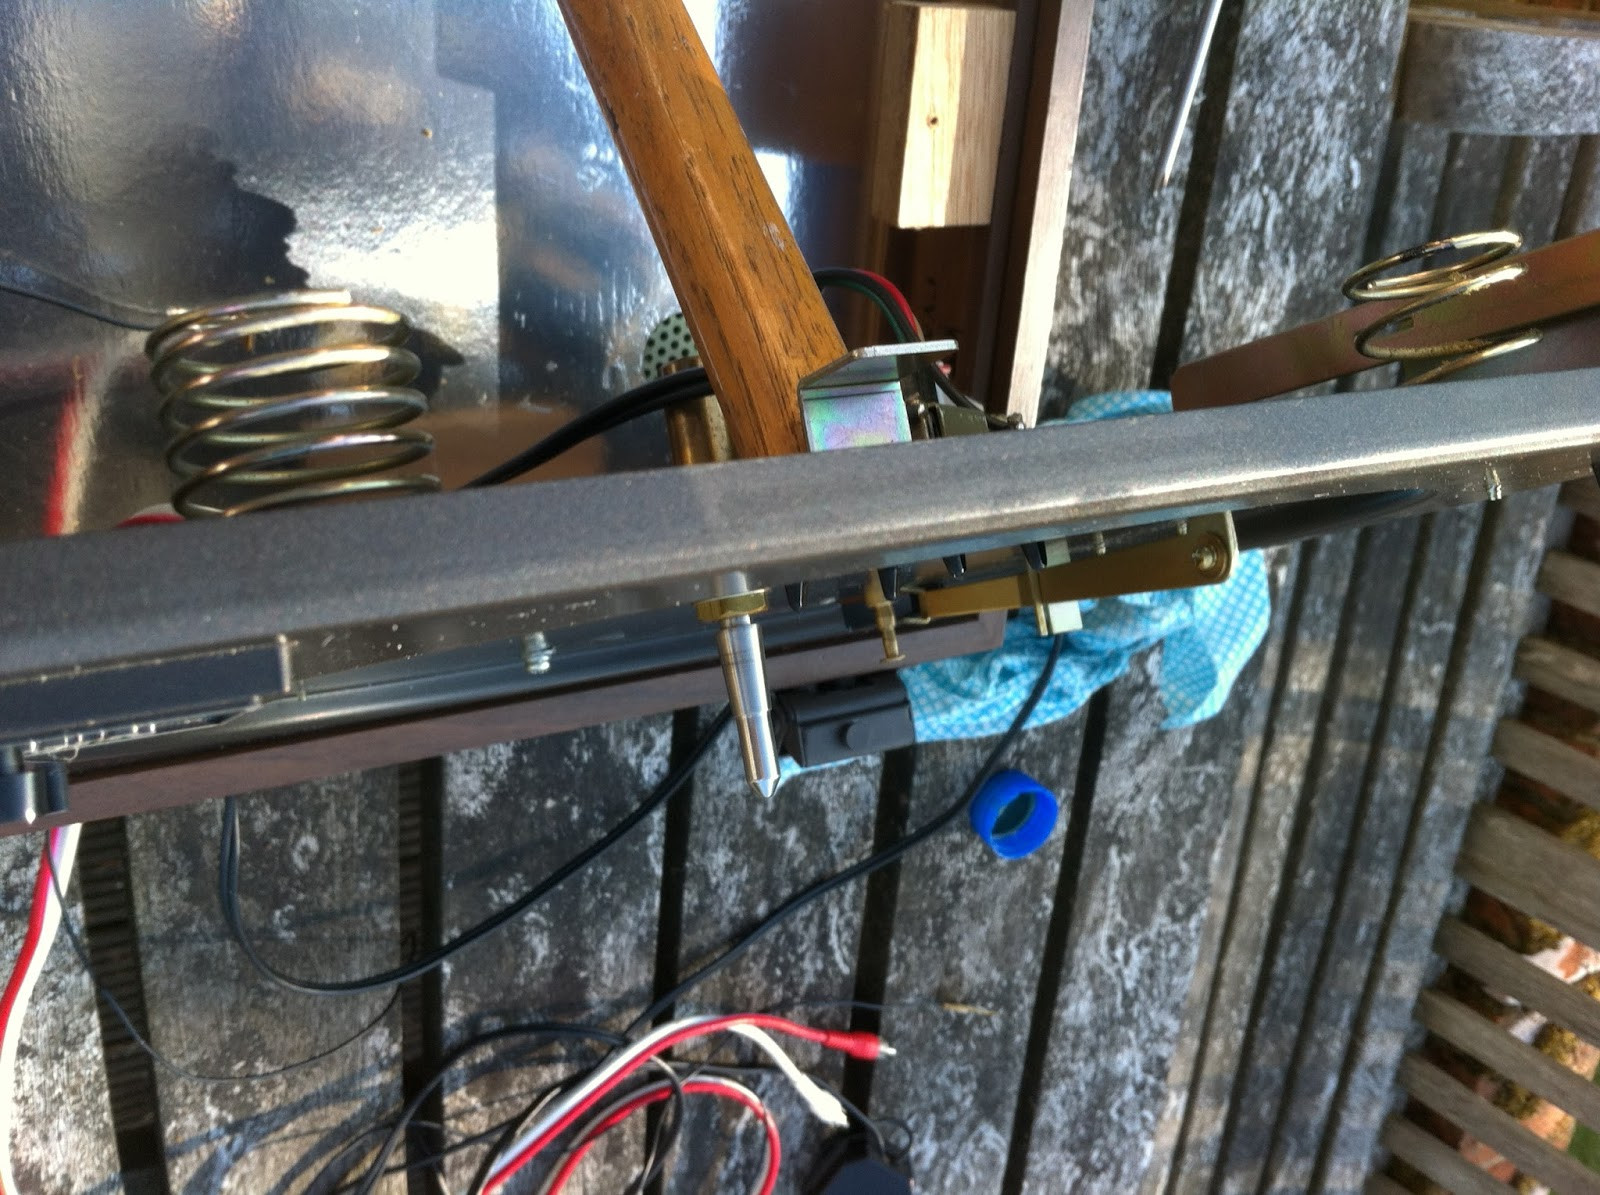
The Pioneer PL-12D utilizes a suspended sub-chassis design to isolate the platter and tonearm from external vibrations. This suspension system relies on springs with foam inserts for damping. Over time, the foam inserts can deteriorate, leading to excessive bounciness and reduced isolation.
Inspecting and Replacing Foam Inserts:
Locate the four springs that suspend the top plate from the plinth. Inspect the foam inserts within these springs. If they are crumbling or deteriorated, they need to be replaced. Remove the old foam inserts. Cut new foam pieces from suitable material, such as medium-density foam rubber, to roughly the size and shape of the original inserts. Insert the new foam pieces into the springs.
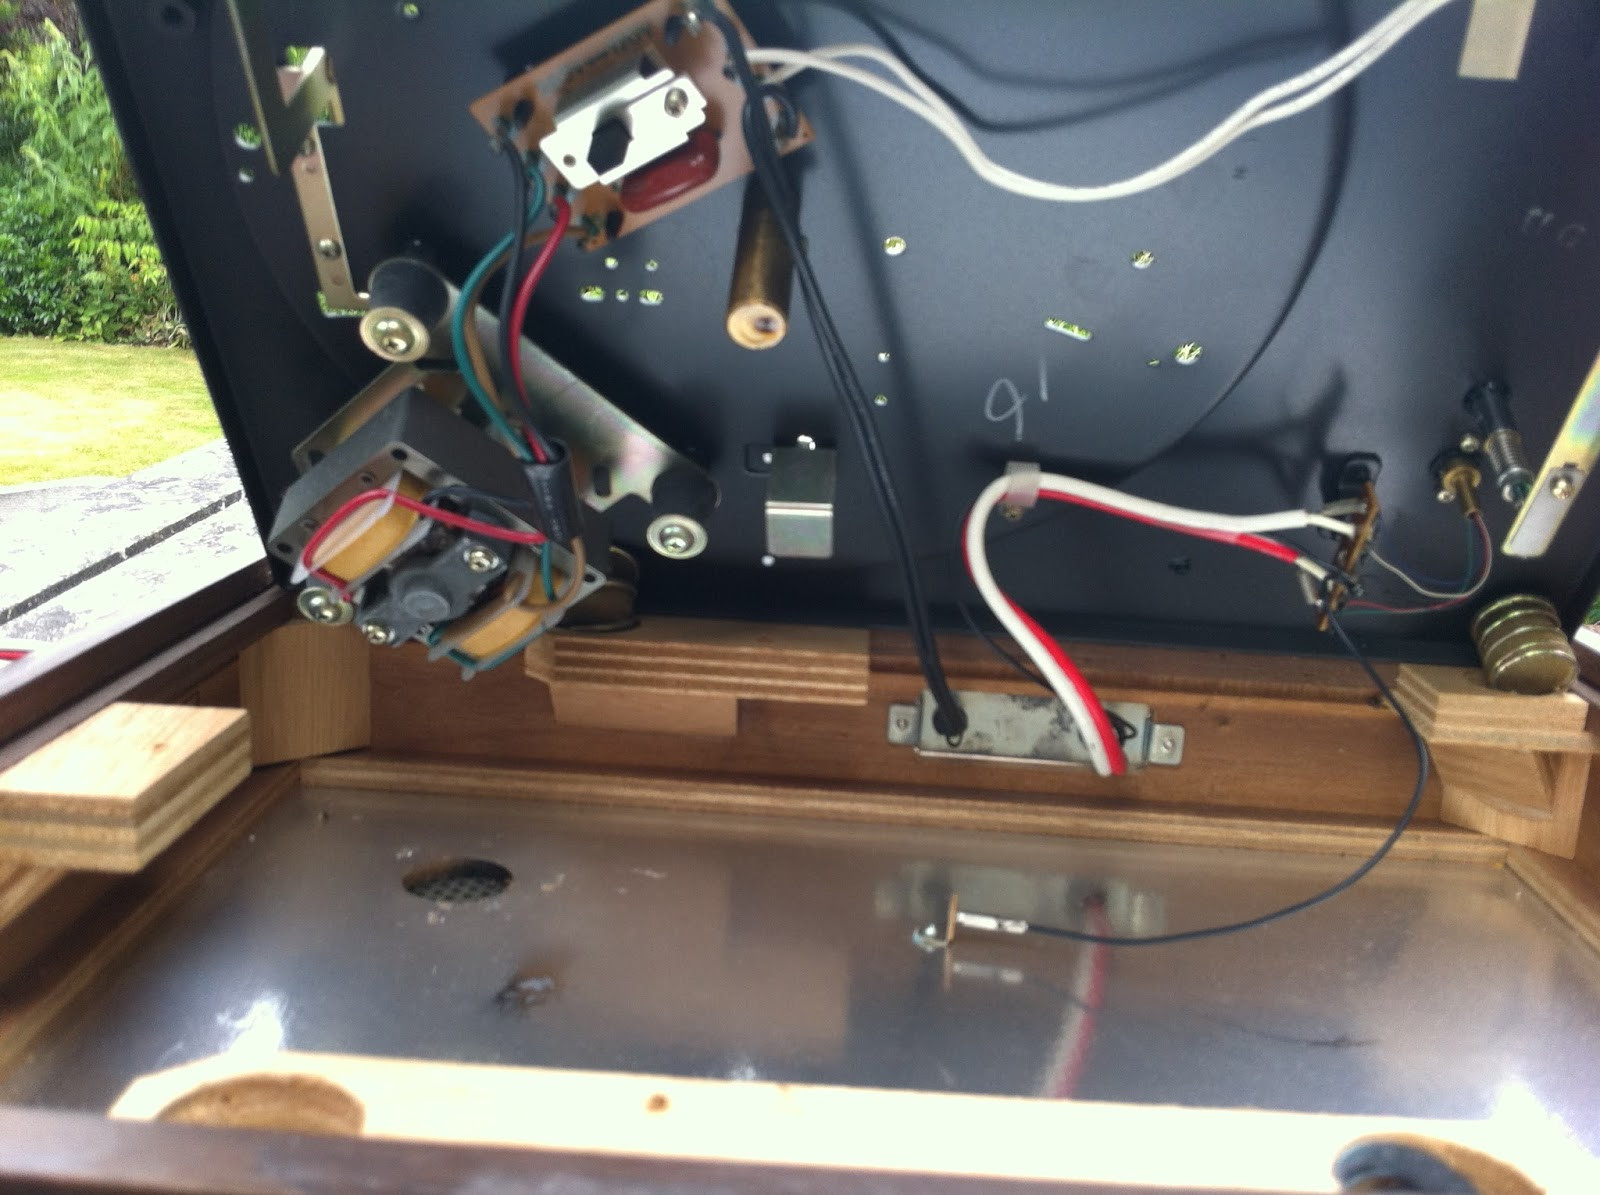
Internal view of the Pioneer PL-12D, highlighting the suspension springs and motor mounting.
Rubber Motor Mounts:
The motor itself is also decoupled from the top plate using rubber mounts. Inspect these rubber bushes for hardening or cracking. Hardened motor mounts can transmit motor vibrations to the platter and tonearm, resulting in unwanted hum. Consider replacing these mounts with new silicone rubber mounts specifically designed for the PL-12D, which are now available from specialized suppliers. These modern replacements can significantly reduce motor hum.
Speed Adjustment and Belt Replacement
Accurate speed is crucial for proper pitch and timing when playing records. The Pioneer PL-12D is a belt-drive turntable, and the belt is a critical component for speed accuracy.
Belt Inspection and Replacement:
Inspect the drive belt for wear, stretching, or damage. An old or stretched belt can slip, causing speed inaccuracies. It’s generally recommended to replace the belt on a vintage turntable as a matter of routine servicing. Obtain a new belt specifically designed for the Pioneer PL-12D. When installing the new belt, ensure it sits correctly on the motor pulley and the platter sub-platter.
Speed Selector and Adjustment:
The PL-12D uses a mechanical speed selector to switch between 33 1/3 and 45 RPM. Observe the speed selector mechanism to ensure it moves smoothly and correctly positions the belt on the different diameters of the motor pulley for each speed. If the speed is inaccurate, particularly at 33 1/3 RPM, check if the belt is riding correctly on the pulley. Minor adjustments to the speed selector arm might be needed to ensure proper belt position.
Using a Strobe Disc for Speed Verification:
To accurately verify the turntable speed, use a strobe disc. These discs are readily available online and are designed to be used with the mains frequency of your region (50Hz or 60Hz). Place the strobe disc on the platter and start the turntable. Under a mains-frequency light source (like a standard incandescent or fluorescent bulb), observe the strobe markings for the desired speed (33 1/3 or 45 RPM). If the markings appear stationary, the speed is accurate. If they drift, speed adjustment or further belt/motor servicing might be necessary.
Applying Platanclene to restore the turntable mat’s suppleness.
Tonearm Setup and Adjustment
Proper tonearm setup is essential for optimal sound quality and record preservation. This involves cartridge alignment, tracking weight adjustment, and anti-skate setting.
Cartridge Alignment:
Cartridge alignment ensures the stylus tracks the record groove with minimal distortion. Use a protractor specifically designed for cartridge alignment (Baerwald protractor is a common choice and printable from websites like Vinyl Engine). Loosen the cartridge mounting screws on the headshell slightly. Position the protractor on the platter and carefully lower the tonearm to align the stylus with the alignment points on the protractor. Adjust the cartridge position in the headshell until it aligns correctly at both points. Tighten the cartridge screws gently once alignment is achieved.
Tracking Weight Adjustment:
Tracking weight is the downward force the stylus exerts on the record. Incorrect tracking weight can lead to poor sound and record wear. The recommended tracking weight for your cartridge will be specified by the cartridge manufacturer. The Pioneer PL-12D tonearm has a counterweight at the rear for adjusting tracking force.
Setting Tracking Weight:
First, balance the tonearm. With the anti-skate set to zero, adjust the counterweight until the tonearm floats horizontally when lifted off the armrest. Once balanced, set the tracking force dial on the counterweight to zero. Then, rotate the counterweight and dial together to set the desired tracking weight, as indicated on the dial. For more accurate tracking weight measurement, use a digital stylus force gauge. Place the gauge on the platter at record height and lower the stylus onto it to read the tracking force. Adjust the counterweight until the gauge reads the desired value.
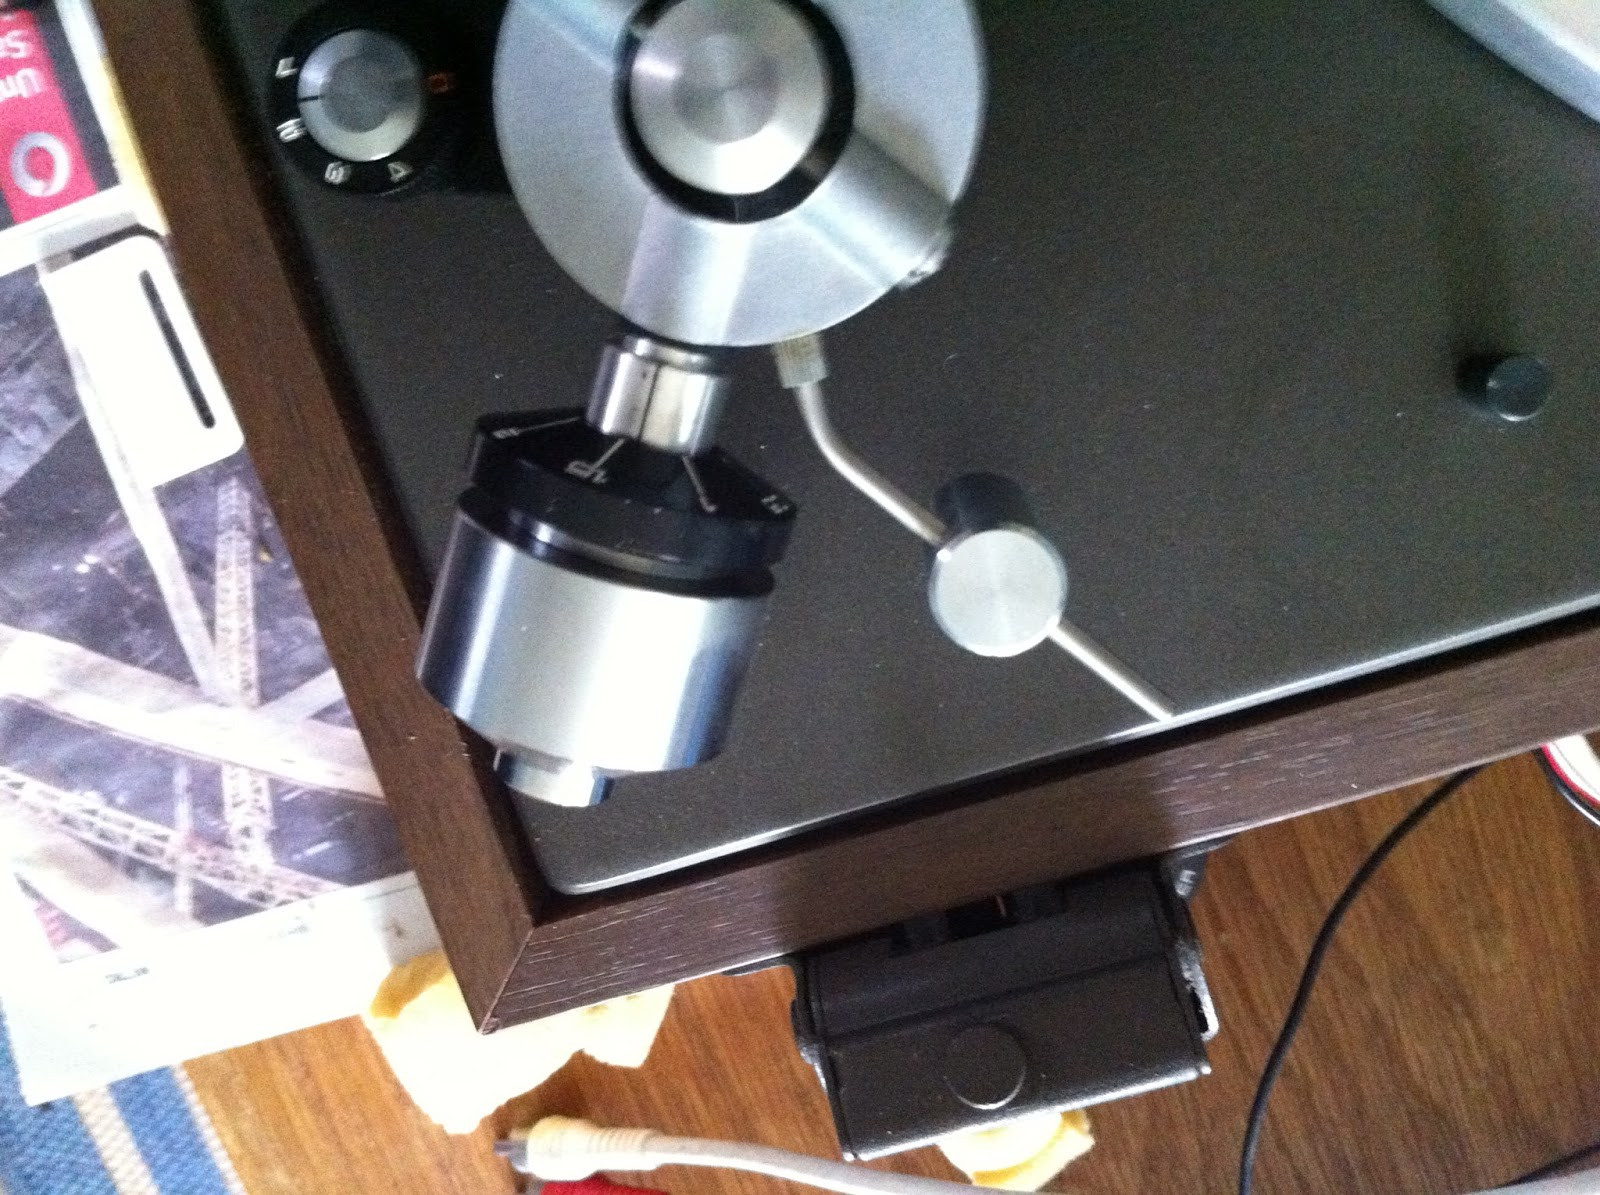
Using digital scales to accurately set the tracking weight on the Pioneer PL-12D tonearm.
Anti-skate Adjustment:
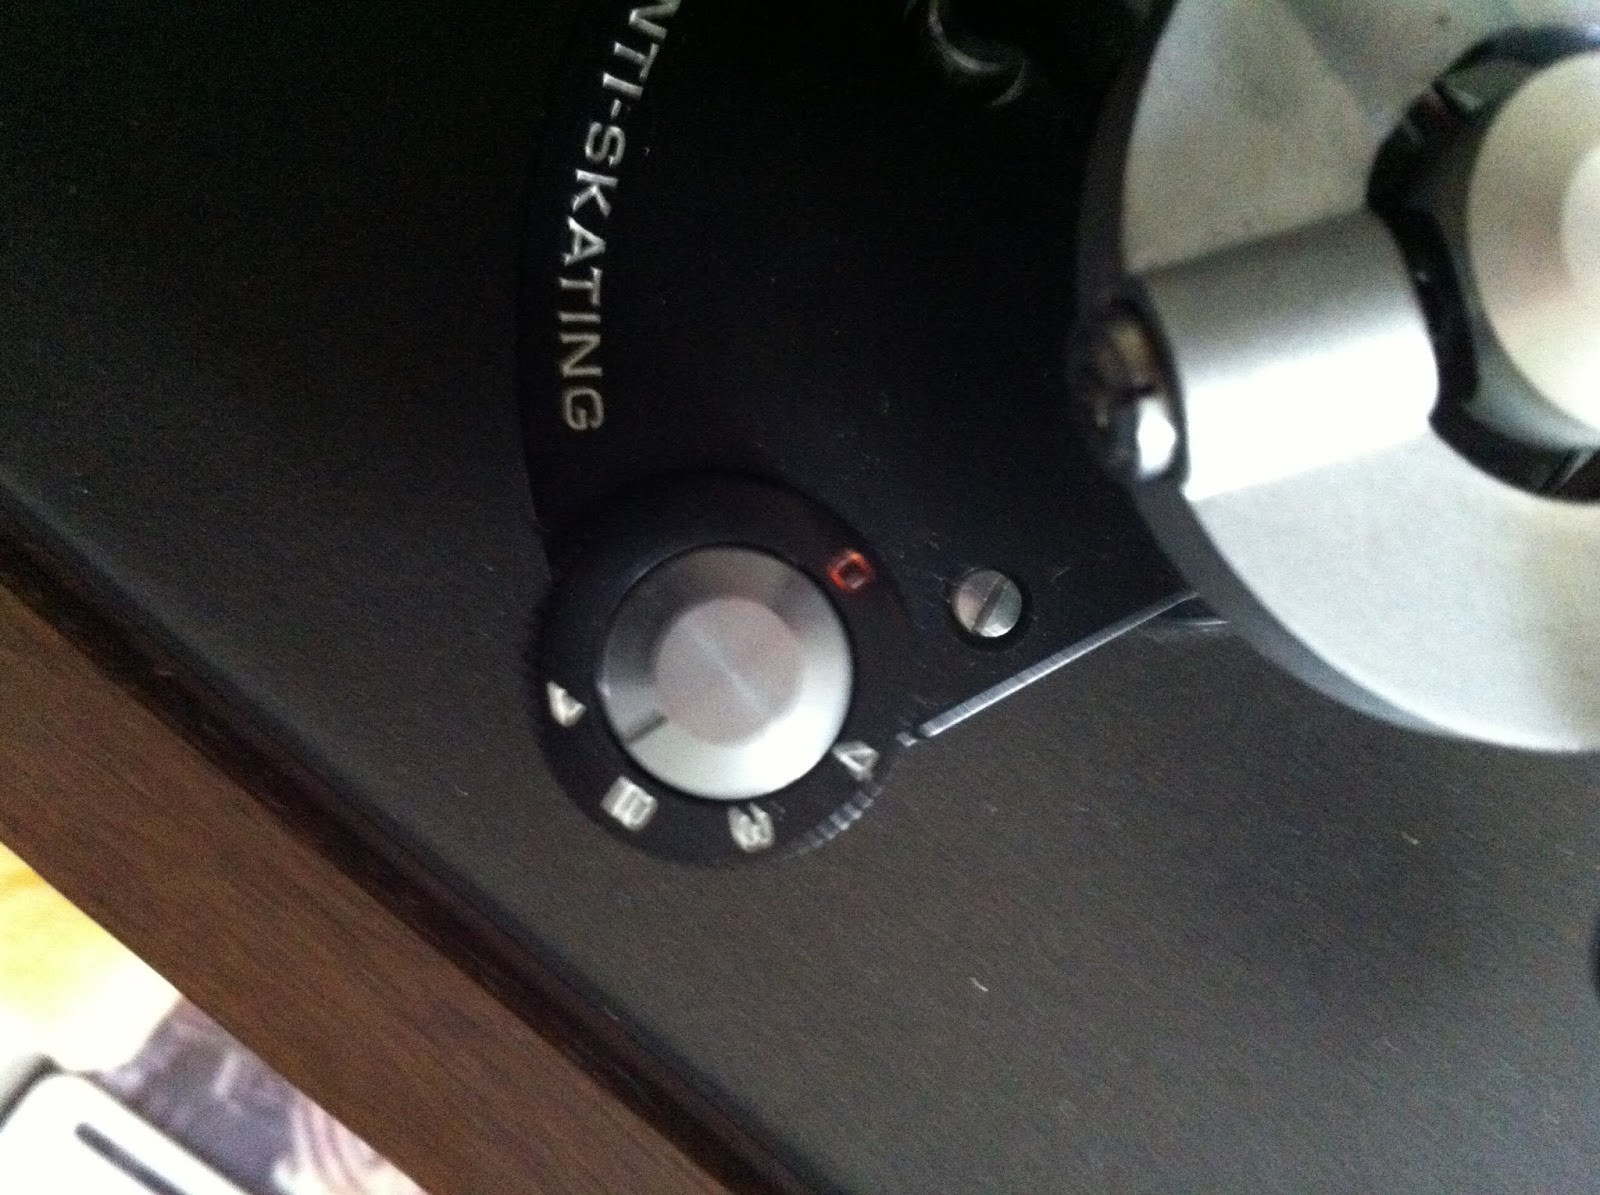
Anti-skate (or bias) compensates for the inward force exerted on the stylus as it tracks the record groove. The PL-12D has an anti-skate dial, typically set to the same value as the tracking weight. Set the anti-skate dial to match your tracking weight setting. Fine-tuning of anti-skate may be done by ear, listening for balanced channel separation and minimal distortion.
Vertical Tracking Angle (VTA) and Azimuth:
While the Pioneer PL-12D doesn’t offer adjustable VTA or azimuth, it’s worth a visual check. VTA refers to the angle of the tonearm relative to the record surface. Ideally, the tonearm should be parallel to the record surface when playing. Azimuth refers to the vertical alignment of the cartridge; it should be perfectly vertical when viewed from the front. Minor deviations are usually acceptable on the PL-12D, but significant misalignments may indicate a problem with the tonearm or headshell.
Final Checks and Listening Test
After completing the servicing and setup, reassemble the turntable, ensuring all components are correctly positioned and secured. Place the platter, mat, and headshell back in place. Connect the turntable to your audio system.
Run-in and Listening:
Run the turntable for a few hours without playing records to allow the lubricants to distribute and the motor and bearing to settle. After the run-in period, play a record and listen critically. Check for smooth platter rotation, accurate speed, and any remaining motor or bearing noise. Listen for balanced sound, clear highs, and solid bass. A properly serviced Pioneer PL-12D should deliver a warm, enjoyable, and engaging vinyl listening experience.
Troubleshooting and Further Refinements:
If you still encounter issues like motor noise, speed instability, or hum, revisit the relevant sections of this guide and double-check your work. Consider seeking advice from online audio forums or a qualified turntable technician if needed. The Pioneer PL-12D is a relatively simple turntable to service, and with patience and attention to detail, you can restore it to its former glory and enjoy the timeless pleasure of vinyl playback.
The restored Pioneer PL-12D, ready to deliver hours of vinyl listening pleasure.
Further Resources and Updates:
- Vinyl Engine: http://www.vinylengine.com – A valuable resource for turntable information, manuals, and forums.
- William Thakker: http://www.williamthakker.eu/ – Supplier of turntable belts and parts.
- Collegit (Tom Silvennoinen): https://www.collegit.se/audio.htm – Source for replacement silicone rubber motor mounts for PL-12D.
- Pioneer PL-12D Facebook Group: https://www.facebook.com/groups/1800061146950818 – A community for PL-12D enthusiasts.
- Dirk Sipes’ PL-12D Service Article: https://mr-ives.blogspot.com/2019/07/pioneer-pl12d-service-revisited.html – In-depth service insights for the PL-12D.
By following this comprehensive guide, you can effectively service your Pioneer PL-12D turntable, ensuring it continues to provide excellent vinyl playback for years to come. Enjoy the rewarding experience of bringing a vintage classic back to life!
