 Close-up of a ductless mini-split system's outdoor condenser unit, highlighting its components and connections, illustrating the complexity and technology involved in modern HVAC systems.
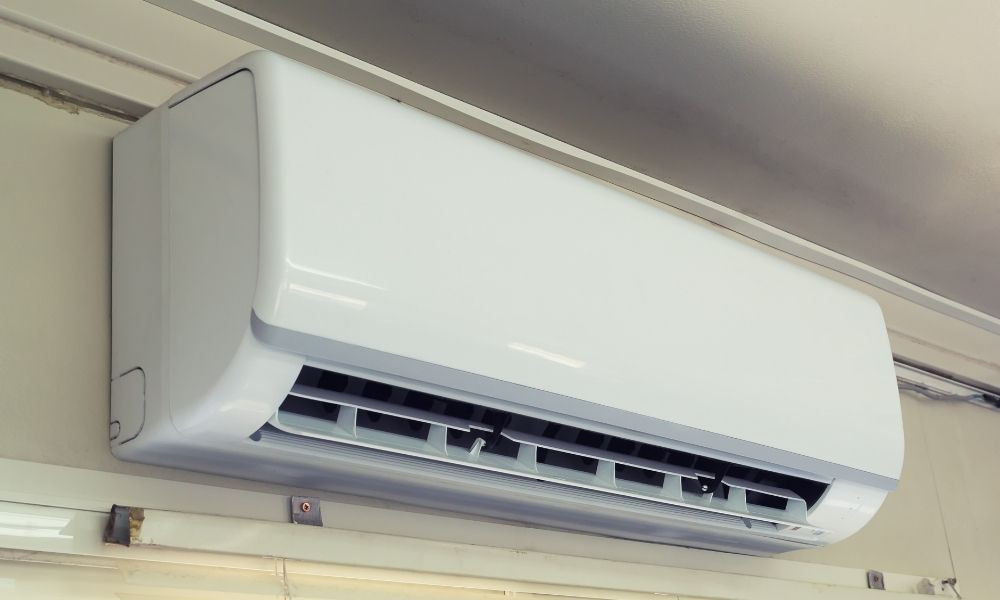
Pioneer mini-split systems are renowned for their efficiency and reliability in providing targeted heating and cooling. These ductless systems offer a great solution for maintaining comfortable temperatures in your home. However, even with regular maintenance, you might occasionally encounter issues. This guide will walk you through some common problems and how to troubleshoot your Pioneer mini-split, including when and how to utilize a Pioneer Mini Split Reset Button or process if your system malfunctions.
Ice Formation on the Coils: A Common Mini-Split Problem
One frequently reported issue with mini-split systems is ice buildup on the coils. If you notice your Pioneer mini-split is running but not effectively heating your room, ice formation could be the culprit. The coils within your mini-split are critical for refrigerant heat exchange. When the outside air is cold and humid, condensation can form on the coils and subsequently freeze. This ice layer acts as an insulator, preventing the coils from efficiently extracting heat and reducing the system’s heating capacity.
The Solution: Defrosting and Prevention
To address iced coils, the first step is to turn off your Pioneer mini-split system completely. Disconnect the power supply to ensure safety. Allow ample time for the ice to melt naturally. You can expedite this process by gently using a hairdryer on a low setting or by using a soft cloth dampened with warm water to carefully melt the ice. Avoid using sharp objects that could damage the delicate coils. Once the ice is melted, thoroughly dry the coils and surrounding areas before restoring power.
After defrosting, it’s crucial to determine the underlying cause to prevent recurrence. Dirty coils are a primary reason for ice formation. Dust and debris accumulation hinders airflow, leading to lower coil temperatures and increased freezing risk. Regular cleaning of your mini-split coils is essential maintenance. Another potential cause is low refrigerant levels. While Pioneer mini-splits are pre-charged, leaks can occur over time. If coil icing persists despite cleaning, refrigerant levels may need to be checked and potentially replenished by a qualified HVAC technician.
System Won’t Power On: Initial Checks and Troubleshooting
If your Pioneer mini-split fails to power on, it can be frustrating. Before assuming a major malfunction, there are several simple checks you should perform.
The Solution: Basic Checks and Resetting
First, ensure the system is actually set to “on” and in the desired operating mode (heat or cool) using your remote controller. It sounds basic, but often, accidental setting changes are the cause. Also, verify the batteries in your remote are functioning and correctly installed.
Next, check your home’s electrical supply. Are other appliances in your home also without power? If so, the problem likely lies with a tripped circuit breaker or a power outage, not your mini-split itself. Check your electrical panel and reset any tripped breakers.
If the power supply is confirmed and the system still won’t turn on, attempting a pioneer mini split reset can be beneficial. While not always a dedicated button, a reset often involves cutting power to the unit for a short period. Turn off the mini-split at the breaker box for a few minutes, then restore power. This power cycle can sometimes clear minor electronic glitches and restore functionality. Consult your Pioneer mini-split user manual for specific reset instructions, as some models might have a designated reset button or procedure.
Communication Issues: Remote and System Unresponsiveness
Communication problems can manifest in various ways, such as the remote control failing to communicate with the indoor unit, inconsistent operation, or the system becoming unresponsive to commands. Improper wiring is a common culprit behind these communication breakdowns in ductless systems.
The Solution: Wiring Inspection and Professional Consultation
To address potential wiring issues, first, consult your Pioneer mini-split installation manual and local electrical codes. Verify that the correct type and gauge of communication wire were used during installation. Typically, mini-splits require either 18-gauge or 14-gauge 4-conductor stranded wire suitable for both indoor and outdoor applications.
Inspect the wiring connections at the electrical terminals of both the indoor and outdoor units. Ensure all connections are secure and properly tightened. Loose wiring can disrupt communication signals.
If you are not comfortable working with electrical wiring, it’s highly recommended to consult a qualified electrician or HVAC technician. They can accurately diagnose wiring problems and ensure your Pioneer mini-split is wired correctly and safely. Furthermore, if communication issues persist even after verifying wiring, there might be a more complex electronic fault requiring professional diagnosis and repair.
By systematically troubleshooting these common issues and understanding the role of a pioneer mini split reset, you can resolve many minor problems yourself and ensure your Pioneer mini-split system continues to provide efficient and reliable comfort. Remember to always prioritize safety and consult professionals when dealing with electrical components or refrigerant issues.