Creating a Pioneer Skirt is simpler than you might think, and it’s a fantastic project for anyone needing a historical costume, a comfortable everyday skirt, or even attire for events like pioneer treks. If you’re looking for a quick and budget-friendly sewing project, crafting a pioneer skirt is an excellent choice. Using readily available materials like bed sheets or inexpensive fabric, you can whip up a charming and functional skirt in under an hour. This tutorial will guide you through creating your own pioneer skirt with ease.
Materials You’ll Need
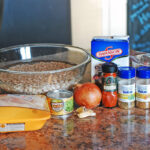
Before you begin, gather these simple supplies:
- Fabric: A twin sheet from a thrift store or 2.5 – 3 yards of fabric (cotton or cotton blend recommended). Sheets are an incredibly cost-effective option and often come in suitable colors and patterns for a pioneer aesthetic.
- Elastic: 1/2″ to 1 3/4″ wide elastic, depending on your preference. The width will determine the waistband size and comfort.
- Sewing Machine: Or needle and thread if you prefer hand sewing.
- Scissors or Rotary Cutter: For precise fabric cutting.
- Measuring Tape: Essential for accurate measurements.
- Iron and Ironing Board: For crisp folds and a professional finish.
- Safety Pin: To help thread the elastic through the casing.
Step-by-Step Guide to Sewing Your Pioneer Skirt
Follow these straightforward steps to create your pioneer skirt:
Step 1: Measure and Cut Your Fabric
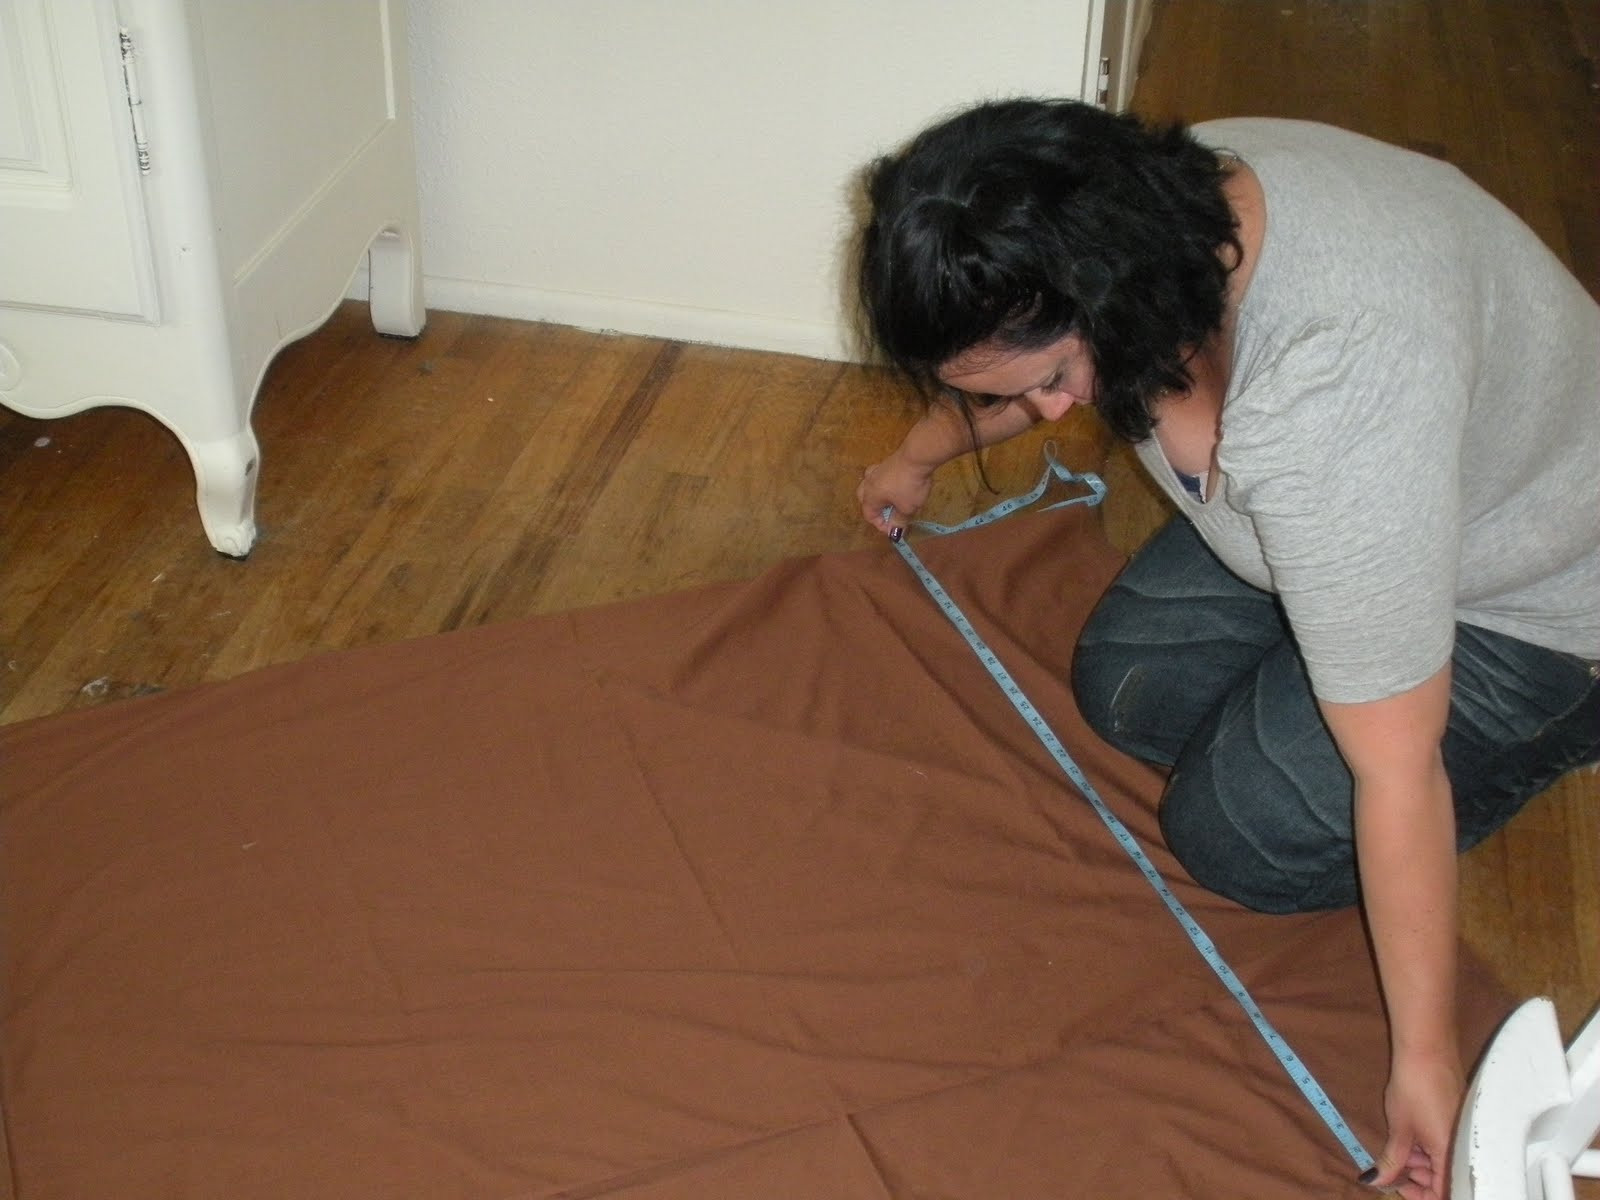
Lay your chosen fabric flat on a clean surface. Measure from the waist to the ankle of the person who will wear the skirt. This measurement dictates the length of fabric you’ll need. For individuals shorter than 5′ tall, a twin sheet can often yield two skirts. Pioneer trek skirts typically range from mid-calf to ankle length.
If using a sheet, orient it lengthwise. Fold the sheet in half lengthwise, ensuring the finished edge (the hemmed edge of the sheet) is aligned. Adjust the fold until the width from the fold to the finished edge matches your desired skirt length (waist-to-ankle measurement).
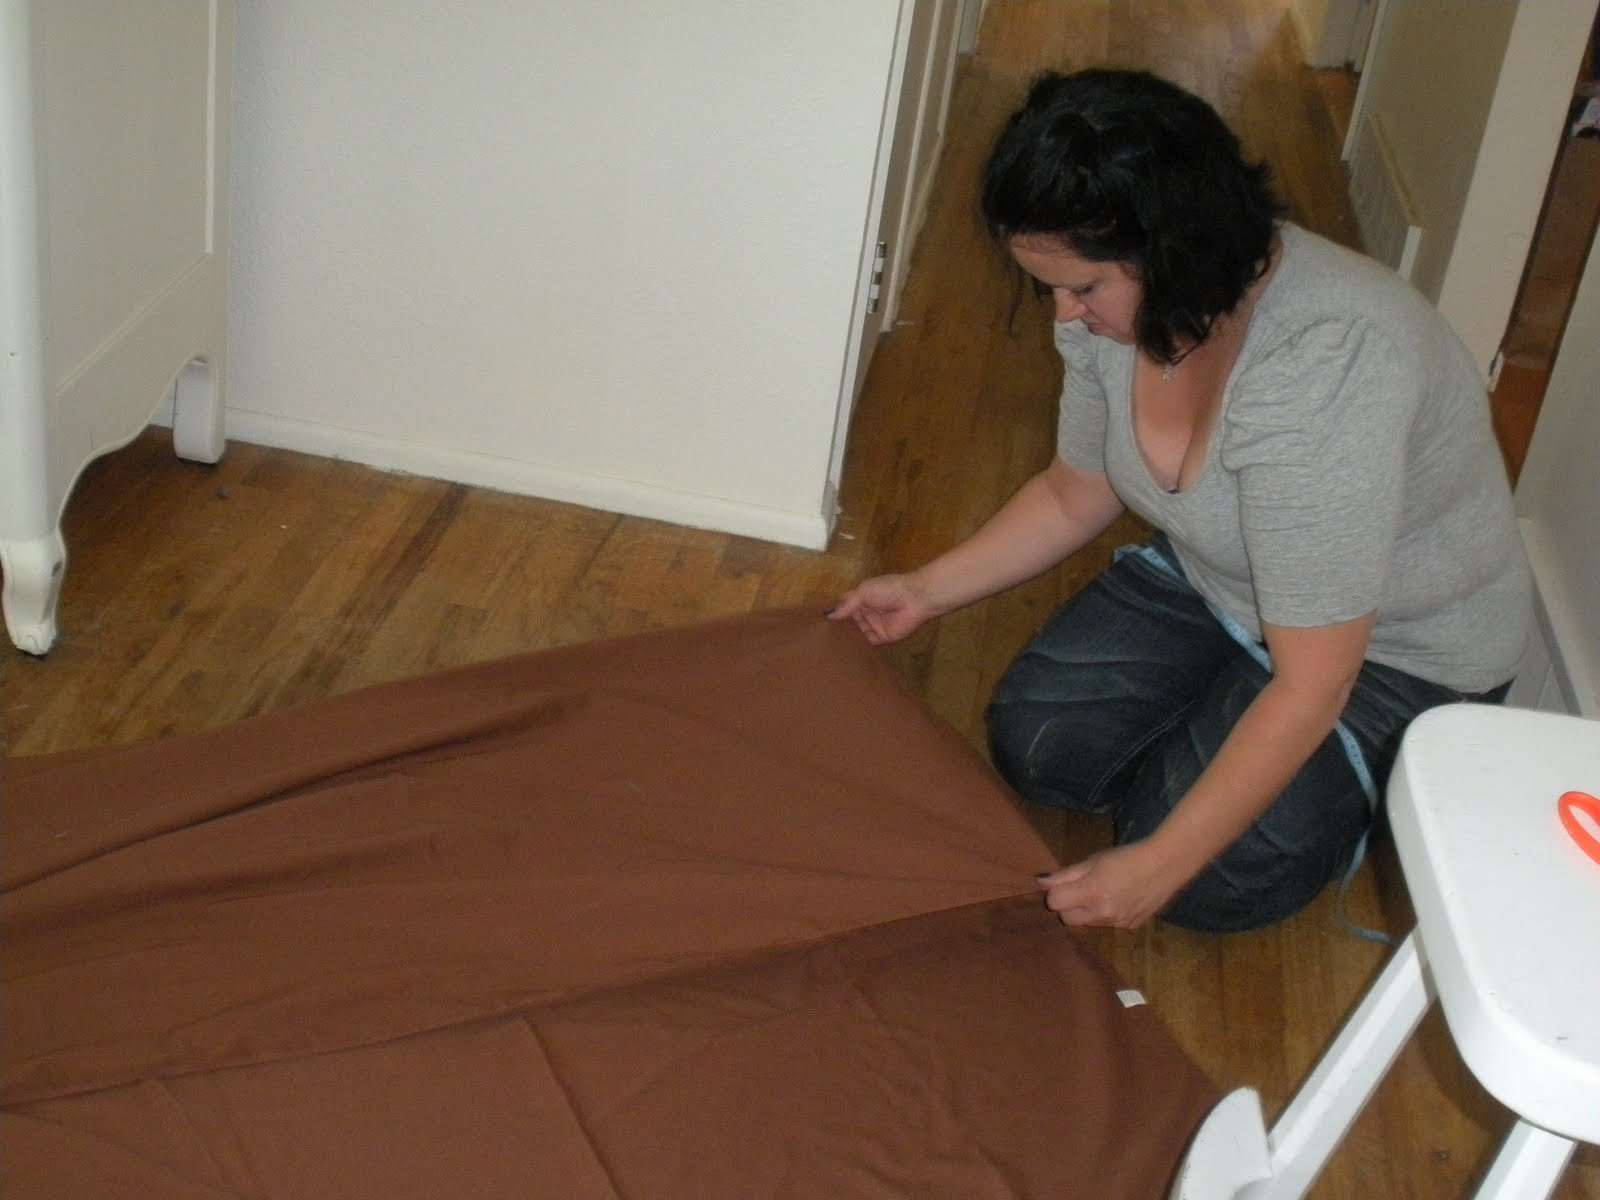 Fabric sheet folded for pioneer skirt
Cut along the fold line. This technique ensures a straight cut across your fabric. The finished edge of the sheet will serve as the skirt’s bottom hem, eliminating the need for hemming.
 Cutting fabric along the fold for skirt panels
Step 2: Prepare the Bottom Hem
Since you’re utilizing the finished edge of the sheet, this step is already complete! If using cut fabric, you may choose to hem it for a cleaner edge, but for a truly quick project and a rustic pioneer look, leaving it as is works perfectly well, especially if the fabric doesn’t fray easily.
Step 3: Create the Elastic Casing
Ironing the elastic casing beforehand makes sewing significantly easier. First, fold over the raw cut edge at the top of your fabric (the non-finished edge) by about 1/4 inch towards the wrong side of the fabric and iron it in place.
 Ironing the edge of the fabric to create elastic casing
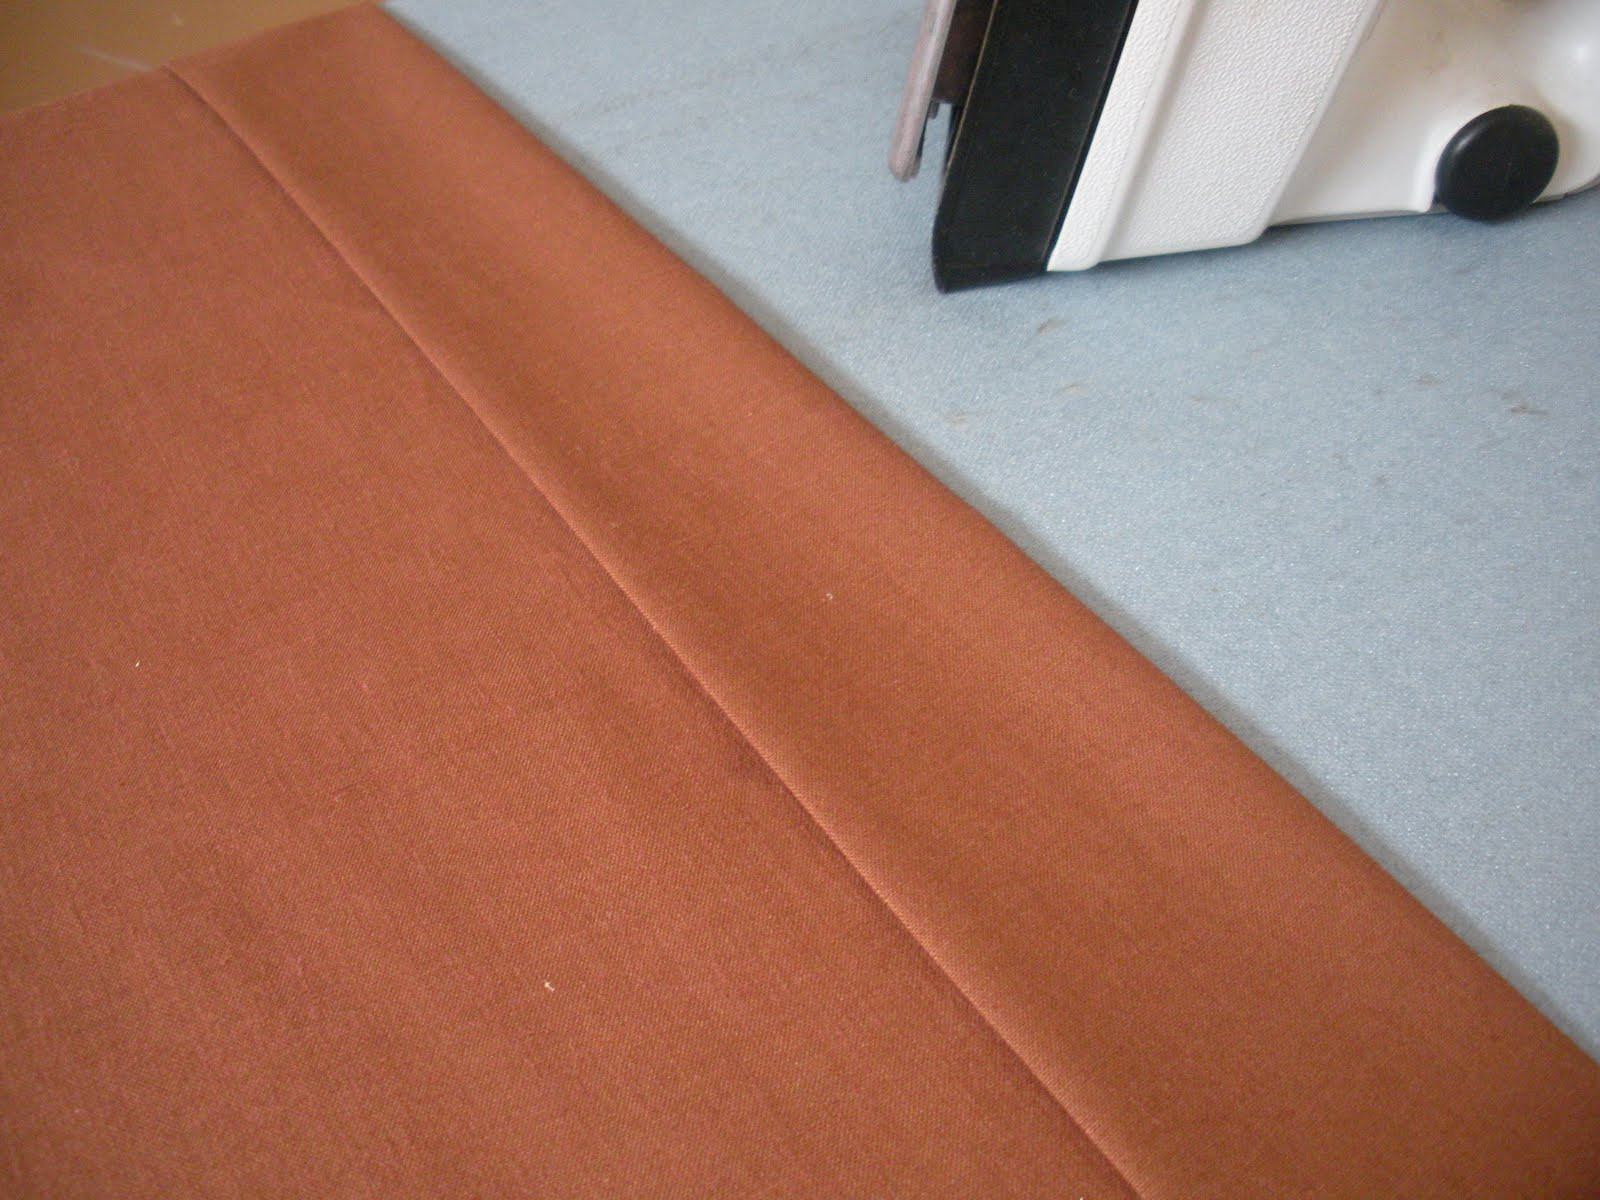
Next, fold the edge over again, creating a casing wide enough to accommodate your elastic. Ensure the casing is slightly wider than your elastic to allow it to move freely. Iron this second fold.
 Ironing the elastic casing fold for pioneer skirt waistband
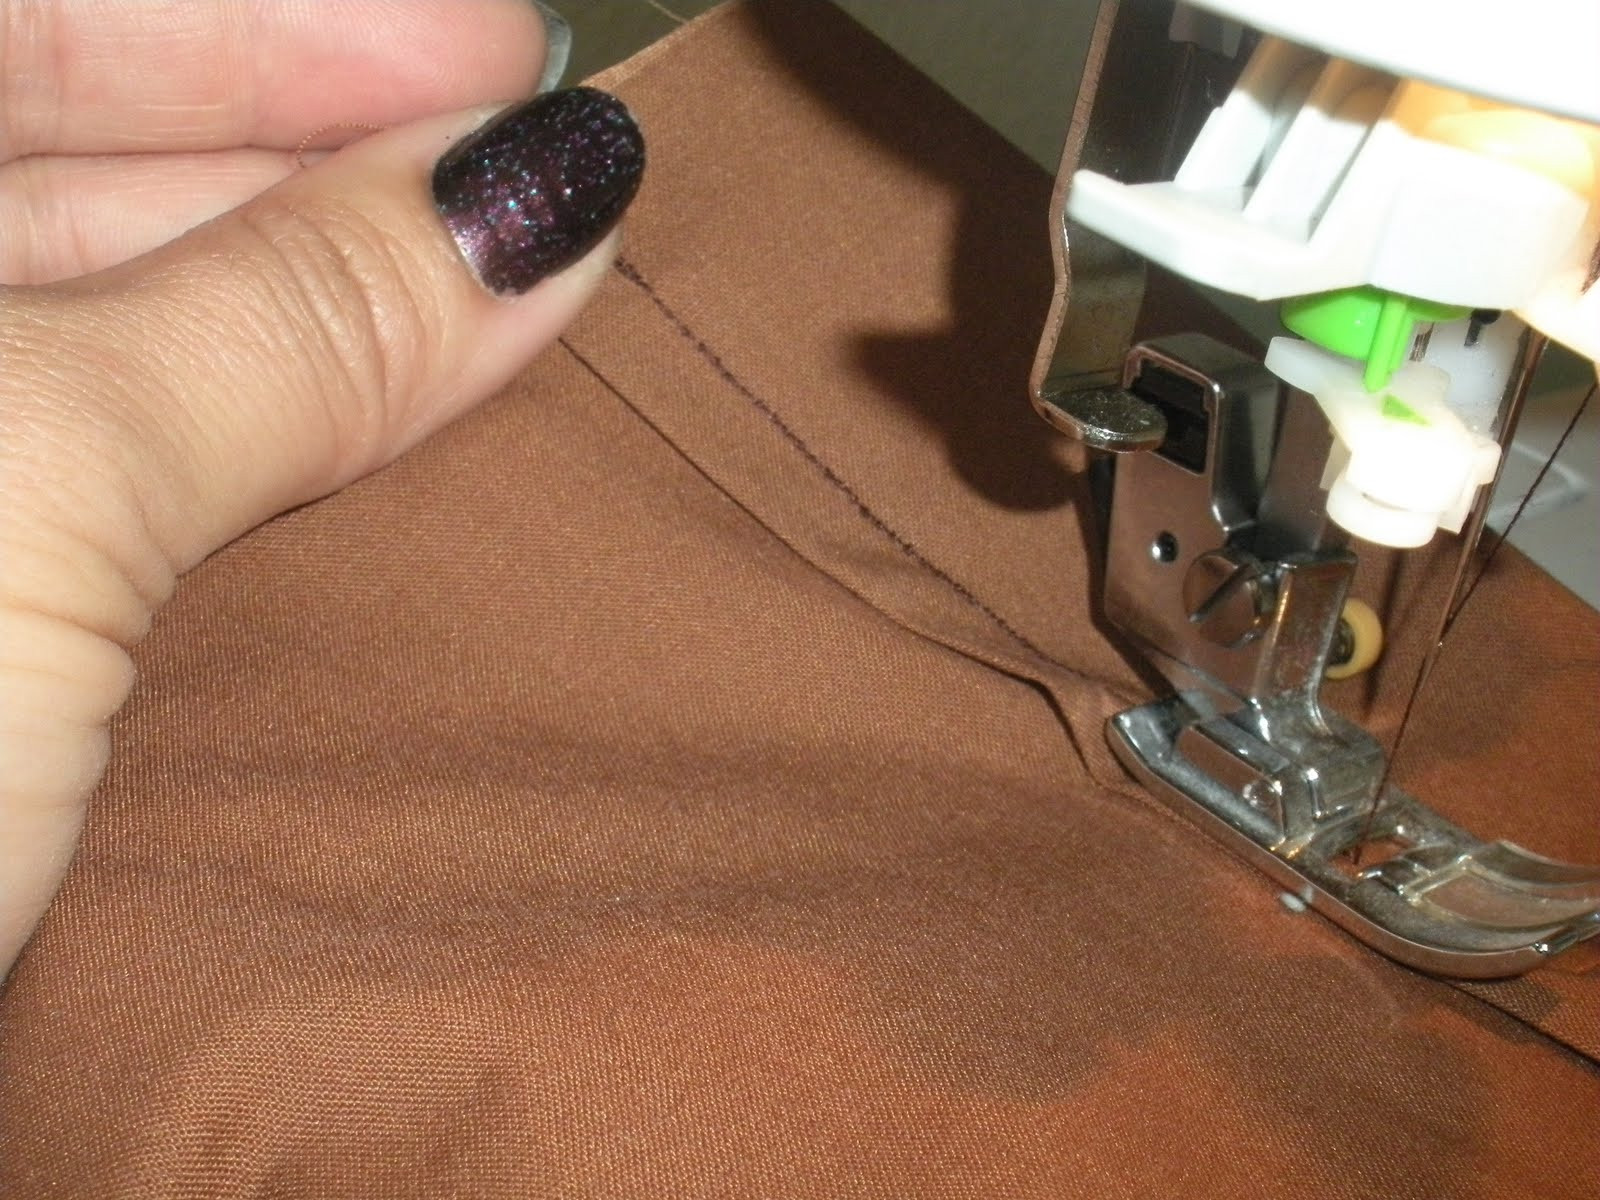
Sew along the lower edge of the casing, close to the inner fold, leaving a small opening (about 2 inches) to insert the elastic. Be sure to backstitch at the beginning and end to secure your stitches.
 Sewing the elastic casing on the pioneer skirt
Step 4: Insert the Elastic
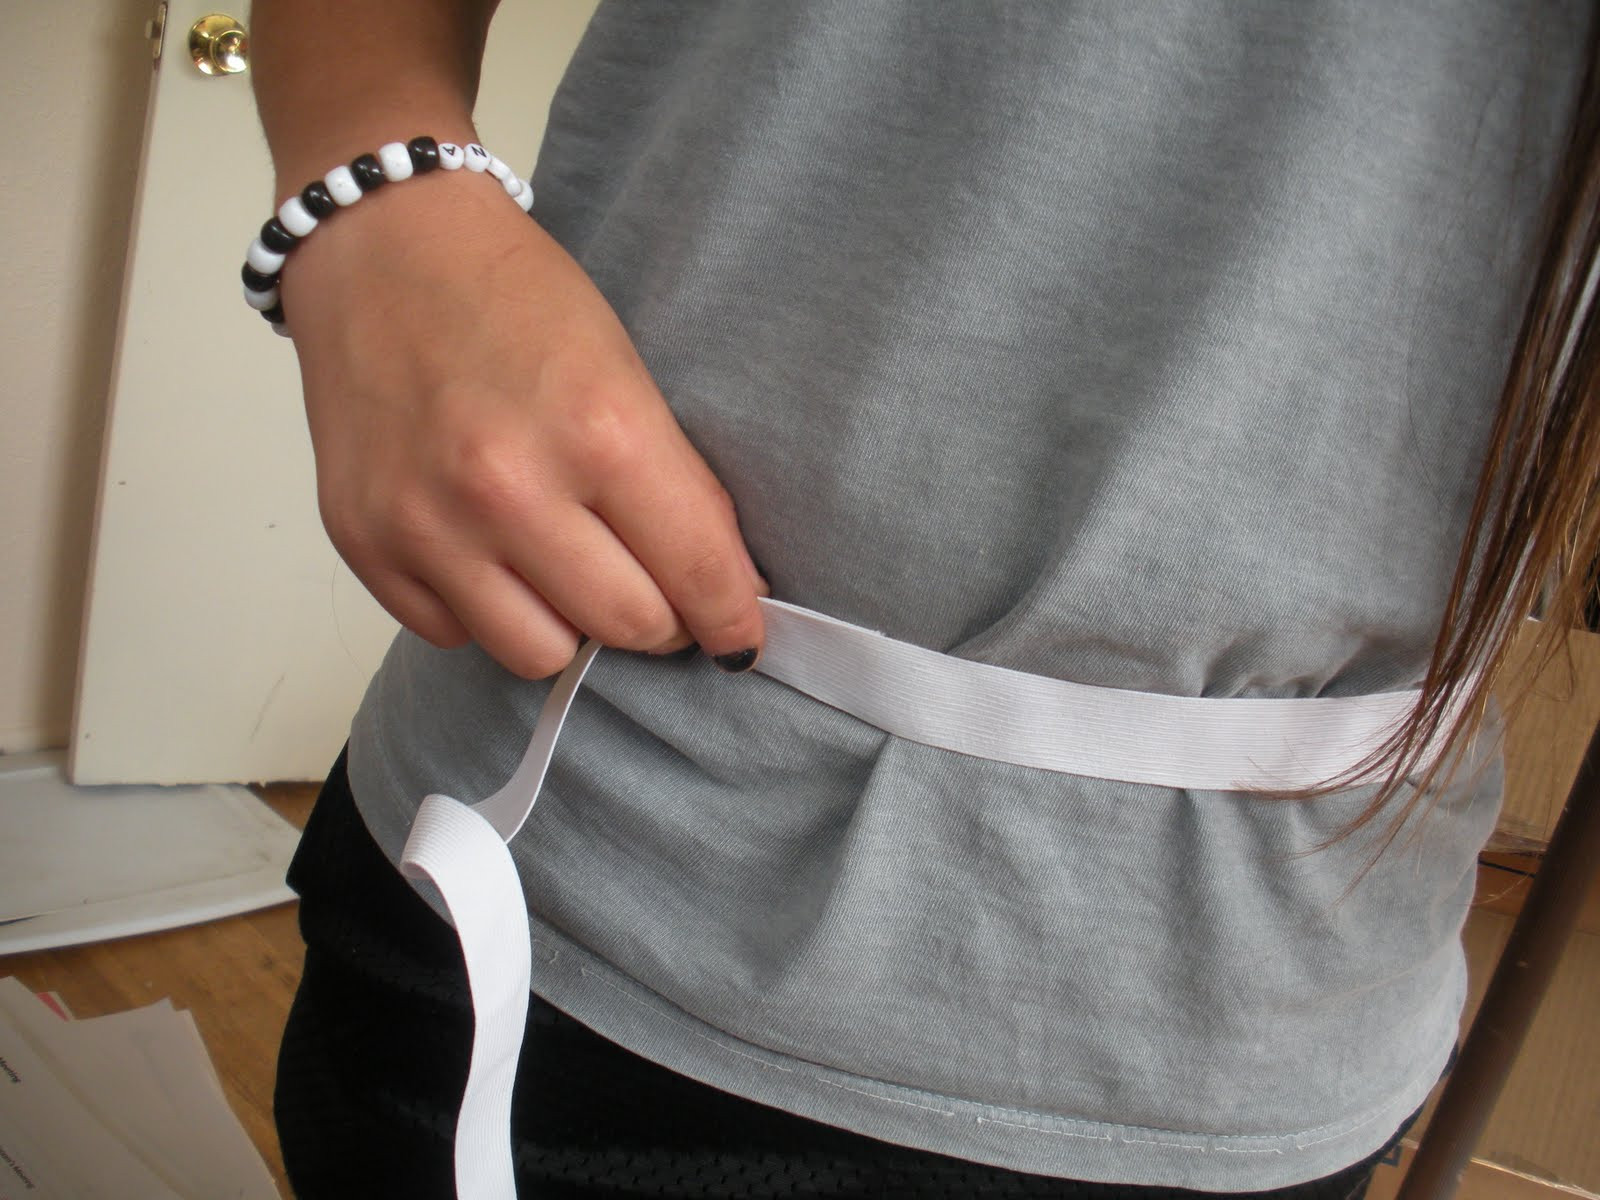
Measure the waist of the skirt’s wearer. Cut a piece of elastic to this measurement. Attach a safety pin to one end of the elastic and use it to thread the elastic through the casing, starting at the opening you left.
 Threading elastic through the waistband casing of a skirt
Once the elastic is threaded all the way through and emerges from the opening, overlap the ends of the elastic by about an inch and sew them together securely, using a zig-zag stitch or a straight stitch reinforced multiple times.
Step 5: Sew the Side Seam
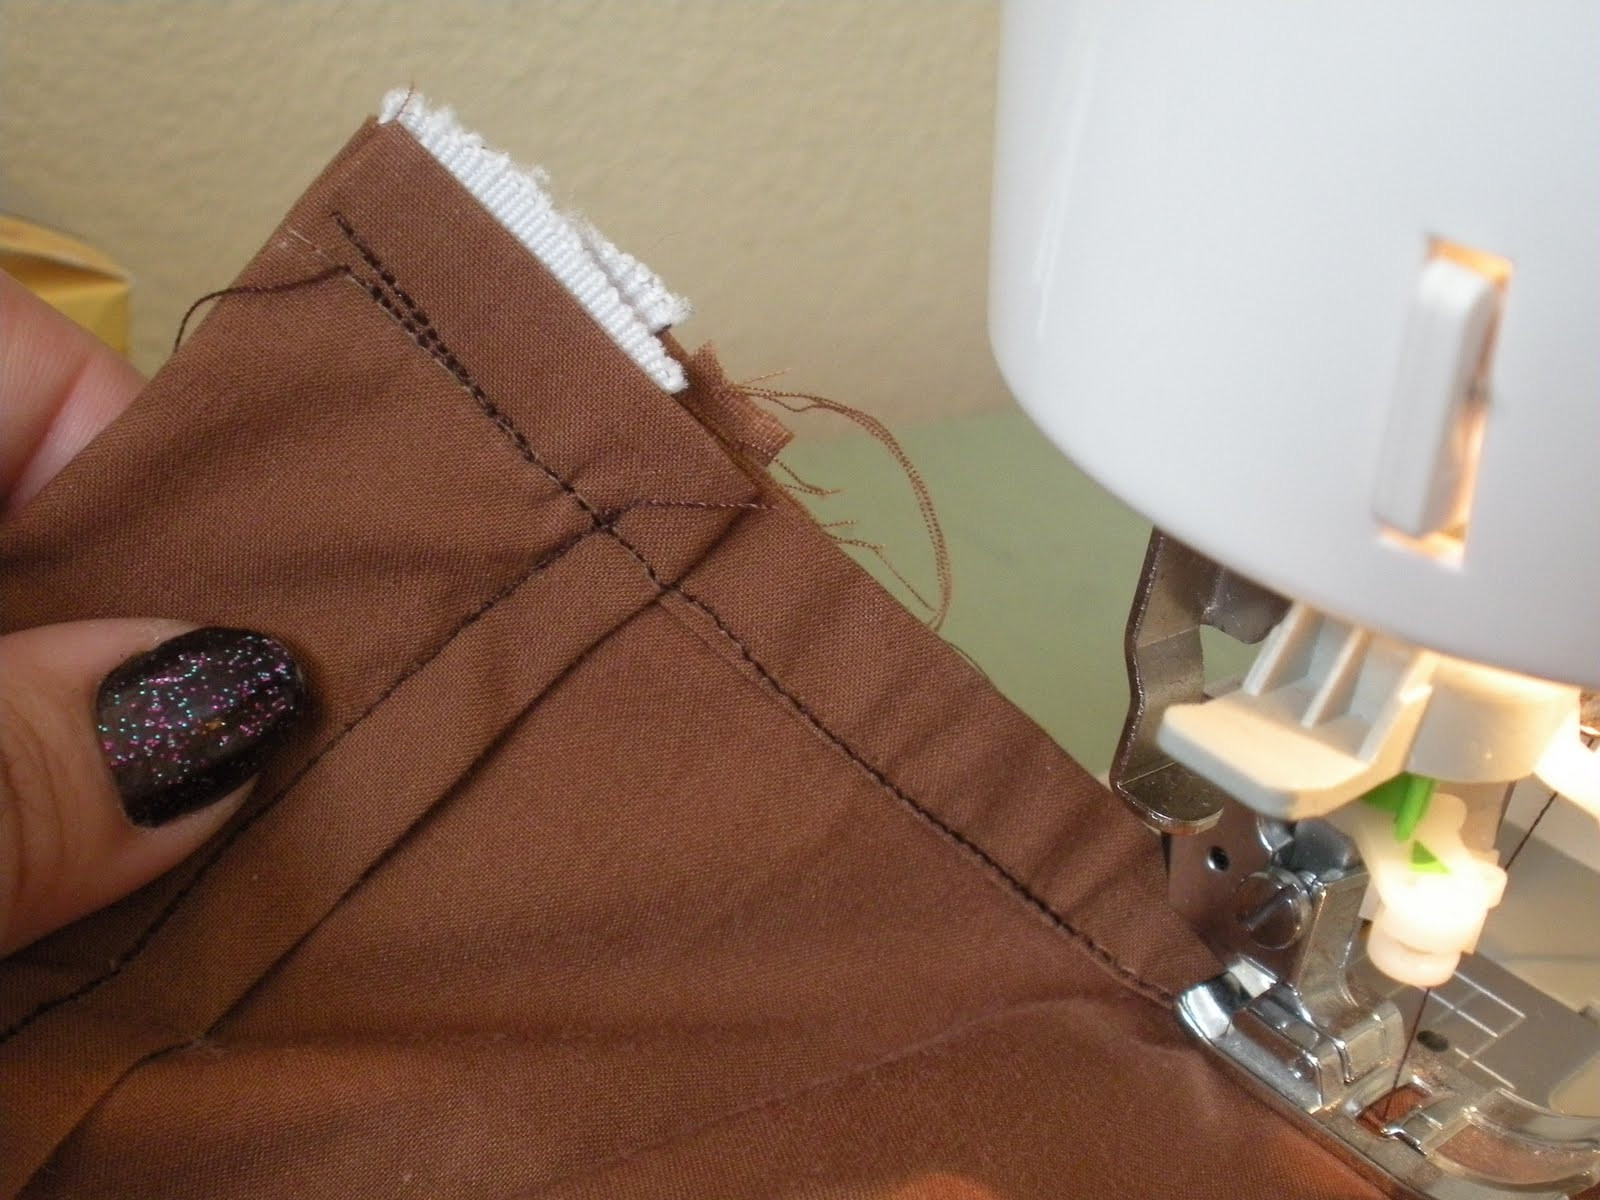
With the elastic ends sewn, close the opening in the casing by sewing it shut. Now, fold the skirt in half with right sides together, aligning the raw side edges. Sew along the side seam from the bottom of the casing to the bottom hem of the skirt, using a straight stitch. For extra durability, especially around the elastic area, you can double stitch over the elastic casing.
 Sewing the side seam of a pioneer skirt
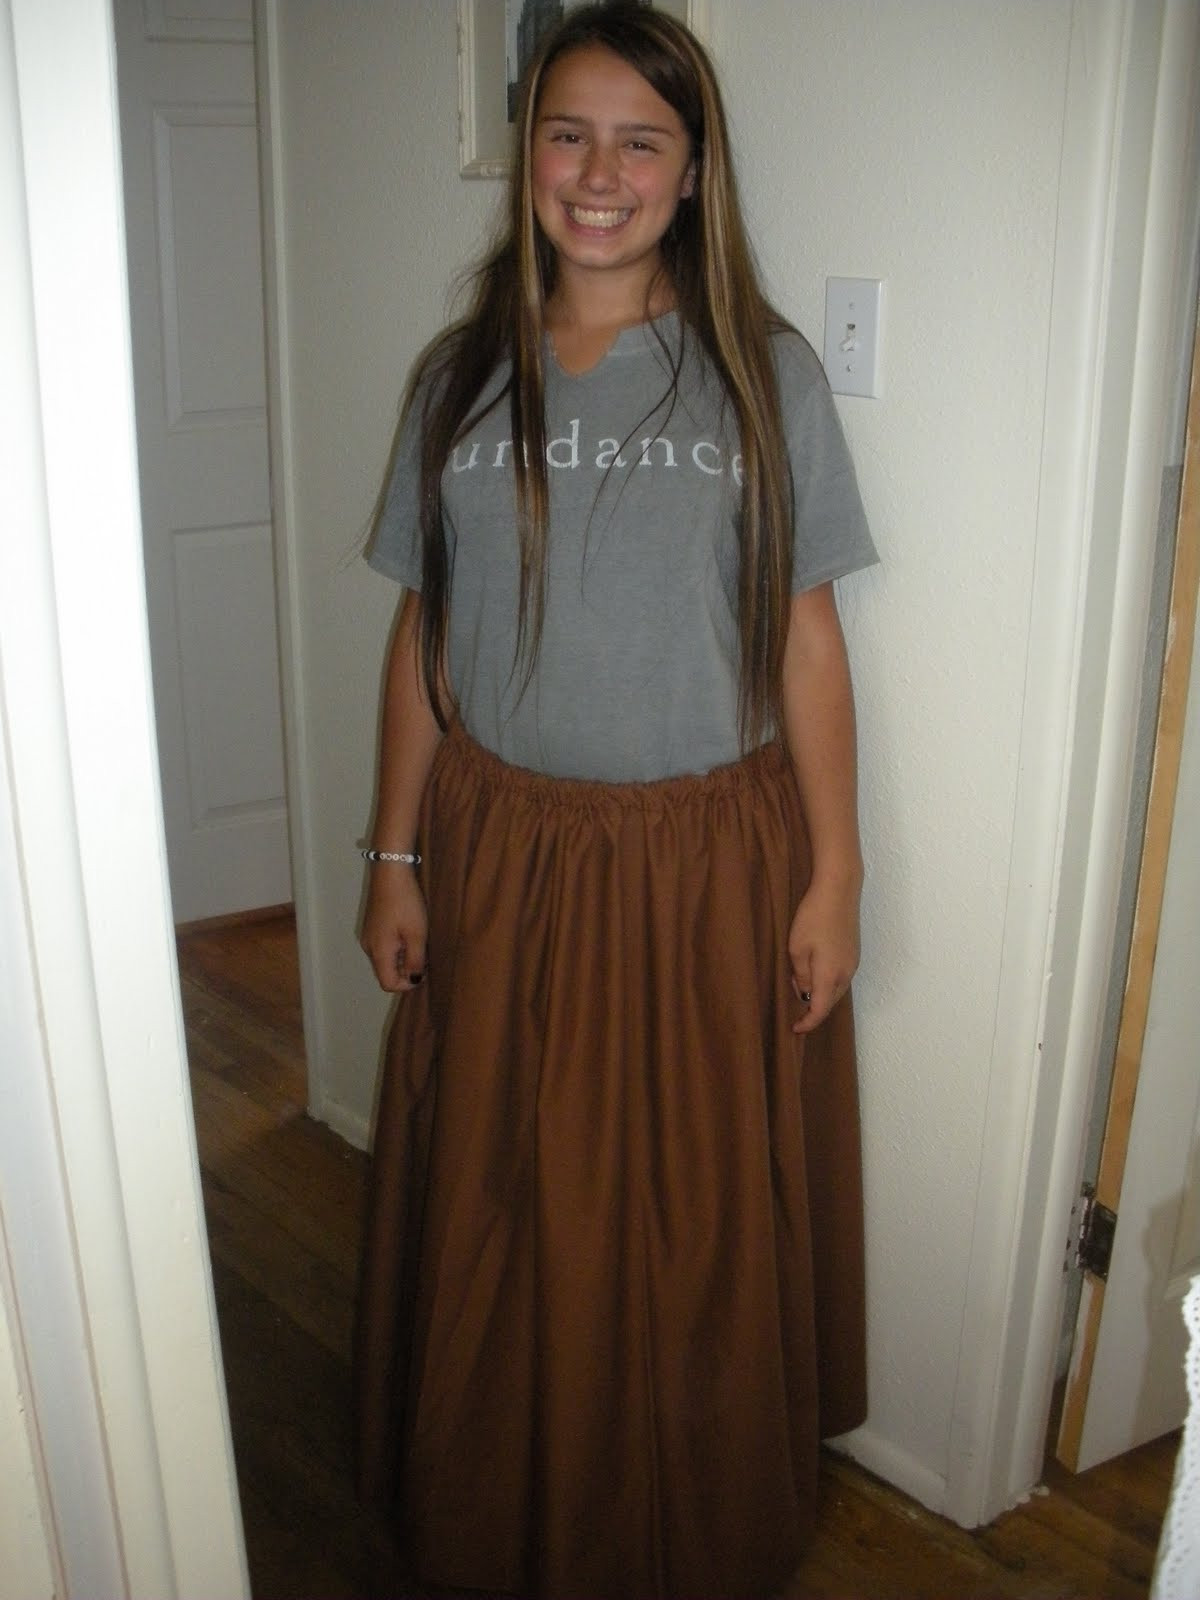
Turn your skirt right side out, and you’re finished!
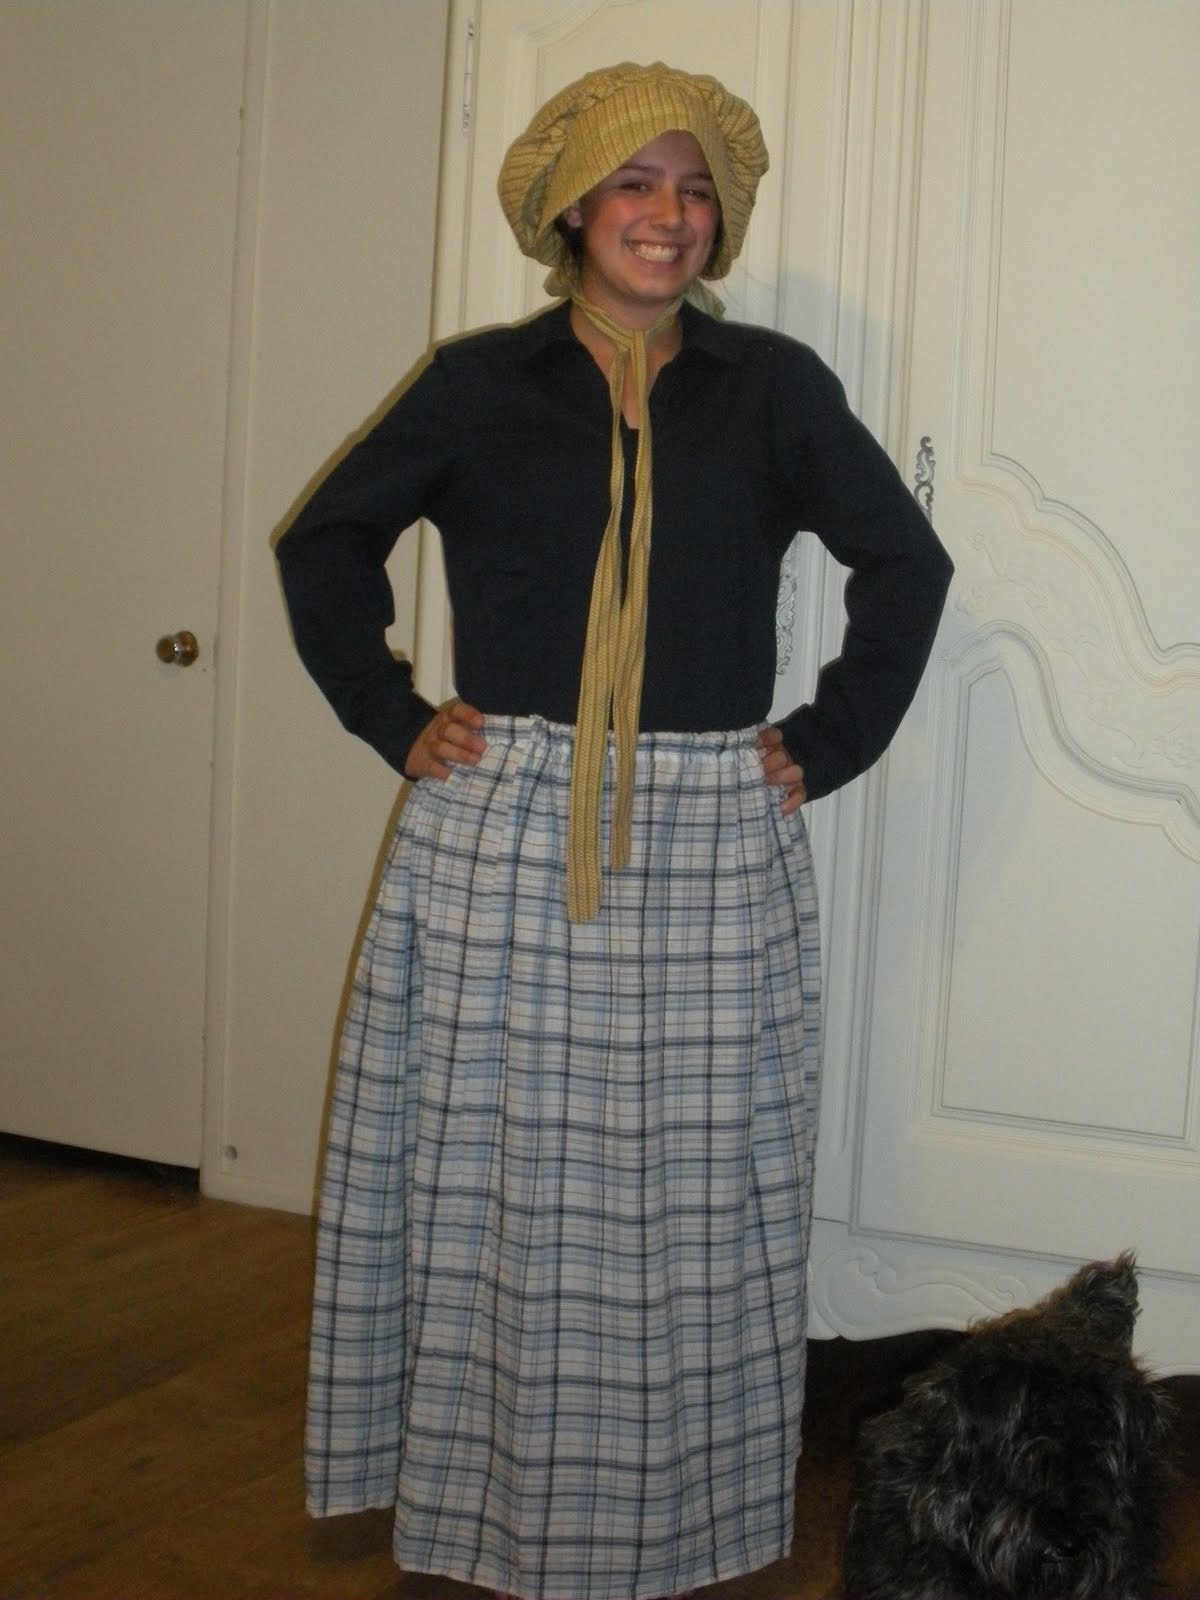 Finished pioneer skirt made from fabric
Tips for Perfecting Your Pioneer Skirt
- Fabric Choice: Cotton and cotton blends are ideal for pioneer skirts due to their breathability and historical accuracy. Consider using calico, gingham, or solid colors for an authentic look.
- Elastic Width: Wider elastic (1″ to 1 3/4″) provides a more comfortable and secure fit, especially for active wear.
- Skirt Length: Adjust the length based on preference and intended use. Mid-calf length is practical for movement, while ankle-length offers a more traditional pioneer style.
- Embellishments: For added detail, consider adding a simple ruffle at the bottom hem (if you hemmed it) or a contrasting waistband.
Conclusion
Creating your own pioneer skirt is a rewarding and efficient sewing project. In just under an hour, you can craft a functional and historically inspired garment perfect for costumes, treks, or everyday wear. With minimal supplies and straightforward steps, this DIY pioneer skirt tutorial empowers even beginner sewers to create a beautiful and practical piece. Grab a sheet or some fabric and start sewing your own pioneer skirt today!