If you’re searching for a frosting that’s both delightfully light and impressively sturdy, look no further than this classic 7 minute frosting recipe. Often reminiscent of the kind of timeless recipes you might find in the Pioneer Woman’s kitchen, this frosting is pure white, wonderfully delicious, and surprisingly easy to whip up. Perfect for topping everything from towering cakes to delicate cupcakes, this frosting is set to become your new go-to for all your sweet creations.
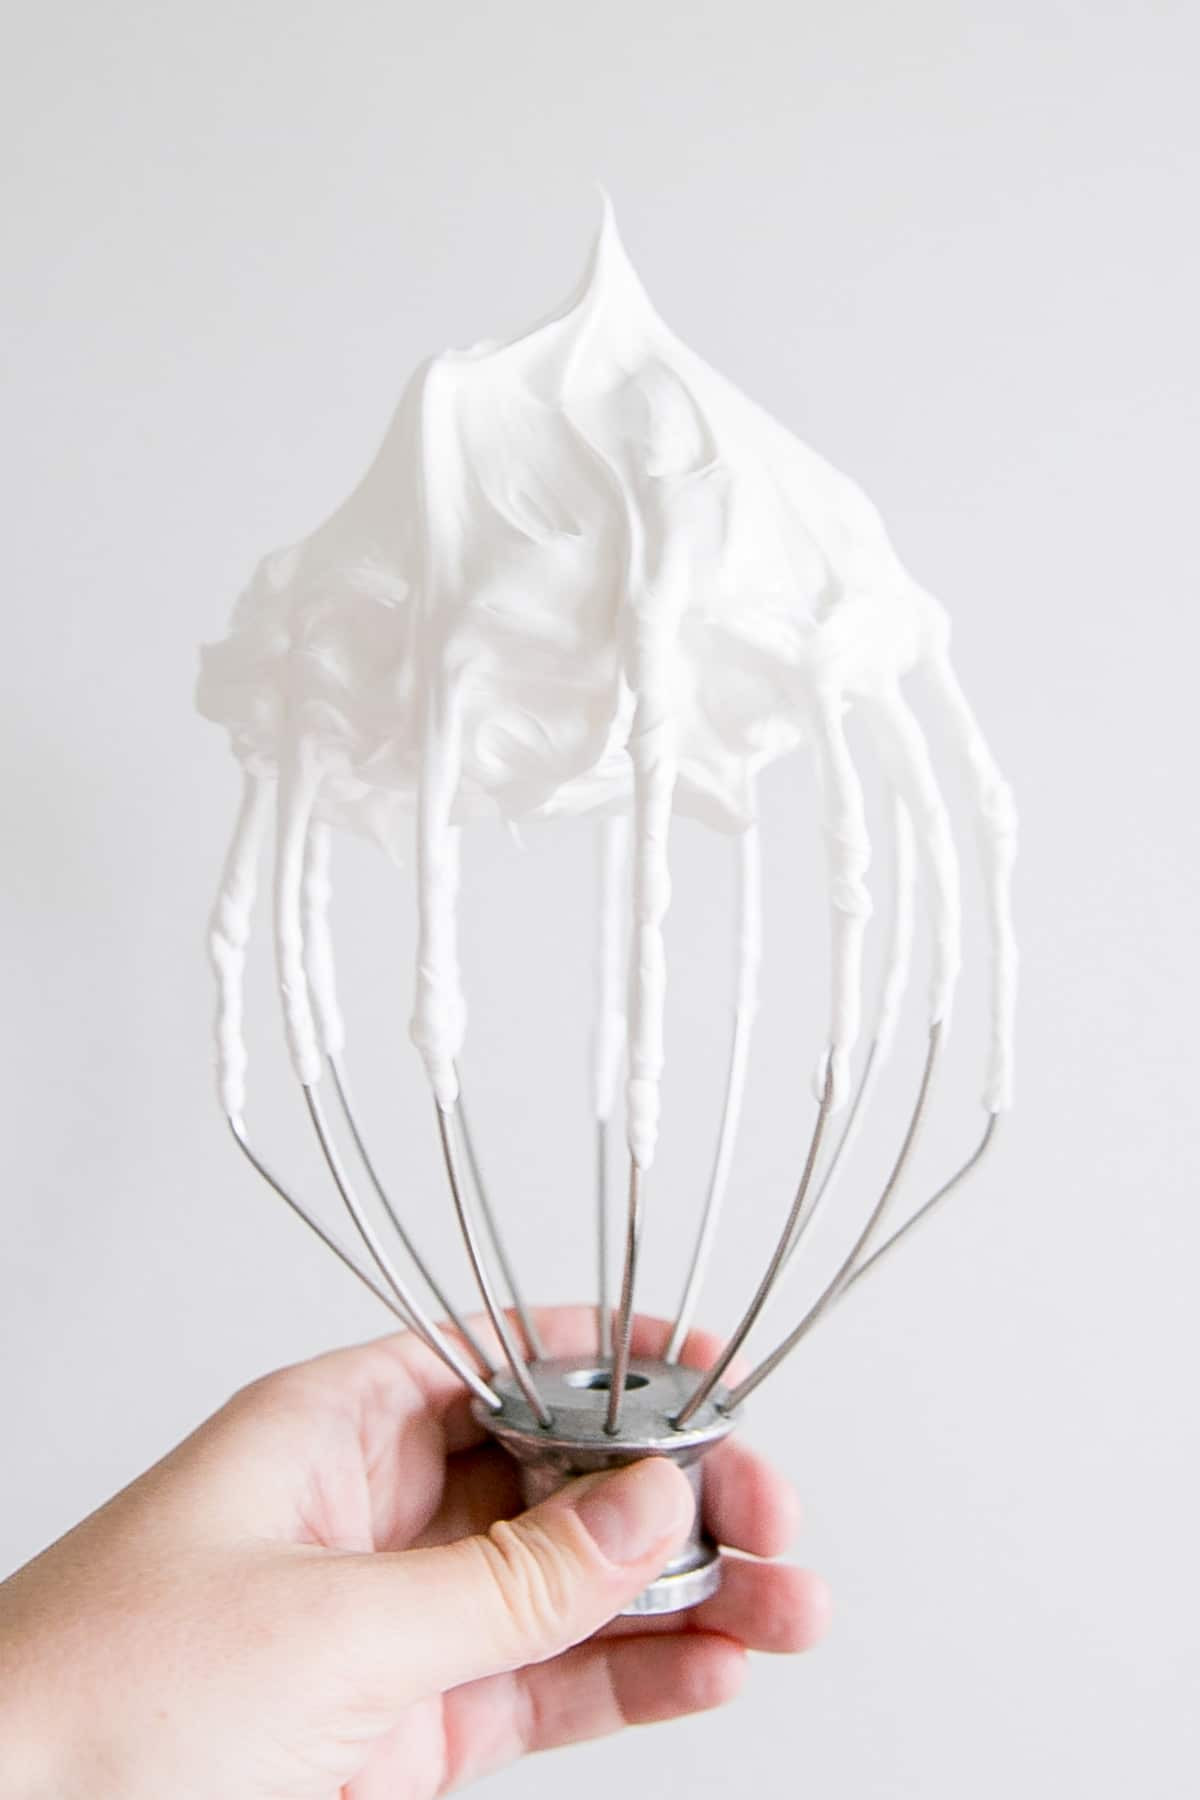
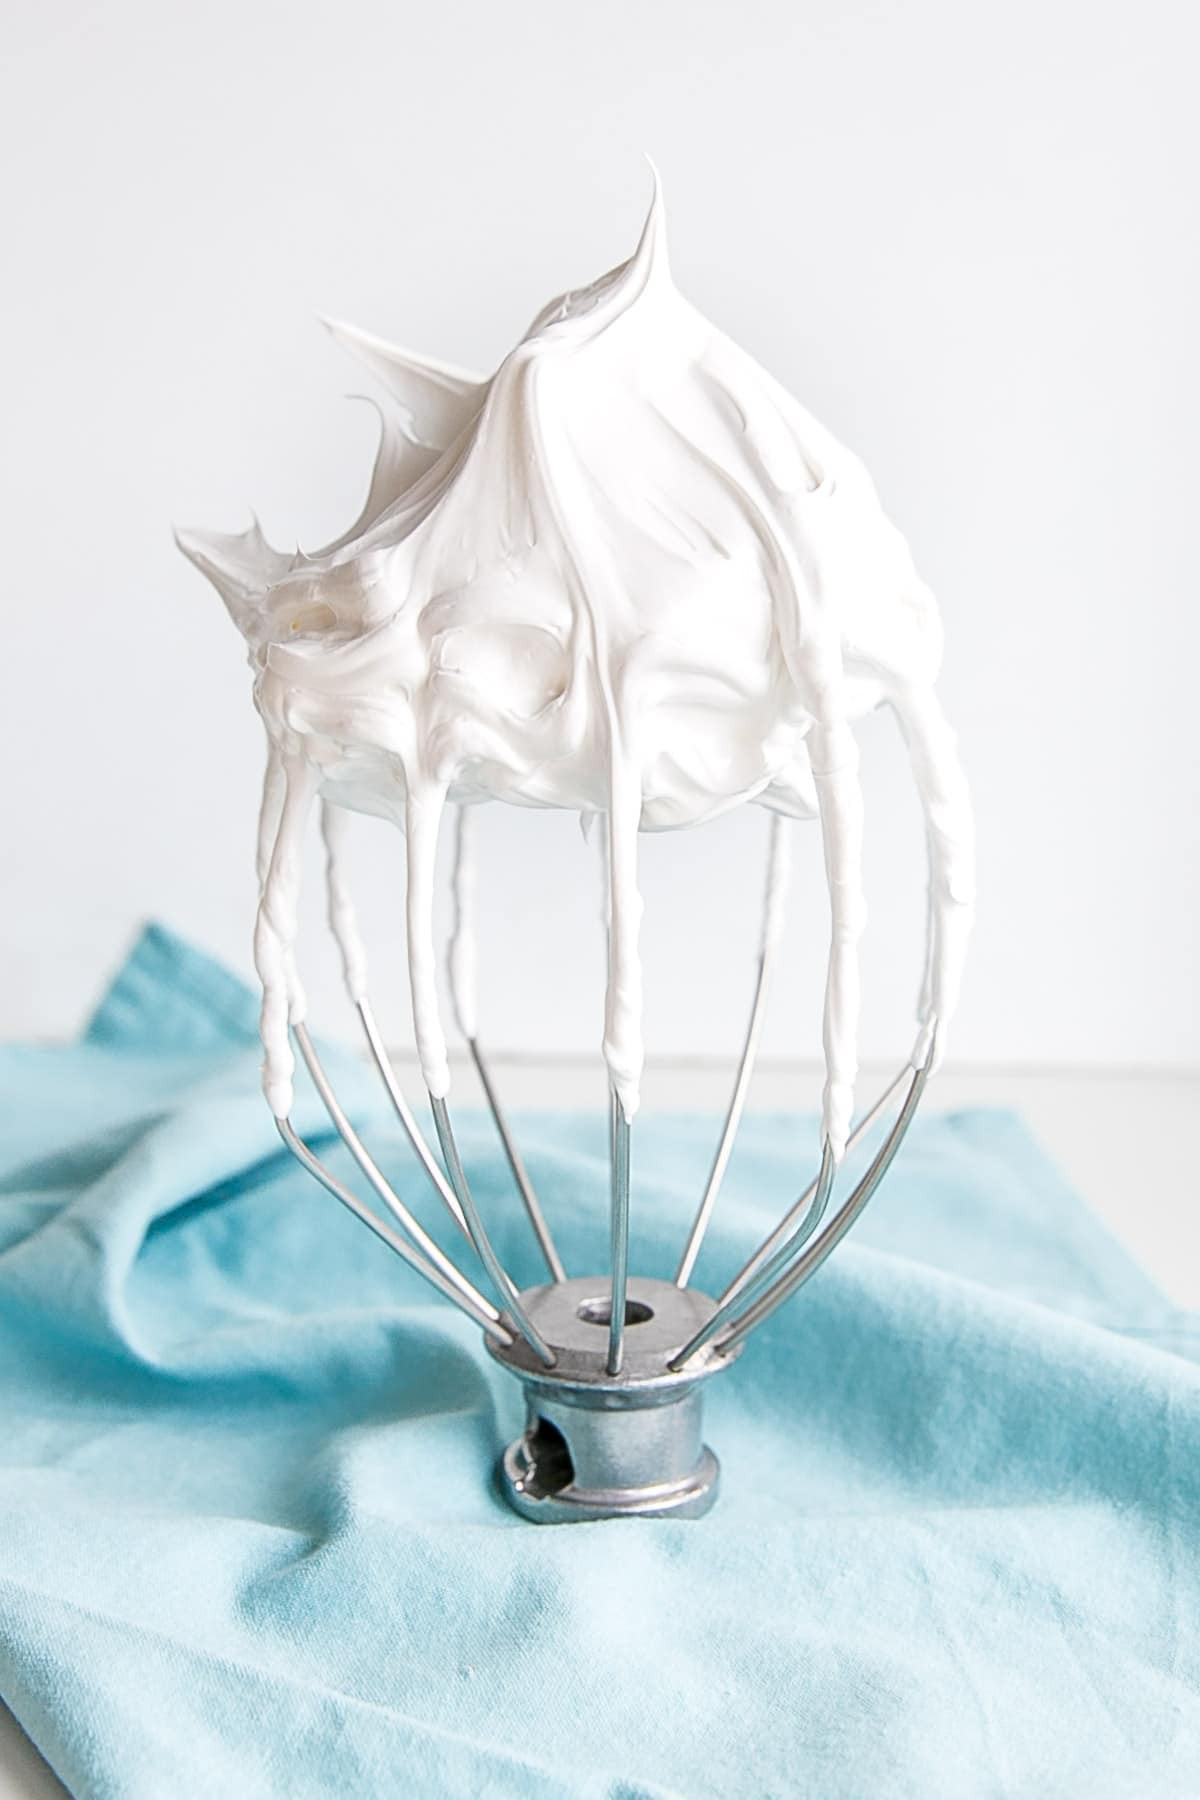 Seven minute frosting elegantly displayed on a stand mixer whisk, ready for application.
Think of this as a beloved recipe passed down through generations, but with a modern, foolproof twist that even your grandma would envy. While you might have encountered frosting tutorials before, this 7 Minute Frosting stands out for its simplicity and stunning results. Let’s dive into the secrets of this kitchen staple.
What Exactly is 7 Minute Frosting?
Sometimes referred to as boiled frosting, 7 minute frosting is essentially a simplified Swiss meringue. The magic lies in gently cooking egg whites and sugar together before whipping them into a glossy, voluminous cloud. The name itself comes from the traditional whipping time – just seven minutes to transform simple ingredients into a frosting marvel.
Traditional recipes often involve a bit of hands-on work, requiring whipping the meringue over a double boiler with a hand mixer. However, this updated method streamlines the process, drawing inspiration from techniques used in Swiss Meringue Buttercream to make it easier and more efficient, especially if you are familiar with Pioneer Woman style baking methods that prioritize ease and deliciousness.
Mastering the Art of 7 Minute Frosting
Creating this light-as-air frosting is broken down into four straightforward steps, ensuring even novice bakers can achieve perfect results:
- The Crucial First Step: Clean Your Tools
- Gentle Cooking of Egg Whites and Sugar
- The 7-Minute Whip to Perfection
- Adding Your Signature Flavor
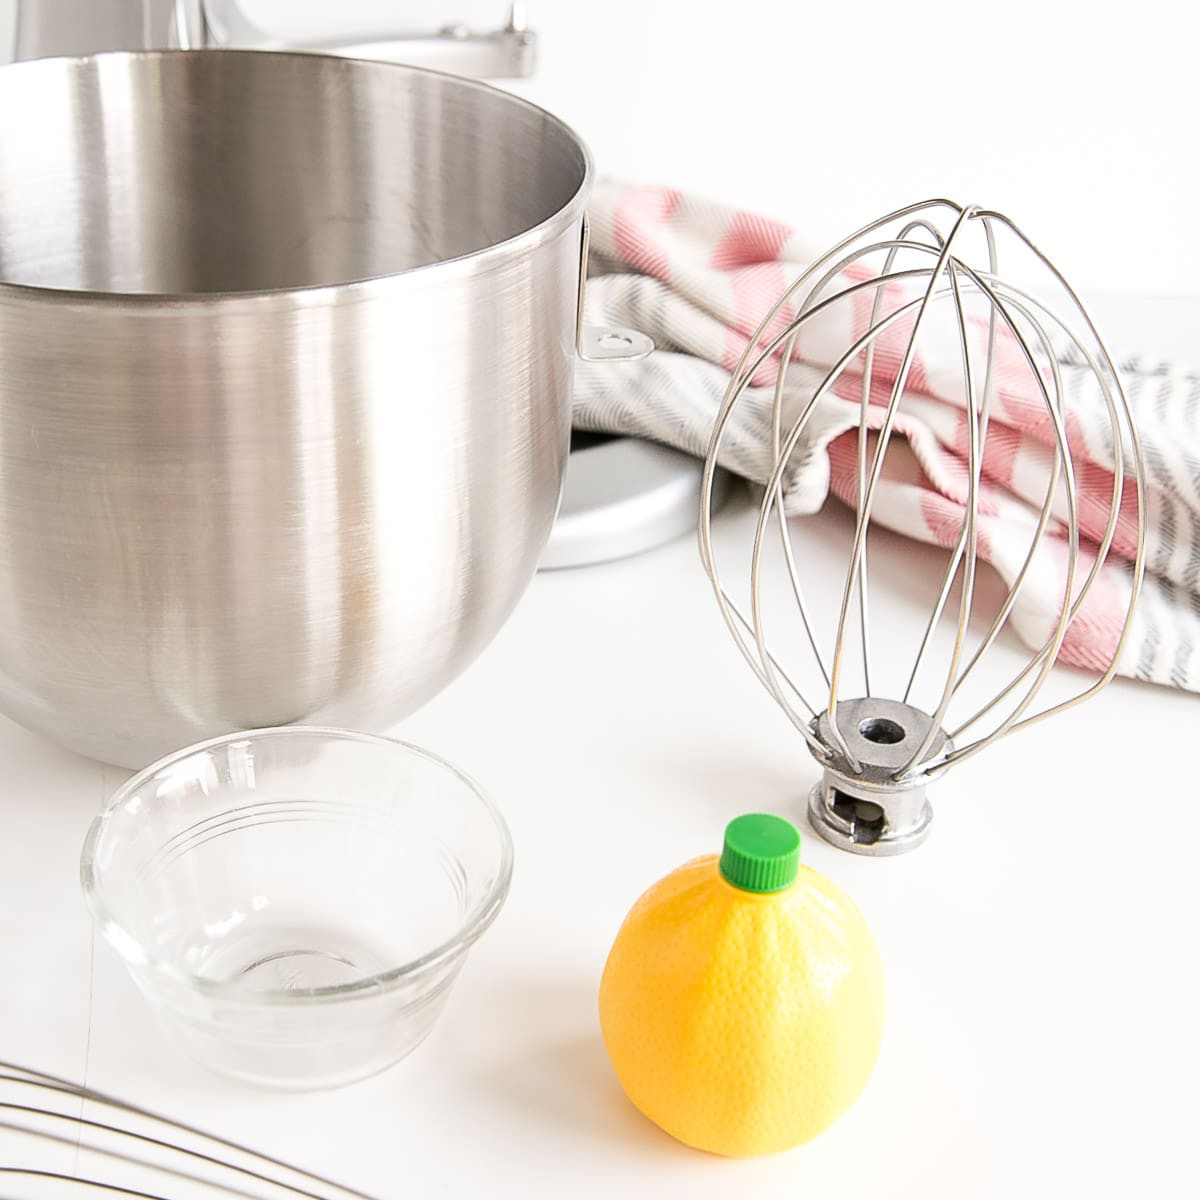 Essential tools for making 7 minute frosting, including a mixer bowl, whisks, and lemon juice for cleaning.
Step #1 – The Importance of Wiping Your Tools
Before you even begin to gather your ingredients, take a moment to meticulously wipe down every tool that will come into contact with your egg whites. This includes:
- Small bowls used for separating eggs
- The stand mixer bowl itself
- Hand whisks
- Measuring cups, especially the one for sugar
- The stand mixer whisk attachment
Why is this step so critical? Ensuring your tools are completely grease-free is paramount to achieving a stable and fluffy meringue. Even the slightest trace of fat can hinder the whipping process.
Step #2 – Gently Heating Eggs and Sugar
Once your eggs are carefully separated (avoid using carton egg whites for reasons we’ll discuss), combine them in your mixer bowl with sugar and cream of tartar. Position this bowl over a saucepan containing about 1-2 inches of gently simmering water, creating a double boiler or bain-marie.
If you are using a tilt-head stand mixer, a metal bowl is ideal for efficient heat transfer. If you have a bowl-lift model, ensure the bowl you use for heating is also grease-free. The key is to prevent the bottom of the bowl from touching the simmering water directly.
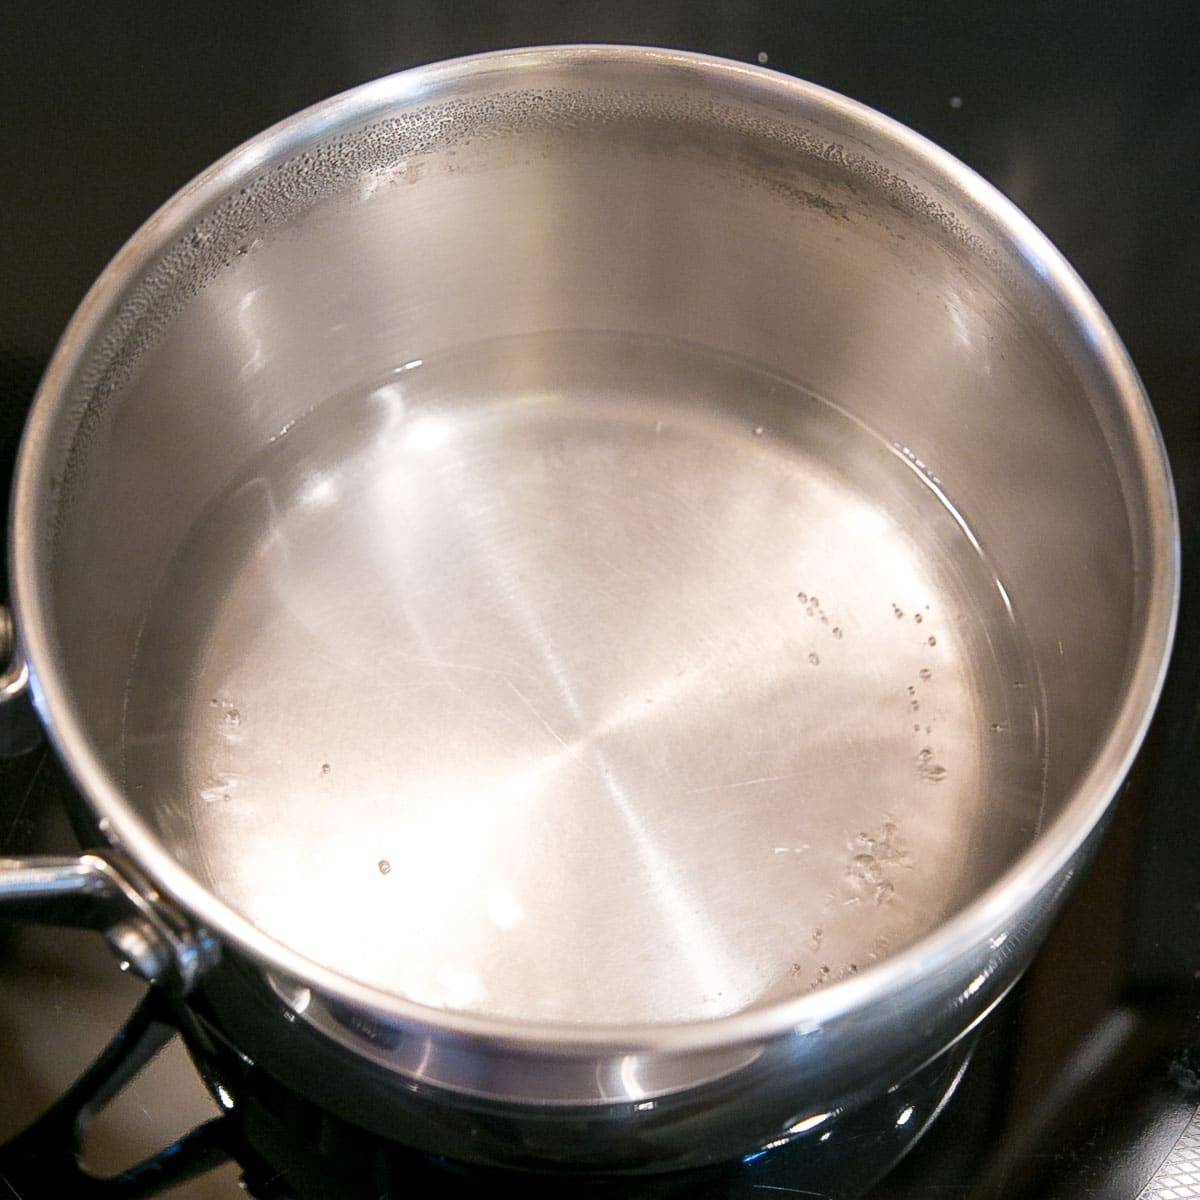 A saucepan with simmering water on the stovetop, ready to act as a double boiler for the frosting mixture.
Continuously stir the egg white mixture with a whisk as it heats. This constant motion ensures even cooking and prevents the eggs from scrambling. This heating process typically takes about 2-3 minutes, possibly longer depending on the volume of egg whites and the intensity of the simmering water.
 The mixture of egg and sugar before the heating process begins, showing a slightly grainy texture.
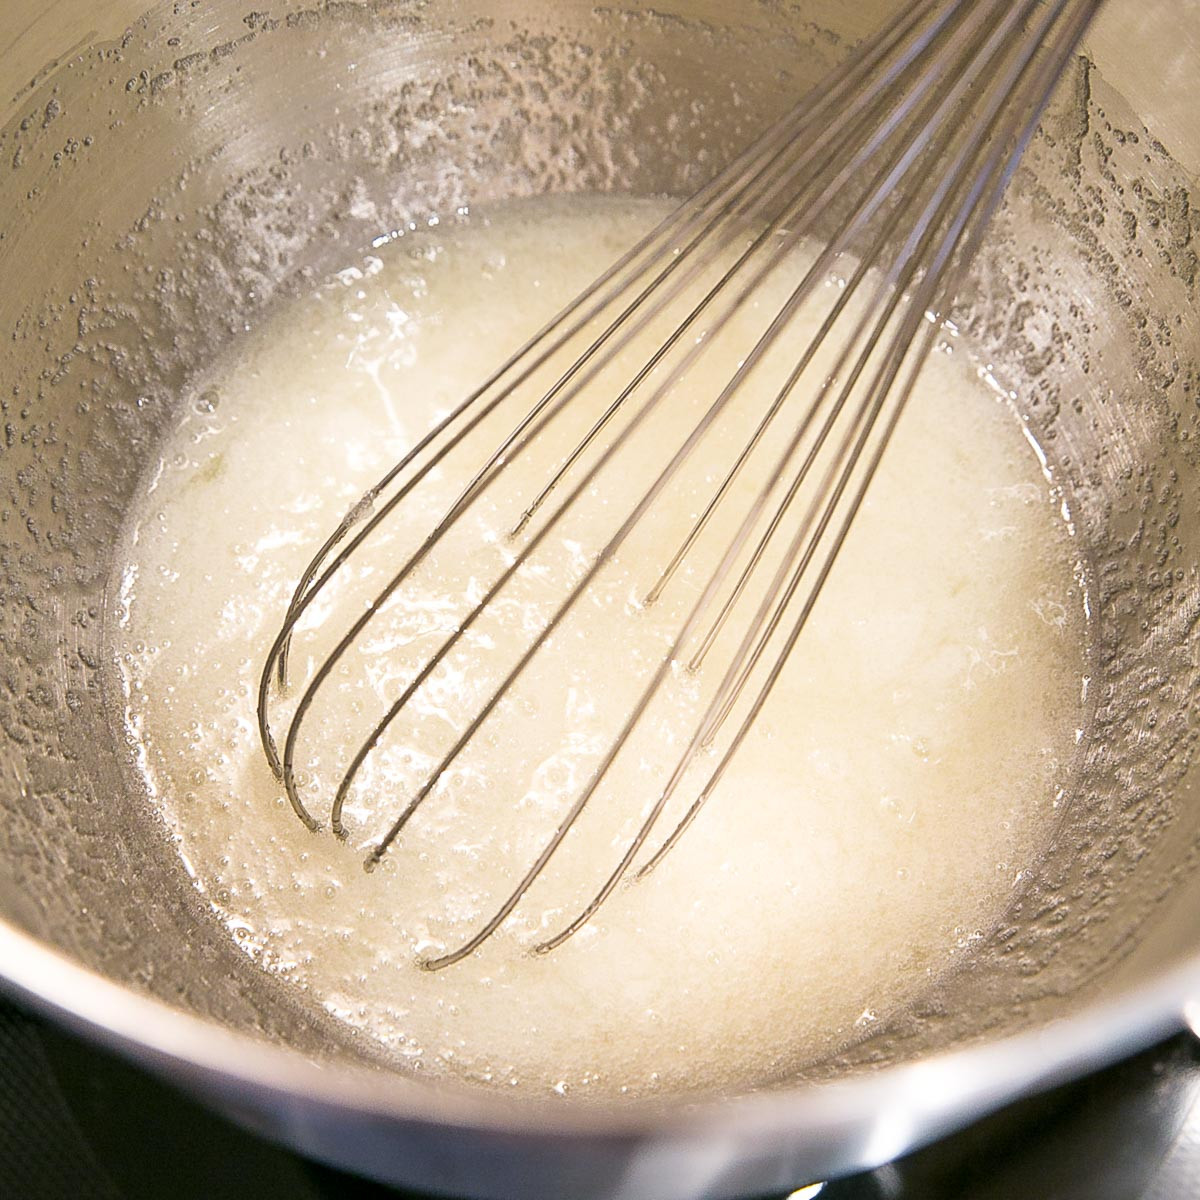
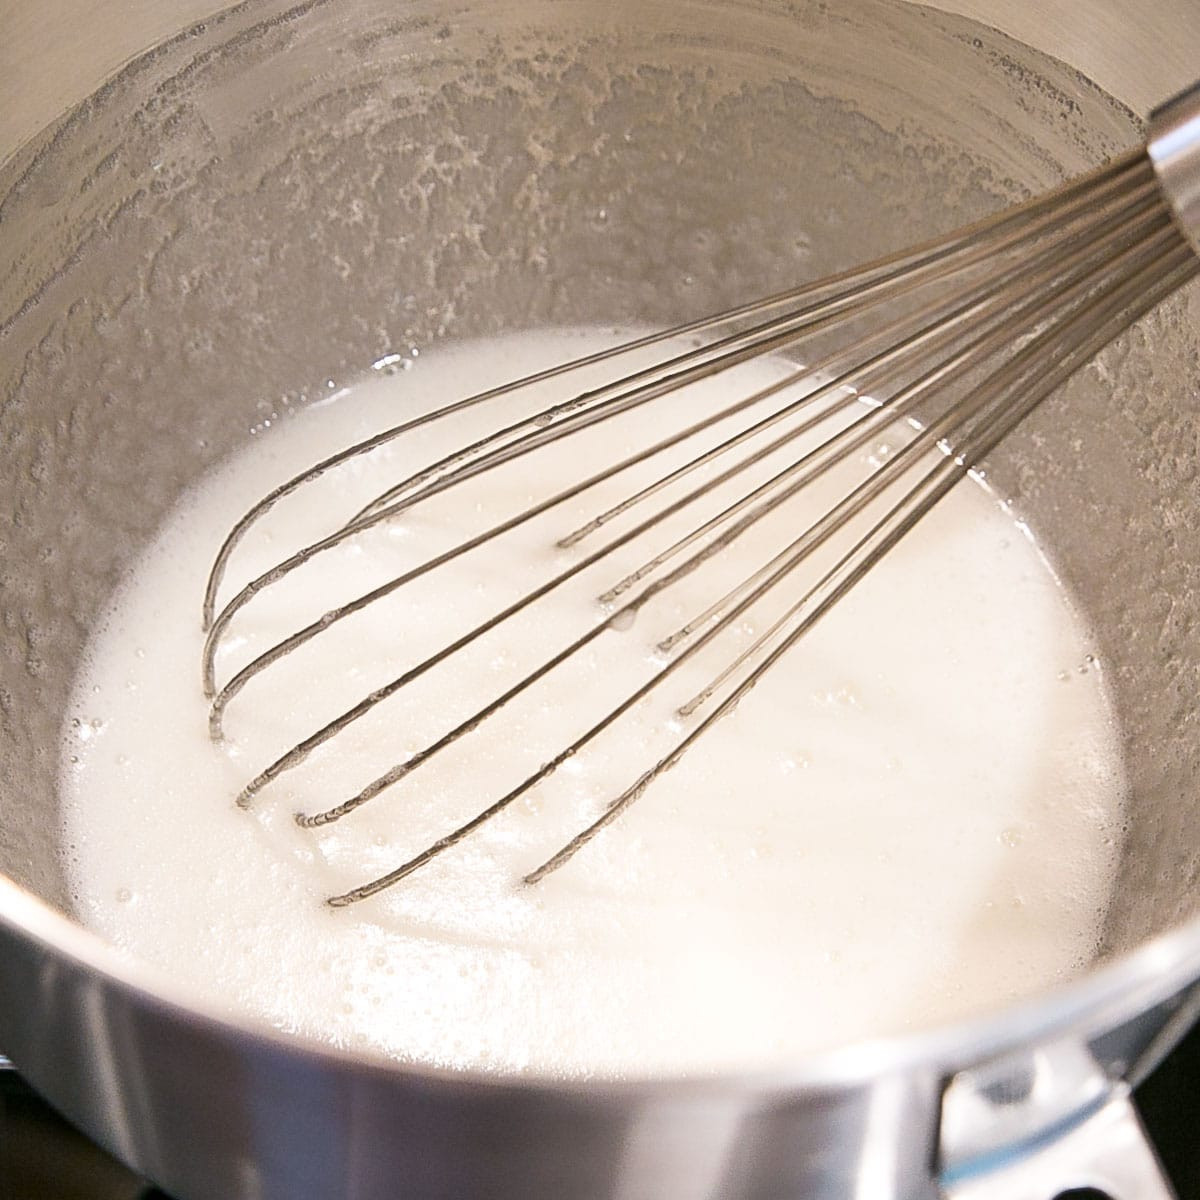 The egg and sugar mixture after heating, appearing smoother and less grainy as the sugar dissolves.
The mixture is ready when it feels hot to the touch and no longer grainy when rubbed between your fingers. For precise results, use a candy thermometer to ensure the mixture reaches 160°F (71°C), guaranteeing the egg whites are fully cooked.
To check for graininess without a thermometer, dip a clean finger into the mixture and rub it between your thumb and forefinger. If you detect any sugar granules, continue cooking and stirring until the mixture is completely smooth.
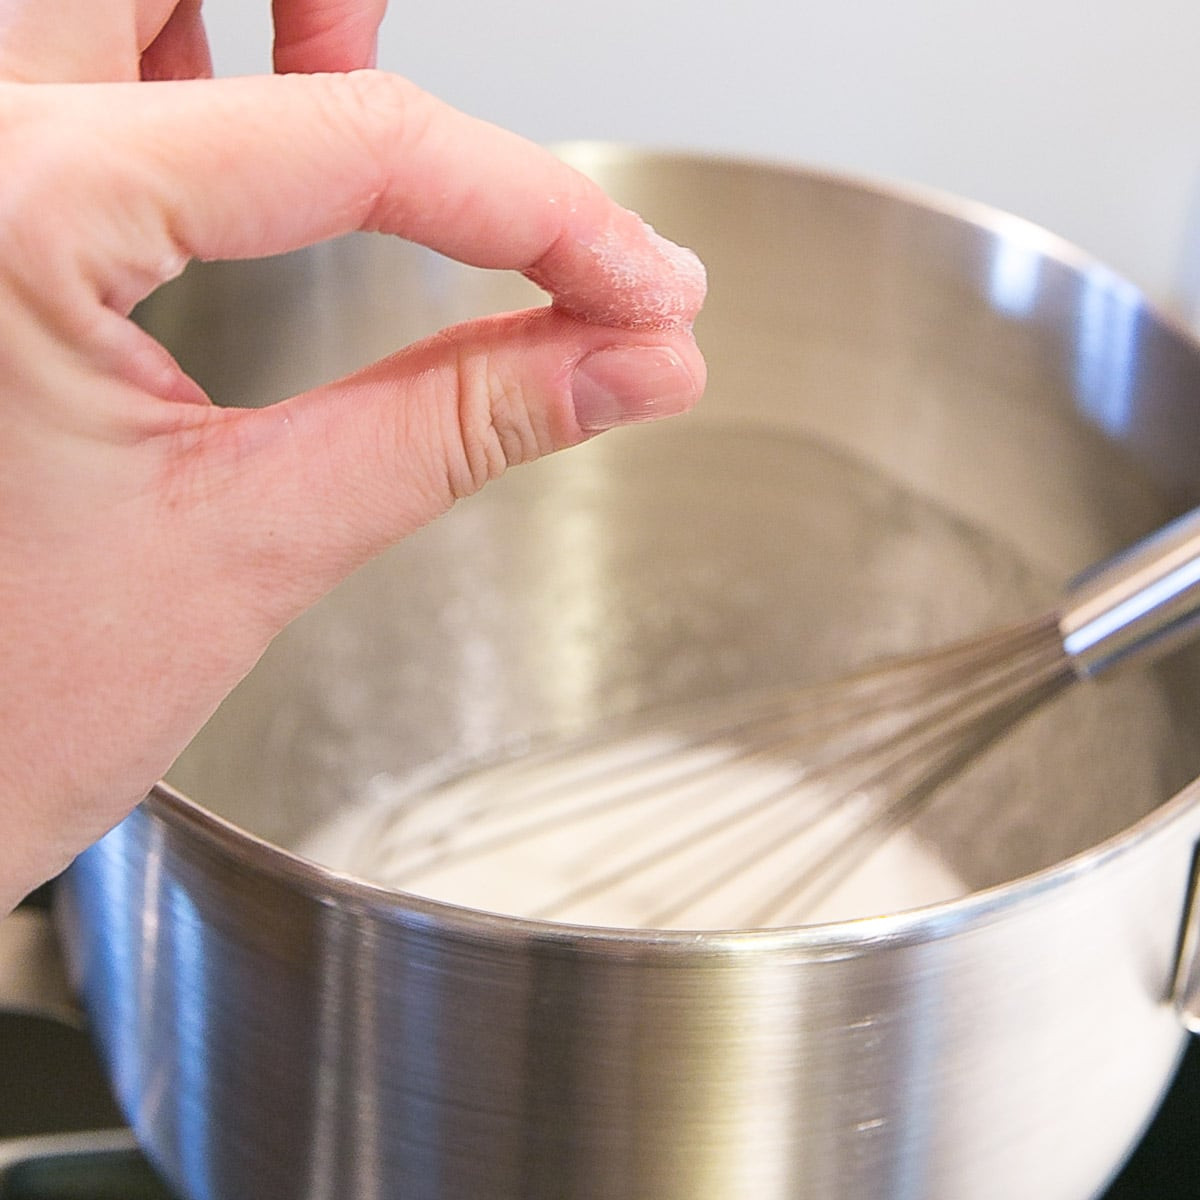 Testing the meringue mixture for graininess by rubbing it between the thumb and forefinger.
Step #3 – The Magic Whip: Creating the Meringue
Once the egg white mixture is heated and smooth, remove the mixer bowl from the double boiler. Wipe the bottom of the bowl to remove any condensation and place it securely on your stand mixer.
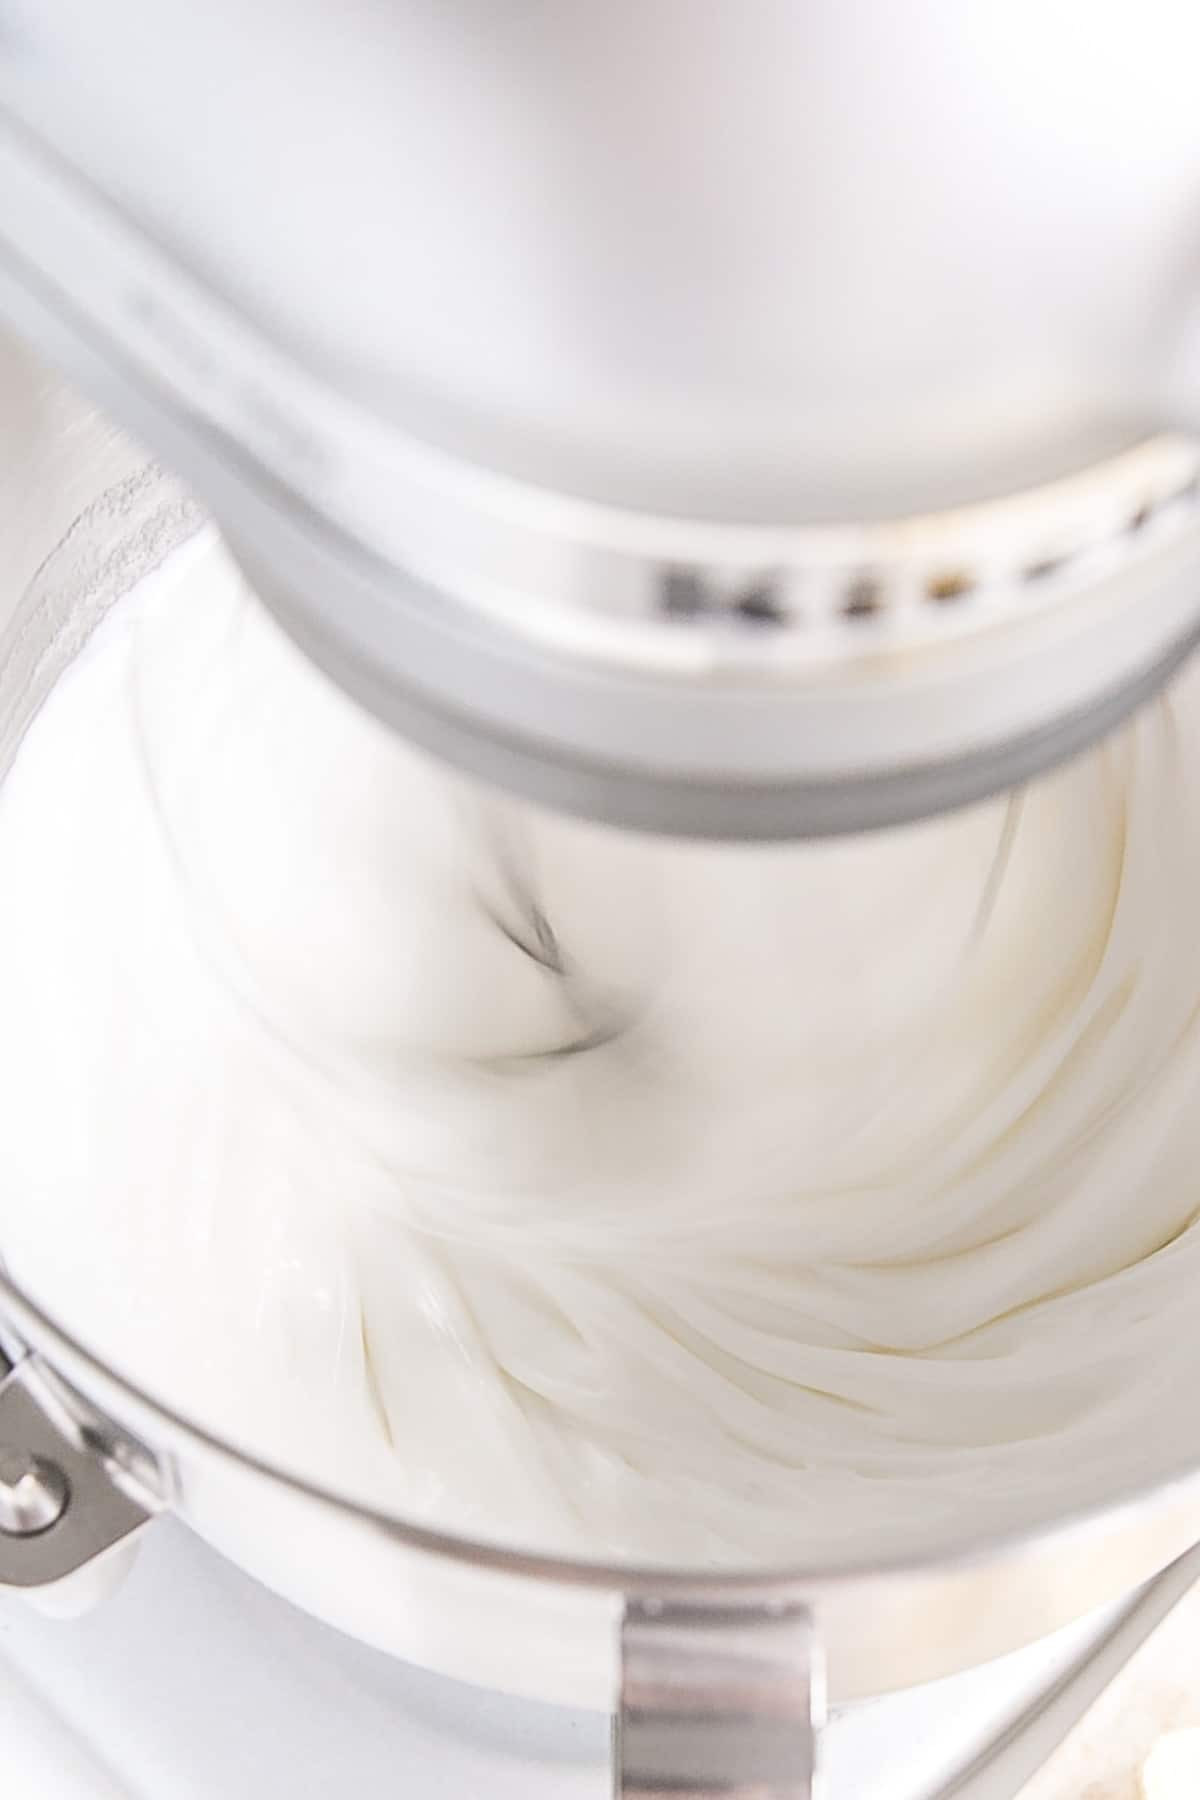
Attach the whisk attachment to your mixer and begin whipping the mixture.
 The meringue being whipped in a stand mixer, starting to increase in volume and lighten in color.
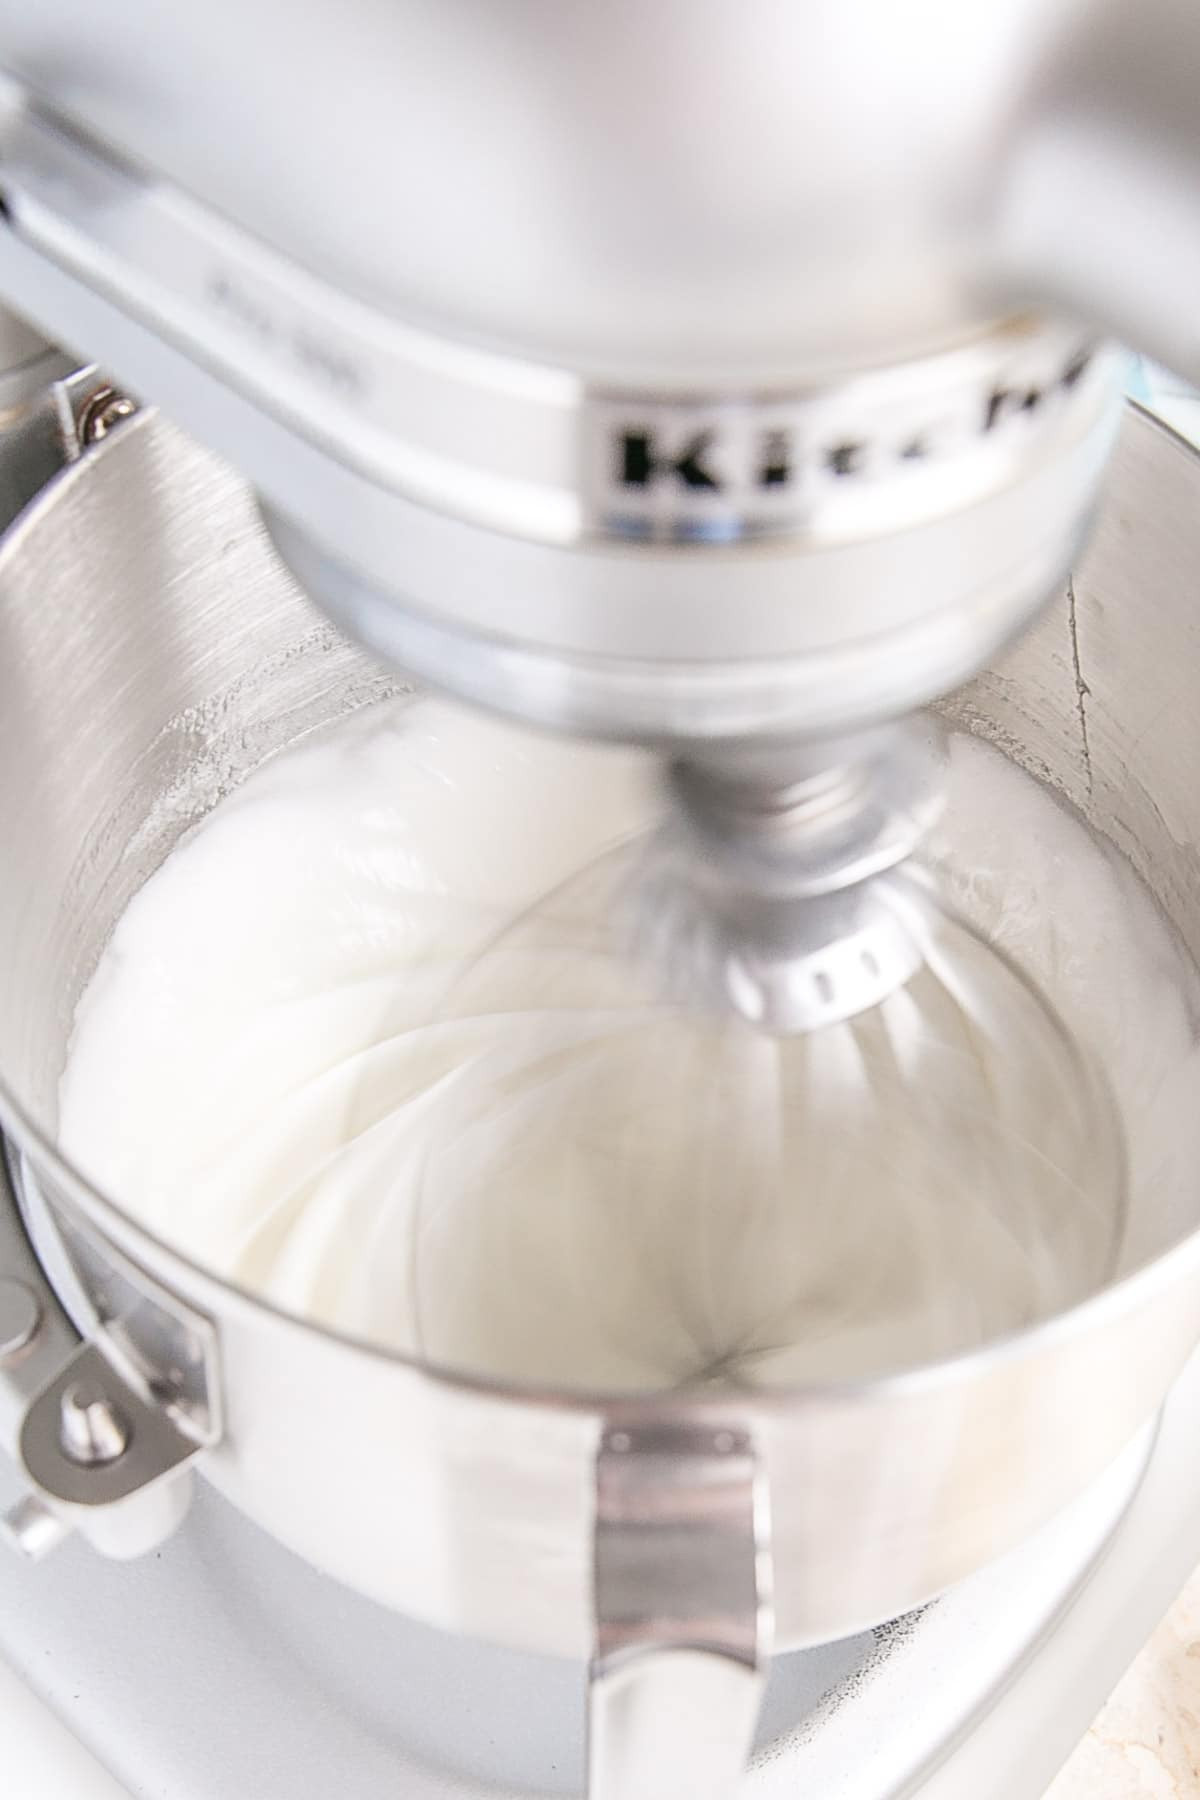
Start whipping on medium-high speed (around 8-9 on a KitchenAid mixer). You’ll quickly notice the mixture starting to thicken and increase in volume.
 The meringue thickening in the mixer, becoming visibly whiter and more voluminous.
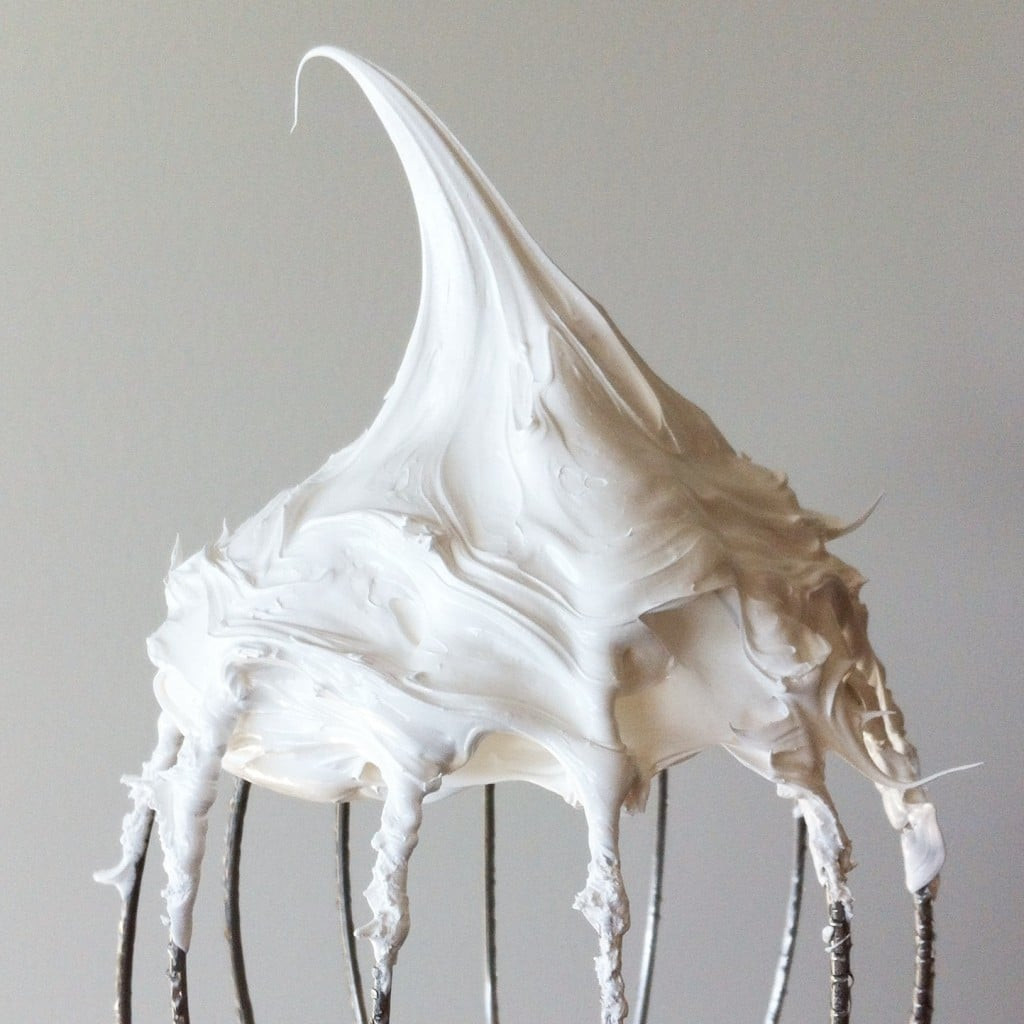
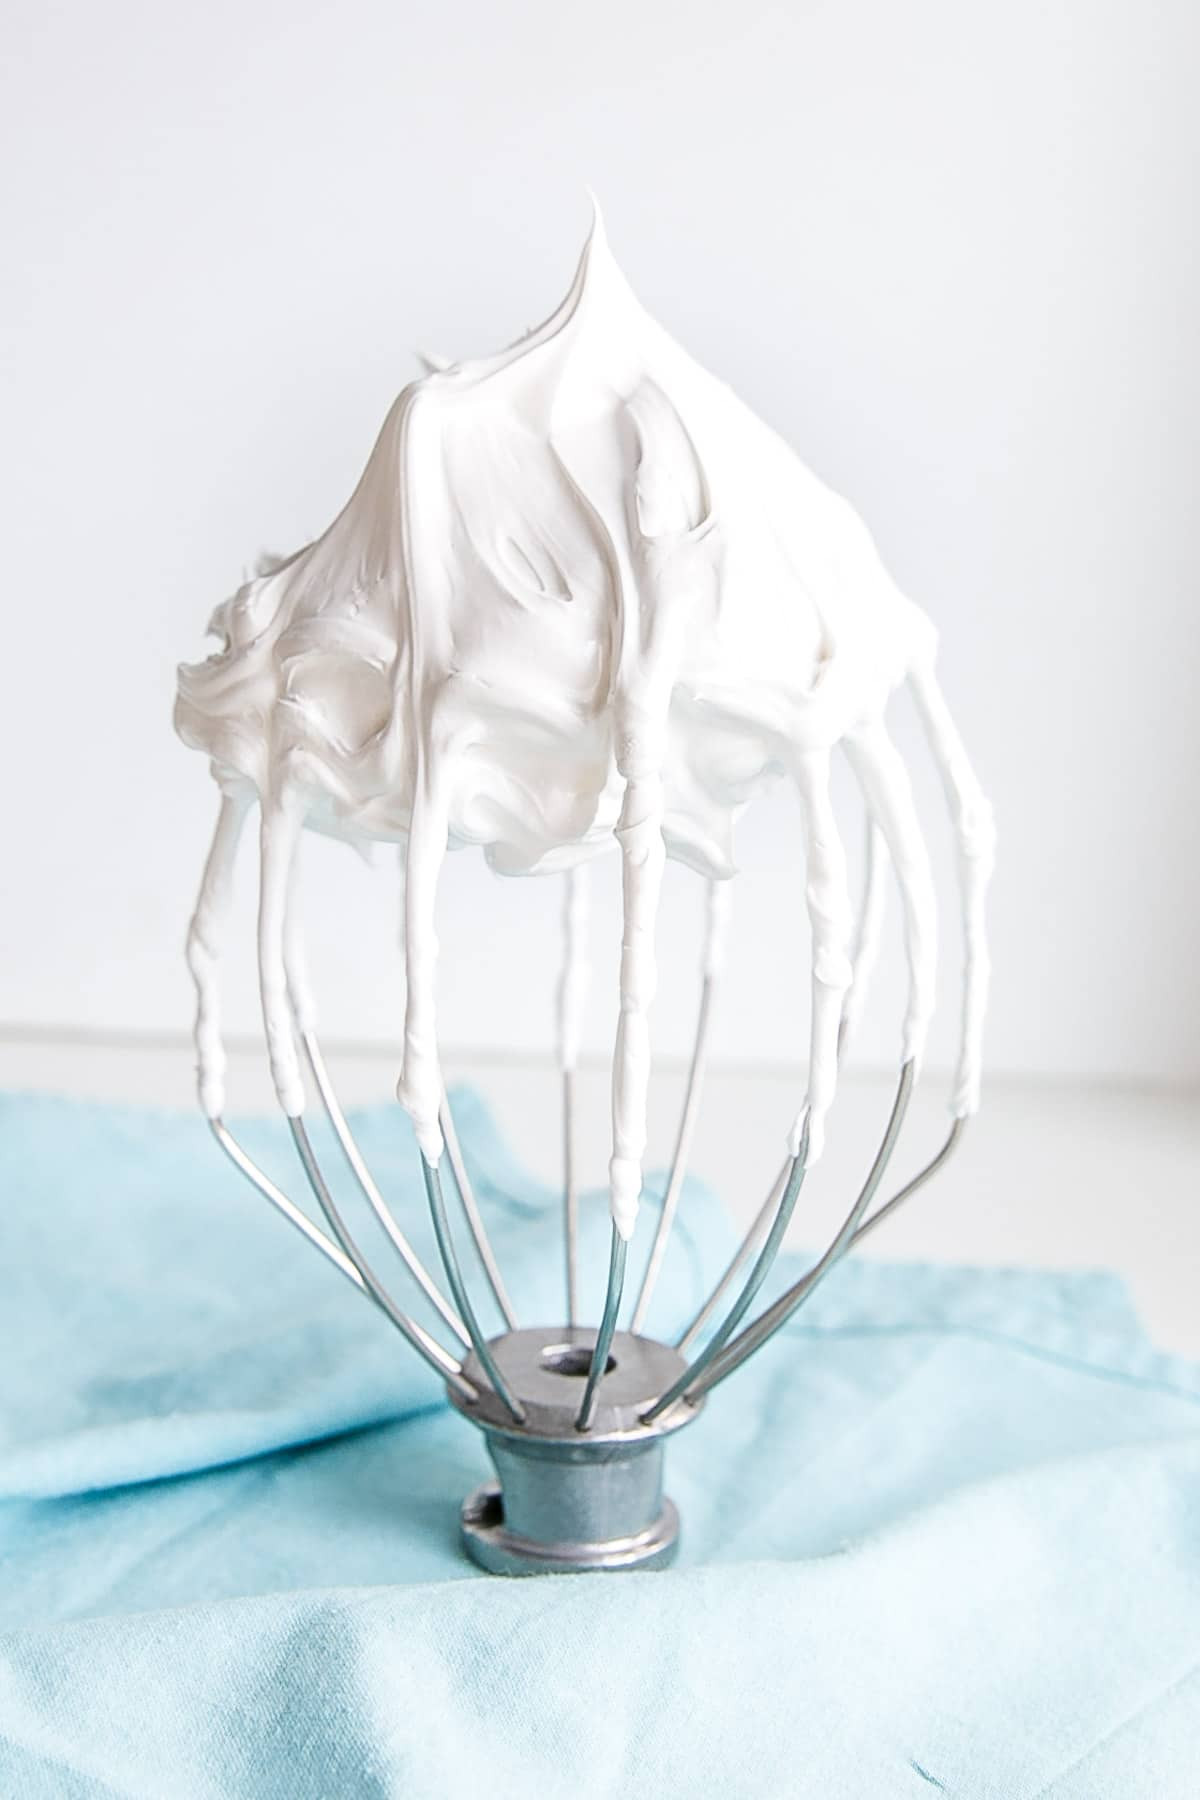
Whip for approximately 5-7 minutes, or until the meringue reaches stiff peaks. A successful meringue will stand tall and firm when the whisk is lifted – no drooping allowed!
 A stand mixer whisk lifted to show a stiff peak meringue, indicating perfect consistency.
If your meringue is soft or droopy, it likely indicates the presence of grease, egg yolk, or the use of carton egg whites. In such cases, unfortunately, the batch cannot be salvaged, and you’ll need to start again, paying extra attention to Step #1.
Step #4 – Infusing Flavor
With the mixer still running, gently stream in vanilla extract or your preferred flavoring. If you choose to use an oil-based flavoring, it’s best to fold it in gently at the end to prevent deflating the delicate meringue.
Hand Mixer Option: Yes, It’s Possible!
Don’t have a stand mixer? No problem! You can still create this 7 minute frosting using a hand mixer in a couple of ways:
- The Traditional Method: Whip the frosting directly over the double boiler with your hand mixer, just like the classic recipes.
- Modified Method: Follow the heating steps as described, then remove the bowl from the heat and use a hand mixer to whip the meringue to stiff peaks.
While using a hand mixer requires a bit more manual effort, the results will be just as delightful.
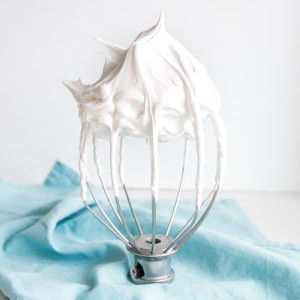
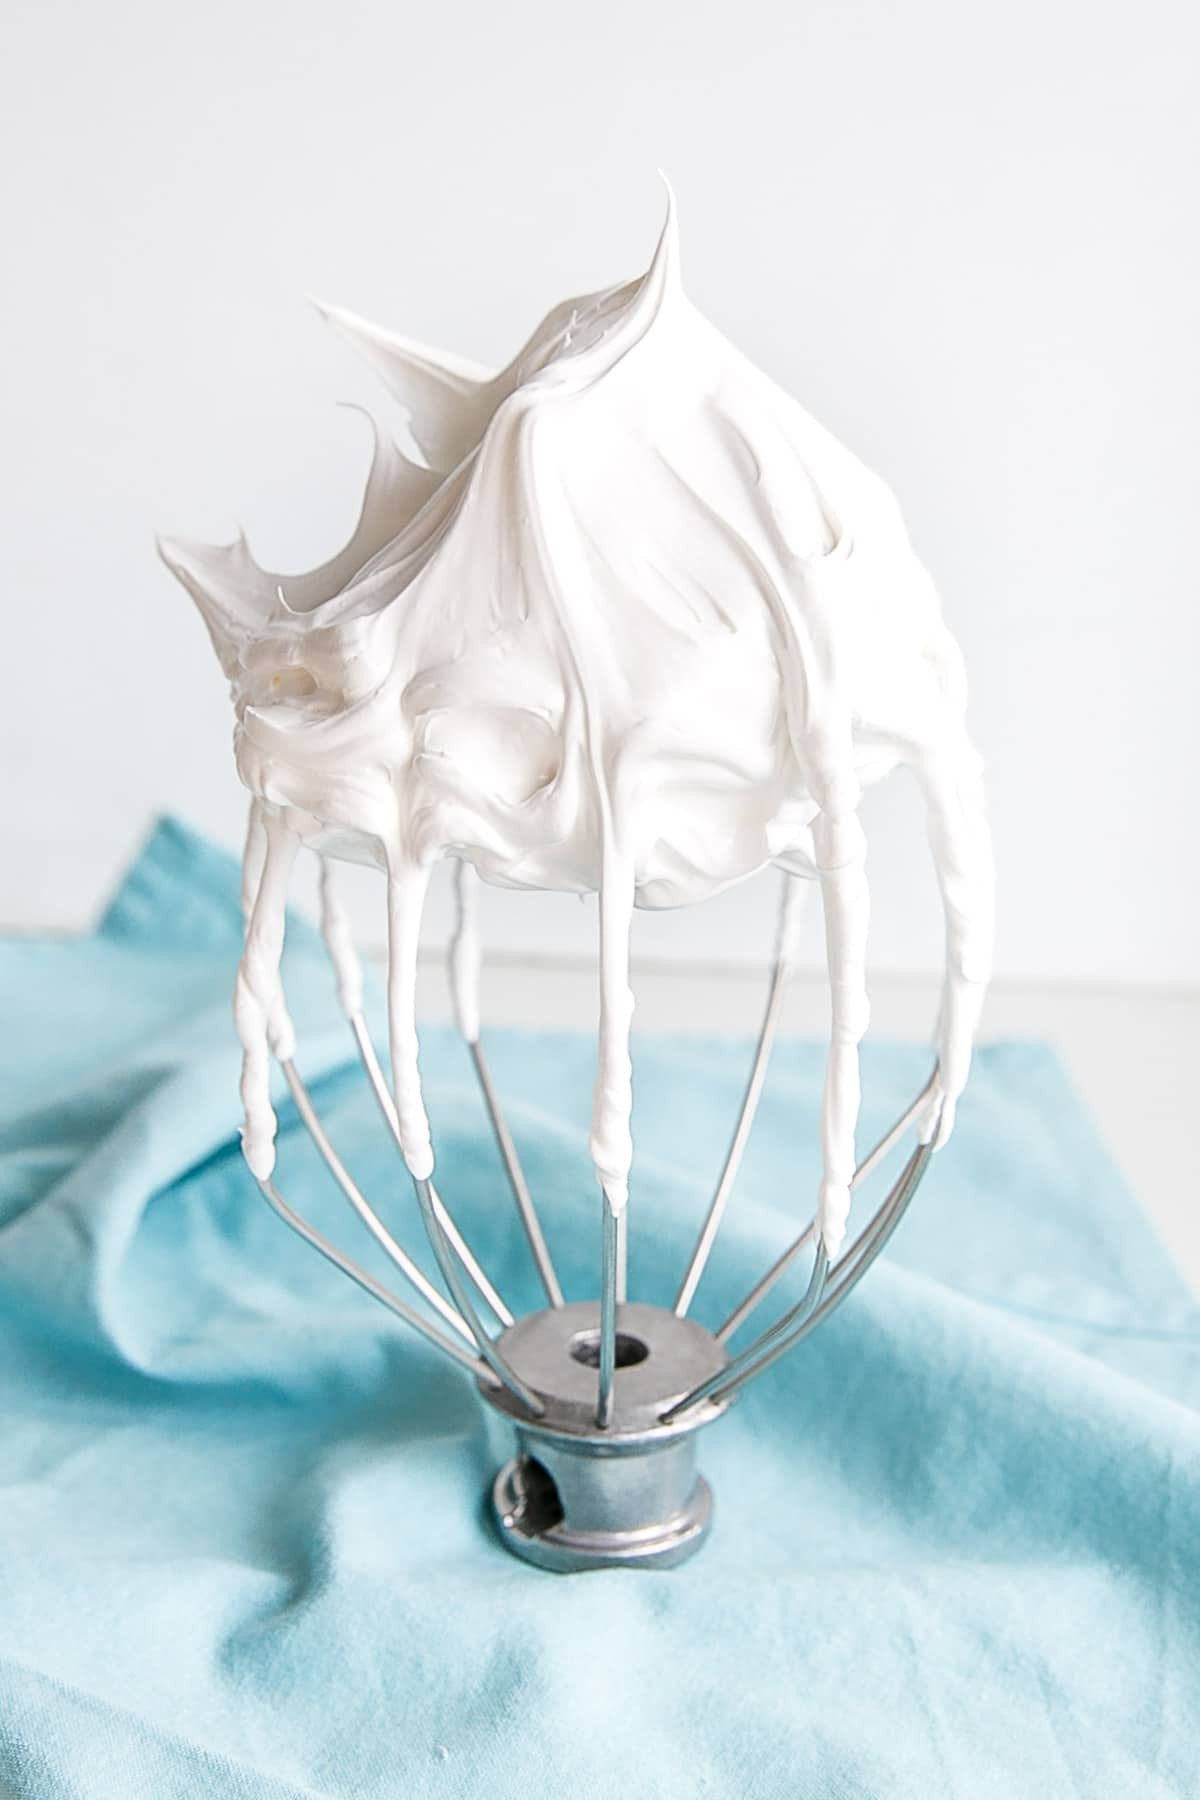 Seven minute frosting on a stand mixer whisk, set against a soft blue cloth backdrop, showcasing its smooth texture.
Troubleshooting: My Meringue Isn’t Whipping!
Meringue is notoriously sensitive to fat. Even a tiny speck of grease can sabotage the whipping process, leaving you with a soupy, unusable mixture.
Egg yolk is a common culprit, containing fat that can interfere with meringue formation. To minimize this risk, separate your eggs one at a time into a separate small bowl before adding them to the main mixer bowl. This way, if a yolk breaks, it won’t contaminate the entire batch of egg whites.
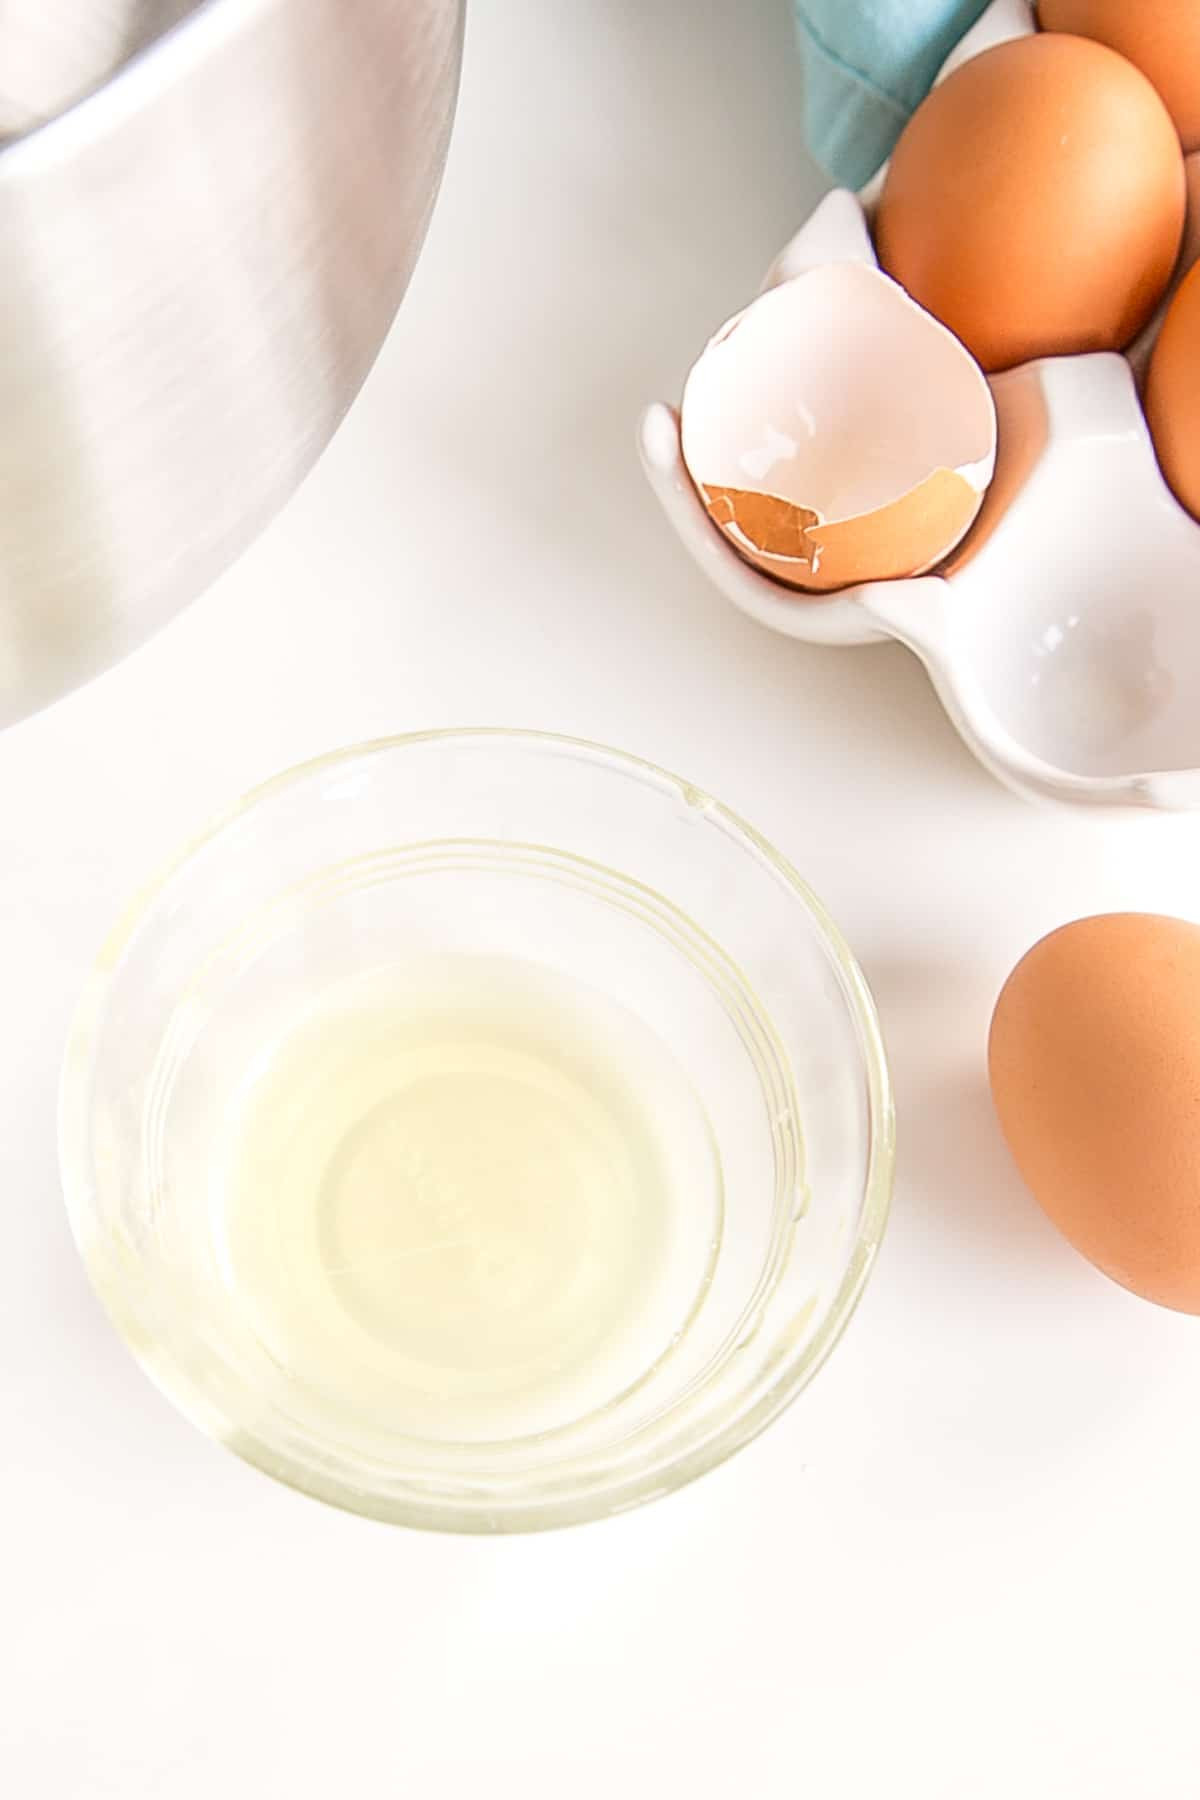 Separating egg whites one at a time into a small bowl to prevent yolk contamination.
The presence of yolk is the primary reason why carton egg whites are not recommended for this recipe. It’s difficult to guarantee they are completely yolk-free, and even trace amounts can prevent a stiff meringue from forming. Personal experience has shown that achieving a stable meringue with carton whites is challenging.
Another crucial tip: avoid using plastic tools, especially bowls. Plastic can retain grease even after thorough washing. Opt for metal (ideal for heat transfer) or glass bowls for the best results.
The Role of Cream of Tartar
Cream of tartar acts as a stabilizer for egg whites, helping to create a more robust and long-lasting meringue. While not always necessary in Swiss meringue buttercream, it’s a valuable addition to plain meringue frostings like this 7 minute version.
If you find yourself without cream of tartar, don’t worry! The frosting will still turn out delicious, though it might not hold its fluffy texture quite as long.
For an even sturdier frosting, consider making Homemade Marshmallow Fluff, which utilizes the Italian meringue method for enhanced stability. You can see the difference in stiffness between the two meringue types:
 Close-up of homemade marshmallow fluff on a stand mixer whisk, showcasing its dense and sticky texture.
 Meringue frosting on a stand mixer whisk, appearing lighter and airier compared to marshmallow fluff.
Storage and Freshness Tips
For the absolute best texture and ease of use, 7 minute frosting is best used immediately after making. It tends to set slightly and become less workable over time. Therefore, it’s recommended to frost your cakes or cupcakes right away.
Frosted cakes and cupcakes will generally keep for about a day at room temperature, but the frosting may soften and develop a slight crust. Toasted meringue, however, tends to hold its shape better and last longer.
 A slice of S'mores Cake with toasted meringue frosting, demonstrating the stability of toasted meringue.
While toasted meringue holds its shape on the outside, the interior may still soften and become slightly runny over time.
Leftover frosting can be stored in an airtight glass container (avoid plastic) in the refrigerator or freezer. However, it will lose some of its initial stiffness. To reuse, bring it to room temperature and rewhip it, though it may not regain its original volume.
Even if slightly less stiff, leftover frosting is still delicious in recipes like Fluffernutter Cookie Cups or classic Rice Krispie Treats.
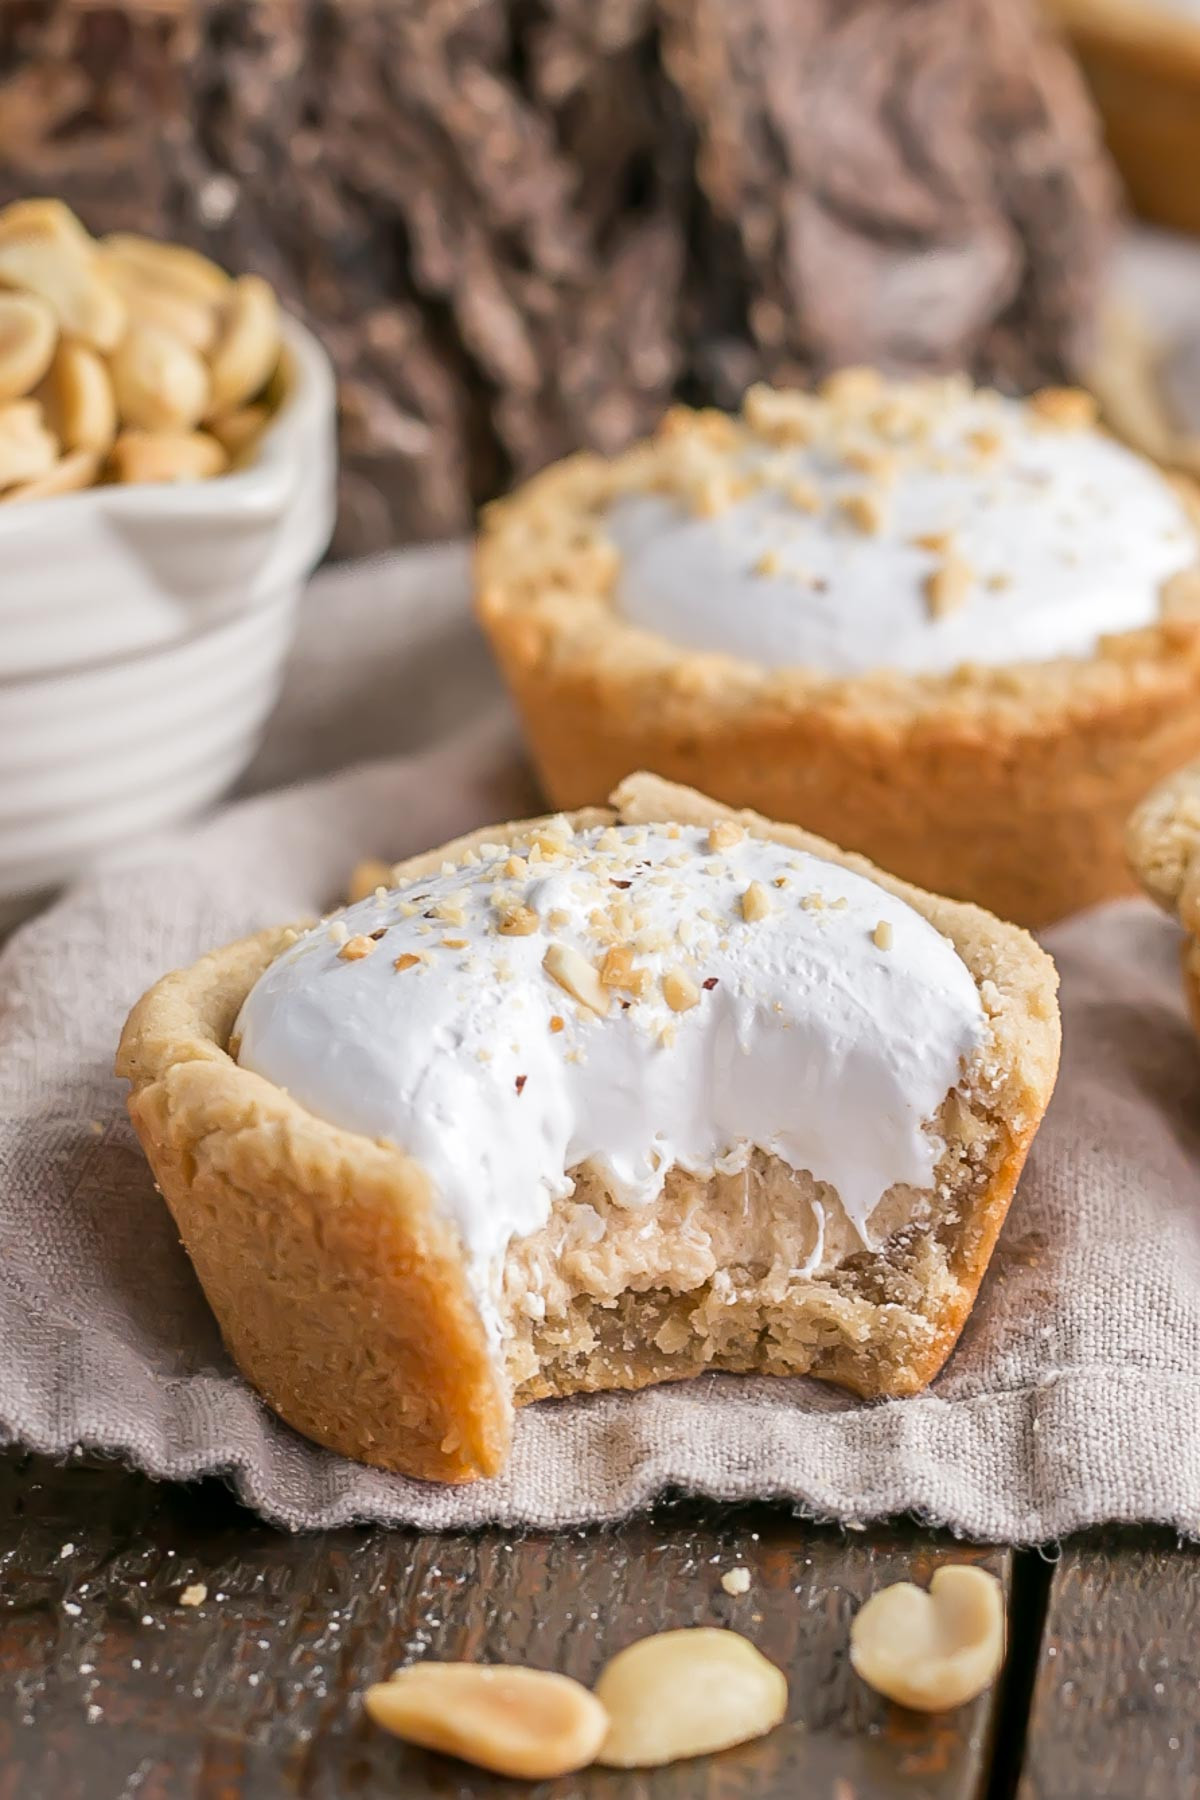 A close-up photo of Fluffernutter Cookie Cups, suggesting a creative use for leftover frosting.
Seven-minute frosting is wonderfully light and airy, akin to marshmallow fluff. It’s a fantastic option for those who prefer a less buttery frosting. While it can be a bit sticky to handle, it pipes beautifully and lends itself well to rustic frosting techniques.
This recipe is definitely a valuable addition to any baker’s repertoire, offering a delightful and versatile frosting option.
Looking for More Frosting Inspiration?
Essential Tips for Perfect 7 Minute Frosting:
- Cleanliness is Key: Wipe down all tools with vinegar or lemon juice to eliminate any traces of grease.
- Separate Eggs Carefully: Separate eggs one at a time into a separate bowl to prevent yolk contamination of the entire batch.
- Avoid Carton Egg Whites: For best results, use fresh egg whites and avoid carton varieties.
- Use Immediately: Frost your cakes or cupcakes right after making the frosting for optimal texture. Refer to Storage & Perishability for longer-term tips.
 7 minute frosting perfectly whipped on a whisk, ready to be used for decorating.
Print Recipe
7 Minute Frosting Recipe
4.93 from 14 votes
This old-fashioned 7 minute frosting recipe is light, delicious, and easy to make. A bright white frosting that’s perfect for cakes, cupcakes, and more.
Course Dessert
Cuisine American
Prep Time 10 minutes minutes
Cook Time 3 minutes minutes
Whipping Time 7 minutes minutes
Total Time 20 minutes minutes
Servings 5 cups
Calories 278kcal
Author Olivia
Ingredients
Instructions
- Wipe your mixer bowl and whisks down with lemon juice or vinegar.
- Place egg whites, cream of tartar, and sugar into the bowl of a stand mixer, whisk until combined.
- Place bowl over a pot with 1-2″ of simmering water and stir constantly with a whisk until the mixture is hot, no longer grainy to the touch, and reads 160F on a candy thermometer (about 2-3 mins).
- Transfer bowl to your stand mixer and whip on med-high until the meringue is stiff (about 5-7 minutes).
- Slowly stream in vanilla while the meringue is whipping. Taste and add more flavoring if desired*
Notes
* Adding oil-based flavorings can deflate the meringue. I recommend folding these in at the end. See blog post for tips and troubleshooting.
Calories: 278kcalCarbohydrates: 67gProtein: 4gFat: 1gSodium: 56mgPotassium: 103mgSugar: 67gCalcium: 2mg
The nutritional information and metric conversions are calculated automatically. I cannot guarantee the accuracy of this data. If this is important to you, please verify with your favorite nutrition calculator and/or metric conversion tool.