
Everyone dreams of the perfect apple pie: tender, melt-in-your-mouth apples nestled in a thick, sweet filling, all encased in a golden, flaky crust. It sounds simple, but anyone who has attempted this classic dessert knows it’s anything but. Many apple pies end up with crunchy, undercooked apples, a runny filling that spills out with the first slice, and a soggy bottom crust that’s far from delightful. Even store-bought pies often miss the mark.
Years ago, armed with enthusiasm and perhaps a touch of overconfidence, I decided to tackle this baking challenge. Like many home bakers, I turned to a trusted name in home cooking: The Pioneer Woman. Her Caramel Apple Pie recipe seemed like a surefire hit. The recipe involved mixing raw Granny Smith apples with the usual suspects – lemon juice, flour, sugar, and salt – for the filling. This raw apple mixture was then topped with a crumbly mixture of flour, butter, brown sugar, and quick-cooking oats. And the pièce de résistance? Two cups of caramel sauce, poured over the baked pie. Homemade caramel sauce, no less!
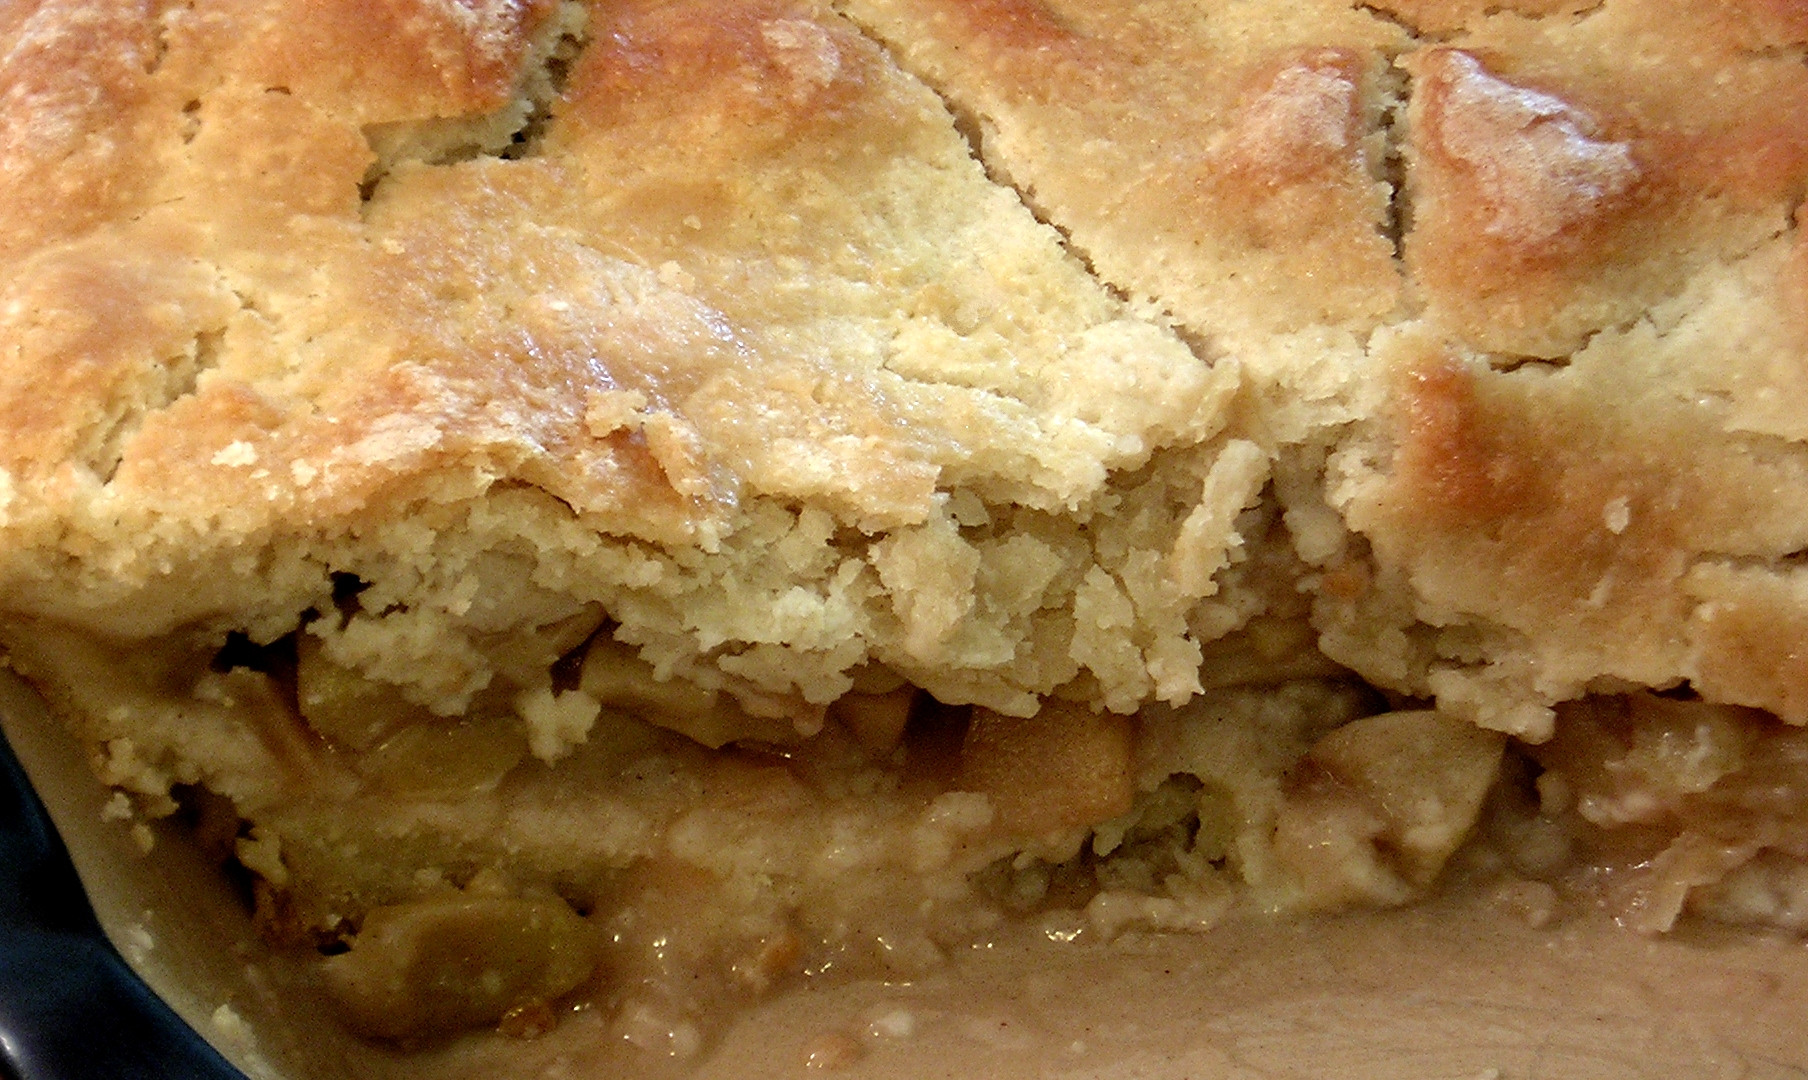
 Geometric bliss. It
Geometric bliss in pie form. The contrasting textures and golden crust are visually appealing, hinting at the deliciousness within.
The Pioneer Woman Caramel Apple Pie Debacle: A Baking Disaster
Let’s just say, the first attempt using the Pioneer Woman Caramel Apple Pie recipe was less than stellar. Actually, it was a full-blown kitchen catastrophe. Despite following the instructions meticulously, the result was far from the idyllic apple pie I had envisioned.
First Attempt Fails – Crunchy Apples and Caramel Chaos
The most glaring issue? The apples were practically raw. Crunchy, hard, and seemingly untouched by the oven’s heat, they tasted as if they’d been plucked straight from the tree and plopped into the pie. And the filling? Watery and thin, it gushed out the moment a slice was attempted, creating a caramel-infused flood on the plate. The crumb topping, with its raw oats, was an unwelcome textural surprise – hard, uncooked oats are not a pleasant addition to any dessert. The whole experience was a bizarre combination of textures: soggy and hard, all in one slice. And the promised caramel river ended up everywhere but neatly inside the pie.
 I adore this ceramic knife. It cuts through apple pie like it
Slicing through the apple pie, the ceramic knife promises clean cuts, but the experience was far from dreamy due to the recipe’s shortcomings.
Second Attempt – Still a Soggy Mess
Undeterred (or perhaps foolishly stubborn), I decided to give apple pie another chance. This time, I ditched the crumb topping in favor of a traditional pie crust for the top. I also bravely omitted the caramel sauce, still slightly traumatized by the first caramel explosion. Surely, simplifying things would improve the outcome? Sadly, no. The pie was still…awful. The apples remained stubbornly crunchy, the filling stubbornly runny, and the whole thing ended up in the trash. At that point, apple pie seemed like an impossible dream, a dessert best left to the professionals – or perhaps, no one at all. I swore off apple pie baking entirely.
The Apple Pie Redemption Arc: Cook’s Illustrated to the Rescue
Six long years passed. Six years of apple pie abstinence. But the craving for that perfect slice never truly disappeared. Finally, my stubborn streak resurfaced. If apple pie was such a challenge, then conquering it would be all the more satisfying. This time, I sought guidance from the baking experts: Cook’s Illustrated. Known for their rigorous recipe testing and deep dives into the science of cooking, they seemed like the perfect mentors for this apple pie redemption journey.
The Science of Perfect Apples – Pectin is Key
Cook’s Illustrated opened my eyes to the science behind apple pie. I learned about pectin, a substance in apples that breaks down at high baking temperatures, contributing to mushy apples. However, and this is the crucial part, pectin transforms into a heat-stable form when apples are gently pre-cooked at a lower temperature (between 140°F and 160°F) for a short period. This pre-cooking step sets the pectin, allowing the apples to retain their shape and achieve that perfect tender texture during the final pie bake. And the reason recipes often call for tart apples like Granny Smiths? Tart apples are naturally higher in pectin, offering more structural integrity during baking compared to sweeter varieties.
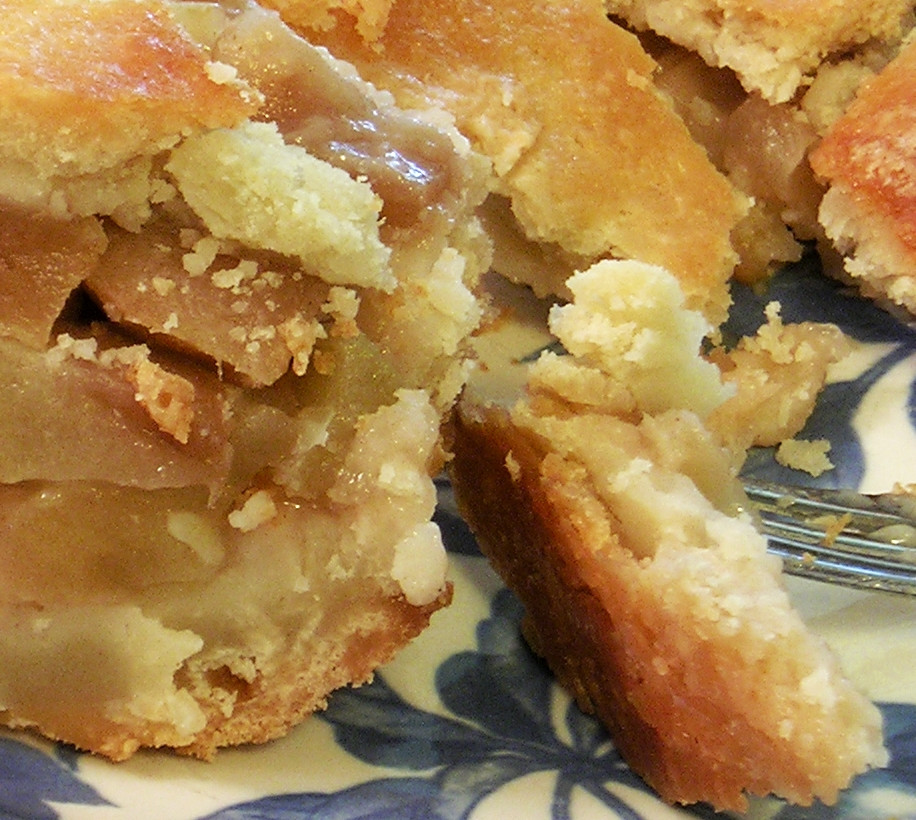
 A close-up of the flaky crust this recipe produces. It
A detailed view of the flaky pie crust, showcasing its buttery layers and golden-brown perfection, a testament to proper technique and a good recipe.
Thickening the Filling – Pectin and Cornstarch Combo
Inspired by this newfound knowledge, I explored recipes that utilized pectin strategically. I discovered a recipe that ingeniously combined both pectin powder and cornstarch to create a reliably thick and delicious filling. This dual thickening approach seemed like the key to banishing runny pie filling forever. I eagerly incorporated these ingredients into my adapted recipe.
Flavor Enhancements – Cinnamon and Beyond
Regarding spices, while cinnamon is the classic apple pie flavor, I considered adding a touch of nutmeg, ginger, and allspice for added complexity. However, mindful of not overpowering the apple flavor itself, I decided to start conservatively with just cinnamon. In future experiments, I might venture to add small amounts (around 1/8 teaspoon each) of those other spices to create a more nuanced flavor profile.
The Ultimate Flaky Crust Solution
The soggy bottom crust – another common apple pie woe. To combat this, I turned to a robust, all-butter pie crust recipe (the same one I use for my pecan pie). Crucially, I decided to blind-bake the bottom crust. Blind baking, baking the crust partially before adding the filling, ensures it’s cooked through and crisp, preventing sogginess. Some bakers also recommend brushing the bottom crust with melted butter before filling, creating a moisture barrier. The combination of a thick, buttery crust, blind baking, and perhaps that thin layer of butter, all worked together to create a bottom crust that was wonderfully flaky, perfectly cooked, and gloriously crisp – no sogginess in sight!
 Looks like someone
A playful shot emphasizing the irresistible nature of apple pie, suggesting a lighthearted approach to enjoying this classic dessert.
Flaky Crust Apple Pie Recipe (Cook’s Illustrated Inspired)
This recipe is inspired by the principles of Cook’s Illustrated and incorporates elements from other trusted sources to create a truly exceptional apple pie. It focuses on achieving tender apples, a thick filling, and a perfectly flaky, never-soggy crust.
Yield: One 9-inch apple pie
Ingredients:
For the Crust: Double the amount for both top and bottom crusts.
- 2 1/2 cups (300g) all-purpose flour, plus extra for dusting
- 2 tablespoons (25g) sugar
- 1 teaspoon salt
- 12 tablespoons (1 1/2 sticks) unsalted butter, very cold, cut into 1/4-inch pieces
- 8 tablespoons (1 stick) lard (or vegetable shortening, chilled), cut into 6-8 pieces
- 1/4 cup chilled vodka
- 1/4 cup ice water
- 2 tablespoons heavy cream, for brushing
- 1/4 cup sugar, for sprinkling
For the Filling:
- 1 cup granulated sugar
- 1/3 cup light brown sugar, packed
- 1 teaspoon ground cinnamon
- 1 generous tablespoon cornstarch
- 3 teaspoons powdered pectin (like SurJell)
- 4 tablespoons unsalted butter, cut into 1/4-inch pieces
- 1 1/4 lbs Granny Smith apples, peeled, cored, and sliced 1/8-inch thick
- 1 1/4 lbs Golden Delicious apples, peeled, cored, and sliced 1/8-inch thick
- Boiling water (1.875 quarts)
Instructions:
Make the Crust:
- Chill Ingredients: Freeze butter and lard for 15 minutes. Freeze vodka and ice water separately.
- Combine Dry Ingredients & Fat: In a food processor, pulse 1 1/2 cups flour, sugar, and salt. Add butter and lard; process until paste-like (about 15 seconds).
- Add Remaining Flour: Add remaining 1 cup flour; process until mixture looks crumbly (4-8 seconds). Don’t over-process.
- Add Liquids: Transfer to a bowl. Pour in vodka and ice water. Press and flip dough until liquids are absorbed and a cohesive ball forms.
- Chill Dough: Wrap in plastic wrap; refrigerate for at least 1 hour.
- Repeat: Make a second dough ball for the top crust.
Make the Filling:
- Combine Dry Filling Ingredients: In a bowl, mix sugars, cinnamon, cornstarch, and pectin. Add butter; toss.
- Pre-cook Apples: Place apple slices in a large heatproof bowl. Pour boiling water over apples; let sit for 10 minutes, stirring occasionally.
- Drain and Mix: Drain apples; return to the bowl. Add sugar mixture; toss to combine. Let cool completely.
Assemble and Bake:
- Preheat Oven & Prepare Bottom Crust: Preheat oven to 425°F (or 350°F if your oven runs hot). Roll out one dough ball; place in pie pan. Crimp edges, overhang slightly. Prick bottom with a fork. Refrigerate for 30-60 minutes.
- Blind Bake Bottom Crust: Cover crust with foil and pie weights (or dried beans). Bake for 45 minutes (or 25-35 minutes at 425°F). Remove weights and foil; bake 4-7 minutes more, until lightly golden. Let cool completely.
- Prepare Top Crust: Roll out second dough ball; refrigerate.
- Fill and Bake Pie: Reduce oven to 350°F (or 325°F if your oven runs hot). Place cooled bottom crust on a baking sheet. Fill with cooled apple mixture. Top with chilled top crust. Crimp edges to seal. Brush with heavy cream; sprinkle with sugar. Cut slits in top crust.
- Bake: Bake for 30 minutes. Tent with foil; bake 1 hour more. Remove foil; bake 30 minutes more.
- Cool Completely: Cool pie completely on a rack before slicing (important for filling to thicken).
Notes:
- Apple Filling Amount: This recipe makes enough filling for two pies. Halve the filling recipe or save half for another pie or use as topping.
- Sugar Level: Adjust sugar amounts to your preference.
- Spice Variations: Add nutmeg, ginger, or allspice (1/8 tsp each) for more complex flavor.
Sources:
- Crust adapted from Cook’s Illustrated All-Time Best Holiday Baking, 2013.
- Apple pie filling inspired by Cook’s Illustrated All-Time Best Holiday Baking, 2013, Leite’s Culinaria, and Serious Eats.
- Helpful tips from Serious Eats.
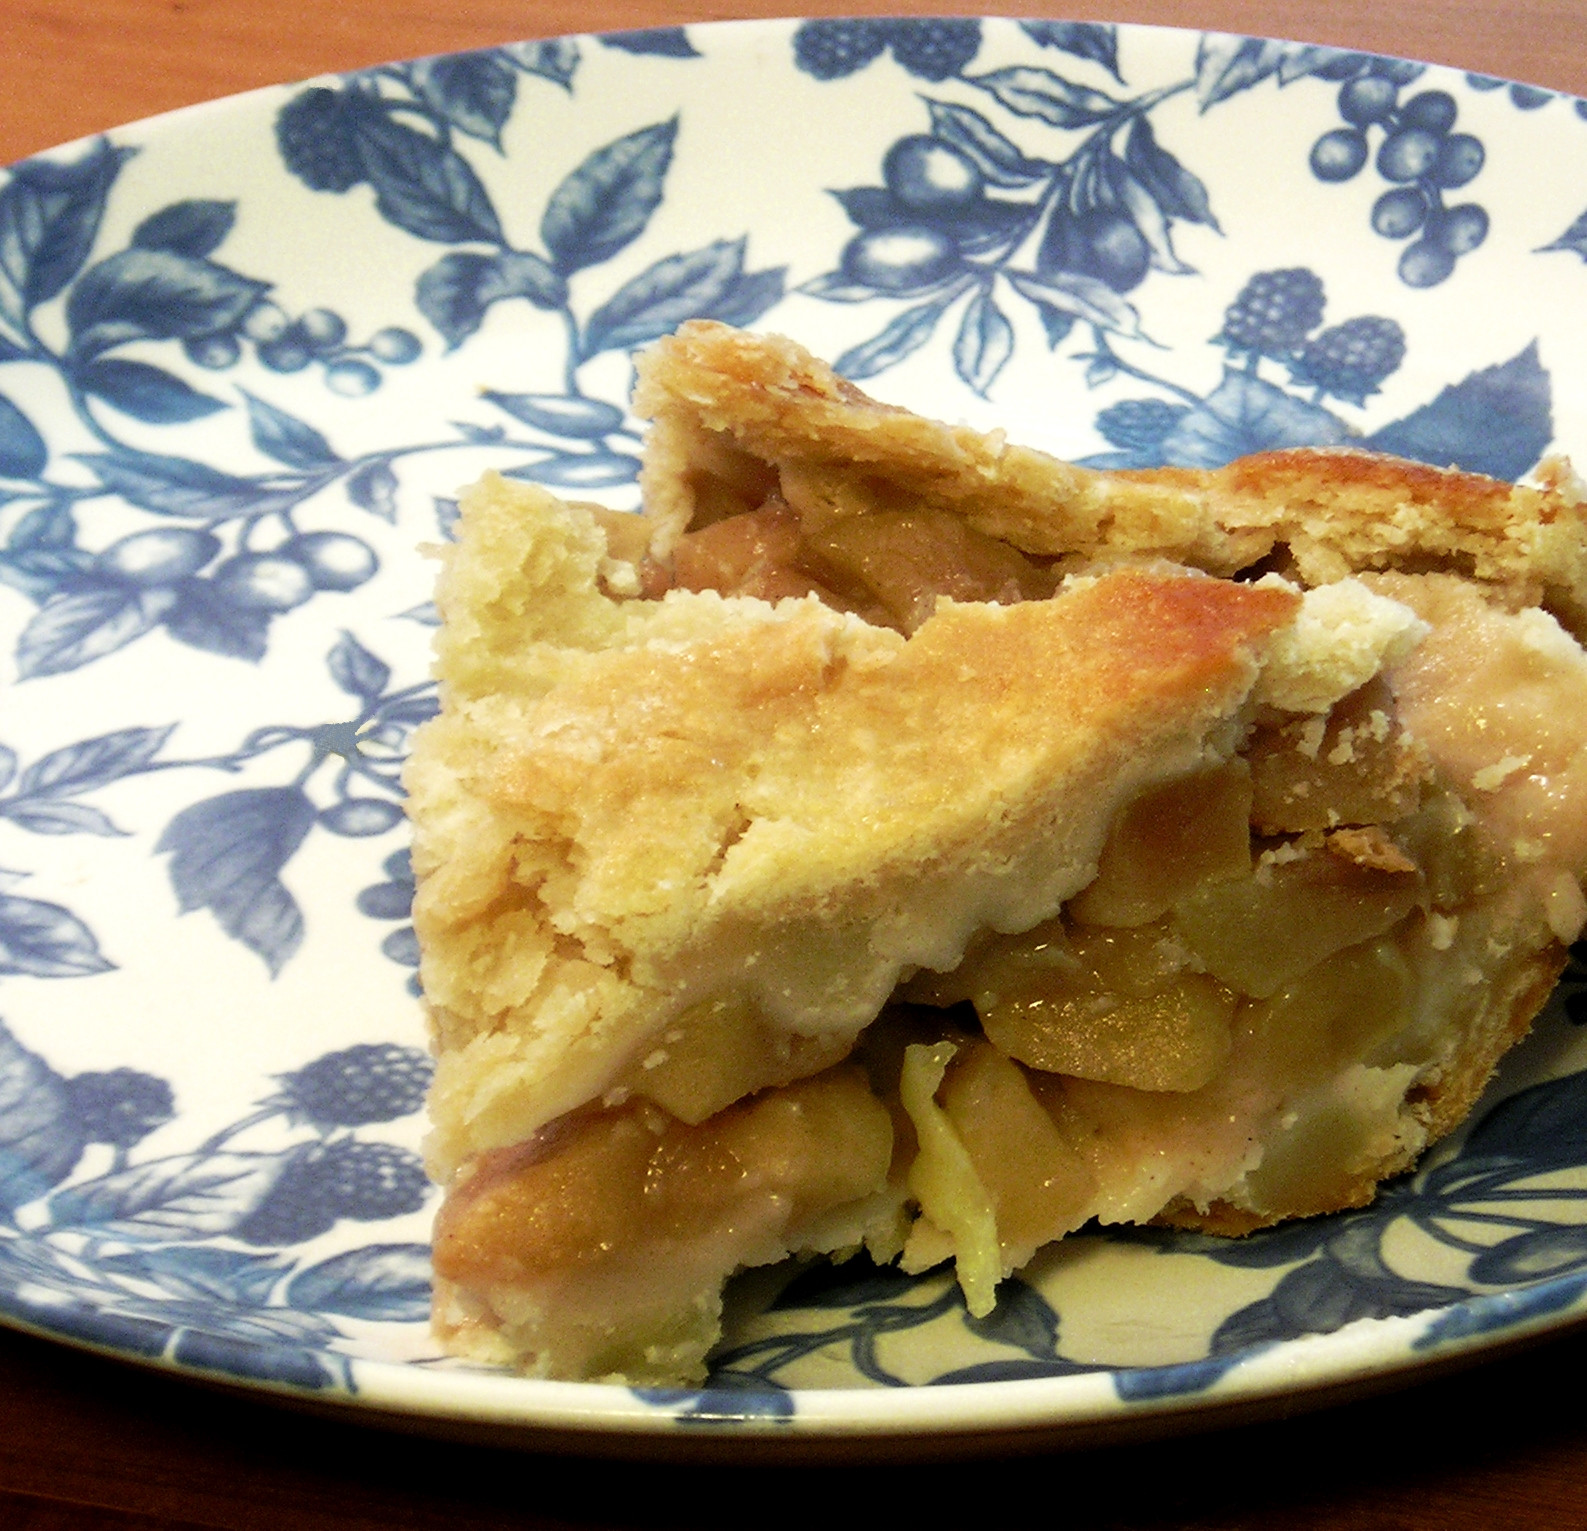 I couldn
An enticing glimpse into the apple pie’s interior, showcasing the tender, juicy apples within a perfectly baked crust, a reward for mastering the art of apple pie.
Apple pie, when done right, truly is a slice of bliss. It took a few baking disasters and a deep dive into baking science, but finally, that perfect flaky crust apple pie is within reach. Say goodbye to soggy bottoms and crunchy apples, and hello to apple pie perfection! Ready to bake your own masterpiece? Give this recipe a try.
