Pickled okra is a quintessential Southern treat, offering a tangy, crunchy bite that perfectly complements hearty meals or stands alone as a zesty snack. For those looking to capture the taste of summer and preserve it for year-round enjoyment, the “Pioneer Woman Pickled Okra Recipe” style offers a reliable and delicious method. This guide will walk you through creating your own batch of homemade pickled okra, ensuring a crisp, flavorful result every time, reminiscent of Ree Drummond’s (the Pioneer Woman) approachable and comforting cooking style.
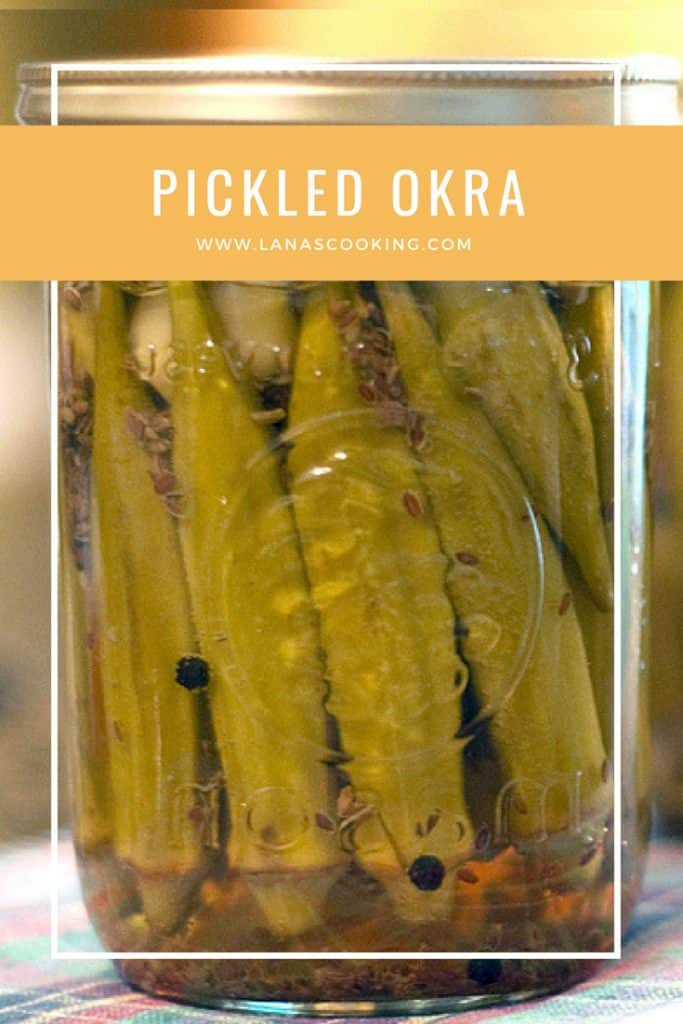 Enjoy a little taste of summer all year. Make your own Pickled Okra with tender young pods of okra preserved in a brine with garlic, dill, and peppercorns. https://www.lanascooking.com/pickled-okra/
Canning your own pickled okra is not only a rewarding experience but also a way to control the ingredients and avoid store-bought versions with unnecessary additives. Similar to the spirit of the Pioneer Woman’s recipes, this method focuses on fresh, simple ingredients and straightforward techniques, making it accessible for both seasoned canners and beginners.
Whether you’re already a fan of pickled okra or are just curious to try this Southern delicacy, this comprehensive guide will provide you with everything you need to know, from selecting the best okra to mastering the water bath canning process. Let’s dive into the steps to create your own pantry staples of crisp and tangy pickled okra.
Why Homemade Pickled Okra?
There’s something special about homemade pickled okra that store-bought versions simply can’t replicate. The freshness of the okra, combined with a custom blend of spices and the satisfaction of preserving your own food, makes it a worthwhile endeavor. Like many of the Pioneer Woman’s recipes, making pickled okra at home allows for a personal touch and ensures a higher quality product.
Key benefits of making pickled okra at home:
- Superior Flavor: Homemade pickles boast a brighter, fresher flavor compared to commercially produced ones that may contain preservatives and artificial flavors.
- Control Over Ingredients: You have complete control over the quality of okra, vinegar, spices, and salt used. This is crucial for those with dietary restrictions or preferences for organic or locally sourced ingredients.
- No Unwanted Additives: Avoid artificial preservatives, colors, and excessive sodium often found in store-bought pickles.
- Customizable Spice Levels: Adjust the amount of garlic, dill, peppercorns, or even add a chili pepper for a spicy kick, tailoring the recipe to your taste, much like the customizable nature of Pioneer Woman’s recipes.
- Cost-Effective: Making your own pickled okra, especially when okra is in season, can be more economical than buying jars from the store.
- Rewarding Experience: The process of canning is deeply satisfying. Preserving your harvest and stocking your pantry with homemade goods is a rewarding skill.
Selecting the Perfect Okra
The key to crisp and delicious pickled okra starts with selecting the right okra pods. Just as the Pioneer Woman emphasizes fresh, quality ingredients, choosing the best okra is paramount for this recipe.
Tips for choosing okra:
- Young and Tender: Look for small to medium-sized pods, about 3-4 inches in length. Younger okra pods are more tender and less fibrous, resulting in a better texture after pickling.
- Firm Texture: The pods should be firm to the touch and bright green in color. Avoid okra that is soft, bruised, or has blemishes.
- Small Size is Best: Larger okra pods tend to be tougher and can become woody when pickled. Opt for smaller pods for optimal crispness.
- Freshness Matters: The fresher the okra, the better the flavor and texture of your pickles. If possible, use okra from your garden, a farmer’s market, or the freshest produce section at your grocery store.
- Uniform Size: Try to select okra pods that are roughly the same size to ensure even pickling and processing in the jars.
Just like selecting the best cuts of meat or freshest vegetables for other Pioneer Woman recipes, taking the time to choose quality okra will significantly impact the final product of your pickled okra.
Essential Canning Equipment
Before you begin the pickling process, ensure you have all the necessary equipment for safe and successful water bath canning. Canning, while straightforward, requires specific tools to maintain food safety and ensure proper sealing of jars.
Canning equipment checklist:
- Canning Jars: Pint-sized glass canning jars with two-piece lids (lids and bands) are ideal for pickled okra. Ensure jars are in good condition, without chips or cracks.
- Canning Pot with Rack: A large stockpot with a canning rack is essential for water bath processing. The rack keeps jars from directly touching the bottom of the pot, allowing for even heat circulation.
- Jar Lifter: A jar lifter is crucial for safely lifting hot jars out of the boiling water. Tongs are not recommended as they can be slippery and unsafe for handling heavy jars.
- Lid Wand (Magnetic Lid Lifter): This tool helps to lift sterilized lids from hot water, maintaining sterility and preventing burns.
- Wide-Mouth Funnel: A canning funnel makes it easier to fill jars without spilling, keeping the jar rims clean for proper sealing.
- Bubble Remover/Headspace Tool: This tool, often part of a canning utensil set, is used to remove air bubbles from jars and measure headspace (the space between the food and the jar lid). A clean plastic utensil can also be used.
- Clean Kitchen Towels: Have plenty of clean kitchen towels for drying jars, wiping spills, and protecting your work surface.
- Large Bowls: For washing and preparing okra.
- Measuring Cups and Spoons: For accurate measurement of ingredients, especially salt and vinegar.
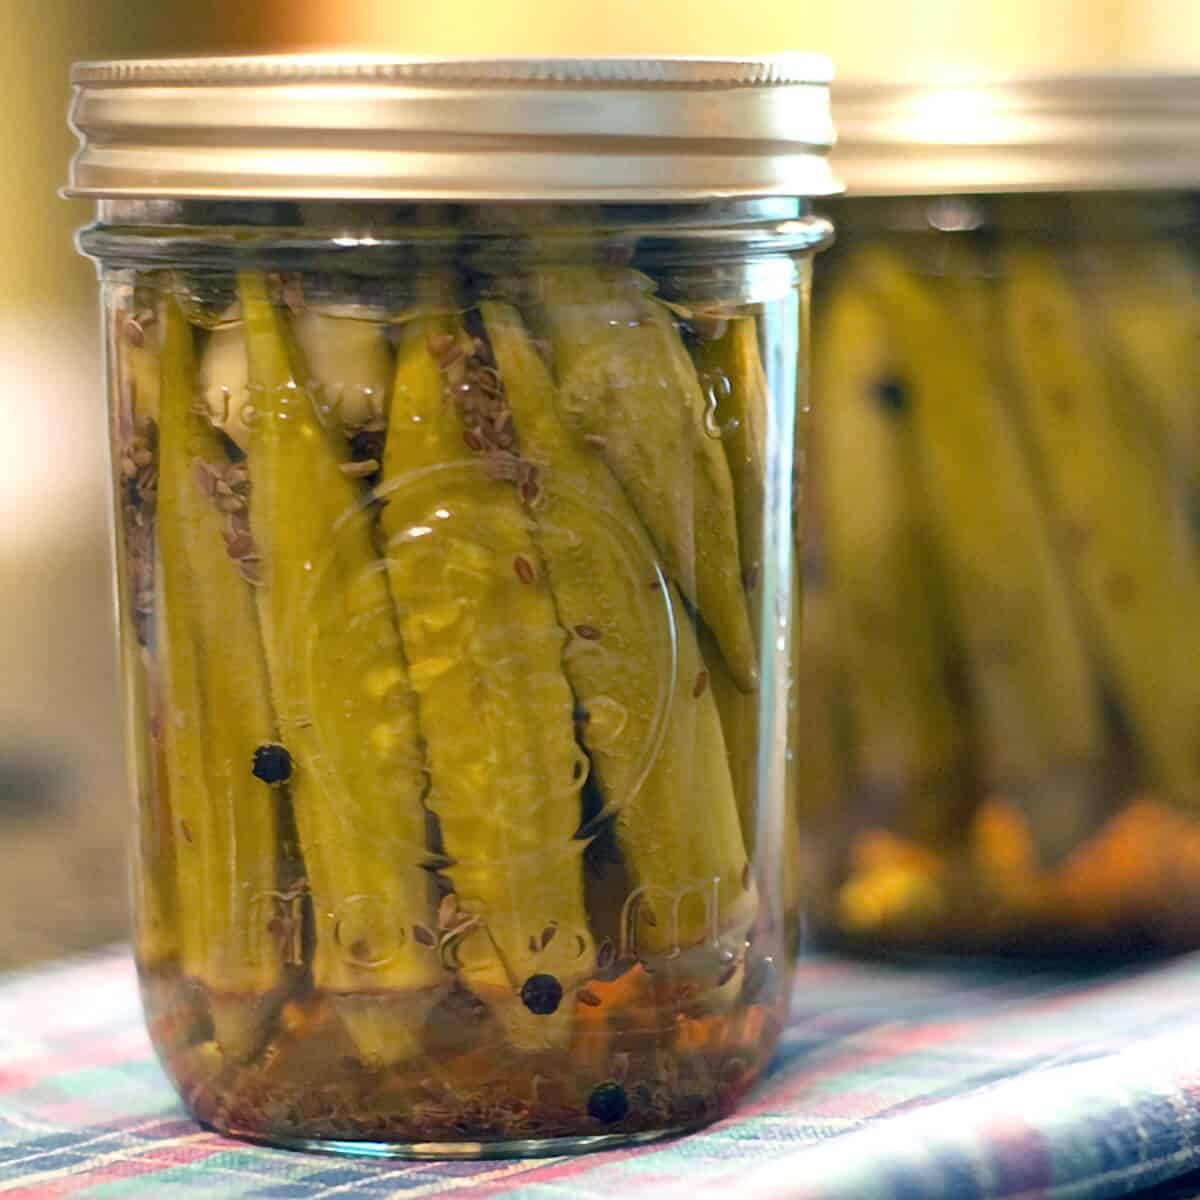 Canning jars filled with homemade pickled okra.
Having your equipment prepped and ready before you start, much like having your mise en place ready for a Pioneer Woman recipe, will streamline the canning process and make it more enjoyable.
Pioneer Woman Inspired Pickled Okra Recipe
This recipe is inspired by classic Southern pickling methods and the approachable, flavorful style of the Pioneer Woman. It yields approximately 3 pint jars.
Ingredients:
- 2 pounds young, tender okra pods, about 3-4 inches long
- 3 cups white vinegar (5% acidity)
- 3 cups water
- 3 tablespoons canning salt (non-iodized)
- 3 cloves garlic, peeled
- 3 teaspoons dill seed
- 1 ½ teaspoons whole black peppercorns
- Optional: 3 dried red chili peppers for spicy pickled okra
Instructions:
- Prepare Jars and Lids: Sterilize pint jars, rings, and lids according to standard canning procedures. Keep jars hot until ready to fill.
- Prepare Okra: Wash okra thoroughly under cold running water. Trim the stems, leaving about ¼ inch attached to the pod. Do not cut into the pods themselves, as this can cause them to become slimy.
- Combine Brine: In a large stainless steel or non-reactive pot, combine vinegar, water, and canning salt. Bring to a rolling boil over high heat, stirring to dissolve the salt completely.
- Pack Jars: To each sterilized pint jar, add 1 clove of garlic, 1 teaspoon of dill seed, and ½ teaspoon of black peppercorns. If using, add 1 dried red chili pepper to each jar for spicy pickles.
- Arrange Okra: Pack okra pods tightly into the jars, standing them upright if possible and then layering more on top horizontally to maximize space. Leave about ½ inch headspace at the top of each jar.
- Pour Brine: Carefully pour the boiling brine over the okra in each jar, maintaining ½ inch headspace. Use a bubble remover tool or clean utensil to remove any air bubbles trapped in the jars. Adjust headspace if necessary by adding more brine.
- Wipe Rims and Seal: Wipe the rims of the jars with a clean, damp cloth to remove any spills. Place sterilized lids on the jars and screw on the rings fingertip-tight.
- Process in Water Bath: Carefully lower filled jars into the boiling water bath canner using a jar lifter. Ensure jars are fully submerged in boiling water by at least 1 inch. Bring water back to a rolling boil and process for 10 minutes.
- Cool and Check Seals: After processing, carefully remove jars from the canner using a jar lifter and place them on a towel-lined surface, leaving space between jars for air circulation. Let jars cool undisturbed for 12-24 hours. As they cool, you should hear popping sounds as the lids seal.
- Check Seals: After jars are completely cool, check the seals. Press down on the center of each lid. If the lid does not flex and remains concave (curved downwards), it is properly sealed. If a lid flexes or pops back, it is not sealed. Unsealed jars should be refrigerated and consumed within a few weeks.
- Store: Properly sealed jars of pickled okra should be stored in a cool, dark place for at least 4-6 weeks to allow flavors to fully develop before eating. Pickled okra is best enjoyed after this curing period.
 Peppercorns, dried dill seed, and garlic.
Tips for Perfect Pickled Okra
To ensure your pickled okra turns out perfectly crisp and flavorful, consider these helpful tips, echoing the kind of practical advice you might find in a Pioneer Woman recipe.
- Don’t Overcook: Process the jars for the recommended time only. Over-processing can lead to softer pickles.
- Use Fresh Spices: Fresh dill seed and whole peppercorns provide the best flavor. Ensure your spices are not stale for optimal taste.
- Pack Tightly but Gently: Pack okra firmly into jars to maximize the amount you can preserve, but avoid crushing the pods, which can affect texture.
- Headspace is Key: Maintaining the correct headspace is crucial for proper sealing and preventing spoilage.
- Curing Time is Important: Be patient and allow the pickled okra to cure for at least 4-6 weeks. This waiting period is essential for the flavors to meld and develop fully.
- Experiment with Flavors: Feel free to experiment with additional spices like mustard seeds, coriander seeds, or bay leaves for a unique flavor profile, just like the Pioneer Woman often adds her own twist to classic recipes.
- Use Quality Vinegar: White vinegar with 5% acidity is recommended for pickling okra to ensure safety and proper preservation. Avoid using vinegars with lower acidity levels.
Serving Suggestions
Pickled okra is incredibly versatile and can be enjoyed in numerous ways, adding a tangy crunch to various dishes.
Serving ideas:
- Snack Straight from the Jar: Enjoy pickled okra as a zesty and low-calorie snack right out of the jar.
- Appetizer Platter: Include pickled okra on cheese and charcuterie boards for a Southern-inspired appetizer.
- Sandwich and Burger Topping: Add a spear or two of pickled okra to sandwiches, burgers, and wraps for extra flavor and crunch.
- Salads: Chop pickled okra and add it to salads for a tangy element. It pairs particularly well with potato salad, pasta salad, and Southern-style salads.
- Garnishes: Use pickled okra as a garnish for Bloody Marys or other cocktails.
- Southern Meals: Serve pickled okra as a side dish with classic Southern meals like fried chicken, barbecue, collard greens, and black-eyed peas.
- Relish Trays: Include pickled okra in relish trays alongside other pickled vegetables and olives.
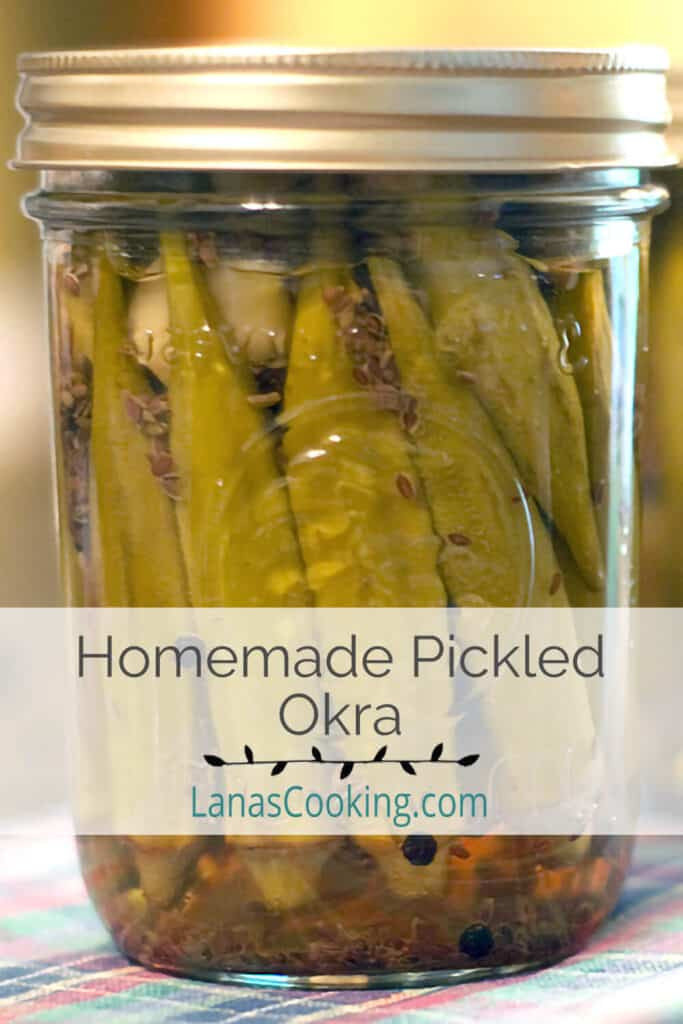 Canning jars filled with homemade pickled okra.
Frequently Asked Questions about Pickled Okra
Is pickled okra slimy?
No, properly pickled okra is not slimy. The pickling process and the use of vinegar neutralize any sliminess. Ensuring you don’t cut into the okra pods before pickling also helps prevent sliminess.
How long does pickled okra last?
When properly canned and sealed, pickled okra can last for up to one year when stored in a cool, dark place. Once opened, jars should be refrigerated and consumed within a few weeks.
Can I use cider vinegar instead of white vinegar?
While white vinegar is recommended for its neutral flavor and clarity, you can use cider vinegar if it has 5% acidity. However, it will result in a slightly different flavor and may darken the color of the okra.
Can I make spicy pickled okra?
Yes! To make spicy pickled okra, add dried red chili peppers to each jar before filling with the brine, as suggested in the recipe. You can also add a pinch of red pepper flakes for extra heat.
Why is my pickled okra soft?
Soft pickled okra can be due to over-mature okra pods, over-processing, or not packing the okra tightly enough. Ensure you select young, tender okra, follow the processing time precisely, and pack jars firmly.
Embrace the Pioneer Spirit of Canning
Making pickled okra at home, especially following a “Pioneer Woman pickled okra recipe” inspired approach, is a wonderful way to connect with food traditions, preserve the flavors of summer, and enjoy a delicious and versatile condiment year-round. With simple ingredients, straightforward steps, and a little patience, you can create jars of crisp, tangy pickled okra that will impress your family and friends. Embrace the spirit of home canning and enjoy the rewarding process of filling your pantry with homemade goodness.