Red velvet cake. The name itself evokes images of rich, crimson layers, enveloped in a luscious cream cheese frosting. It’s a cake that’s both striking and subtly flavored, a perfect balance of cocoa hints and a tender crumb. Like many home bakers, my journey with layer cakes began with inspiration from the Pioneer Woman, Ree Drummond. Her accessible and comforting approach to baking has encouraged countless kitchen adventures, and this red velvet cake recipe, while adapted and perfected over time, carries that same spirit of approachable deliciousness.
 Red Velvet Cake
My first layer cake was indeed from Ree’s cookbook, and it sparked a passion for baking that’s been burning ever since. There’s something truly magical about transforming simple ingredients into a show-stopping dessert. I even remember the thrill of waiting in line for hours to meet Ree and have her sign my cherished cookbook – a testament to her influence and the joy she brings to home cooking.
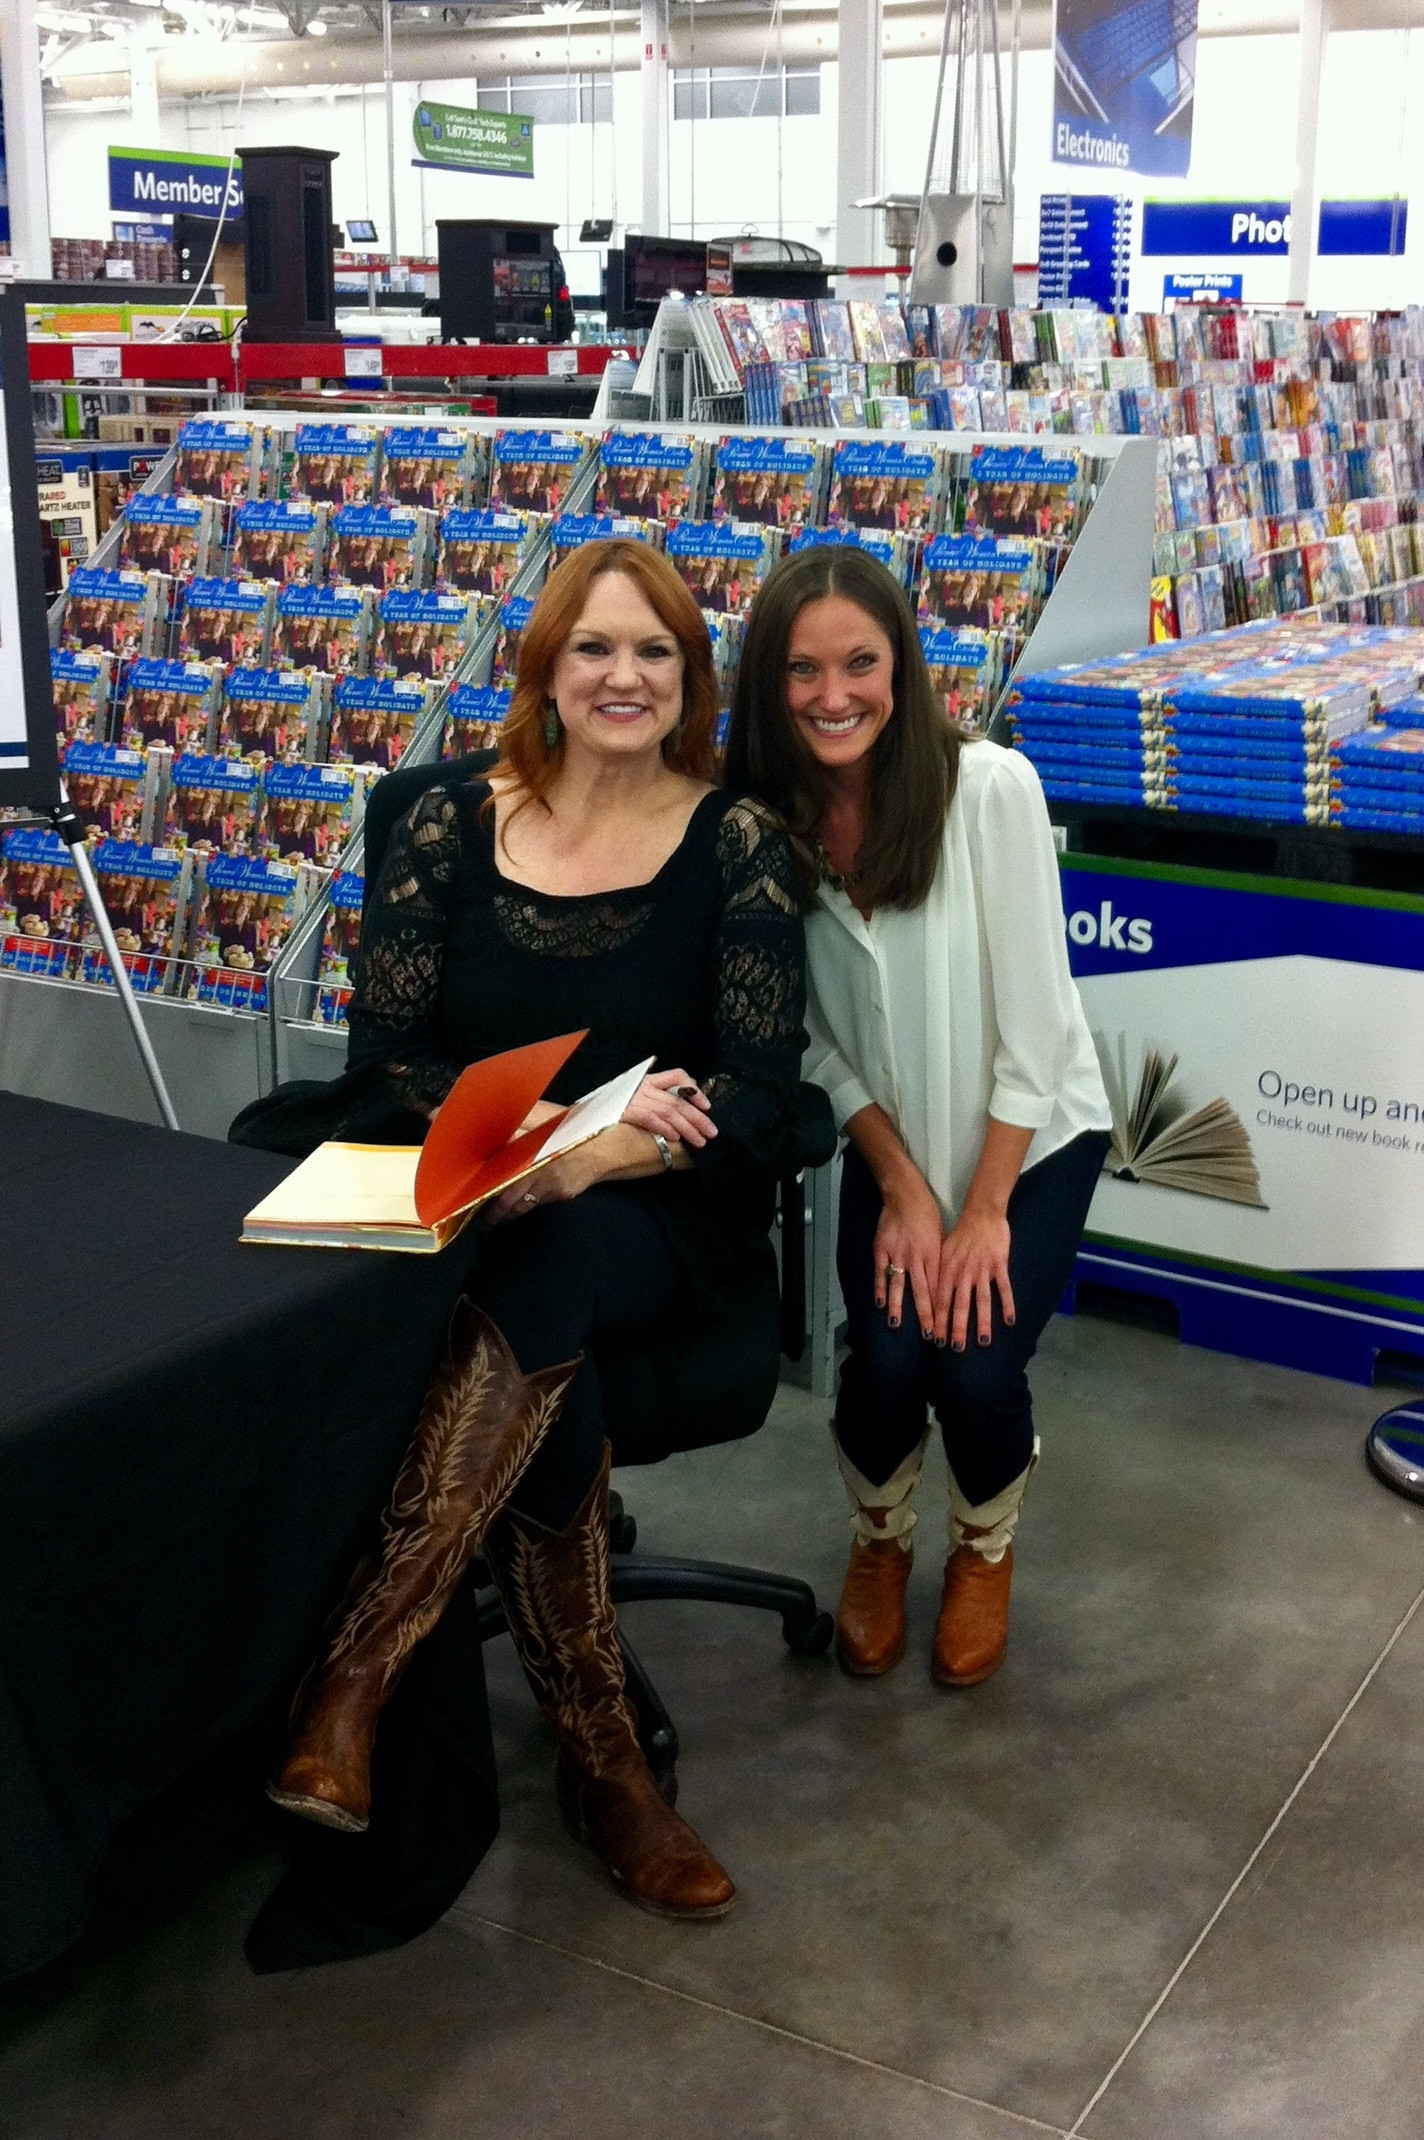 Ree Drummond Pioneer Woman Cookbook
But what exactly is red velvet cake? It’s a question many bakers ponder. It flirts with chocolate, yet isn’t overtly chocolatey. It possesses the airy lightness of a white cake, yet boasts a distinctive, vibrant red hue. This enigmatic nature is part of its allure. The subtle tang from buttermilk, the gentle cocoa notes, and that unforgettable color all combine to create a unique flavor profile that’s both comforting and intriguing.
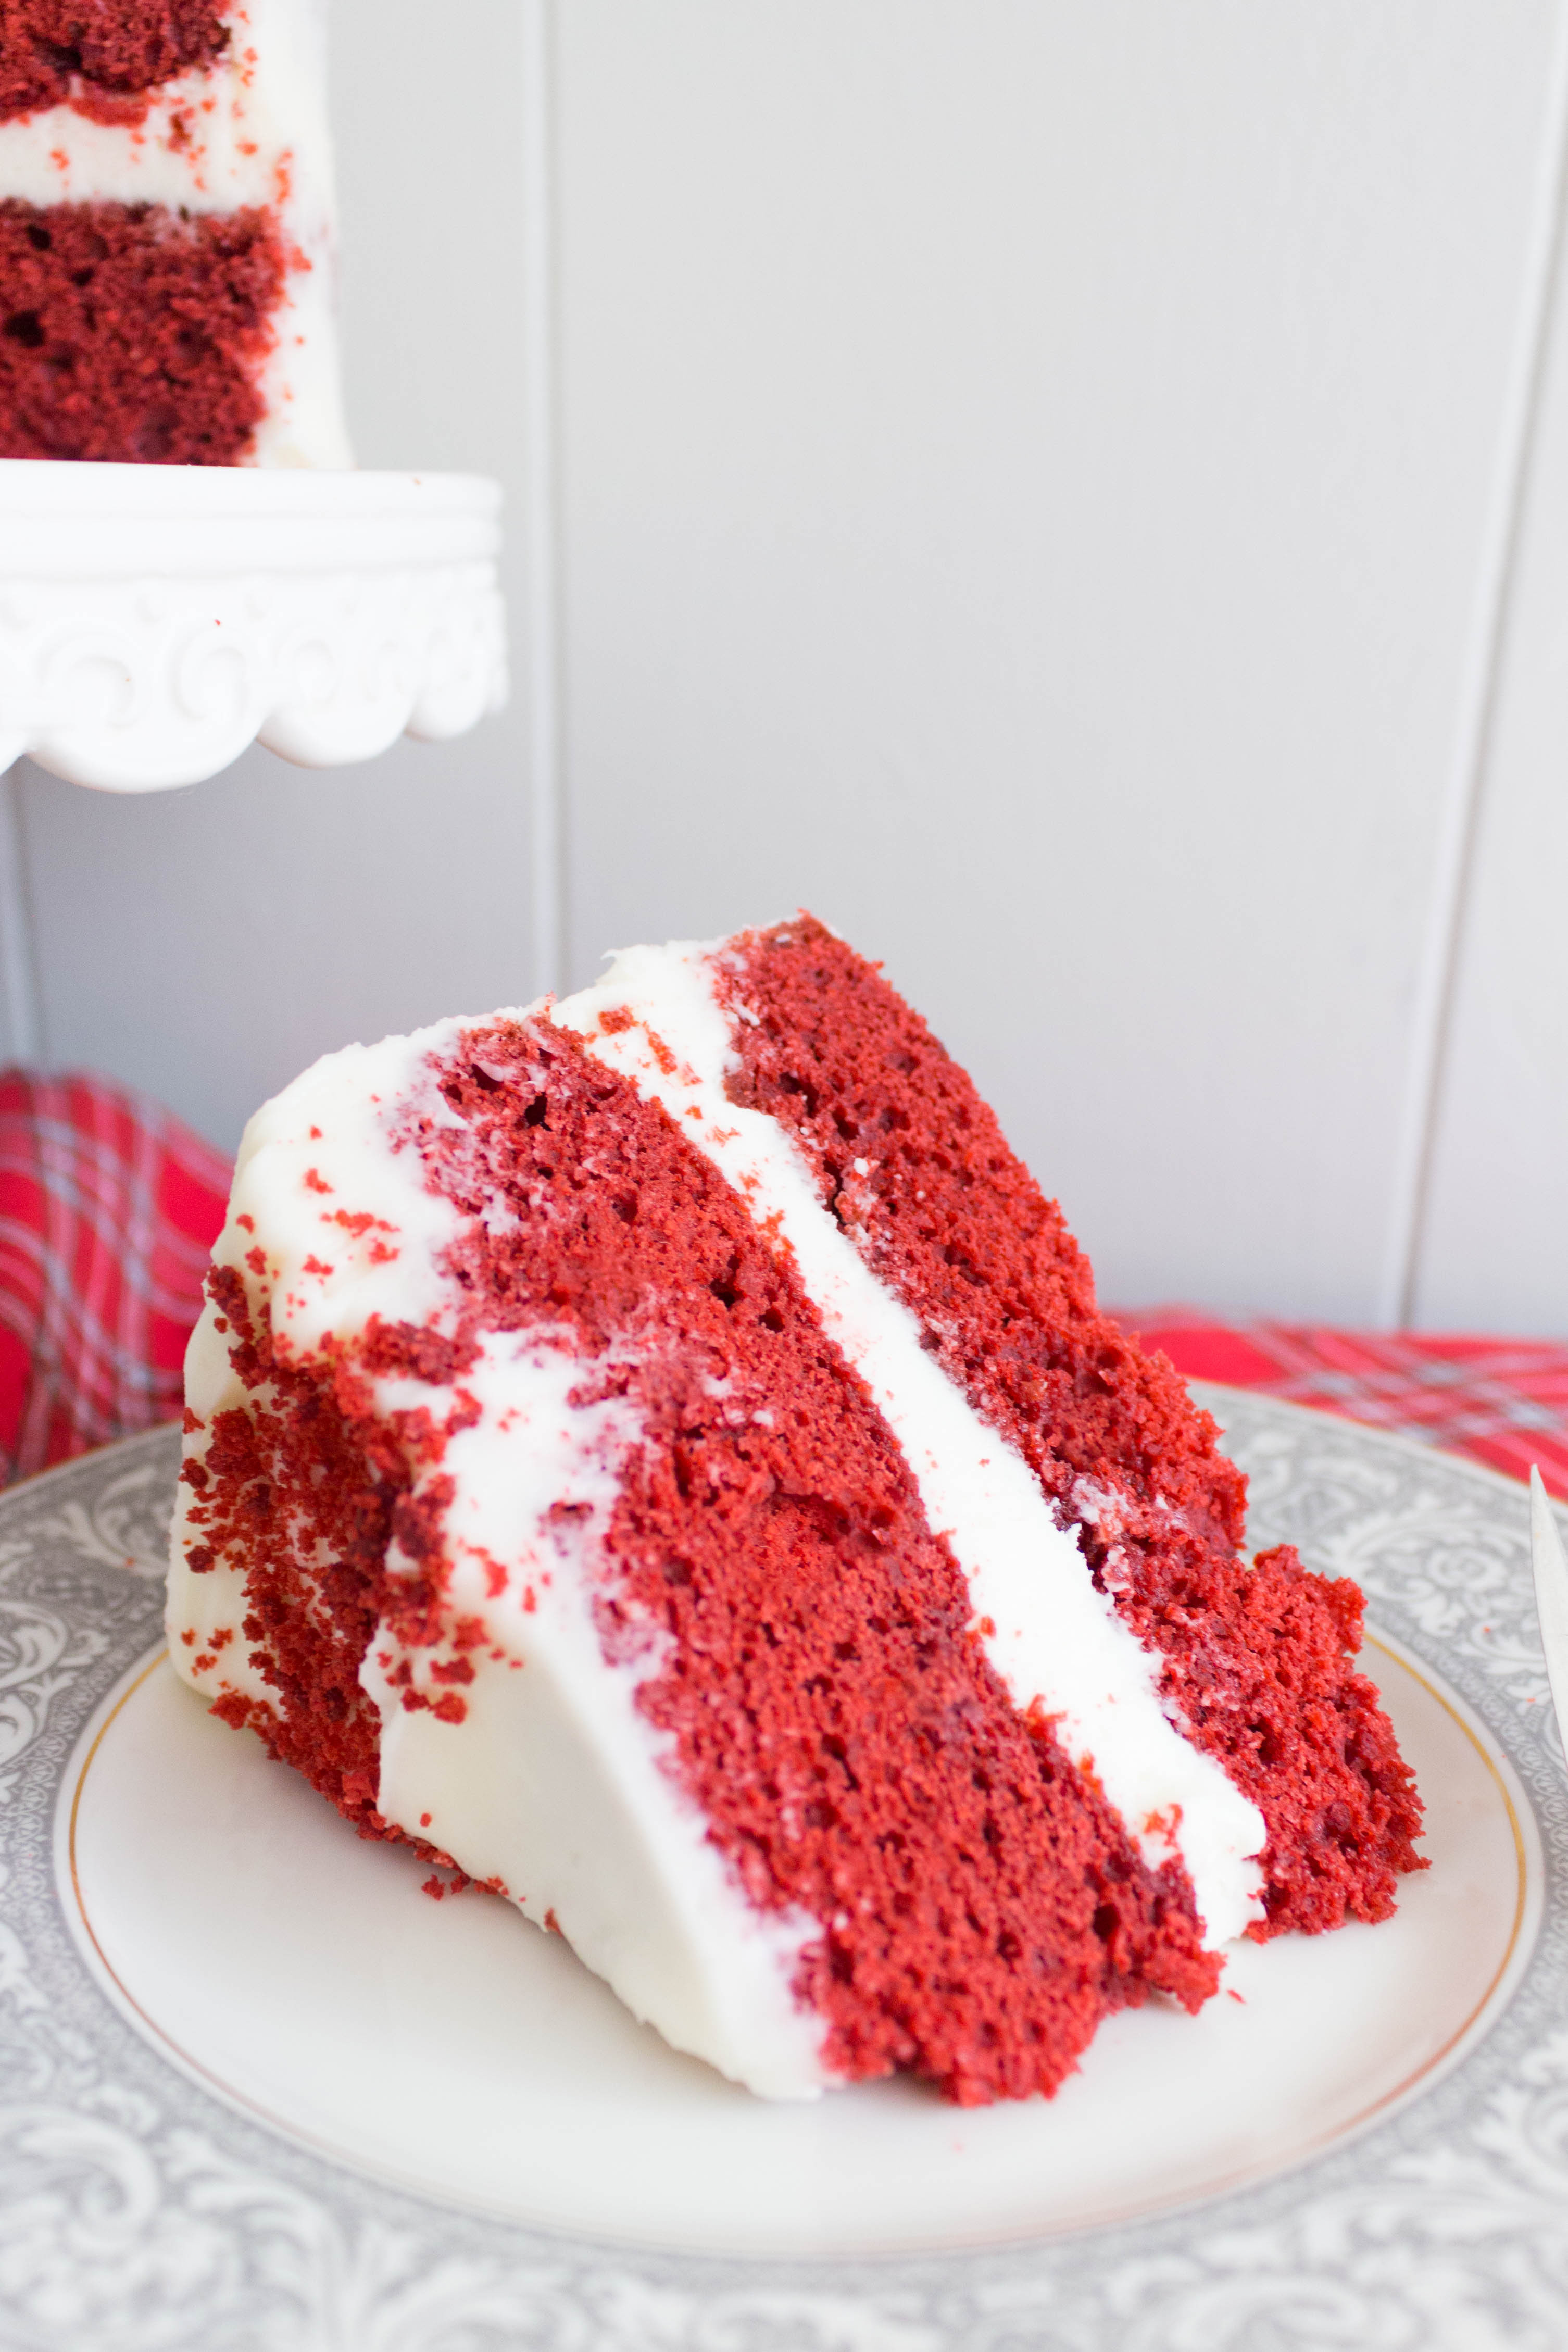
 Slices of Red Velvet Cake
 Red Velvet Cake Layers
Ultimately, the “what” of red velvet cake is less important than the “how delicious” it is. And this recipe delivers on deliciousness. It strikes that perfect balance between a light and dense crumb, avoiding both dryness and heaviness. The hint of cocoa is just right, complementing the subtle tang of buttermilk, and the classic cream cheese frosting is, simply put, the perfect partner.
The secret weapon for achieving bakery-level perfection in this red velvet cake recipe? Cake flour. If you’re serious about baking light and tender cakes, investing in cake flour is a game-changer. Its finer texture and lower protein content compared to all-purpose flour are crucial for that delicate, melt-in-your-mouth crumb that defines a truly exceptional red velvet cake. (And a little insider tip – cake flour is also the key to my soon-to-be-shared chocolate chip cookie recipe, so consider it a worthwhile pantry addition!).
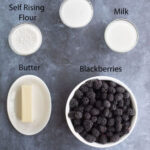
 Red Velvet Cake Ingredients
If you’re new to layer cakes, don’t let that intimidate you. Baking should be enjoyable, and this recipe is designed to be approachable for bakers of all levels. Just follow the instructions carefully, and you’ll be amazed at what you can create. I’ve also included helpful notes and tips within the recipe to guide you through each step. Whether you choose to fully frost the sides for a classic look or opt for the trendy “naked” frosting style, this cake is guaranteed to impress.
This red velvet cake is the ideal dessert for holiday gatherings, special occasions, or simply to brighten up a weekday. It’s a guaranteed crowd-pleaser and a recipe I’m excited to share with you.
Mastering the Red Velvet Cake: Tips and Techniques
Before diving into the recipe, let’s cover a few key tips to ensure your red velvet cake is a resounding success:
- Room Temperature Ingredients are Key: For proper emulsification and a smooth batter, make sure your butter, eggs, and buttermilk are at room temperature. This allows them to blend together seamlessly, creating a tender cake.
- Don’t Overmix: Overmixing develops gluten, leading to a tough cake. Mix until just combined, especially after adding the flour.
- Cake Flour is Non-Negotiable (Almost): While you can technically make red velvet cake with all-purpose flour, cake flour truly elevates the texture to bakery-quality. If you must substitute, use all-purpose flour but remove 2 tablespoons per cup and replace with cornstarch.
- Buttermilk Magic: Buttermilk adds a subtle tang and tenderness that is characteristic of red velvet cake. Don’t skip it!
- Cocoa Powder Quantity: Two tablespoons of cocoa powder might seem minimal, but it provides just the right hint of chocolate without overpowering the delicate flavor.
- Red Food Coloring: The amount of red food coloring can be adjusted to your preference. Gel food coloring is more concentrated, so you’ll need less than liquid food coloring.
- Frosting Consistency: The amount of powdered sugar in the cream cheese frosting can be adjusted to your desired sweetness and thickness. Start with 4 cups and add more gradually until you reach your perfect consistency.
- Cool Cakes Completely: Ensure the cakes are completely cool before frosting to prevent the frosting from melting.
Classic Red Velvet Cake Recipe
This RED VELVET CAKE is vibrant and beautiful, with a perfectly light yet dense crumb. The hint of cocoa compliments the subtle buttermilk flavor, and pairs perfectly with the sweet yet tangy cream cheese frosting!
Course: Dessert
Cuisine: American
Keyword: Red Velvet Cake Recipe Pioneer Woman, cream cheese frosting, red velvet cake
Prep Time: 30 minutes
Cook Time: 20 minutes
Total Time: 50 minutes
Servings: 1 9-inch 2-layer cake
Ingredients
For the Cake:
- 12 tablespoons (1.5 sticks) unsalted butter, room temperature
- 1 1/2 cups granulated sugar
- 2 large eggs, room temperature
- 2 1/2 cups cake flour
- 1 1/2 teaspoons baking soda
- 1/4 teaspoon salt
- 1 cup buttermilk, room temperature
- 1 teaspoon vanilla extract
- 1 teaspoon white vinegar
- 2 tablespoons natural cocoa powder
- 2 tablespoons red food coloring liquid (or gel equivalent)
For the Frosting:
- 16 ounces cream cheese, room temperature
- 16 tablespoons (2 sticks) unsalted butter, room temperature
- 1 1/2 teaspoons vanilla extract
- Pinch of salt
- 4-8 cups powdered sugar, depending on preference
Instructions
- Preheat oven to 350 degrees F (175 degrees C). Grease and flour two 9-inch round baking pans. For extra insurance against sticking, line the bottoms with parchment paper and grease again.
- In a medium bowl, whisk together cake flour, baking soda, and salt. Set aside.
- In another bowl, whisk together buttermilk, vinegar, and vanilla extract. Set aside.
- In a small bowl, mix cocoa powder with red food coloring until a smooth paste forms. This helps intensify the color. Set aside.
- In the bowl of a stand mixer fitted with the paddle attachment (or using a hand mixer), beat butter and sugar on medium-high speed until light and fluffy, about 3 minutes.
- Add eggs one at a time, beating well after each addition until fully incorporated.
- With the mixer on LOW speed, gradually add the dry ingredients (flour mixture) alternating with the wet ingredients (buttermilk mixture), beginning and ending with the dry ingredients. Mix until just combined – be careful not to overmix.
- Scrape down the bowl and add the cocoa-red food coloring mixture. Mix on LOW speed until just combined, about 20 seconds. Again, avoid overmixing.
- Divide batter evenly between the prepared pans. The batter will be thick; use a spatula to spread it evenly. Gently tap the pans on the counter to release any air bubbles.
- Bake for 20-25 minutes, or until a toothpick inserted into the center comes out clean.
- Let the cakes cool in the pans for 10 minutes before inverting them onto a wire rack to cool completely.
- For the Frosting: In the clean bowl of a stand mixer (or using a hand mixer), beat cream cheese, butter, vanilla extract, and salt on medium-high speed until smooth and fluffy, about 2 minutes. Scrape down the bowl as needed.
- Gradually add powdered sugar, starting with 4 cups, and mix on low speed until incorporated. Increase speed to medium-high and beat until light and fluffy, about 1 minute. Add more powdered sugar as needed to reach your desired consistency and sweetness. Refrigerate frosting for about 15-20 minutes to firm up slightly if it’s too soft to frost.
- For Assembly: Level the cake layers if desired using a serrated knife or cake leveler. Crumble the cake tops for decoration if you like.
- Place one cake layer on a serving plate and spread with about 2 cups of cream cheese frosting. Top with the second layer and frost the top and sides of the cake with the remaining frosting. For a “naked” cake look, use an offset spatula to create a rustic, less-frosted side. Decorate with red velvet cake crumbs, if desired.
- Refrigerate the frosted cake for at least 30 minutes to allow the frosting to set before serving. Remove from the refrigerator 30 minutes to an hour before serving for best flavor and texture.
Recipe Notes
Adapted and inspired by classic red velvet cake recipes, including those from Joy of Baking and Taste of Home. The spirit of approachable baking is inspired by the Pioneer Woman.
Enjoy your delicious homemade red velvet cake!