
Have you ever dreamt of serving perfectly juicy, flavorful baked chicken breasts, only to be met with dry, disappointing results? You’re not alone. Baking chicken breasts can be notoriously tricky. They can easily become dry, rubbery, and bland if not cooked just right. But what if we told you there’s a foolproof method, a true pioneer in oven-baked chicken techniques, that guarantees tender, delicious chicken every single time?
Inspired by classic, reliable home cooking, this guide reveals the simple secrets to achieving Pioneer Woman-level perfection with your baked chicken. We’re talking about chicken so moist and flavorful, it will become a staple in your kitchen. Forget guesswork and culinary mishaps. This Baked Chicken Pioneer Woman method is your ticket to consistently amazing results, whether you’re a seasoned cook or just starting out.
This isn’t just another recipe; it’s a tried-and-true, 5-step technique that has revolutionized how home cooks bake chicken breasts. Thousands have already discovered the game-changing simplicity and deliciousness of this method. So, are you ready to become a pioneer in your own kitchen and master the art of baked chicken? Let’s get started!
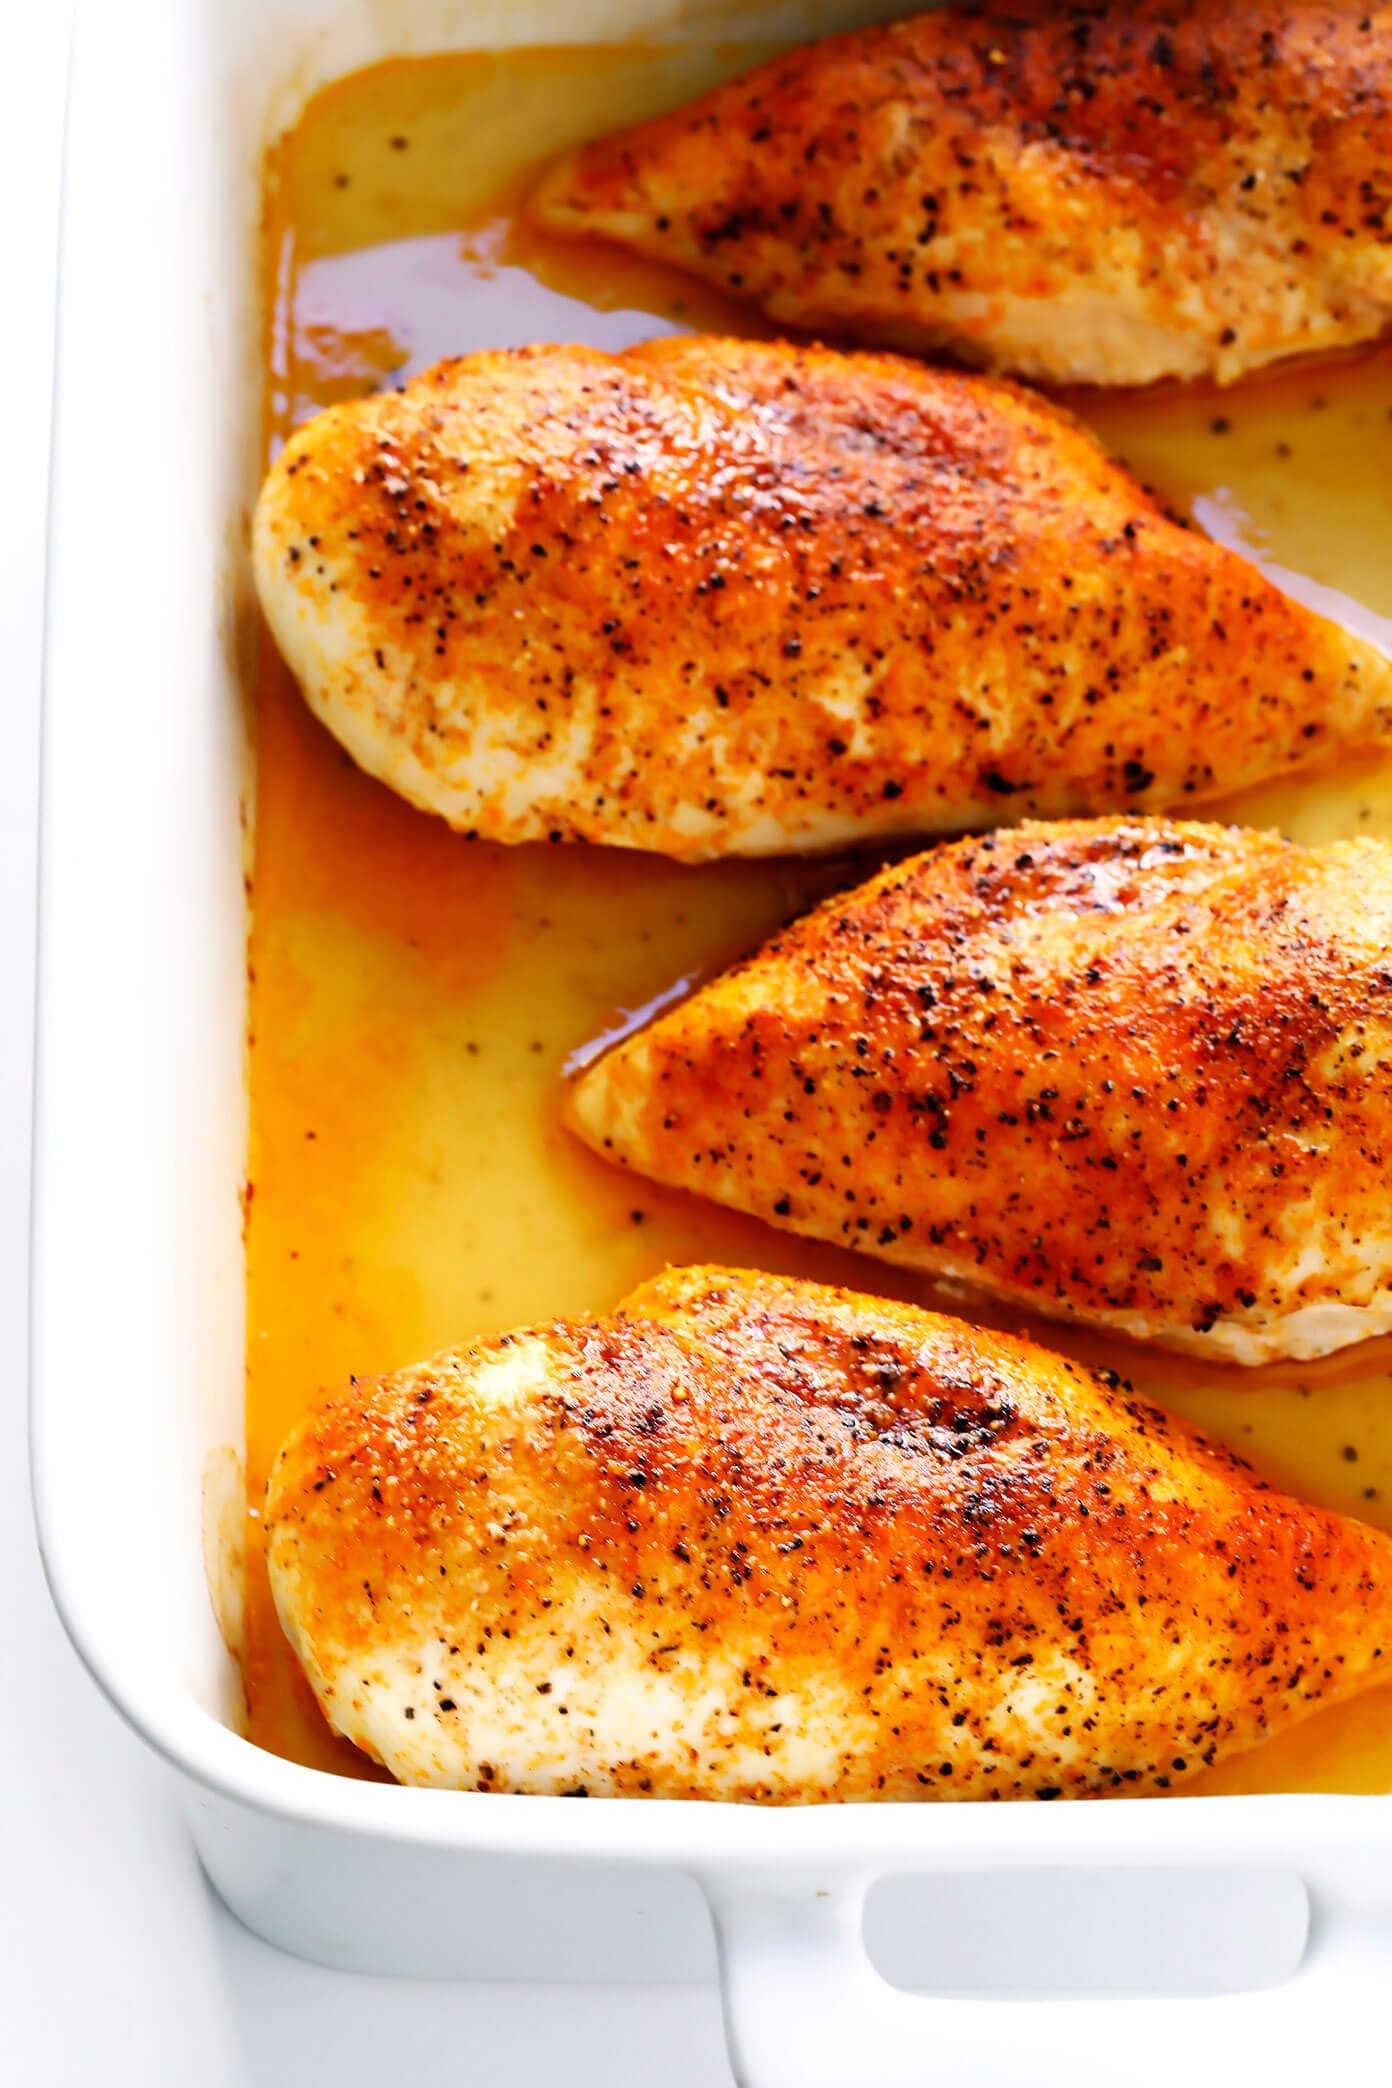 Perfectly seasoned raw chicken breasts ready for baking
The Pioneer Method: Mastering Baked Chicken Breasts
This recipe hinges on a straightforward yet incredibly effective 5-step process, easily remembered with the acronym B.B.R.R.R. Each step is crucial, working synergistically to ensure your chicken breasts are not just cooked, but cooked to juicy, flavorful perfection. Think of it as the pioneer approach to baking chicken – simple, effective, and reliable.
Step 1: Brine – The Foundation of Juicy Chicken
Brining is the pioneer step in ensuring moisture. It’s non-negotiable for truly juicy baked chicken breasts. This simple technique, soaking the chicken in saltwater, works wonders to keep your chicken moist and tender during baking. Even a short 15-minute brine makes a significant difference.
How to Brine:
- In a large bowl, dissolve ¼ cup of kosher salt in 2 cups of lukewarm water.
- Add 2 cups of cold water or ice to cool the mixture down. The water should be cool to the touch.
- Submerge the chicken breasts in the saltwater brine and let them soak for at least 15 minutes, or up to 6 hours in the refrigerator.
- After brining, rinse the chicken thoroughly with cold water to remove excess salt and pat completely dry with paper towels. Drying is key for proper browning.
Note: Always check your chicken packaging. Some chicken breasts are pre-brined in a sodium solution. If yours are pre-brined, skip this step and move directly to step two.
Step 2: Brush – Flavor and No-Stick Assurance
Brushing the chicken breasts with melted butter or olive oil is the next pioneer move for both flavor and function. Butter adds a richness and helps create a beautiful golden crust, while olive oil is a healthy alternative. This step also prevents the chicken from sticking to the baking dish and helps the seasonings adhere evenly.
How to Brush:
- Melt 1 tablespoon of butter or measure out 1 tablespoon of olive oil.
- Liberally brush the melted butter or olive oil over both sides of the chicken breasts. Ensure even coverage.
- Place the brushed chicken breasts in a large baking dish or roasting pan.
Step 3: Rub – Seasoning for Flavor Depth
Now for the flavor! While simple salt and pepper are okay, a flavorful rub elevates your baked chicken from basic to brilliant. This pioneer woman baked chicken method champions a simple yet delicious seasoning blend that complements chicken perfectly. Feel free to explore with your favorite herbs and spices to customize the flavor profile.
Our Go-To Chicken Rub:
- 1 teaspoon kosher salt
- ½ teaspoon black pepper
- ½ teaspoon garlic powder
- ½ teaspoon smoked paprika
How to Rub:
- In a small bowl, combine all the seasoning ingredients.
- Generously sprinkle the seasoning mixture over both sides of the chicken breasts, ensuring even coating. Gently rub the seasoning into the chicken for better adhesion.
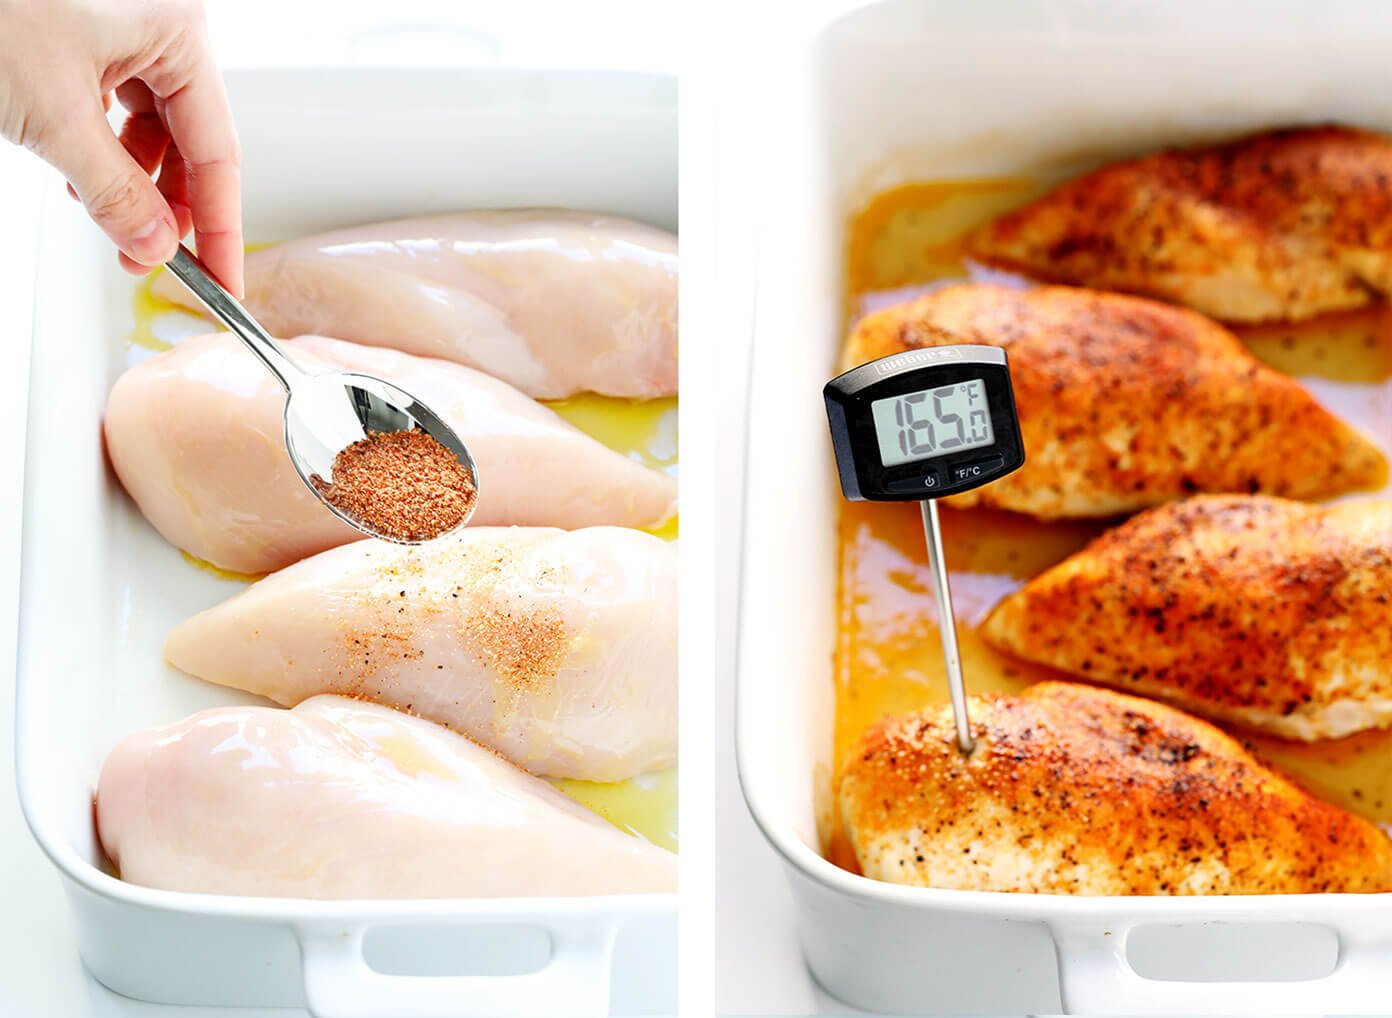 Seasoned chicken breasts ready to go into the oven
Step 4: Roast – High Heat for Juicy Results
Here’s where the pioneer method truly shines. Forget low and slow for chicken breasts. High-heat roasting is the secret to locking in juices and creating a slightly crispy exterior. We recommend roasting at 450°F (232°C). This method cooks the chicken quickly, preventing it from drying out.
How to Roast:
- Preheat your oven to 450°F (232°C).
- Roast the seasoned chicken breasts for 15-18 minutes, depending on their thickness.
- The most crucial tool for this step is a meat thermometer. The FDA safe internal temperature for cooked chicken is 165°F (74°C). Use an instant-read thermometer to check the thickest part of the chicken breast.
- Avoid overcooking! Chicken breasts are best when just cooked to 165°F (74°C). Overcooking leads to dryness.
- For extra browning, you can broil for the last 3-5 minutes, but watch carefully to prevent burning.
Step 5: Rest – The Final Touch for Tenderness
Resting is the unsung hero of perfectly cooked meat, and this pioneer woman baked chicken method emphasizes its importance. After roasting, allow the chicken breasts to rest for 5-10 minutes before cutting or serving. This resting period allows the juices to redistribute throughout the meat, resulting in maximum tenderness and flavor.
How to Rest:
- Once the chicken reaches 165°F (74°C), remove the baking dish from the oven.
- Transfer the chicken breasts to a clean plate.
- Loosely tent the plate with aluminum foil. This helps keep the chicken warm while it rests.
- Let the chicken rest for 5-10 minutes before slicing, shredding, or serving.
 Perfectly baked chicken breasts with roasted asparagus
Seasoning Variations: Become a Flavor Pioneer
While our classic paprika-garlic blend is a fantastic starting point, feel free to explore different flavor profiles! Become a flavor pioneer and experiment with these seasoning variations:
- Italian Herb: Dried oregano, basil, thyme, rosemary, garlic powder, onion powder.
- Lemon Pepper: Lemon zest, black pepper, garlic powder, onion powder.
- Cajun Spice: Paprika, cayenne pepper, garlic powder, onion powder, oregano, thyme.
- BBQ Rub: Brown sugar, paprika, chili powder, garlic powder, onion powder, cumin.
Serving Suggestions: Pioneer-Style Chicken Meals
These juicy baked chicken breasts are incredibly versatile! Enjoy them fresh out of the oven as a main course, or slice, shred, or dice them for use in other dishes throughout the week.
Serving Ideas:
- Classic Main Course: Serve with roasted vegetables (like asparagus or broccoli), mashed potatoes, or a fresh salad.
- Chicken Salads: Slice or shred for use in garden salads, Caesar salads, or chicken salad sandwiches.
- Pasta Dishes: Dice and add to pasta with pesto, marinara, or Alfredo sauce.
- Tacos or Fajitas: Slice and use as a healthy protein filling for tacos, fajitas, or wraps.
- Meal Prep: Baked chicken breasts are perfect for meal prepping healthy lunches and dinners for the week.
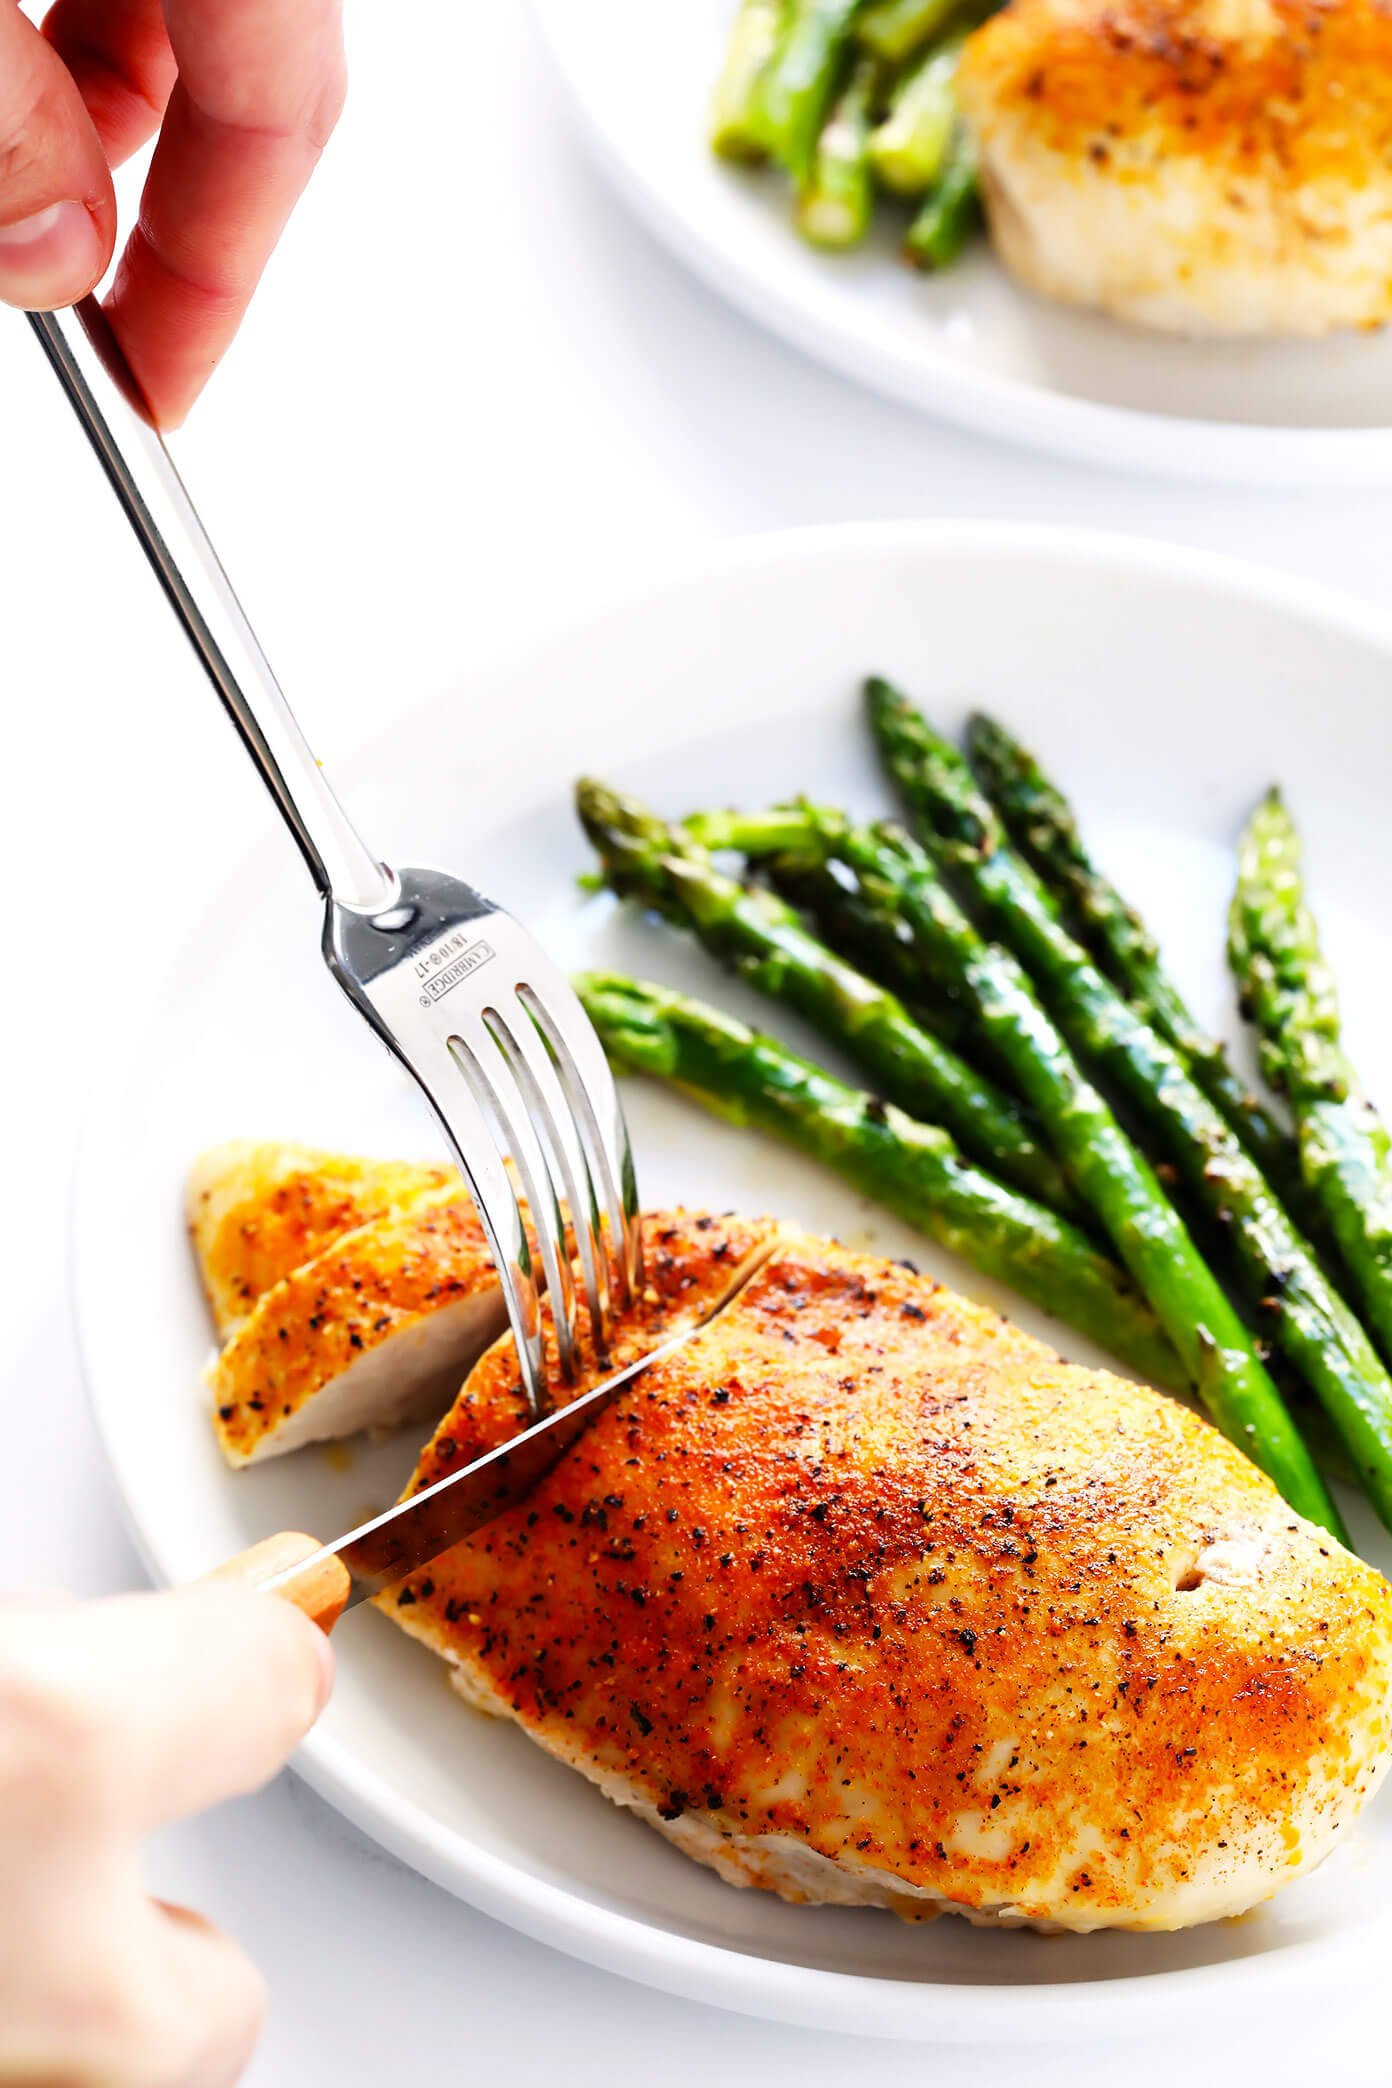 Baked chicken breast served with roasted asparagus and lemon
Storage Tips: Keeping Your Pioneer Chicken Fresh
- Refrigerator: Store leftover baked chicken breasts in an airtight container in the refrigerator for up to 3 days.
- Freezer: For longer storage, freeze cooked chicken breasts in an airtight container for up to 3 months. Thaw overnight in the refrigerator before reheating.
Side Dish Inspiration for Your Pioneer Feast
Complete your Pioneer Woman-inspired meal with these delicious side dish ideas:
- Roasted Asparagus
- Garlic Mashed Potatoes
- Quinoa Salad
- Steamed Green Beans
- Corn on the Cob
- Mac and Cheese
Embrace the pioneer spirit in your kitchen and master this foolproof baked chicken method. With these simple steps and a little practice, you’ll be baking juicy, flavorful chicken breasts like a pro every time!